Quick Guide: How to Change LED Light Color in 5 Simple Steps
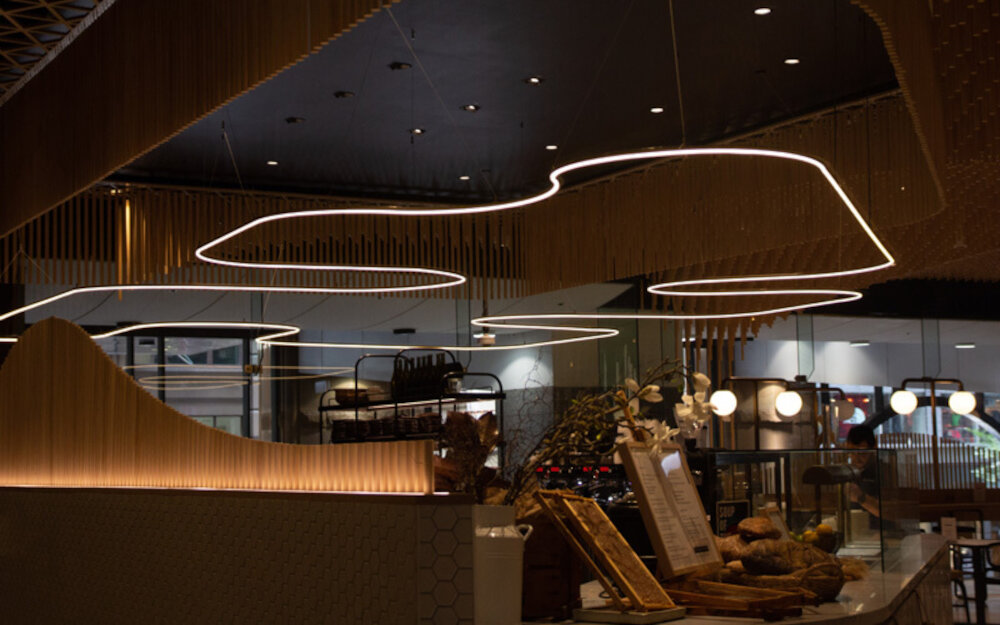
Light-emitting diodes or LED lights have taken the world by storm, and for good reasons. Not only are they more energy-efficient and longer-lasting than traditional incandescent bulbs, but they also offer a wide range of customizable lighting options. One of the best things about LED lights is that you can easily change their colors to suit your mood, preference, or occasion. However, many people are still unsure about how to change LED light color. If you’re one of them, worry not! In this quick guide, we’ll walk you through the steps on how to change LED light color in five simple steps. Before we dive into the steps, let’s first understand how LED lights work. LED lights produce different colors by varying the amount and type of light emitted by the semiconductor material inside them. The most common types of LED lights are those that emit red, green, and blue light. By combining these primary colors, you can create millions of different colors. Changing the color of LED lights is done by adjusting the voltage or current that flows through the diodes. Now that you have a basic understanding of how LED lights work, let’s move on to the step-by-step guide on how to change LED light color.
LED light color customization is an essential feature in modern lighting technology. It allows users to personalize and control the ambiance of their spaces. The color of light can have a significant impact on mood, productivity, and overall well-being. For example, warm colors like red or yellow create a cozy and inviting atmosphere, while cool colors like blue or green can promote focus and concentration. Additionally, LED light color customization can also help to reduce energy consumption by adjusting the brightness and color temperature of the light to match the time of day or specific tasks. Overall, LED light color customization offers a versatile and flexible lighting solution that can enhance both the aesthetic and functional aspects of any environment.
In this quick guide, we will discuss how to change LED light color in 5 simple steps. Firstly, we will identify the type of LED light and make sure it is compatible with color-changing options. Then, we will turn off the power source and remove the bulb or fixture cover to access the LED light. Thirdly, we will locate the color-changing option, which may be a remote control or a switch on the fixture. Fourthly, we will follow the manufacturer’s instructions to change the LED light color, which may involve pressing a button or rotating a dial. Finally, we will test the new color and adjust the brightness as desired. By following these steps, you can easily change the LED light color and enhance the ambiance of your space.
Step 1: Gather Your Materials
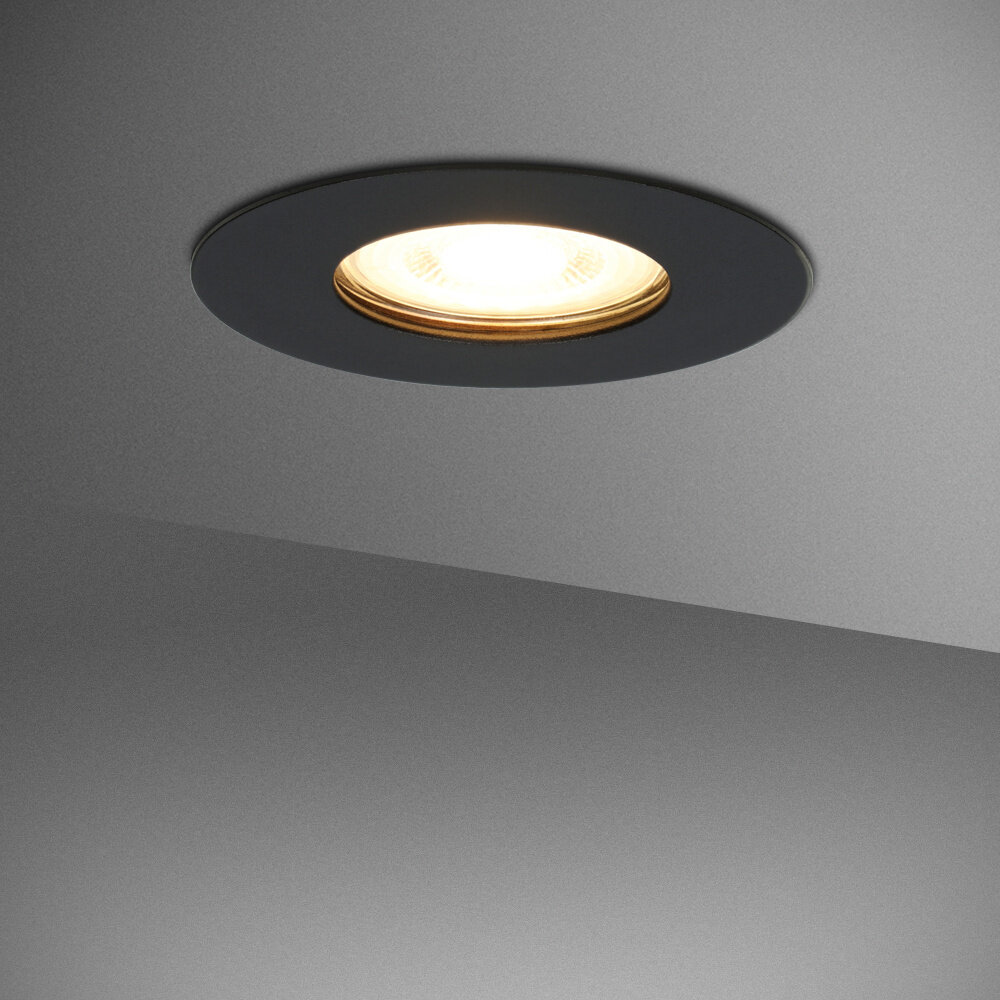
If you want to change the LED light color, the first step is to gather your materials. The materials you need will depend on the type of LED light you have. Generally, you will need a screwdriver, pliers, wire strippers, and new LED lights in the color you want. You may also need a soldering iron if the LED lights are connected with wires. Make sure you have all the necessary tools before you begin. It is important to choose the right LED lights for the color you want. LED lights come in a variety of colors, including red, blue, green, yellow, and white. Some LED lights can even change colors. Make sure you choose the right color for your needs. If you are unsure, you can always ask for advice at your local hardware store. Once you have your materials, you are ready to move on to the next step.
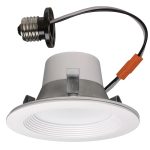
Before starting the process of changing the LED light color, it is important to gather all the necessary materials to ensure a seamless experience. Firstly, the LED light bulb that needs to be changed should be identified, and a replacement LED bulb of the desired color should be obtained. Additionally, a ladder or stool may be required to access the light fixture. A pair of gloves or a cloth can be used to handle the bulb, as it can get quite hot. Finally, it is important to turn off the power source to the light fixture, either by unplugging it or turning off the circuit breaker, to avoid any electrical accidents. By ensuring that all the necessary materials are at hand, the process of changing the LED light color can be carried out safely and efficiently.
In order to change the LED light color, you will need a few materials to get the job done. The first material is an LED light bulb that is compatible with color-changing technology. This type of bulb is specifically designed to change color with the use of a remote control or a mobile app. The second material you will need is a remote control or mobile app that is compatible with your LED light bulb. This will allow you to change the color of your lights with ease. Additionally, you will need a stable and reliable Wi-Fi connection, as this will enable you to connect to your LED light bulb and control it remotely. Lastly, you may need a ladder or step stool to reach the light fixture, especially if it is in a high or hard-to-reach location. Overall, these materials are essential in order to successfully change the color of your LED lights.
Step 2: Remove the LED Light Cover
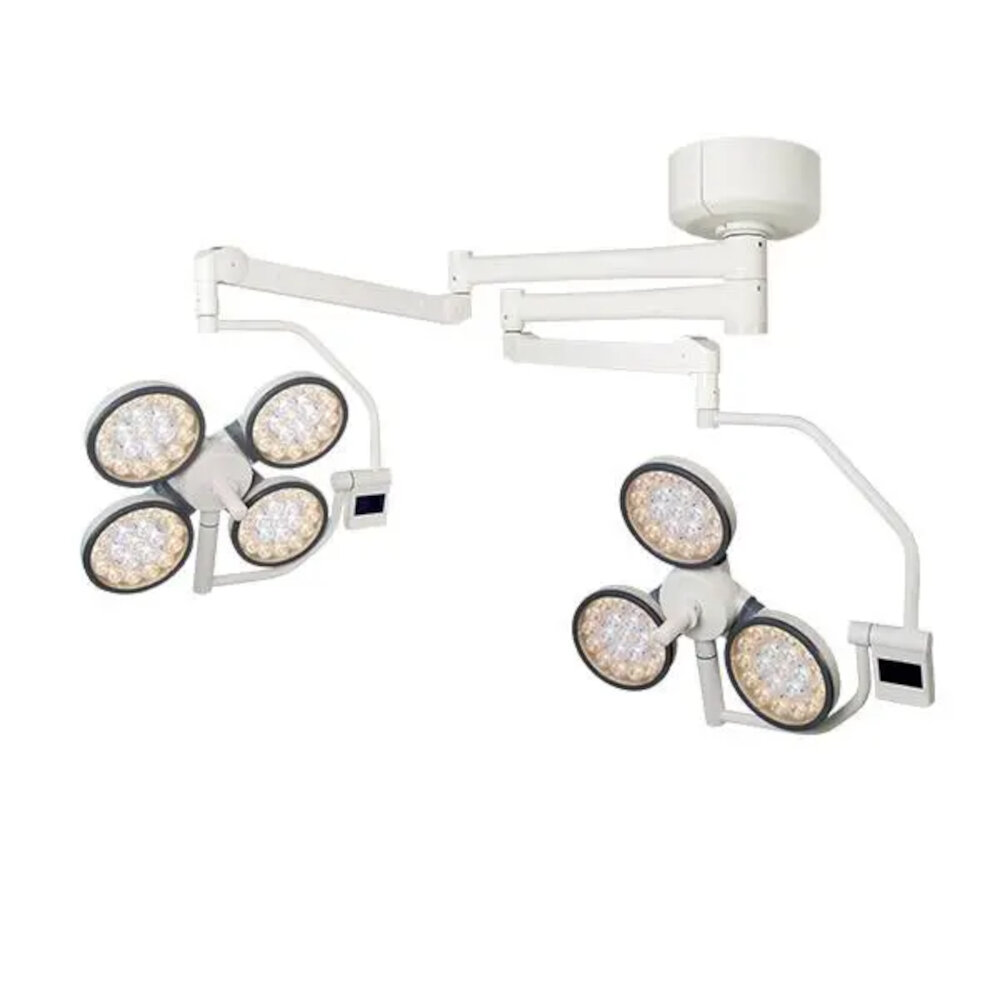
To change the LED light color, the first step is to remove the LED light cover. This cover is typically made of plastic and may be secured in place with screws or clips. Before attempting to remove the cover, it is important to turn off the power to the LED light to avoid any electrical hazards. Once the power is off, use a screwdriver or pliers to remove any screws or clips that are holding the cover in place. Gently lift the cover off the LED light, being careful not to damage any of the wires or components inside. Removing the LED light cover is a crucial step in changing the LED light color. It allows access to the LED light’s components, which can then be adjusted to change the color of the light. It is important to handle the LED light cover and components with care to avoid any damage that could affect the operation of the light. Once the cover is removed, the next step is to identify the components that control the color of the LED light. These components may include colored lenses or filters that can be swapped out to change the light color, or they may be adjustable settings that can be changed using a remote control or other device.
Before attempting to change the LED light color, it is important to safely remove the cover to avoid any potential hazards. Firstly, turn off the power supply to the LED light source to prevent any electrical accidents. Next, check if the cover is screwed or clipped on, and use the appropriate tool to remove it. If it is screwed on, use a screwdriver, and if it is clipped on, gently pry it off using a flat tool. Take care not to force the cover off as it may damage the light source or the cover itself. Once the cover is removed, carefully handle it and place it in a safe and secure location. Remember to follow these step-by-step instructions to ensure a safe and successful LED light color change.
To ensure that your LED light and cover remain in good condition while changing the color, it is important to take some precautions. Firstly, always handle the LED light and its cover with care and avoid dropping them. Secondly, avoid exposing them to extreme temperatures, such as placing them near a heater or in direct sunlight. Thirdly, when using a tool to remove the cover, be gentle and avoid applying too much pressure. Lastly, always follow the manufacturer’s instructions and avoid using abrasive cleaners or solvents that could damage the cover or LED light. By following these tips, you can ensure that your LED light and cover remain in good condition for a longer period of time.
Step 3: Access the LED Light Bulb

Step 3 of the process of changing the color of an LED light bulb is to access the bulb itself. This step is crucial as it allows you to remove the existing bulb from its socket and replace it with a new one. Before accessing the bulb, it is important to ensure that the power supply to the bulb is turned off. This can be done by turning off the switch on the wall or unplugging the lamp or fixture from the outlet. Once the power is off, you can proceed to access the bulb. Accessing the bulb can vary depending on the type of lamp or fixture you are dealing with. For table lamps or floor lamps, you can simply unscrew the top of the lamp and remove the bulb. For ceiling fixtures, you may need to remove a cover or unscrew the fixture to access the bulb. It is important to be cautious when handling the bulb as it may be hot if it has been in use recently. Once the bulb is removed from the socket, you can proceed to replace it with a new one of the desired color.
Accessing the LED light bulb is a crucial step when changing the color of your LED light. Firstly, ensure that the LED light is switched off and unplugged from the power source. Next, gently twist the LED light bulb in an anti-clockwise direction until it comes loose from the fitting. If you encounter resistance, do not apply excessive force as it may damage the bulb or the fitting. After removing the old bulb, insert the new LED light bulb and twist it clockwise until it locks into the fitting. Ensure that it is securely in place before turning on the power supply. By following these simple steps, you can quickly change the color of your LED light bulb and create the perfect ambiance for any occasion.
When changing the LED bulb, it is important to handle it with care to prevent damage. First, turn off the power source to the light fixture and wait a few minutes for the bulb to cool down. Then, gently twist the bulb counterclockwise to loosen it from the socket. Avoid pulling or yanking the bulb as this can cause it to break. Once the bulb is removed, inspect it for any cracks or damage before disposing of it properly. When installing the new bulb, make sure to align the pins or prongs with the socket and gently twist it clockwise until it is securely in place. Taking these precautions will help ensure that the LED bulb remains undamaged and functioning properly.
Step 4: Change the LED Light Color

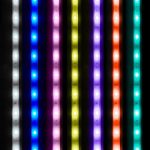
Step 4 of the quick guide on how to change the LED light color is the most exciting and creative part of the process. After connecting the LED strip to the controller and power supply, it’s time to select the color that suits your mood or the ambiance of the room. The controller device comes with various options, and you can select a single color or a combination of colors to create a unique ambiance. The LED strip light can change to almost any color you can imagine, from warm white to cool blue, and even vibrant pink or purple. You can also select different shades of a particular color to create a more sophisticated look. Changing the LED light color can dramatically change the appearance of the room and enhance its overall aesthetic appeal. One of the most significant advantages of using LED strip lights is the ability to change the color temperature according to your mood and preference. For instance, if you want to create a relaxing atmosphere, you can choose warm colors such as red, orange, or yellow. These colors provide a cozy and comfortable ambiance, perfect for unwinding after a long day. On the other hand, if you want to create a lively atmosphere, you can choose cool colors such as blue, green, or purple. These colors provide a refreshing and energetic ambiance, perfect for parties or social gatherings. By changing the LED light color, you can create a unique and personalized ambiance that reflects your personality and style.
Changing the color of LED lights is an easy and fun way to add a new dimension to any room. To begin, make sure that the LED lights are plugged in and working properly. Then, locate the controller or remote that came with the lights. This will allow you to change the color, brightness, and even the pattern of the lights. Next, select the color you want by using the color wheel or inputting the RGB values. You can also choose from preset color options. Adjust the brightness and pattern to your liking. Finally, sit back and enjoy the new ambiance you have created with your colorful LED lights.
When it comes to changing the color of LED lights, ensuring an even distribution of color is crucial to achieving a desirable outcome. One tip for achieving this is to make sure that the colors are evenly spaced out on the color wheel. Additionally, it is important to choose high-quality LED lights that are designed to emit a consistent color. Another effective technique is to use diffusers or filters to help spread the light more evenly. Finally, taking the time to properly position the LED lights and adjusting the brightness can also help to ensure that the color is distributed evenly throughout the space. By following these tips, you can achieve a beautiful and evenly distributed color that will enhance the ambiance of any room.
Step 5: Reassemble the LED Light

After successfully changing the LED light color, the final step is to reassemble the light. This step is crucial as it ensures the light functions properly and safely. First, carefully place the LED bulb back into its socket, making sure it is securely fastened. Next, reattach any covers or panels that were removed during the disassembly process. Make sure all screws and clips are tightened to prevent any loose or rattling parts. Finally, plug the light back in and test it to ensure that it is functioning properly. If everything is working correctly, then congratulations, you have successfully changed the LED light color!It is important to note that if you encounter any issues during reassembly, consult the manufacturer’s instructions or a professional for assistance. Additionally, make sure to dispose of any old bulbs or parts properly. LED lights are known for their energy efficiency and long lifespan, but proper maintenance and care are key to ensuring their longevity. By following these five simple steps, you can easily change the LED light color and add a new touch of style to your home or workspace.
After changing the LED light color, it is important to reassemble the light cover and bulb safely to avoid any accidents or damage. Firstly, ensure that the bulb is securely fastened in the socket and the light cover is clean and free from any dirt or debris. Carefully align the cover with the base and gently push it into place until you hear a click or feel it lock into position. Be sure to use both hands to avoid any unnecessary pressure on the cover or bulb. Once the cover is locked in place, turn on the light to ensure that it is working properly. If the light does not turn on, double-check the bulb’s position and the cover’s alignment before attempting to turn it on again.
To ensure that your LED light is functioning properly, it is important to perform routine maintenance checks. First, make sure that the light is properly secured and installed. Loose wiring or unstable mounting can cause malfunctions. Additionally, regularly clean the light and its components to prevent dust buildup and potential heat damage. It is also recommended to check the power source and ensure that it is providing the correct voltage to the light. Lastly, be sure to follow manufacturer guidelines for any necessary replacements or repairs. By following these recommendations, you can ensure that your LED light will continue to function efficiently and effectively for years to come.
In summary, the quick guide for changing LED light color can be broken down into 5 simple steps. Firstly, identify the type of LED lights you have and ensure they are compatible with color-changing capabilities. Next, choose the right controller or remote for your lights and connect it to the power source. Thirdly, select the desired color or mode from the remote or controller and adjust the brightness as needed. Fourthly, test and adjust the placement of the lights to achieve the desired effect. Finally, enjoy your newly changed LED lights and experiment with different colors and modes to create the perfect ambiance for any occasion. By following these simple steps, you can easily change the color of your LED lights and transform any space into a vibrant and dynamic environment.
In conclusion, the ability to customize LED light color is a highly valuable feature for many reasons. Not only does it allow for personalization and creativity in home decor, but it can also have practical benefits for businesses and organizations. For example, the use of specific colors in certain environments can affect mood, productivity, and even safety. Additionally, the ability to change the color of LED lights can save energy and money by allowing for the adjustment of brightness and color temperature to fit different needs and situations. Overall, the flexibility and versatility of LED lights make them a smart and practical choice for any lighting needs.
Conclusion
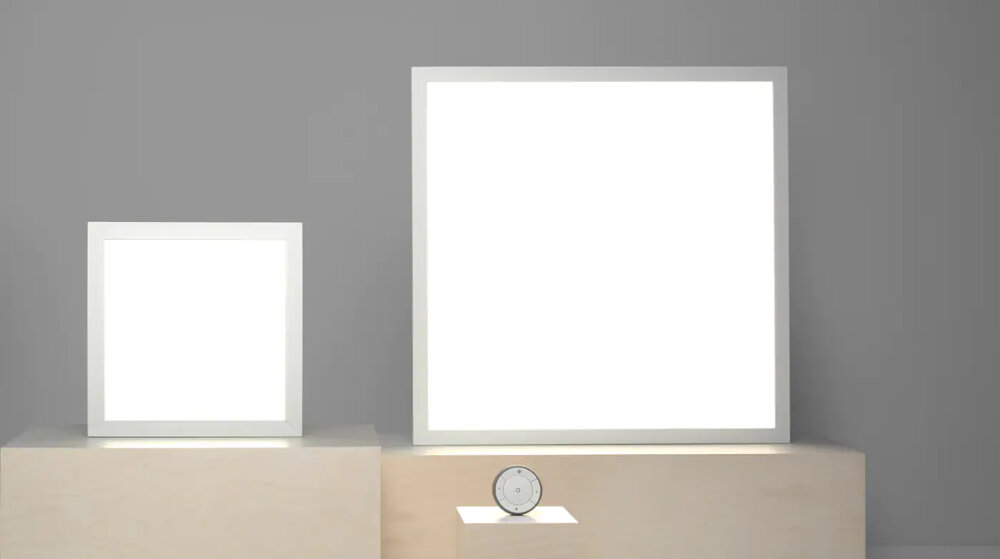
In conclusion, changing the LED light color is an easy and straightforward process that can be achieved in just five simple steps. By following the steps outlined in this quick guide, you can transform the ambiance of your space in just a few minutes. Whether you want to create a warm and cozy atmosphere, a bright and energizing environment, or a calm and relaxing mood, changing the LED light color can help you achieve your desired effect. So go ahead and experiment with different colors and settings to find the perfect lighting solution for your needs. With a little creativity and imagination, the possibilities are endless!


