Quick Fixes: How to Repair Your LED Lights in 5 Simple Steps
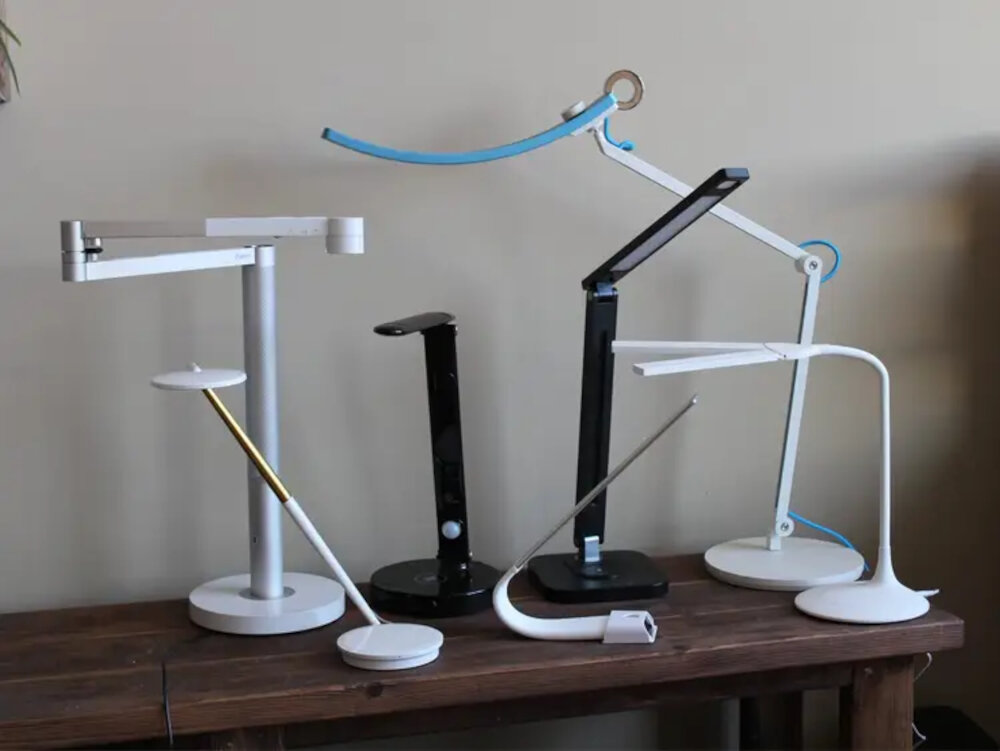
LED lights are an energy-efficient and long-lasting lighting solution that has become increasingly popular in recent years. However, despite their many benefits, LED lights can still experience issues and malfunctions. Whether it’s a flickering bulb or a completely non-functional fixture, dealing with LED light problems can be frustrating and time-consuming. Fortunately, many common LED light problems can be fixed with just a few simple steps. In this article, we will explore five quick and easy steps you can take to repair your LED lights at home. From troubleshooting to replacing faulty components, we will guide you through the process of diagnosing and fixing common LED light issues. By following these steps, you can save money on costly repairs and enjoy the full benefits of your LED lighting system. Let’s get started!
Identify the Problem
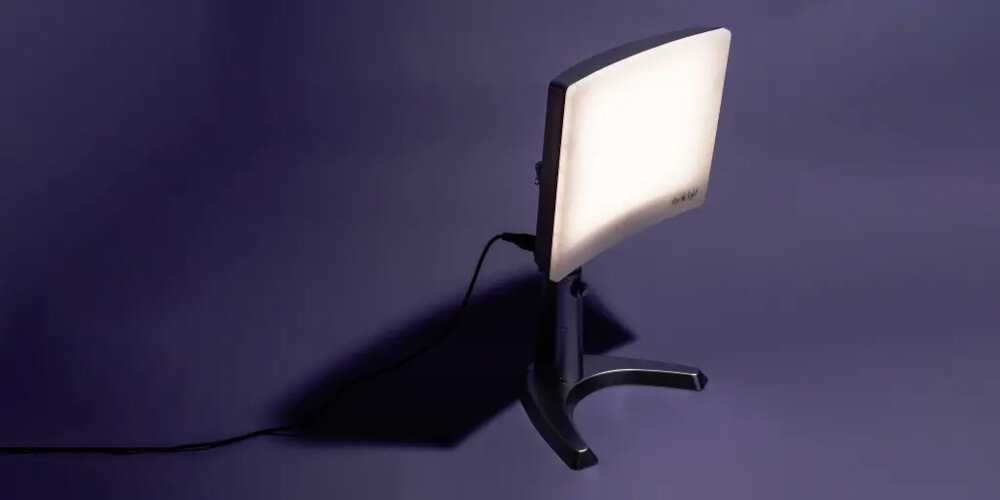
Identifying the problem is the first step in repairing your LED lights. It is essential to pinpoint the root cause of the issue before attempting any fixes. Common problems with LED lights include flickering, dimness, or complete failure to turn on. Once you have identified the problem, you can take the appropriate steps to fix it. In some cases, the problem may be due to a malfunctioning bulb or wiring issue. Alternatively, the issue could be related to the power source or the LED driver. By identifying the problem, you can save time and effort in finding the right solution. It is also important to consider safety when attempting any repairs. Always turn off the power source before working on your LED lights, and consult an expert if you are unsure about how to proceed. With these precautions in mind, identifying the problem is the first step towards repairing your LED lights and restoring proper functionality.
If your LED light is not working, the first thing you should check is the bulb itself. Often, the bulb is the culprit behind the issue. To check if it’s the bulb, remove it from the socket and inspect it closely. Look for any signs of damage, such as a cracked or broken casing, or a burned-out filament. If the bulb looks fine, try replacing it with a new one and see if that solves the problem. It’s important to use the correct type of bulb for your fixture, as using the wrong type can cause damage to both the bulb and the fixture. Checking the bulb is a quick and easy first step in troubleshooting your LED lights, and it may save you time and money in the long run.
One of the most common reasons behind the malfunctioning of LED lights is faulty wiring and connections. To ensure that your LED lights are working correctly, it is crucial to inspect the wiring and connections regularly. Begin by turning off the power supply and checking for any loose connections or frayed wires. If any damage is detected, consider replacing the affected components. When reconnecting the wiring, ensure that the connections are secure and snugly fitted. Properly functioning wiring and connections guarantee a steady flow of electricity to the LED lights, resulting in optimal performance and longer-lasting bulbs.
Before moving onto any other steps, it is important to first test the power source of your LED lights. This is because a faulty power source can often be the root of the problem. Start by checking if the outlet is functioning properly by plugging in another device. If the outlet is working, move onto checking the power adapter or transformer. Check for any visible damage, loose wires, or frayed cords. If everything appears to be in order, use a multimeter to test the power output. If the power source is not the issue, then you can move onto the other steps to repair your LED lights.
Get the Right Tools
Having the right tools is crucial when it comes to repairing LED lights. Without them, you may end up causing more damage to the light, or worse, injuring yourself. Therefore, it is important to gather all the necessary tools before starting the repair process. The most essential tools required for repairing LED lights include a screwdriver, wire cutters, pliers, a multimeter, and a soldering iron. These tools will enable you to open the light, cut wires, test the electrical connections, and solder the broken parts. While some people may be tempted to use basic household tools like scissors or pliers, it is important to note that they are not designed for this kind of work. Using them may cause more harm than good. For instance, a pair of scissors may damage the wires, making it difficult to repair the light. Similarly, a pair of pliers may not have the right grip to hold small parts securely, making it hard to reattach them. Therefore, it is important to invest in high-quality tools that are specifically designed for repairing LED lights. With these tools, you can be sure that your repairs will be successful and the light will function properly.
A screwdriver is an essential tool that you’ll need to repair your LED lights. This tool comes in different types and sizes, including flathead and Phillips screwdrivers. A flathead screwdriver has a single blade that fits into a slot on the screwhead, while a Phillips screwdriver has a four-pointed star shape that fits into the corresponding screwhead. When repairing your LED lights, you’ll need to use a screwdriver to remove the casing and access the internal components. You may also need to use a screwdriver to adjust the screws that hold the circuit board in place, or to replace any damaged screws. Having a good quality screwdriver in your toolbox can save you time and effort when repairing your LED lights.
A wire stripper is an essential tool for repairing LED lights. It is used to strip the protective coating from the wire so that it can be connected to other wires or components. The tool has a series of notches or gauges that correspond to different wire sizes, making it easy to strip the wire without damaging it. Using a wire stripper helps to ensure a clean, precise cut, which is important for maintaining proper conductivity and preventing shorts or other electrical issues. With a good wire stripper in your toolkit, you can quickly and easily repair your LED lights and get them back up and running in no time.
A multimeter is an essential tool for repairing LED lights as it can measure different electrical properties such as voltage, current, and resistance. It consists of two probes, a display screen, and a dial that allows you to select the type of measurement you want to take. By using the probes to touch the electrical components of the LED light, you can quickly determine if there is a problem with the circuitry or wiring. The multimeter can help you identify where the issue is and whether it’s fixable. This tool is a must-have for any DIY repair enthusiast looking to troubleshoot and fix LED light issues easily and accurately.
A replacement LED bulb is an essential component when it comes to repairing your LED lights. It is important to ensure that the replacement bulb is compatible with the existing fixture and that it meets the required specifications. When selecting a replacement LED bulb, you should consider factors such as the color temperature, brightness, and wattage. The installation of the replacement bulb is a straightforward process that involves removing the old bulb and inserting the new one. With the right replacement bulb, you can quickly restore the functionality of your LED lights and enjoy optimal illumination in your space.
Troubleshoot and Repair

When it comes to troubleshooting and repairing LED lights, there are some common problems that people tend to encounter. One of the most common issues is flickering or dimming lights. This can be caused by a variety of factors, including a loose connection, a faulty power supply, or even an overheating LED. To troubleshoot this problem, start by checking all of the connections and making sure that everything is tight and secure. If that doesn’t solve the issue, try replacing the power supply or contacting the manufacturer for assistance. Another common issue with LED lights is that they simply won’t turn on. This can be frustrating, especially if you’ve just purchased new lights and you’re excited to use them. To troubleshoot this problem, start by checking the power source and making sure that it’s plugged in and turned on. If that doesn’t work, try checking the wiring and making sure that everything is connected properly. If all else fails, it may be time to replace the LED itself or seek professional repair services. By taking the time to troubleshoot and repair your LED lights, you can extend their lifespan and enjoy their benefits for years to come.
If you are experiencing issues with your LED lights, one of the first things you should check is the bulbs themselves. If you notice a bulb that is not functioning properly, it is important to remove it as soon as possible. Faulty LED bulbs can cause a variety of issues, including flickering or dimming lights, and can even be a fire hazard. To remove a faulty LED bulb, first, turn off the power to the light fixture. Then, gently twist the bulb counterclockwise to loosen it from the socket. Once the bulb is removed, inspect it for any signs of damage or wear, and replace it with a new bulb if necessary.
One of the most common issues with LED lights is broken wires and connections. These can occur due to wear and tear or accidental damage. The first step in fixing this problem is to inspect the wires and connections thoroughly. Look for any visible signs of damage, such as frayed wires or loose connections. If you find any issues, use a multimeter to test the continuity of the wires and connections. If there is no continuity, you will need to replace the damaged wires or connections. It is important to fix broken wires and connections as soon as possible to prevent further damage to your LED lights.
If your LED lights aren’t working, it could be due to a problem with the power source. To test the power source, you can use a multimeter. A multimeter is a handheld device that can measure voltage, current, and resistance. First, set the multimeter to measure DC voltage. Then, touch the red probe to the positive (+) terminal of the power source and the black probe to the negative (-) terminal. The multimeter should display the voltage reading of the power source. If the reading is zero or significantly lower than the expected voltage, the power source may be faulty and need to be replaced. Testing the power source with a multimeter is a simple and effective way to diagnose and fix issues with your LED lights.
If your LED light is flickering, dimming or not turning on at all, it may be time to replace the bulb. LED bulbs have a long lifespan, but they eventually wear out and need to be replaced. To replace the bulb, start by turning off the power to the light fixture. Next, remove the old bulb by gently twisting it counterclockwise. Take note of the bulb’s size and type before purchasing a replacement. Once you have the new bulb, simply screw it in clockwise until it is snug. Finally, turn the power back on and test the light to ensure that it is working properly. By replacing the LED bulb, you can restore the brightness and functionality of your light fixture.
Test and Verify
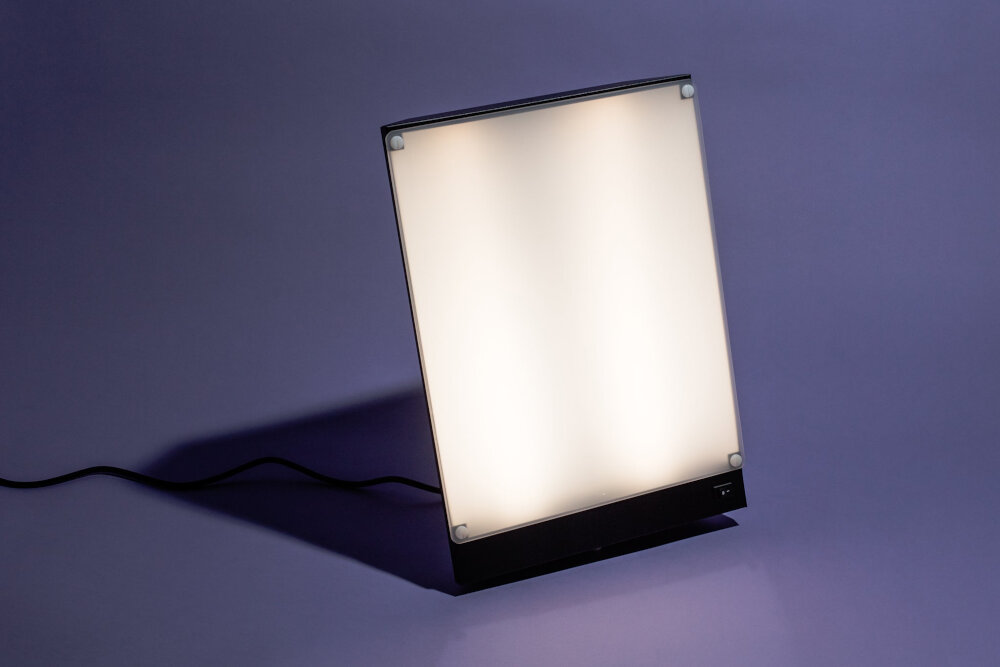
Once you’ve identified the potential problem areas in your LED lighting system, it’s time to test and verify the cause of the issue. The first step in this stage is to use a multimeter to test the voltage of the power supply, ensuring that it is providing the correct amount of power to the system. If the voltage is too low or too high, you may need to replace the power supply altogether. You can also use the multimeter to check the voltage of each individual LED in the system, allowing you to identify any faulty bulbs that may need to be replaced. Once you’ve completed your voltage tests, it’s time to verify that the wiring in your LED lighting system is functioning properly. This involves checking each connection point for loose or frayed wires, and ensuring that all wires are securely connected to their respective terminals. You can also use a continuity tester to check the integrity of the wiring, ensuring that there are no breaks or shorts in the system. By thoroughly testing and verifying the components of your LED lighting system, you can identify and address any issues that may be causing your lights to malfunction, and get your system back up and running in no time.
One of the most straightforward solutions to fixing an LED light is to turn it on and see if it’s working correctly. To do this, ensure that the power supply is connected and turned on. Once the power supply is on, switch on the LED light and observe if it illuminates fully or partially. If the LED light does not turn on or flickers, there may be an issue with the power supply or the LED bulb itself. However, if the LED light turns on without any problems, this may indicate that the issue is with the wiring or connections. By testing the LED light, you can quickly identify the problem and take necessary steps to fix it.
After following the 5 simple steps to repair your LED lights, it is important to verify that the repair was successful. One way to do this is to turn on the lights and ensure that they are functioning properly. Check that all the LED bulbs are lit, and that the light is a consistent color and brightness. It is also recommended to observe the lights for a few minutes to ensure that they remain stable and do not flicker or dim unexpectedly. Another way to verify the success of the repair is to use a multimeter to measure the voltage and current of the LED lights, ensuring that they are within the appropriate range. By taking these steps to verify the repair, you can be confident that your LED lights are functioning properly and will continue to do so for a long time.
LED light repair is a simple task that can save you money and time. A malfunctioning LED light can be frustrating, but with just five simple steps, you can quickly fix the problem without having to replace the entire fixture. The first step is to identify the issue by checking the bulb, fixture, and wiring. Once you have identified the problem, you can proceed to the repair stage, which involves fixing the wiring or replacing the bulb. LED light repair is not only easy but also environmentally friendly as it reduces the amount of waste produced by discarded fixtures. By learning how to repair your LED lights, you can save money and contribute to a sustainable future.
If you’re experiencing issues with your LED lights, don’t panic! There are simple steps you can take to quickly fix the problem. First, ensure that your lights are properly plugged in and that the outlet is functioning. If that doesn’t work, try replacing the bulb. Another common issue is a loose or damaged wire, so check to make sure all connections are secure. If the problem persists, it may be a faulty transformer or driver, which will need to be replaced. By following these simple steps, you can save time and money by avoiding the need to call a professional to fix your LED lights.
When it comes to DIY repairs, it’s important to know your limits. While it can be tempting to save money by fixing things yourself, sometimes it’s just not worth the risk. If you’re unsure or uncomfortable with repairing your LED lights, don’t hesitate to call a professional. A trained electrician or lighting technician will have the knowledge and experience necessary to diagnose and fix the problem safely and efficiently. Attempting a repair on your own could not only result in injury or damage to your property, but it could also end up costing you more in the long run if the repair is not done correctly. So, if you’re not confident in your abilities, don’t be afraid to seek help from a qualified professional.
Conclusion
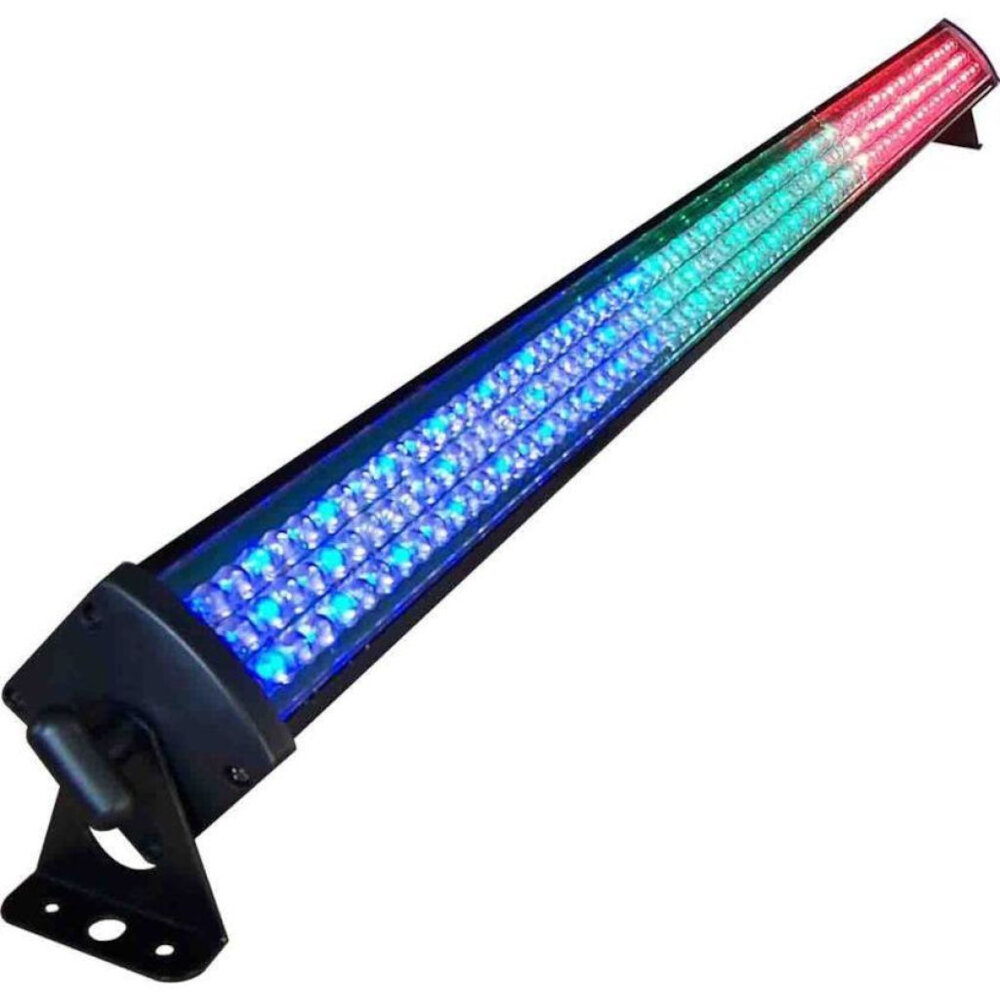
In conclusion, repairing LED lights in five simple steps is an easy and cost-effective solution for any lighting problems you may encounter. By following these steps, you can save yourself time, money, and frustration. It’s important to remember to always turn off the power before attempting any repairs and to handle the LED lights with care. With a little bit of effort and attention, you can have your LED lights functioning like new in no time. Don’t let a broken LED light ruin your day – fix it yourself and enjoy the benefits of a well-lit space.


