StepbyStep Guide: Wiring Your LED Light Bar to a Switch

When it comes to installing an LED light bar on your vehicle, wiring it to a switch is a crucial step. Not only does it allow you to control the light bar easily, but it also ensures that the light bar is wired correctly and safely. Whether you’re installing an LED light bar for off-roading or simply for better visibility on the road, wiring it to a switch is a relatively simple process that you can do on your own. In this step-by-step guide, we’ll walk you through the process of wiring your LED light bar to a switch, so you can enjoy your new lighting upgrade with ease. Before we get started, it’s important to note that the process of wiring your LED light bar to a switch may vary depending on the specific light bar and switch you have. Therefore, it’s always a good idea to refer to the manufacturer’s instructions before beginning the installation process. Additionally, it’s crucial to have basic knowledge of electrical wiring and safety precautions before attempting to wire your LED light bar. With that said, let’s dive into the step-by-step guide on wiring your LED light bar to a switch.
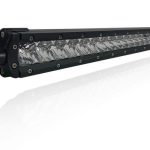
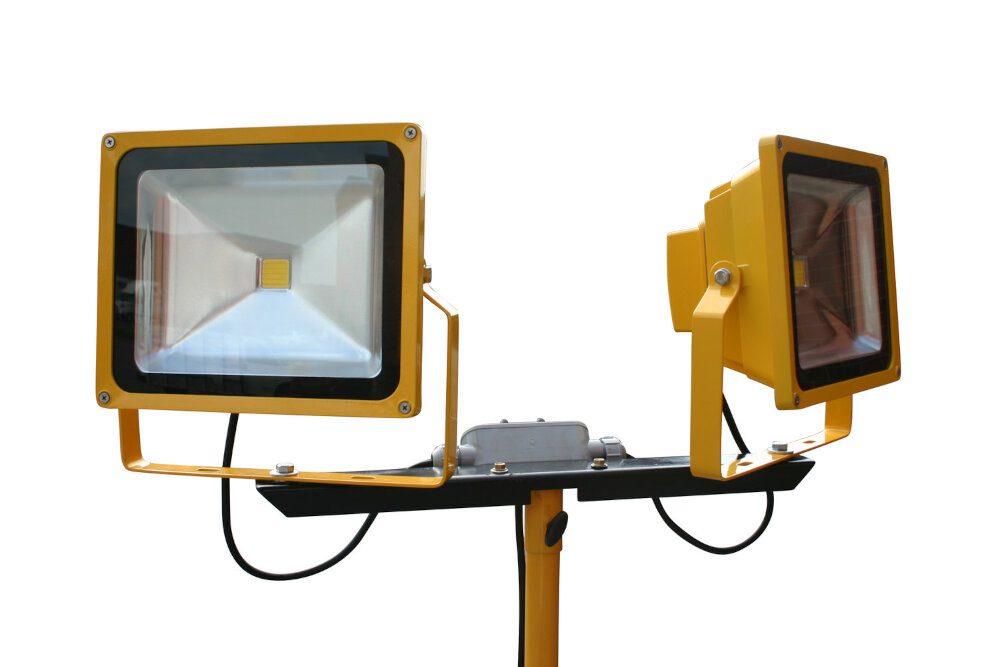
An LED light bar is a type of lighting system that is commonly used in off-road vehicles, trucks, and boats. It consists of multiple LED lights arranged in a row, providing a powerful and efficient lighting solution. Wiring an LED light bar to a switch is crucial, as it allows you to control the light output and turn it on and off as desired. By wiring the light bar to a switch, you can easily control the lighting system, conserve battery power, and avoid leaving the lights on when not needed. In this article, we will provide a step-by-step guide on how to wire your LED light bar to a switch, ensuring that you have a reliable and functional lighting system.
Materials Needed
When it comes to wiring an LED light bar to a switch, there are a few essential materials that you will need to have on hand. First and foremost, you will need the LED light bar itself, along with the appropriate mounting hardware. You will also need a switch, which can either be a toggle switch or a rocker switch, depending on your personal preference. Additionally, you will need a wiring harness, which will include all of the necessary wires, connectors, and fuses. In addition to these core materials, you may also need some tools to help you with the installation process. A wire stripper, crimping tool, and electrical tape can all be useful for making clean and secure connections between the wires. Depending on the complexity of the installation, you may also need a multimeter to test the electrical connections and ensure that everything is working properly. By gathering all of the necessary materials and tools ahead of time, you can ensure that the installation process goes smoothly and that your LED light bar is wired up correctly.
To successfully wire your LED light bar to a switch, you will need a few materials and tools. Firstly, you will need the LED light bar itself, along with the necessary wiring harness and switch. Additionally, you will need a power source, such as a battery or fuse box, and wiring connectors to connect the various components. Other tools required include wire strippers, crimpers, and electrical tape to ensure secure connections. Depending on the specific installation location, you may also require mounting brackets or screws to secure the light bar in place. It is crucial to have all these materials and tools on hand before beginning the installation process to ensure a smooth and successful project.
Step 1: Mounting the LED Light Bar
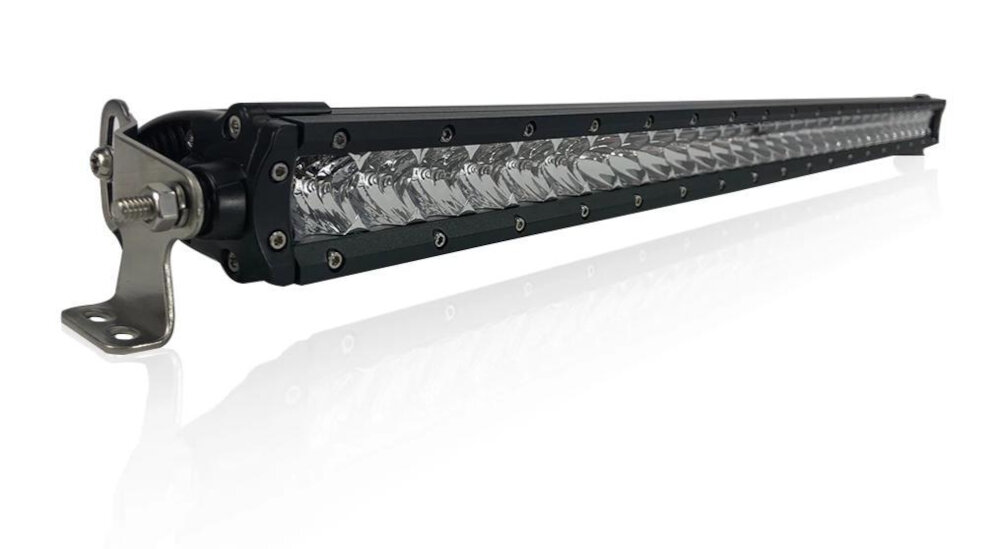
Mounting the LED light bar is the first step in wiring it to a switch. This step is crucial as it ensures that the light bar is securely attached to the vehicle and will not come off while driving. Before mounting the light bar, it is important to determine the best location for it. The ideal location is usually on the front of the vehicle, either on the bumper or the grille. Once the location is determined, the light bar can be mounted using the appropriate mounting brackets. It is important to ensure that the brackets are securely attached to the vehicle and that the light bar is level. This will ensure that the light bar illuminates the road ahead evenly and effectively. The mounting process can vary depending on the type of vehicle and the light bar being used. Some light bars come with mounting hardware, while others require additional brackets to be purchased separately. It is important to read the instructions carefully and follow them accordingly. Once the light bar is mounted, it is important to test it to ensure that it is working properly. This will help to identify any issues before proceeding with the wiring process. Overall, mounting the LED light bar is an important step in the process of wiring it to a switch and should be done carefully and correctly to ensure a safe and effective installation.
Mounting an LED light bar on your vehicle is a great way to enhance visibility while driving in low-light conditions. To mount the LED light bar securely and safely, begin by selecting a location on the vehicle where it can be easily accessed but does not obstruct the driver’s view. Use a measuring tape to determine the correct distance between the mounting brackets and drill holes for the brackets accordingly. Bolt the brackets to the vehicle frame and attach the LED light bar to the brackets using the provided hardware. Ensure that the wiring is properly secured and routed away from any heat sources or moving parts. Finally, test the light bar to ensure it is working properly before taking it out on the road. With these steps, you can safely and securely mount an LED light bar on your vehicle.
Step 2: Wiring the LED Light Bar
Wiring the LED light bar is a crucial step in the installation process, and it requires a certain level of skill and knowledge. The first step involves identifying the right wires and connecting them to the LED light bar. This process involves using a wire stripper to remove the insulation from the wires and connecting them to the LED light bar using a crimping tool. It’s important to ensure that the connection is secure and that there are no loose wires, as this can cause the light bar to malfunction or fail. The second step involves connecting the wires to a switch, which will control the LED light bar. This process involves identifying the right wires and connecting them to the switch using a crimping tool. It’s important to ensure that the connection is secure and that there are no loose wires, as this can cause the switch to malfunction or fail. Once the wires are connected, you can test the LED light bar to ensure that it’s working properly. If everything is working as expected, you can then proceed to mount the light bar and complete the installation process.
Wiring an LED light bar to a switch using a wiring harness is a fairly simple process. The first step is to identify the positive and negative wires of the LED light bar and connect them to the corresponding wires of the wiring harness. The next step is to connect the wiring harness to the switch and to a power source such as the car battery. It is important to ensure that the connections are properly insulated to prevent any electrical issues. Once everything is connected, turn on the switch to test the LED light bar and ensure that it is functioning properly. This process can be completed by anyone with basic wiring knowledge and the right tools.
If you’re struggling to wire your LED light bar to a switch, a diagram or image can be incredibly helpful. Not only does it provide a visual representation of the process, but it can also help you identify any potential issues or mistakes you may have made. From a basic wiring diagram to a detailed step-by-step image guide, there are plenty of resources available online to help you with this task. By utilizing these resources, you can ensure that your wiring process is successful and your LED light bar is working properly.
Step 3: Mounting the Switch

Mounting the switch is an essential step in wiring your LED light bar properly. The switch is the part of the circuit that controls the power flow to the light bar. Therefore, it is crucial to install it in a location that is easily accessible to the driver. The switch can be mounted on the dashboard, near the steering wheel, or on the center console. It is recommended to use a mounting bracket to secure the switch in place. The bracket can be attached to the vehicle’s interior using screws or adhesive tape. Once the bracket is in place, the switch can be inserted and secured by tightening the set screws. It is essential to ensure that the switch is mounted securely to avoid any movement or disconnection during operation. After mounting the switch, the wiring process can continue. The switch has three terminals: power, ground, and load. The power terminal is connected to the power source, which is usually the battery. The ground terminal is connected to the vehicle’s chassis or a grounding point. Finally, the load terminal is connected to the positive wire of the LED light bar. It is essential to use the correct wire gauge when connecting the switch to the power source and the LED light bar. Too small of wire can lead to overheating and potential fire hazards. Once the wiring is complete, the switch can be tested to ensure that it is functioning correctly. Turning the switch on and off should control the power flow to the LED light bar.
When it comes to mounting the switch for your LED light bar, you want to choose a location that is both convenient and easily accessible. One option is to mount the switch on the dashboard, either in an existing switch panel or by drilling a hole and using a switch housing. Another option is to mount the switch on the center console or near the steering wheel for easy access while driving. It’s important to ensure that the switch is securely mounted and won’t interfere with any other components or devices in your vehicle. Additionally, consider the length of the wiring harness and make sure it can reach the switch location without being stretched or strained. By taking these factors into account, you can mount the switch in a location that is both practical and functional for your needs.
When choosing a suitable location for your switch, there are a few key factors to consider. Firstly, you’ll want to ensure that the switch is easily accessible and visible, so that you can easily turn your LED light bar on and off as needed. It’s also important to choose a location that is easy to wire, as you’ll need to run the necessary cables and connect them to your switch. Additionally, you’ll want to consider the environment in which you’ll be using your LED light bar, as this can impact the type of switch that you choose. For example, if you’ll be using your light bar in a damp or wet environment, you’ll want to choose a switch that is weather-resistant and can withstand exposure to moisture. Ultimately, the key to choosing a suitable location for your switch is to consider your specific needs and preferences, and to choose a location that allows for easy access and operation of your LED light bar.
Step 4: Testing the LED Light Bar and Switch
After wiring your LED light bar to a switch, it is crucial to test both the light bar and switch to ensure they are functioning correctly. Testing the LED light bar involves verifying that all the LED bulbs are lighting up as expected. This test can be performed by turning on the switch and visually inspecting the light bar. If any of the bulbs fail to light up, it may be an indication of a wiring issue or a faulty bulb. In this case, you will need to troubleshoot the wiring connections and replace any faulty bulbs to ensure the light bar is working correctly. In addition to testing the LED light bar, it is also essential to verify that the switch is functioning correctly. You can test the switch by toggling it on and off and checking if the light bar responds accordingly. If the light bar fails to turn on or off when you toggle the switch, it may be an indication of a wiring issue or a faulty switch. In this case, you will need to troubleshoot the wiring connections and replace any faulty switches to ensure the switch is working correctly. Proper testing of both the LED light bar and switch will ensure that your installation is successful and will function as expected.
Before wiring your LED light bar to a switch, it’s essential to test both the light bar and the switch to ensure they’re working correctly. To test the LED light bar, connect the positive and negative wires directly to your vehicle’s battery. If the light bar illuminates, it’s working correctly. To test the switch, use a multimeter to check for continuity between the switch’s terminals when turned on and off. If there is continuity when the switch is on and none when it’s off, the switch is working correctly. Testing these components is an essential step to ensure that your LED light bar installation will function correctly and prevent any potential safety hazards.
When wiring your LED light bar to a switch, it’s essential to ensure that everything is functioning correctly. However, issues may arise along the way, and it’s crucial to troubleshoot them systematically. First, if the light bar isn’t turning on, check if it’s receiving power from the battery. If the power supply is okay, check the wiring connections, and make sure they’re secure and correctly placed. Additionally, if the light bar isn’t turning off, check if the switch is functioning correctly and if the wiring connections are correct. If the issue persists, consult a professional to avoid causing further damage.
Wiring an LED light bar to a switch can be a simple and straightforward process if you follow the proper steps. Firstly, you need to gather the necessary tools and materials such as a light bar, a switch, wires, and a fuse holder. Then, you’ll need to connect the wires from the light bar to the switch and the battery. It’s important to use the right gauge wire and to properly ground the circuit to ensure safe and efficient operation. Additional tips include using a relay to prevent the switch from burning out, testing the wiring before installing the light bar, and mounting the light bar securely to prevent damage while driving. By following these steps and tips, you’ll be able to wire your LED light bar to a switch with confidence and enjoy the benefits of improved visibility and style on the road.
Conclusion
In conclusion, wiring your LED light bar to a switch can seem like a daunting task, but with a step-by-step guide, it can be a straightforward process. It is important to ensure that you have the correct wiring and tools before starting the installation process. Properly wiring your LED light bar to a switch will not only enhance the aesthetics of your vehicle but also provide better visibility in low-light conditions. With a little patience and attention to detail, you can ensure a successful installation of your LED light bar. So, follow the guide carefully and enjoy the benefits of your new lighting system.