Learn How to Make LED Lights in 5 Easy Steps
LED lights have become increasingly popular due to their energy efficiency and long-lasting lifespan. However, purchasing LED lights can often be expensive. Learning how to make LED lights yourself is not only cost-effective, but it also allows you to customize your lights to your specific needs and preferences. In this guide, we will provide step-by-step instructions on how to make LED lights in just 5 easy steps. Before we begin, it is important to note that making LED lights does require some basic knowledge of electronics and electrical wiring. If you are new to this area, it is recommended that you do some research or consult with an expert before starting this project. With that being said, this guide is designed to be beginner-friendly and easy to follow, so don’t let that discourage you from trying it out. Let’s get started!
LED lights offer a plethora of benefits and uses that make them an ideal choice for illuminating homes and commercial spaces. First, they are energy-efficient and consume up to 80% less energy than traditional bulbs, making them a cost-effective lighting solution. Second, LEDs have a long lifespan and last up to 25 times longer than incandescent bulbs. Third, they emit less heat and are safer to use, making them ideal for spaces with children and pets. Fourth, they are versatile and come in different colors and sizes, making them suitable for a wide range of applications, including accent lighting, task lighting, and general lighting. Finally, LEDs are eco-friendly and do not contain hazardous materials, making them a sustainable lighting option that reduces carbon footprint.
One of the most notable benefits of LED lights is their cost-effectiveness and energy efficiency. Compared to traditional incandescent bulbs, LED lights consume significantly less energy, which translates to lower electricity bills and reduced carbon emissions. Moreover, LED lights have a longer lifespan, meaning they need to be replaced less frequently, further reducing their overall cost. Additionally, LED lights emit less heat than incandescent bulbs, making them more efficient and safer to use. Overall, LED lights offer an excellent alternative to traditional lighting solutions, providing a more sustainable, cost-effective, and environmentally friendly option.
Materials Required

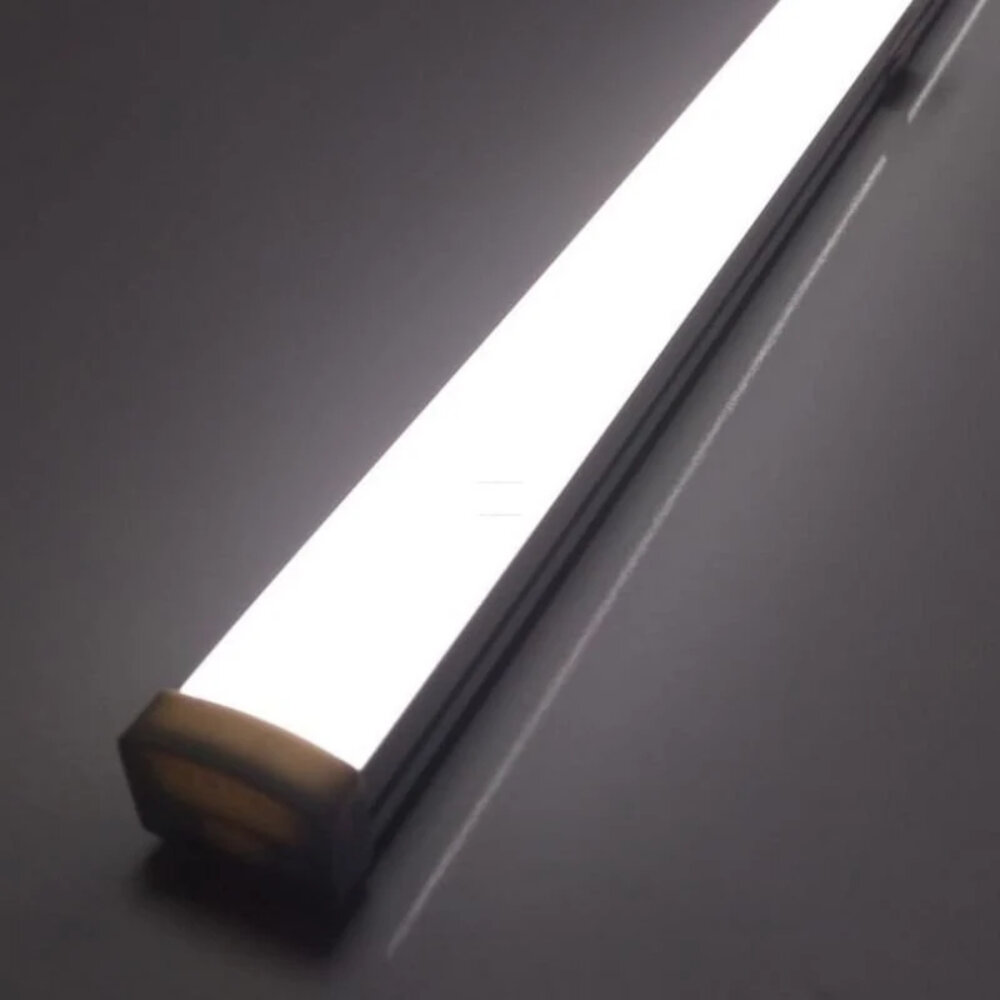
When it comes to creating your own LED lights, there are a few materials that you’ll need in order to get started. The first and most important item on your list is an LED light strip, which you can purchase online or at your local hardware store. These strips come in a variety of colors and sizes, so it’s important to choose one that fits your specific needs. You’ll also need a power supply for your LED lights, which can be either a battery pack or a wall adapter. It’s important to choose a power supply that matches the voltage and amperage requirements of your LED strip, so be sure to read the specifications carefully before making a purchase. In addition to your LED strip and power supply, there are a few other materials that will come in handy during the DIY process. You’ll need a soldering iron and solder, as well as wire cutters and strippers. These tools will allow you to connect your LED strip to the power supply and create a secure and reliable connection. You may also want to invest in a heat shrink tubing kit, which can help to protect your connections and prevent any accidental shorts or damage to your LED lights. With these materials in hand, you’ll be well on your way to creating your own custom LED lights in just a few simple steps.
If you’re interested in making your own LED lights, you’ll need a few essential materials. First and foremost, you’ll need LED chips, which are the tiny semiconductors that emit light. You’ll also need a circuit board to hold the chips and connect them properly. Additionally, you’ll require a power source, such as a battery or transformer, to supply electricity to the circuit. Other essential materials include resistors to limit the current flowing through the LEDs, soldering equipment to connect the components, and a heat sink to dissipate the heat generated by the LEDs. Finally, you’ll need a casing to protect the circuit and provide a mounting point for the LED lights.
When it comes to purchasing the materials needed to make LED lights, there are several options available. One of the most convenient ways is to purchase everything online. Websites such as Amazon, eBay, and AliExpress offer a wide range of LED components, including bulbs, strips, and drivers, at competitive prices. For those who prefer to shop in-person, electronic stores like RadioShack and Fry’s Electronics carry a selection of LED components as well. Additionally, hardware stores like Home Depot and Lowe’s may carry some LED components, such as LED bulbs and strips. It’s important to do your research and compare prices before making a purchase to ensure that you’re getting the best deal possible.
StepbyStep Guide
If you’re looking to add some ambiance to your living space, making your own LED lights is a fun and rewarding project to undertake. The process is surprisingly simple, and with a few basic tools and materials, you can create a custom lighting fixture that will be the envy of all your friends. To get started, you’ll need to gather your supplies, including LED strips, a power source, and some basic wiring tools. Once you have everything you need, it’s time to follow this step-by-step guide to make your own LED lights. Step 1: Cut the LED strips to the desired length and attach them to an adhesive backing. Step 2: Connect the LED strips to a power source using a soldering iron and wires. Step 3: Install a dimmer switch if desired to control the brightness of the lights. Step 4: Mount the LED strips in your desired location using adhesive or clips. Step 5: Turn on your new LED lights and enjoy the warm, inviting glow they provide. With this easy-to-follow guide, you’ll be able to create your own custom LED lights in no time. In addition to being a fun and creative project, making your own LED lights has several benefits. First and foremost, it’s a great way to save money compared to buying pre-made lighting fixtures. Additionally, DIY LED lights give you full control over the design and functionality of your lighting, allowing you to create a custom fixture that perfectly complements your living space. Finally, by using energy-efficient LED bulbs, you can reduce your carbon footprint and save money on your energy bills. So whether you’re looking to add some ambiance to your home, save money on lighting, or reduce your environmental impact, making your own LED lights is a smart and rewarding project to undertake.
The initial step in making LED lights involves soldering the LED lights to the PCB board. This process requires a steady hand and precision, but it is relatively easy to accomplish with some practice. Soldering is the process of fusing two pieces of metal together with a heated metal alloy, and it is essential for creating a solid connection between the LED lights and the PCB board. It is crucial to ensure that the LED lights are correctly aligned with the PCB board and that the solder joints are strong and secure. Once the LED lights are adequately soldered, the next step is to attach the resistors and capacitors to the board, which will regulate the amount of power flowing through the LED lights.
Now that you have all the necessary components ready, it’s time to connect the wires to the LED lights and PCB board. This step requires precision and careful attention to detail, as any mistake can potentially damage the circuit. Firstly, identify the positive and negative terminals of the LED lights and the PCB board. Then, begin by connecting the positive terminal of the LED light to the positive terminal of the board using a wire. Repeat the same process for the negative terminal. Ensure that the connections are secure and tight. Once you have finished connecting all the LED lights to the board, it’s time to move on to the next step.
Now that you have prepared the housing for the LED lights, it’s time to insert the LEDs. Take each LED and carefully place it in the designated spot inside the housing. Make sure the polarity of the LED is correct and align it with the positive and negative guides. If you are using multiple LEDs in a series, connect them using the soldering iron and wires. Once all the LEDs are in place, secure them by applying a small amount of glue or hot glue. This will prevent them from moving or falling out of the housing. With the LEDs securely in place, your DIY LED lights are starting to take shape!
Once you have connected all the components together and completed the soldering, it is important to test the LED lights to ensure they are working correctly. This step is crucial because it will indicate whether you have connected the wires in the right sequence or not. To test the LED lights, turn on the power supply and check if the lights are emitting the expected brightness and color. If the LED lights are not working properly, you may need to check the connections or replace any faulty components. By testing the LED lights, you can ensure that your DIY project is a success and that you can enjoy the benefits of your hard work.
The fifth and final step of making LED lights is to close the housing and install the LED lights. After carefully attaching the LED strips to the designated areas, it’s time to put everything together. Make sure the wires are tucked away neatly and the housing is securely closed. This step requires a bit of patience and attention to detail to ensure that the final product is both functional and visually appealing. Once everything is properly secured, turn on the LED lights and bask in the warm glow of your own handmade creation. With these five easy steps, you can create your own customized LED lights to brighten up any space in your home or office.
Tips and Tricks
When it comes to making LED lights, there are a few tips and tricks that can help ensure your project is a success. First and foremost, it’s important to choose the right materials. High-quality LEDs and resistors can make a big difference in the brightness and longevity of your lights. If you’re unsure which materials to choose, consider doing some research or seeking advice from an expert. Another important tip is to take your time and be patient. Making LED lights requires precision and attention to detail, so it’s best to work slowly and carefully. Rushing through the process can lead to mistakes or even damage to your materials. Additionally, don’t be afraid to experiment and try new things. LED lights can be customized in countless ways, so don’t be afraid to get creative and see what works best for you. With a little bit of practice and patience, you can create beautiful and functional LED lights that will enhance any space. In addition to these tips, there are a few tricks that can help make your LED light project even more successful. One trick is to use heat shrink tubing to protect your connections and prevent them from coming loose. Another trick is to use a multimeter to test your connections and ensure they are working properly. Additionally, you may want to consider using a soldering iron to ensure strong connections and prevent any potential issues down the line. By incorporating these tips and tricks into your LED light project, you can create a stunning and functional lighting solution that will enhance any space.
In addition to the steps mentioned in the article about making LED lights, there are several tips and tricks that can help you achieve better results. Firstly, make sure to use high-quality LED chips and resistors that match the voltage and current requirements of your circuit. Secondly, use a heat sink to dissipate heat from the LED chips, as they can get hot quickly and reduce their lifespan. Thirdly, use a diffuser material to spread the light evenly and reduce glare. Fourthly, consider adding a dimming feature to your circuit to adjust the brightness and save power. Lastly, be patient and precise when soldering the components together, as any errors can cause the circuit to fail or malfunction. By following these additional tips and tricks, you can create LED lights that are not only functional but also aesthetically pleasing.
When it comes to DIY LED lights, safety should always be a top priority. Before starting the project, make sure to read through all instructions carefully and wear appropriate safety gear such as goggles and gloves. Common mistakes to avoid include using incorrect wiring or not properly securing the LED strips, which can lead to electrical hazards. Remember to always work in a well-ventilated area and avoid touching the LED strips with bare hands as oils from your skin can damage them. By taking the necessary safety precautions and avoiding common mistakes, you can create beautiful and functional LED lights for your home or workspace.
Making LED lights at home offers numerous benefits. Firstly, it is a cost-effective way to light up your home as it eliminates the need to purchase expensive bulbs from the market. Secondly, it allows you to customize the lights according to your needs and preferences. You can choose the color, brightness, and size of the LEDs. Moreover, making LED lights at home is an eco-friendly option as it reduces the carbon footprint by minimizing the amount of waste generated from traditional light bulbs. Lastly, the process of making LED lights is relatively easy and can be completed in just a few steps, making it an ideal DIY project for beginners.
If you’re looking for a fun and easy DIY project to do at home, why not try making your own LED lights? With just five simple steps, you can create your very own custom LED lights that will add a unique touch to any room in your house. Not only is it a great way to express your creativity, but you’ll also save money by making them yourself. The guide provided is easy to follow, even for those who have never worked with electronics before. So why not give it a try and see what kind of amazing LED lights you can come up with? You might even discover a new hobby in the process!
Conclusion
In conclusion, creating your own LED lights in just 5 easy steps is both an engaging and rewarding process. Not only does it allow you to customize the lighting to fit your specific needs and preferences, but it also provides a sense of accomplishment and pride in creating something with your own two hands. By following the steps carefully, you can create LED lights that are not only energy-efficient but also aesthetically pleasing. So, why not give it a try and see for yourself the satisfaction that comes from making your own LED lights?
Related posts:
 Ceiling Illumination Woes? Learn How to Easily Remove LED Lights with These Simple Steps
 DIY: Create a Black Light with LED Lights in 5 Easy Steps
 Create Unique Ambiance: Learn How to Make Custom LED Light Colors in 5 Simple Steps
 DIY Illumination: Connect LED Light Strips Without Connectors in 5 Easy Steps