DIY Guide: How to Easily Make an LED Light Fixture from Scratch
Are you tired of the boring and outdated light fixtures in your home? Do you want to add a modern touch and save money on your electricity bill? Look no further than creating your own LED light fixture from scratch! Not only does a DIY light fixture give you the opportunity to customize the design to your liking, but it also allows you to use energy-efficient LED bulbs that can last up to 25,000 hours. With this comprehensive DIY guide, you’ll be able to create a stunning LED light fixture in no time. Whether you’re a seasoned DIY enthusiast or a beginner looking for a fun and challenging project, making an LED light fixture is a great way to enhance your home’s interior design. With this guide, you’ll learn all the necessary steps to create a functional and stylish light fixture. From choosing the right materials to wiring the LED bulbs, you’ll gain the knowledge and confidence to take on this exciting project. So, roll up your sleeves and let’s get started on creating an LED light fixture that will transform your living space.
LED light fixtures are a popular lighting option due to their energy efficiency and long lifespan. These fixtures use light emitting diodes (LEDs) to produce light, which consume less energy than traditional lighting options such as incandescent or fluorescent bulbs. Additionally, LED light fixtures emit less heat, making them a safer option and reducing the risk of fire. LED technology also allows for a wide range of color options, making it easier to create a specific ambiance or mood in a room. By constructing your own LED light fixture, you can customize the design to fit your specific needs and preferences while enjoying the many benefits of this efficient and versatile lighting option.
Making your own LED light fixture can be a fun and rewarding project that also saves you money in the long run. By creating a custom fixture, you have the ability to choose the exact size, shape, and color temperature of the lights to fit your specific needs. Additionally, DIYing your fixture allows for greater control over the quality of materials used and the overall design, resulting in a unique and personalized piece. Not only is this a more sustainable option, but it also provides a sense of accomplishment and creativity in the process. With a little bit of research and effort, you can easily make an LED light fixture from scratch that is both functional and aesthetically pleasing.
Before embarking on the DIY journey of creating an LED light fixture from scratch, it’s important to gather the necessary materials and tools. The basic materials needed include LED lights, a power supply, wire connectors, and a metal enclosure. It’s important to choose high-quality LED lights to ensure optimum brightness and longevity of the fixture. A power supply is essential to convert the AC current to DC current for the LED lights to function. Wire connectors are needed to connect the wires from the LED lights to the power supply. A metal enclosure will protect the LED lights and wiring from damage. In terms of tools, a wire stripper, pliers, and a screwdriver are necessary to connect and secure the wires and enclosure. Following the proper safety precautions and using the right materials and tools will ensure a successful DIY LED light fixture project.
Planning and Design
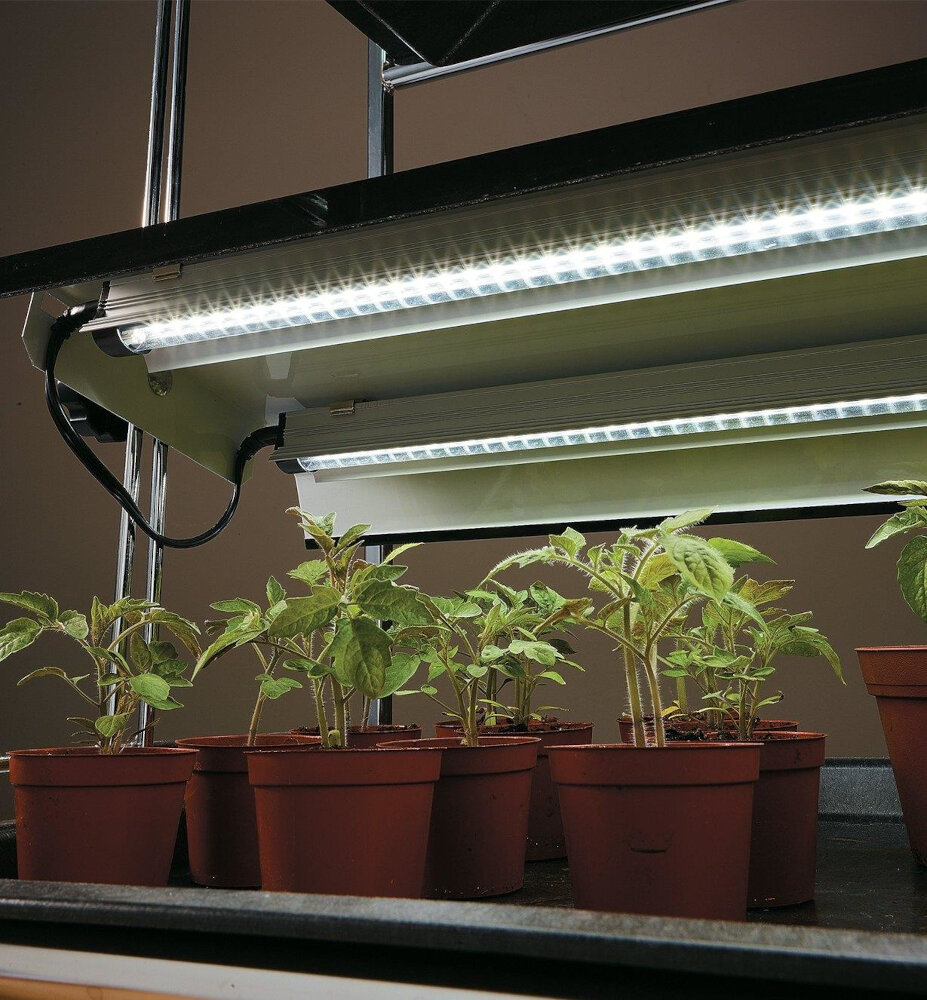
Planning and design are critical steps when making an LED light fixture from scratch. In the planning phase, it is essential to determine the size, shape, and materials required for the project. Consider the intended use of the light, the space where it will be installed, and the amount of illumination needed. This information will help determine the number and type of LED lights required, as well as the size and shape of the fixture. It is also important to consider the power source and wiring necessary to operate the light fixture safely. Once the planning phase is complete, the design phase can begin. This involves creating a detailed blueprint or diagram of the light fixture, including measurements, materials, and assembly instructions. The design should be aesthetically pleasing, functional, and safe. It is important to consider the placement of the LED lights, the type of diffuser or lens required, and any additional features such as dimming or color-changing capabilities. The design should also include any necessary mounting hardware or brackets required to secure the fixture in place. By carefully planning and designing the LED light fixture, it is possible to create a high-quality, custom-made lighting solution that meets the specific needs of any space.
When planning your DIY LED light fixture, there are several key considerations to keep in mind. First, think about the size and shape of the fixture, as this will determine the amount of light it can produce and where it can be installed. You’ll also need to consider the type of LED bulbs you’ll use, as well as their brightness and color temperature. In addition, you’ll need to choose a power source and wiring that’s appropriate for your needs, and ensure that the fixture is well-ventilated to prevent overheating. Finally, be sure to take your time and work carefully when assembling the fixture, as precision is key to ensuring that everything fits together correctly and safely.
Once you have your design concept in mind, it’s time to start sketching. This step is crucial in visualizing the final product and making sure that all the necessary components are included. You can use a pencil and paper or a digital design tool to create your sketches. Consider the size and shape of your light fixture, the placement of the LED lights, and any additional features you want to incorporate, such as a dimmer switch or a sleek outer casing. Don’t be afraid to make multiple sketches and revisions until you have a design that you’re happy with. This will save you time and frustration during the building process and ensure that your LED light fixture turns out just the way you envisioned it.
When creating an LED light fixture from scratch, it is essential to calculate the number of LEDs and power supply required for the project. The number of LEDs needed will depend on the size of the fixture and the desired brightness level. To calculate the number of LEDs required, determine the total wattage needed for the fixture and divide it by the wattage of each LED. The power supply needed must also be calculated based on the total wattage of the LEDs and their voltage requirements. It is important to choose a power supply with enough wattage to ensure the LEDs receive sufficient power without overheating. Properly calculating the number of LEDs and power supply needed will ensure a successful and safe LED light fixture project.
When it comes to making your own LED light fixture, choosing the right materials is crucial for the success of your project. First and foremost, you’ll need LEDs, which come in a variety of colors and brightness levels. You’ll also need a power supply, such as a driver or transformer, to ensure that your LEDs are receiving the correct amount of power. In addition, you’ll need a circuit board to connect your LEDs and power supply, as well as wires and connectors to join all the components together. Finally, you’ll want to choose a suitable housing for your light fixture, which can range from a simple cardboard box to a more complex metal or plastic casing. By taking the time to carefully select your materials, you can create a custom LED light fixture that perfectly suits your needs and style.
Building the LED Light Fixture
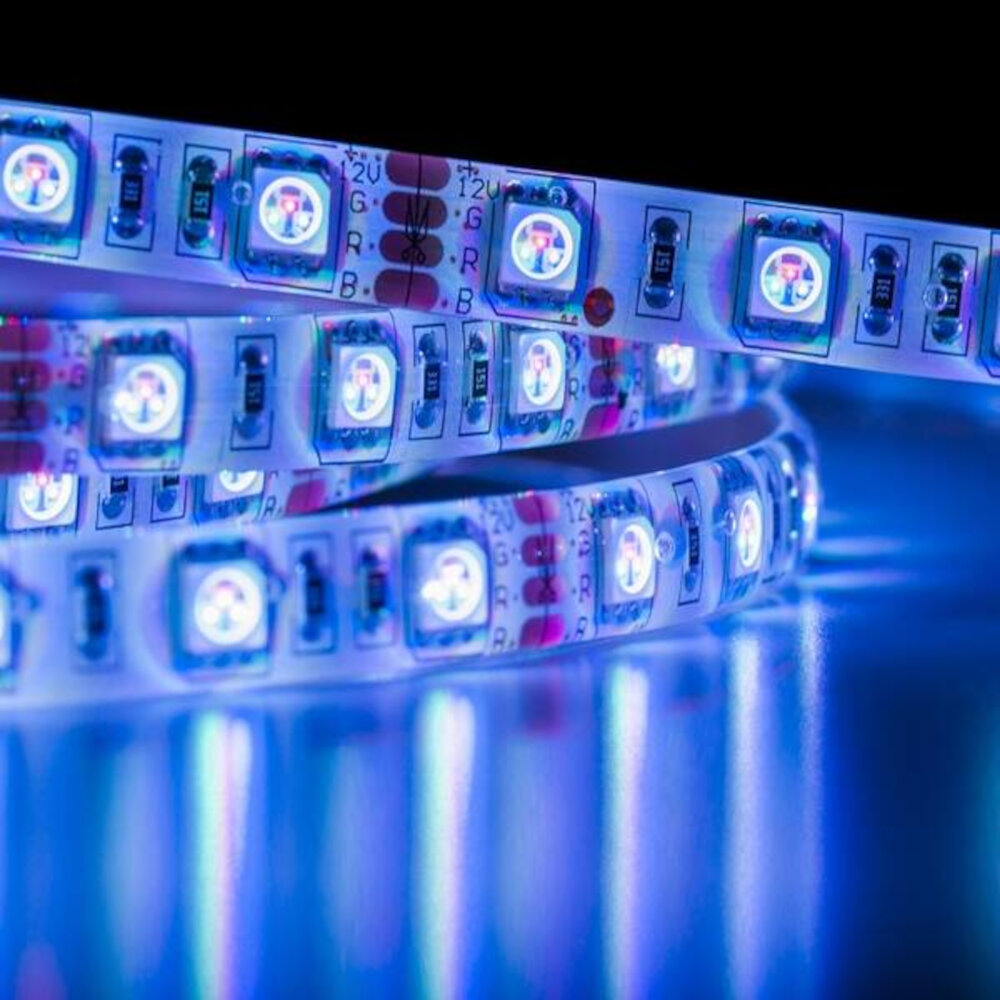
Building your own LED light fixture can be a fun and rewarding project for anyone interested in DIY projects. The process of building an LED light fixture requires some basic knowledge of electrical wiring and a few simple tools. Before beginning, it is important to gather all the necessary materials, including LED lights, a power supply, a heat sink, and a housing for the fixture. Once all of these materials are gathered, it is time to start building. The first step in building an LED light fixture is to determine the size and shape of the housing. This will depend on the number of LED lights used and the space in which the fixture will be installed. Once the housing is determined, it is important to drill holes for the LED lights and the power supply. The LED lights are then mounted onto a heat sink, which helps to dissipate the heat generated by the lights. The power supply is then wired to the LED lights, and the housing is closed up. With a little bit of patience and attention to detail, anyone can build their own LED light fixture from scratch.
Building an LED light fixture from scratch can seem like a daunting task, but with step-by-step instructions, it can be a fun and rewarding project. First, gather all the necessary materials including LED strips, power supply, aluminum extrusion, and diffuser. Next, measure and cut the aluminum extrusion to the desired length and attach the LED strips to the inside of the extrusion using adhesive tape. Connect the LED strips to the power supply and add the diffuser to the extrusion. Finally, mount the fixture to the ceiling or desired location using brackets and screws. With these simple steps, anyone can create a stunning LED light fixture that will add a touch of modern elegance to any space.
Once you have selected the appropriate LED strip and aluminum channel for your DIY LED light fixture, the next step is to solder the LEDs together and wire the power supply. Soldering the LEDs can be a bit tricky, but with some patience and practice, it can be easily accomplished. The key is to ensure that each LED is properly aligned and in the correct orientation before soldering. Once the LEDs are soldered together, the next step is to wire the power supply. This involves connecting the positive and negative wires from the power supply to the appropriate terminals on the LED strip. It is important to double-check all connections before turning on the power to avoid any potential safety hazards. With the LEDs soldered and the power supply wired, your DIY LED light fixture is ready to illuminate any space with a warm and inviting glow.
Mounting the LEDs onto the fixture is a crucial step in creating an LED light fixture from scratch. First, ensure that the LEDs are the correct size and voltage for the fixture. Next, use a soldering iron to attach the LED leads to the circuit board, being careful not to overheat the components. Once the LEDs are securely attached, position them evenly across the fixture and use a hot glue gun to affix them in place. It’s essential to ensure that the LEDs are aligned correctly to prevent any hotspots or uneven illumination. Finally, attach any necessary wiring and connect the fixture to a power source to test the LEDs. With proper mounting and installation, you can create a customized LED light fixture that fits your needs and adds a unique touch to any space.
If you’re looking to soften the harsh light emitted by your LED light fixture, creating a diffuser can be a great solution. A diffuser is a simple accessory that disperses light and reduces glare, resulting in a more even and natural lighting effect. To make your own diffuser, you can use materials such as frosted acrylic, polycarbonate, or even tracing paper. Cut the material to size and attach it to the front of the LED light fixture using clips or adhesive. With a diffuser in place, your LED light fixture will provide a more pleasant illumination that won’t strain your eyes or create distracting shadows.
Testing and Troubleshooting
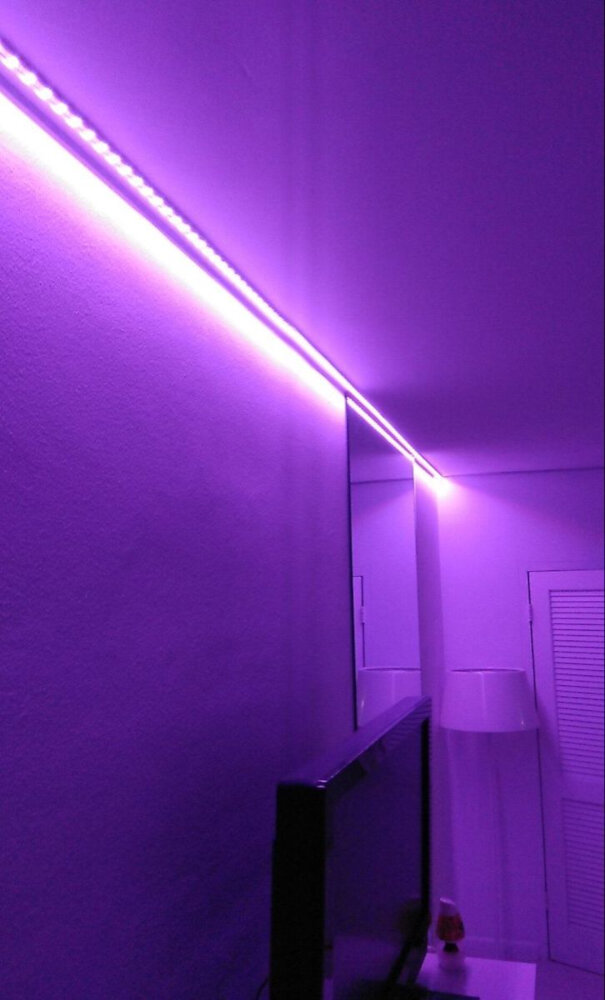
Testing and troubleshooting are critical steps in building any DIY project, including an LED light fixture. Before connecting the LEDs to the power supply, it’s essential to test them to ensure they function correctly. This involves using a multimeter to check the voltage and current of each LED. It’s crucial to determine the correct polarity of the LEDs and ensure that they are connected in the right direction. Testing the LEDs before connecting them to the power supply can prevent damage to the LEDs and the power supply unit. Once the LEDs are connected to the power supply, it’s essential to troubleshoot any issues that may arise. If the LEDs don’t light up or flicker, it’s crucial to check the wiring connections and ensure that the power supply unit is functioning correctly. One common issue that may occur is overheating. If the LEDs become too hot, they may not work correctly, and the lifespan of the LEDs may be reduced. To prevent overheating, it’s essential to use a heat sink or ensure that the LED fixture has adequate ventilation. Testing and troubleshooting are critical steps in ensuring that the LED light fixture is safe, functional, and long-lasting.
After assembling the LED light fixture, it is crucial to test it before installing it. The first step in testing is to connect the wires to a power source and ensure that the fixture turns on without any issues. Next, it’s recommended to check the brightness levels of the LED lights to make sure that they are consistent and bright enough for your needs. Additionally, you should verify that the color temperature of the LED lights matches your desired ambiance. Finally, it’s important to inspect the fixture for any signs of overheating or malfunctioning components, as these could pose a fire hazard if left unchecked. By performing a thorough test of your DIY LED light fixture, you can ensure that it will provide reliable and safe lighting for years to come.
When it comes to LED light fixtures, there are a few common issues that one may encounter. One of the most frequent problems is flickering, which can occur due to issues with the power supply or the LED driver. Another issue is dimming, which can be caused by using incompatible dimmer switches. In addition, overheating can also be a problem, especially if the LED fixture is not properly ventilated. To troubleshoot these issues, it is important to check the power supply and LED driver, ensure compatibility with dimmer switches, and provide adequate ventilation for the fixture. By addressing these common issues, you can ensure that your DIY LED light fixture functions properly and efficiently.
When building an LED light fixture from scratch, it’s important to make adjustments to ensure optimal performance. This means choosing the right components for the job, such as high-quality LEDs and a suitable power supply. It also means designing the circuitry to optimize efficiency and reduce heat buildup. Additionally, adjusting the placement and orientation of the LEDs and reflectors can help to maximize light output and minimize glare. By taking the time to make these adjustments, you can create a custom LED light fixture that not only looks great but performs at its best.
Enhancements and Upgrades
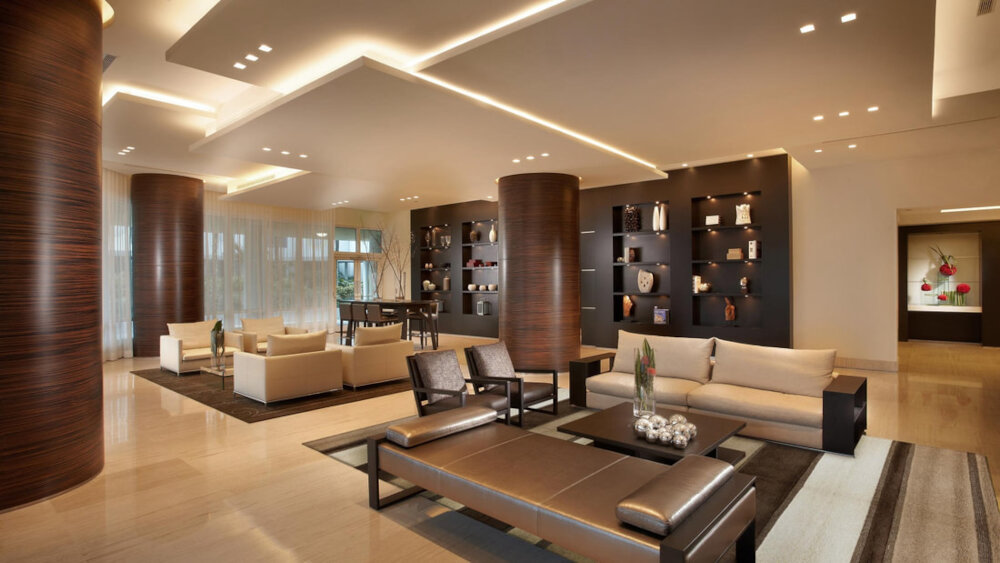
Enhancements and upgrades are important aspects of any DIY project. When it comes to LED light fixtures, there are several ways to improve their functionality and appearance. One of the simplest enhancements is to add a dimmer switch. This allows you to adjust the brightness of the light and create a cozy ambiance. Another upgrade is to install a motion sensor. This can save energy and increase convenience by automatically turning the light on and off when you enter or leave a room. Additionally, you can upgrade the bulbs to higher quality ones with better color rendering or longer lifespan. In terms of appearance, there are also many upgrades that can be made. One option is to add a decorative cover to the fixture, such as a frosted or colored glass shade. This can add a pop of color or style to the room while also diffusing the light for a softer glow. Another option is to paint the fixture to match the room’s décor or create a unique look. You can also add decorative elements to the fixture itself, such as beads, crystals, or other embellishments. Whatever enhancements and upgrades you choose, they can help take your DIY LED light fixture to the next level and make it truly unique.
There are several additional features that can be added to your DIY LED light fixture to enhance functionality and convenience. One such feature is a dimming option, which allows you to adjust the brightness of the light to suit your needs. Another useful feature is the inclusion of a motion sensor, which can automatically turn on the light when someone enters the room and turn it off when they leave. You may also choose to add a timer function, which allows you to set a specific time for the light to turn on and off each day. Finally, incorporating a color-changing option can add a fun and unique touch to your light fixture, allowing you to switch between different colors to create a specific ambiance or mood.
If you’re planning to make an LED light fixture from scratch, you may need to upgrade your power supply or add a dimmer switch to control the intensity of the light. Upgrading your power supply can help your LED light operate more efficiently and last longer. Adding a dimmer switch, on the other hand, can give you more control over the brightness of your LED light, allowing you to adjust the lighting to suit your needs and preferences. With the right power supply and dimmer switch, you can create a custom LED light fixture that is both functional and stylish.
Experimenting with different types of LEDs or colors is a fun and creative way to personalize your LED light fixture. The wide range of colors that LEDs are available in, from cool blues to warm yellows, can completely change the ambiance of a room. You can also experiment with different types of LEDs, such as RGB (red, green, blue) LEDs, which allow you to create virtually any color by mixing different intensities of the three primary colors. Additionally, you can consider using specialty LEDs, such as UV or blacklight LEDs, to create a unique effect. Don’t be afraid to mix and match colors and types of LEDs to create a truly one-of-a-kind light fixture that reflects your personal style.
Making your own LED light fixture has several benefits. Firstly, it allows you to design a unique and customized lighting solution that caters to your specific needs and preferences. Secondly, DIY LED light fixtures are often more energy-efficient than store-bought ones, which means you’ll save money on electricity bills in the long run. Additionally, making your own light fixture can be a fun and rewarding project that allows you to learn new skills and unleash your creativity. Finally, you’ll have the satisfaction of knowing that your handmade LED light is a sustainable and eco-friendly alternative to mass-produced lighting products. Overall, making your own LED light fixture is a smart and fulfilling choice that can enhance your home’s ambiance and decrease your environmental footprint.
In conclusion, creating an LED light fixture from scratch may seem like a daunting task, but with patience and determination, it can be a rewarding experience. Remember to prioritize safety and take the necessary precautions when handling electrical components. Additionally, don’t be afraid to experiment with different designs and materials to make your fixture unique. Finally, take the time to properly plan and measure before beginning the construction process to ensure a successful end result. With these tips in mind, anyone can successfully make their own LED light fixture from scratch.
If you’re looking to add a touch of personal flair to your home decor, creating your own LED light fixture is a fantastic way to achieve an eye-catching result. Not only does it give you the satisfaction of creating something from scratch, but it also allows you to customize the lighting to perfectly suit your space. Don’t be intimidated by the thought of a DIY project – with a bit of patience and determination, anyone can create a stunning LED light fixture. So why not give it a try? You may just surprise yourself with what you’re capable of!
Conclusion
In conclusion, creating an LED light fixture from scratch is a DIY project that can be both fun and rewarding. By following the steps outlined in this guide, anyone can produce a unique and functional lighting solution that meets their specific needs. From selecting the right components to wiring and assembly, attention to detail and patience are key to achieving success. Moreover, the ability to customize the fixture’s size, shape, and color temperature offers endless possibilities for personalization. By embarking on this DIY project, individuals can not only save money but also gain a sense of accomplishment and pride in their handiwork. So, why not give it a try and see what creative possibilities await?

