Quick Guide: How to Easily Reset Your LED Light Strip in 3 Simple Steps
LED light strips are an excellent addition to any home or office, providing a warm and inviting atmosphere. However, like any other electronic device, there may come a time when your LED strip may need a reset. A reset can be required if the strip is not functioning correctly, or if there is a change in the settings or remote control. Resetting an LED light strip may seem complicated, but it is a relatively simple process that can be achieved in just a few simple steps. If you are unsure of how to reset your LED light strip, do not worry. This quick guide will provide you with three simple steps that will help you reset your LED light strip in no time. Whether you are a DIY enthusiast or simply looking to learn a new skill, this guide will provide you with all the information you need to reset your LED light strip like a pro. So, let’s get started and learn how to reset your LED light strip in just a few simple steps.
The purpose of the article \Quick Guide How to Easily Reset Your LED Light Strip in 3 Simple Steps\ is to provide a concise and straightforward explanation of the steps required to reset LED light strips. LED light strips are becoming increasingly popular due to their energy efficiency, brightness, and versatility. However, sometimes these light strips encounter technical issues that require resetting to restore their functionality. The article emphasizes the importance of resetting LED light strips to avoid wasting time and money on unnecessary repairs or replacements. By following the three simple steps outlined in the article, readers can easily reset their LED light strips and continue to enjoy their benefits.
Identify the Type of LED Light Strip

Before you can reset your LED light strip, it’s important to identify the type of LED light strip you have. There are two main types of LED light strips: RGB (Red, Green, Blue) and single-color. RGB LED light strips can display a wide range of colors and are often used for decorative purposes, while single-color LED light strips emit a single color and are typically used for functional lighting purposes. To identify the type of LED light strip you have, simply look at the color of the LEDs when they are turned on. If the LEDs emit a single color, such as white or blue, then you have a single-color LED light strip. If the LEDs emit multiple colors or can change colors, then you have an RGB LED light strip. Additionally, RGB LED light strips will often come with a remote control that allows you to change the colors and modes of the strip. By identifying the type of LED light strip you have, you can ensure that you reset it properly and avoid any potential damage. In conclusion, identifying the type of LED light strip you have is an important step in resetting it. Whether you have an RGB or single-color LED light strip, knowing how to properly reset it can help you avoid any issues with the strip and ensure that it continues to function properly. By following the simple steps outlined in this guide, you can reset your LED light strip in no time and get back to enjoying its beautiful and functional lighting.
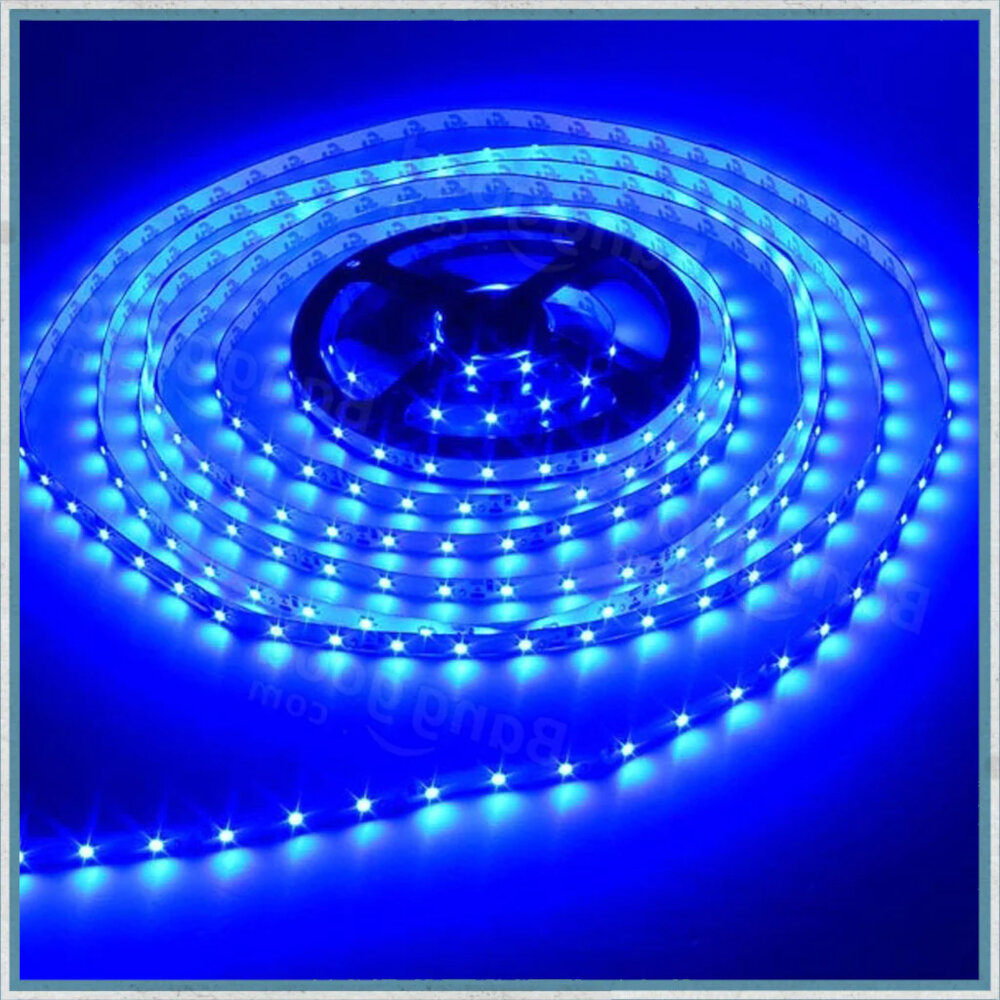
There are various types of LED light strips available in the market, and each type has different features and specifications. The most common types of LED light strips are RGB, RGBW, and single-color strips. RGB strips are capable of producing a wide range of colors by combining red, green, and blue LEDs. RGBW strips have an additional white LED that can provide a pure white light, making it perfect for ambient lighting. Single-color strips come in different colors such as warm white, cool white, and daylight white. To identify the type of LED strip, check the product label or packaging or consult the manufacturer’s website.
It is crucial to know the type of LED light strip before resetting it as it ensures that the appropriate method is used. Different LED light strips have unique features, such as the number of colors or modes they offer, and require specific resetting methods. Using the wrong method could cause damage to the LED light strip, rendering it useless. Additionally, knowing the type of LED light strip allows for a more efficient resetting process, as it saves time and minimizes the risk of errors. Therefore, it is imperative to research and understand the type of LED light strip you have before attempting a reset to ensure its longevity and optimal functionality.
Locate the Reset Button
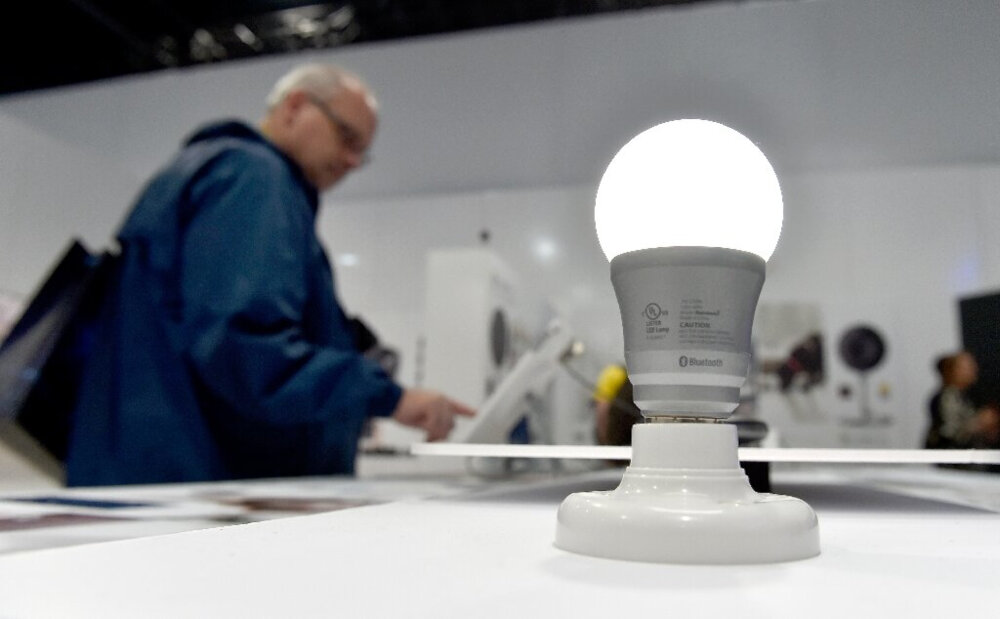
Resetting your LED light strip can be a quick and easy solution to fix any issues you may be experiencing. The first step to resetting your LED light strip is to locate the reset button. The reset button is typically located on the control box or on the strip itself. The control box is usually located near the power source or on the end of the LED light strip. It may be necessary to refer to the manufacturer’s instructions to locate the reset button, as it can vary from model to model. Once you have located the reset button, use a small pointed object, such as a paperclip, to press and hold the button for a few seconds. This will reset the LED light strip and it should start functioning properly again. Resetting your LED light strip is a simple process that can save you time and money. If you are experiencing issues with your LED light strip, such as a lack of response, flickering lights or color changes, resetting it can often solve the problem. By locating the reset button and following the manufacturer’s instructions, you can easily reset your LED light strip in just a few simple steps. This can save you from having to purchase a new light strip, which can be expensive and time-consuming. Resetting your LED light strip is a quick and easy solution that can have your lights functioning properly again in no time.
To locate the reset button on your LED light strip, you should first examine the device closely. The reset button is usually located on the control box or power supply unit, and it is usually a small button with a circular arrow symbol on it. If you are unable to locate the reset button, you can refer to the manufacturer’s instructions or user manual, which should provide detailed information on the location of the reset button. Once you have located the reset button, you can proceed with resetting your LED light strip in just a few simple steps.
The reset button on an LED light strip is usually a small, circular button that is located on the strip’s control box or receiver. It may be labeled as \RESET\ or \RST\ and is often recessed into the control box to prevent accidental pressing. The button can be pressed using a small, pointed object such as a paperclip or pin. It is important to note that the location and appearance of the reset button may vary depending on the brand and model of the LED light strip, so it is always best to consult the user manual or manufacturer’s website for specific instructions.
Reset the LED Light Strip
Resetting an LED light strip can be a daunting task, especially if you are not familiar with the procedure. However, resetting your LED light strip is a simple process that can be done in three simple steps. First, you need to unplug the LED light strip from the power source. Second, wait for 10 seconds before plugging it back in. Finally, turn on the LED light strip, and it should be reset and functioning correctly. Resetting your LED light strip is essential when it’s not working correctly, and this simple guide can help you avoid the cost of buying a new one. There are many reasons why you might need to reset your LED light strip, such as when it’s not responding to the remote control or when it’s stuck on one color. Sometimes, the LED light strip may also be unresponsive, flickering, or dimming. Whatever the reason, resetting the LED light strip can help fix the problem. With this quick guide, you can reset your LED light strip in just three simple steps, and you’ll be able to enjoy its bright and colorful lights once again. So, next time you encounter any issues with your LED light strip, remember this guide and reset it with ease.
Resetting an LED light strip can be a simple task if you know the right steps to follow. To do this, begin by locating the reset button on the LED controller. Once you find it, press the reset button using a pointed object such as a paperclip or toothpick. Hold the button down for at least five seconds, and then release it. If the reset was successful, the LED light strip will flicker, indicating that it has been reset. It’s important to note that resetting the LED light strip using the reset button will erase all previous settings, so you will need to start from scratch. By following these three simple steps, you can easily reset your LED light strip and start using it again.
If the reset button on your LED light strip is not working, there are a few potential troubleshooting tips you can try. First, double-check that the power source is working properly and that the light strip is properly connected to it. If the power source is not functioning, try plugging it into a different outlet or replacing any damaged cords. If the problem persists, try disconnecting the light strip from the power source and leaving it unplugged for a few minutes before reconnecting it. This can often reset the strip and allow the reset button to function properly. If none of these solutions work, it may be necessary to contact the manufacturer for further assistance or potentially replace the light strip altogether.
Resetting LED light strips is an essential aspect when it comes to managing your lighting system. It is a simple process that can solve many issues, including flickering lights, unresponsive controls, and color inconsistencies. By resetting your LED light strips, you can ensure that your lighting system is functioning correctly and providing the desired ambiance. It also helps to prolong the lifespan of the LED lights by preventing overheating and overuse. Resetting your LED light strips is a cost-effective solution that saves you from unnecessary expenses of buying new strips or hiring a professional to fix the issue. Therefore, it is crucial to know how to reset your LED light strips and integrate it into your lighting system’s routine maintenance.
If you’re experiencing issues with your LED light strips, don’t give up! Before you toss them in the trash, try resetting them with these three simple steps. Resetting your LED light strips can be a quick and easy fix to any problems you may be experiencing, such as flickering or not turning on at all. So, gather your supplies and take a deep breath – you’ve got this! With a little patience and determination, your LED light strips will be shining bright once again. Don’t let a small hiccup ruin your lighting experience – reset those strips and enjoy the ambiance they bring to your space.
Conclusion

In conclusion, resetting your LED light strip is a simple process that can easily be accomplished in just three steps. By following the quick guide provided, you can restore your LED light strip to its original settings and fix any issues you may be experiencing. It is important to note that proper care and maintenance of your LED light strip can prevent the need for frequent resets. Regularly cleaning and inspecting your light strip can help ensure its longevity and optimal performance. With these tips in mind, you can enjoy the benefits of your LED light strip for years to come.