Essential Tools for Installing Romik Running Boards: A Comprehensive Guide
Installing Romik Running Boards is a great way to enhance your vehicle’s appearance and increase its functionality. However, proper installation requires the use of essential tools to ensure that the job is done correctly and safely. This comprehensive guide is designed to help you understand the essential tools required for installing Romik Running Boards. Whether you’re an experienced mechanic or a DIY enthusiast, having the right tools is crucial to ensure that the installation process of Romik Running Boards is successful. The tools required for the installation process are not complex, but they are essential to ensure that the installation is done correctly. This guide will provide you with a comprehensive list of all the tools that you will need for the installation process and guide you through the entire process step by step. So, let’s dive in and discover the essential tools required for installing Romik Running Boards.
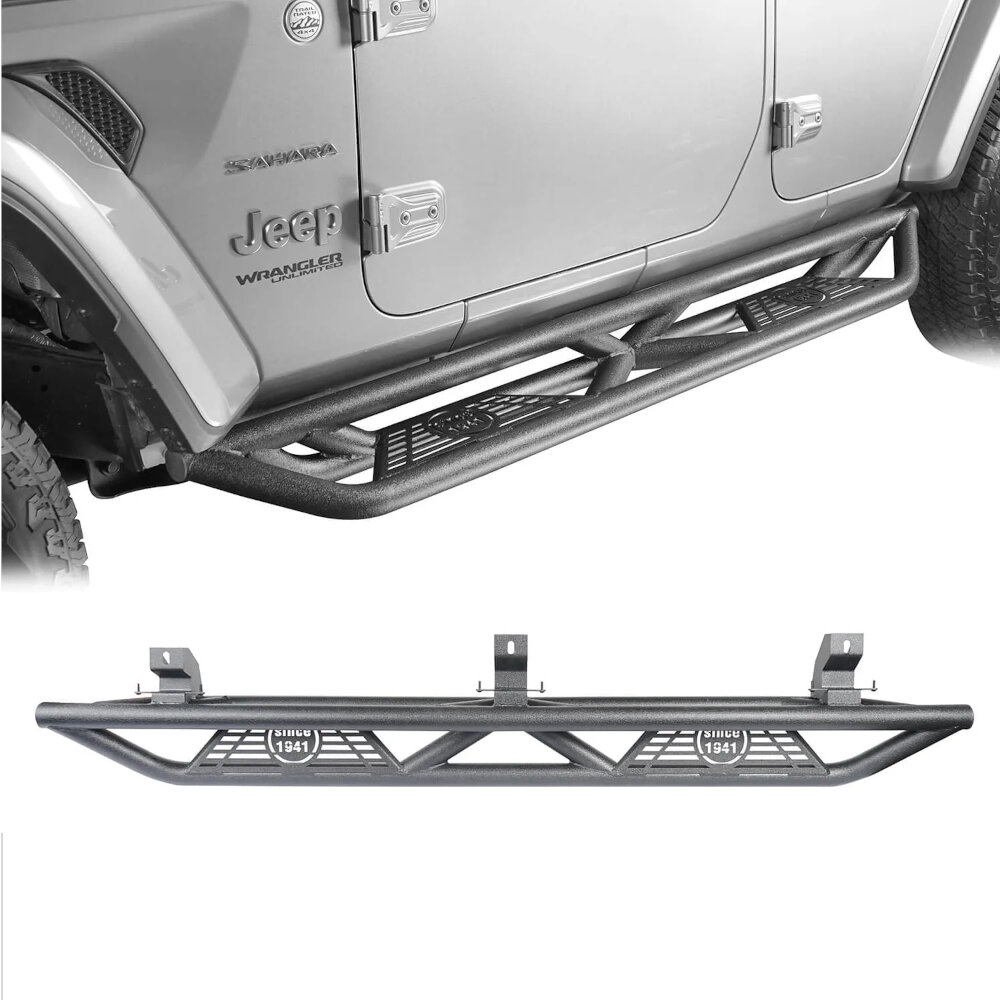
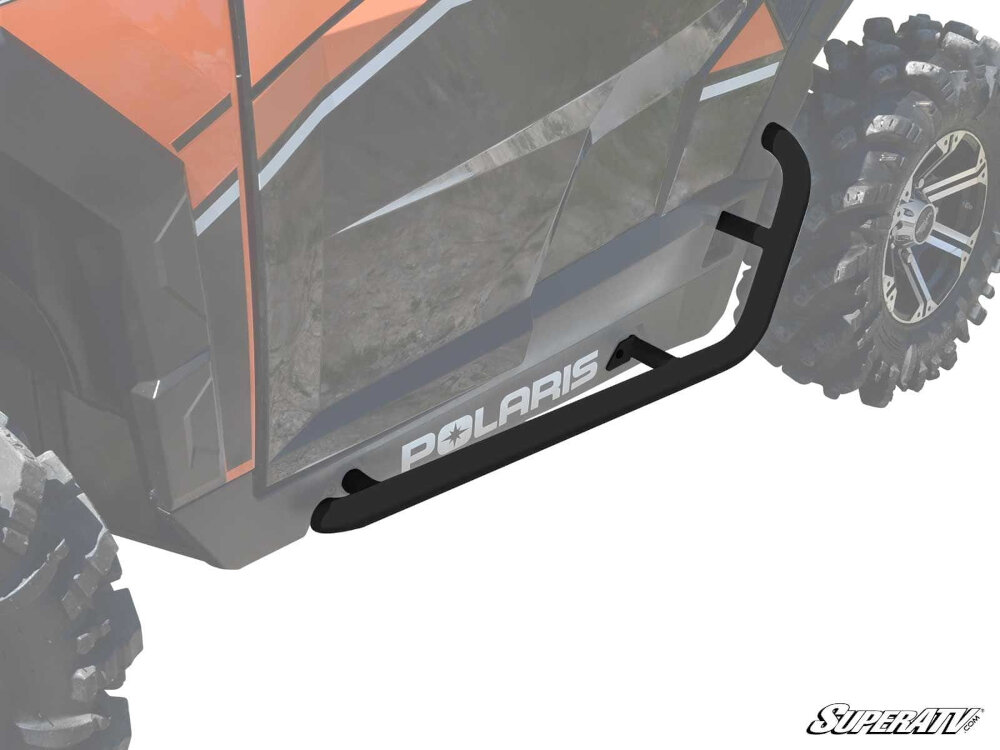
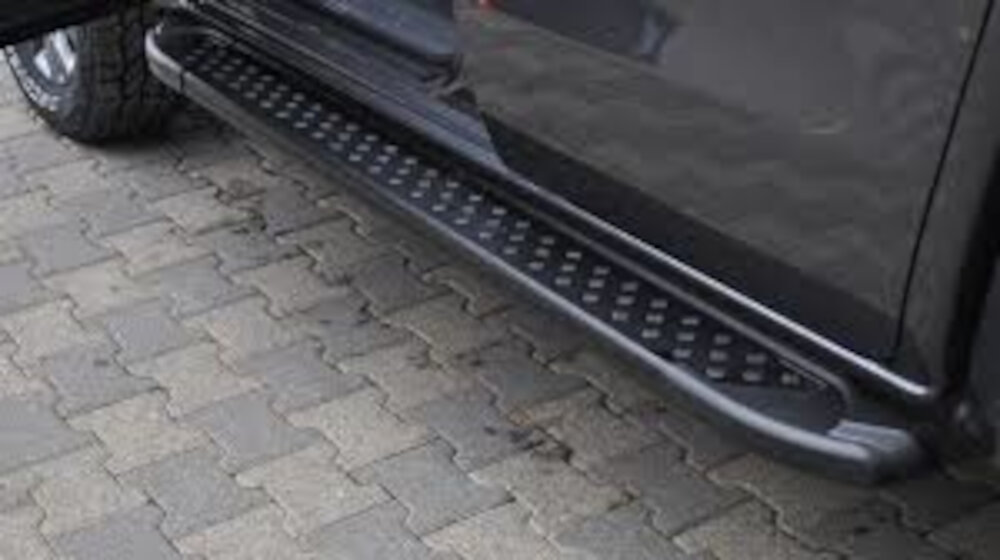
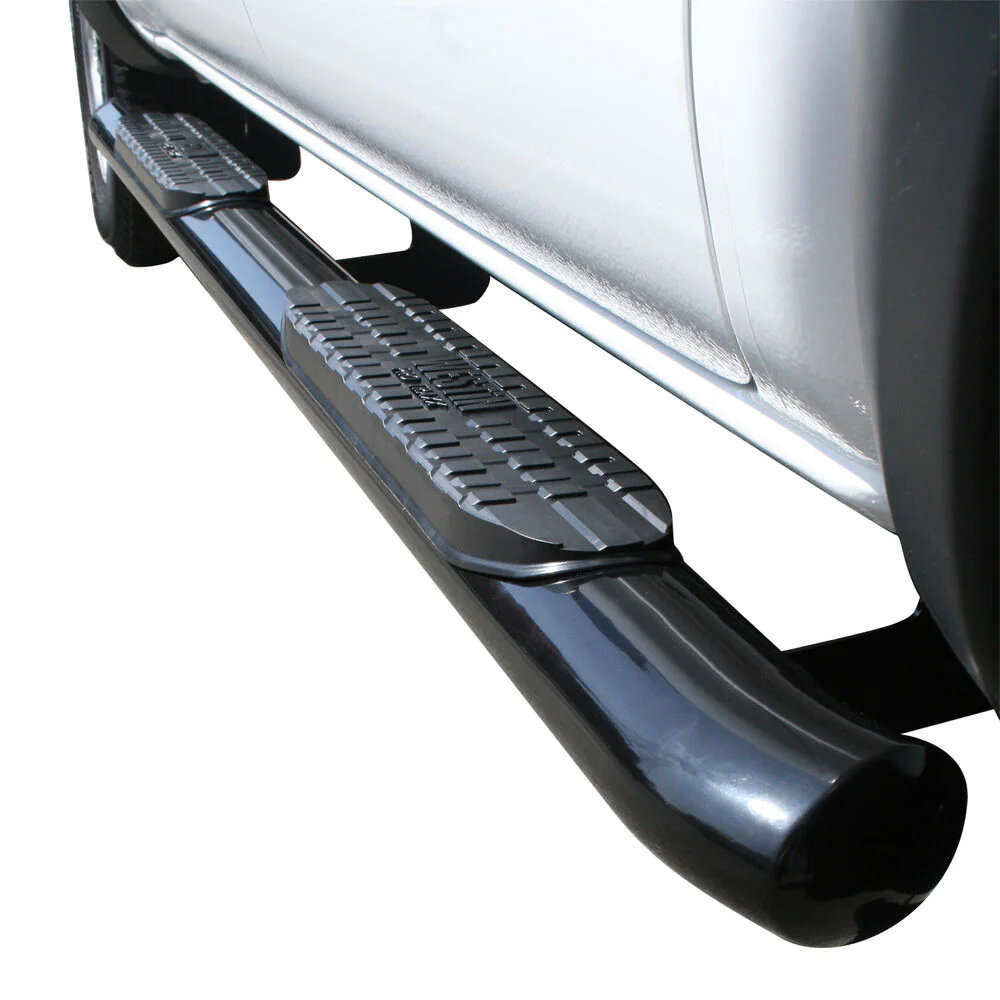
Romik Running Boards are a premium brand of running boards designed to enhance the look and functionality of a vehicle. These running boards are made from high-quality materials such as aircraft-grade aluminum, stainless steel, and UV-resistant plastic, ensuring they are durable and long-lasting. They are available in a range of styles, finishes, and sizes to fit different makes and models of trucks and SUVs. The Romik Running Boards offer a safe and secure step up into the vehicle, which is especially helpful for younger passengers or those with mobility issues. Additionally, they can help protect the vehicle from scratches and dings and add a touch of elegance to the vehicle’s overall appearance.
Proper installation is essential for the functioning and longevity of any product, including the Romik Running Boards. The way the running boards are installed will affect their stability and security, and ultimately, the safety of the passengers. Additionally, a poorly installed running board can cause damage to the vehicle’s body, which can be costly to repair. It is crucial to have the proper tools and knowledge to install the running boards correctly. By doing so, the vehicle owner can ensure that the running boards will perform as intended, enhance the vehicle’s appearance, and provide a safe and comfortable entry and exit for passengers. Proper installation is an investment in the vehicle’s value and the safety of its occupants, making it a critical aspect of vehicle maintenance.
Tools Needed
When it comes to installing Romik Running Boards, having the right tools is absolutely essential. Without the proper tools, you may find yourself struggling to properly install the running boards, or even damaging your vehicle in the process. Some of the tools you will need include a socket set, ratchet, torque wrench, drill, and measuring tape. It’s important to make sure you have all of the necessary tools before starting the installation process, as this will help ensure a smooth and successful installation. In addition to the basic tools, there are a few other items you may want to consider having on hand when installing Romik Running Boards. One of these is a creeper, which will allow you to easily move around under your vehicle as you work. You may also want to have a can of rust penetrant on hand, as this can help loosen any rusty bolts or nuts that may be difficult to remove. Other items that may be useful include a pry bar, rubber mallet, and wire brush. With the right tools and a little bit of preparation, you’ll be able to install your new Romik Running Boards with ease and enjoy all of the benefits they have to offer.
Before starting the installation process of Romik Running Boards, it’s essential to have the necessary tools to ensure a smooth and hassle-free experience. A comprehensive tool kit should include a torque wrench for tightening bolts, a drill with various bits for drilling holes in the vehicle’s frame, a socket set with different sizes to remove and install nuts and bolts, a screwdriver set with different heads for various screws, a pry bar for removing old parts, and a measuring tape for precision. Additionally, a rubber mallet can be useful in gently tapping parts into place without causing damage. Having all these tools on hand will make the installation process more efficient and effective, allowing for a successful installation of Romik Running Boards.
A socket wrench set is a crucial tool for installing Romik running boards. This versatile set consists of a ratcheting wrench handle, various sizes of sockets, and extensions. The sockets fit over bolts and nuts, allowing you to tighten or loosen them with ease. The ratcheting mechanism of the wrench handle ensures that you can apply force in a controlled and precise manner. The extensions enable you to reach bolts that are deep within the vehicle frame. A socket wrench set is a must-have for any DIY enthusiast or professional mechanic who wants to install Romik running boards quickly and efficiently.
Drills and drill bits are essential tools required for installing Romik running boards. A drill is a power tool that spins a cutting tool called a drill bit, creating holes in various materials, including metal, wood, and plastic. There are different types of drills, such as corded and cordless, depending on the power source. Drill bits come in various shapes and sizes, including twist bits, spade bits, and hole saws, among others. The right drill bit selection is crucial to ensure the correct size and shape of the hole needed for the installation of the Romik running boards. It is essential to use the recommended drill bits and size specifications provided in the installation manual to avoid damaging the material, creating an oversized hole or an inaccurate fit.
A torque wrench is an indispensable tool for installing Romik running boards. This precision tool is designed to apply a specific amount of torque to a fastener, preventing over-tightening or under-tightening that can lead to damage or failure. The torque wrench allows you to tighten bolts and nuts to a precise level of tightness, ensuring that they are secure and safe. With a torque wrench, you can be confident that your Romik running boards are installed at the correct tension, reducing the risk of accidents and damage. Whether you are a professional installer or a DIY enthusiast, a torque wrench is an essential tool for any installation project.
A measuring tape is an essential tool that can never be overlooked when installing Romik Running Boards. It is a flexible ruler that is used to take accurate measurements of distances, widths, and lengths of the vehicle and the running boards. Measuring tapes come in different lengths, but the most common are 16 feet, 25 feet, and 30 feet. It is important to choose the right length depending on the size of your vehicle. A reliable measuring tape should have clear and bold markings, be durable, and have a comfortable grip. Accurate measurements are crucial when installing running boards to ensure that they fit perfectly and provide a secure and stable platform for getting in and out of the vehicle.
Safety glasses are a crucial tool for anyone installing Romik running boards. These glasses are designed to protect your eyes from any potential hazards or debris that may fly up during the installation process. They are made from tough materials that can withstand impacts and scratches, and are designed to fit comfortably over your regular glasses or on their own. Safety glasses are an essential piece of equipment for any DIY project, and should not be overlooked when it comes to your personal safety. By investing in a pair of high-quality safety glasses, you can ensure that you are protecting your eyes and reducing the risk of injury while installing your Romik running boards.
A rubber mallet is an essential tool for installing Romik Running Boards. Made of high-quality rubber, this mallet is designed to provide a soft but firm impact, which is ideal for working with delicate parts. With its durable construction and ergonomic design, the rubber mallet is perfect for tapping the running board brackets into place, ensuring a secure and tight fit. It is also great for adjusting the position of the running board during the installation process. The rubber mallet is an important tool for any DIY or professional installation of Romik Running Boards, making it a must-have in your toolbox.
When it comes to installing Romik running boards, having a step stool or ladder is an essential tool that should not be overlooked. While it may seem like a small detail, having a sturdy and reliable platform to stand on can make all the difference in ensuring a safe and successful installation. A step stool or ladder can provide the necessary height and stability needed to reach higher areas of the vehicle and allow for better visibility and maneuverability during the installation process. Whether you are a seasoned DIY enthusiast or a first-time installer, investing in a quality step stool or ladder is a wise choice that can help make the installation of your Romik running boards a smooth and stress-free experience.
Rust inhibitor is an essential tool for anyone who wants to keep their running boards in optimum condition. It is a chemical solution that can be applied to metal surfaces to prevent rust and corrosion. This is particularly important for running boards that are exposed to the elements, such as rain, snow, and road salt. Rust inhibitor creates a protective barrier on the surface of the metal, preventing water and other corrosive substances from penetrating and damaging the material. It is easy to apply and can save you time and money in the long run by extending the lifespan of your running boards.
Preparation
Preparation is key when it comes to installing Romik running boards. Before you begin the installation process, it’s important to gather all the necessary tools and materials. This includes a socket wrench set, a drill, a torque wrench, and Romik running board brackets and hardware. You’ll also need a level, a measuring tape, and a marker to ensure accuracy during installation. Once you have everything you need, it’s important to prepare the vehicle for installation. This means cleaning the area where the running boards will be installed and ensuring that the vehicle is parked on a level surface. You’ll also want to refer to the installation instructions to determine the correct placement of the brackets. Proper preparation ensures a smooth and successful installation process, so take the time to gather your materials and prepare your vehicle before diving into the installation.
Before installing Romik running boards on your vehicle, it is crucial to check for compatibility. Failure to do so may lead to damage or even pose a safety risk while driving. To ensure compatibility, you must consider factors such as the make and model of the vehicle, the year of manufacture, and the type of running board you intend to install. Additionally, it is important to ensure that the running boards fit snugly and securely onto the vehicle’s frame. Checking for compatibility may require consulting with a professional mechanic or referring to the manufacturer’s guidelines. By taking the time to check for compatibility, you can rest assured that your Romik running boards will be a safe and seamless addition to your vehicle.
One of the crucial steps in installing Romik Running Boards is cleaning and preparing the installation area. This entails removing any dirt, debris, or rust that may prevent the running board from adhering properly to the vehicle’s surface. A clean surface ensures a secure and long-lasting installation. To achieve this, a wire brush, sandpaper, or a power tool may be used to scrape off any rust or paint. A degreaser or rubbing alcohol can be used to remove any oil or grease from the surface. Additionally, it’s important to dry the surface thoroughly to prevent any moisture from interfering with the adhesive. By taking the time to properly clean and prepare the installation area, you are ensuring a successful and sturdy installation of your Romik Running Boards.
Before installing the Romik Running Boards, it is essential to remove any existing running boards that may be on your vehicle. The removal process typically involves loosening and removing the bolts that secure the running boards to the vehicle’s body. In some cases, there may be clips or brackets that need to be detached as well. It is important to ensure that all components are removed properly to avoid damaging the vehicle’s body or any electrical wiring. A socket wrench and pliers may be necessary to complete the removal process. Once the existing running boards are removed, you can move on to installing the new Romik Running Boards.
Laying out the new running boards is a crucial step in installing Romik Running Boards. It involves measuring and positioning the boards correctly to ensure a perfect fit and safe installation. Before starting the installation process, it is important to gather all the necessary tools, including a measuring tape, a level, and a marker. Once the tools are ready, the next step is to remove the old running boards and prepare the vehicle’s surface for the new ones. After that, carefully position the new running boards on the vehicle, making sure they are level and aligned with the vehicle’s body lines. Double-check the measurements before securing the boards with bolts and nuts. A well-laid-out running board not only adds aesthetic value to the vehicle but also provides convenience and safety to the passengers.
Installation
Installation is a crucial step in adding any aftermarket part to your vehicle. It requires attention to detail and precision to ensure that the part is installed correctly and functions as intended. When it comes to installing Romik Running Boards, there are several essential tools that you will need to have on hand to complete the job. These tools include a socket wrench set, a drill, a measuring tape, and a level. The first step in the installation process is to gather all of the necessary tools and review the installation instructions provided with the running boards. It is important to follow the instructions carefully to ensure that the running boards are installed correctly and safely. Once you have reviewed the instructions and gathered your tools, you can begin the installation process. The first step is to measure and mark where the running boards will be mounted on your vehicle. Using a level, ensure that the marks are straight and even. Then, using a drill, create holes for the mounting brackets. Once the brackets are secured, you can then attach the running boards to the brackets using a socket wrench set. With the proper tools and attention to detail, the installation process for Romik Running Boards can be completed quickly and easily.
If you’re looking to install Romik running boards on your vehicle, it’s important to have the right tools and follow a step-by-step guide. To begin, you’ll need a drill, drill bits, torque wrench, socket set, and a level. The first step is to remove the old running boards or any existing hardware. Next, lay out the new brackets and running boards to ensure proper alignment. Then, use the drill and provided screws to attach the brackets to the vehicle frame. Once the brackets are securely in place, it’s time to attach the running boards. Use the torque wrench to tighten the bolts to the manufacturer’s specifications. Finally, check for levelness and adjust as necessary. With these essential tools and a comprehensive guide, installing Romik running boards can be a simple and rewarding task.
Attaching brackets to the vehicle is a crucial step in installing Romik running boards. These brackets are responsible for supporting the weight of the running boards and ensuring they are securely attached to the vehicle. To begin, it is important to locate the mounting points on the vehicle and position the brackets accordingly. Once in place, the brackets can be attached using bolts and nuts, which should be tightened to the manufacturer’s specifications. It is essential to use the correct tools and techniques to ensure the brackets are installed correctly and the running boards are safe to use. A professional installation may be necessary for those who are unfamiliar with this process or lack the necessary tools.
When installing Romik running boards on your vehicle, securing the running boards to the brackets is a crucial step that requires precision and care. This involves ensuring that the brackets are correctly positioned and tightened to the vehicle’s frame, and that the running boards are securely attached to the brackets using the provided hardware. It’s essential to use the right tools for the job, such as a torque wrench and socket set, to ensure that the bolts are tightened to the manufacturer’s specifications. Neglecting to secure the running boards properly can compromise their stability and safety, not to mention the safety of anyone who uses them. Therefore, it’s crucial to follow the installation instructions carefully and take the time to secure the running boards correctly.
One of the most important steps in installing Romik running boards is adjusting them for proper fit. This involves ensuring that the brackets and mounting points are correctly aligned and securely fastened to the vehicle’s frame. It is also important to ensure that the running boards are level and have the appropriate clearance from the ground to prevent them from scraping against curbs or other obstacles. Additionally, adjusting for proper fit involves checking the spacing between the running boards and the vehicle’s body to ensure a clean and seamless appearance. Taking the time to adjust the running boards properly will not only ensure a safer and more comfortable ride but also enhance the overall aesthetic of the vehicle.
Torquing bolts to manufacturer specifications is an essential step in the installation process of Romik Running Boards. Over-tightened bolts can cause damage to the bolts themselves, as well as the running board and the vehicle’s body. On the other hand, under-tightened bolts can result in the running board becoming loose, leading to safety concerns while driving. Therefore, it is crucial to use a torque wrench to ensure that the bolts are tightened to the manufacturer’s recommended specifications. This will ensure that the Romik Running Boards are securely fastened to the vehicle, providing a safe and comfortable experience for the passengers.
Tips and Tricks
When it comes to installing Romik running boards, there are several tips and tricks to make the process smoother and more efficient. First and foremost, it’s essential to have all the necessary tools on hand before beginning the installation. This includes a socket set, drill, torque wrench, and measuring tape. Additionally, it’s crucial to read the installation instructions thoroughly and follow them step-by-step. Skipping any steps or trying to improvise can lead to mistakes or damage to the vehicle. Another helpful tip is to have a second person assist with the installation. This can make it easier to hold the running boards in place while attaching them to the vehicle. It’s also important to take breaks as needed and not rush through the installation process. This can prevent fatigue and allow for a more precise installation. Lastly, after the installation is complete, it’s a good idea to double-check all the bolts and screws to ensure they are tightened properly. By following these tips and tricks, installing Romik running boards can be a relatively straightforward process that will enhance the functionality and appearance of any vehicle.
When installing Romik running boards, there are several common mistakes that you should avoid. First and foremost, it is essential to ensure that you have all of the necessary tools before you begin the installation process. Failing to prepare adequately can lead to frustration and wasted time. Another common mistake is not following the manufacturer’s instructions carefully. Romik provides comprehensive instructions for installing their running boards, and skipping steps or deviating from the instructions can result in an improper installation. Finally, it is crucial to take your time during the installation process. Rushing through the process can lead to mistakes or even damage to your vehicle. By avoiding these common mistakes, you can ensure that your Romik running boards are installed correctly and function properly.
Installing Romik Running Boards can be a great addition to your vehicle, but sometimes installation problems can arise. If you’re experiencing any issues, troubleshooting can help you identify and solve the problem. Firstly, ensure that you’ve read and understood the installation instructions carefully. Check all the parts and make sure they match the parts list. If a part is missing or damaged, contact the manufacturer for assistance. If you’re having trouble lining up the running boards with the brackets, adjust the brackets until they fit properly. If you’re still having issues, double check the model and make of your vehicle to make sure that the running boards are compatible. With these simple steps, you can troubleshoot any installation problems and get your Romik Running Boards installed with ease.
To keep your Romik Running Boards in tip-top condition, regular maintenance is crucial. Firstly, it’s important to clean the running boards regularly using a mild soap and water solution, followed by a thorough rinse and dry. Secondly, inspect the boards for any signs of damage such as dents, chips or scratches, and address them promptly to avoid further deterioration. Additionally, adding a protective coating to the surface of the running boards can help to prevent corrosion and rust. Finally, avoid exposing the running boards to harsh chemicals or abrasive materials, as this can cause irreparable damage to the finish. By following these simple maintenance tips, you can ensure that your Romik Running Boards not only look great but also last for years to come.
Proper installation is of utmost importance when it comes to Romik running boards. Not only does it guarantee the longevity and durability of the product, but it also ensures the safety of those who use it. A well-installed running board can withstand heavy usage and extreme weather conditions, making it a reliable accessory for any vehicle. On the other hand, a poorly installed running board can cause accidents and damage to the vehicle, putting both the driver and passengers at risk. Therefore, it is crucial to have the right tools and follow the manufacturer’s instructions carefully when installing Romik running boards to ensure a secure and safe fit.
In conclusion, installing the Romik Running Boards can significantly enhance the functionality and appearance of your vehicle. However, it is crucial to have the right tools and follow the instructions carefully to ensure a successful installation. It is recommended to seek professional help if you are not confident in your abilities or lack the required tools. Additionally, regular maintenance and cleaning are necessary to keep the running boards in good condition and extend their lifespan. With proper installation and care, the Romik Running Boards can provide a durable and stylish addition to your vehicle.
Conclusion

In conclusion, the installation of Romik Running Boards requires the use of essential tools to ensure a successful and hassle-free process. A comprehensive guide that includes the necessary equipment and step-by-step instructions can provide an easy and efficient way to install these boards. It is vital to have the right tools, such as a torque wrench, drill, and socket set, to avoid any damage during the installation process. Proper installation of running boards can enhance the overall look and functionality of your vehicle while ensuring a safe and secure entry and exit for you and your passengers. So, make sure to follow the guide and use the correct tools to enjoy the benefits of your newly installed Romik Running Boards.
Related posts:
 Easy DIY Steps for Installing Running Boards on Your Mercedes: A Comprehensive Guide
Discover the Cost of Installing Running Boards for SUV: A Comprehensive Guide
Easy Steps to Attach Running Boards to M1008 CUCVs A Comprehensive Guide
Easy Steps to Remove Toyota Sequoia Running Boards: A Comprehensive Guide
Easy DIY Steps for Installing Running Boards on Your Mercedes: A Comprehensive Guide
Discover the Cost of Installing Running Boards for SUV: A Comprehensive Guide
Easy Steps to Attach Running Boards to M1008 CUCVs A Comprehensive Guide
Easy Steps to Remove Toyota Sequoia Running Boards: A Comprehensive Guide