Quick Guide: How to Easily Fix Your LED Light Strip Issues
LED light strips have become increasingly popular in recent years due to their energy efficiency, versatility, and ease of installation. However, like any electronic device, LED light strips are prone to issues and malfunctions that can be frustrating to deal with. Whether you’re a DIY enthusiast or simply looking to save money on repairs, this quick guide will provide you with the knowledge and tools you need to easily fix your LED light strip issues. From flickering lights to color inconsistencies, LED light strip issues can be caused by a variety of factors, including faulty wiring, power surges, and environmental factors like humidity and temperature changes. Fortunately, many of these issues can be resolved quickly and easily with a few simple steps. In this guide, we’ll cover some of the most common LED light strip issues and provide you with step-by-step instructions on how to troubleshoot and fix them. So whether you’re dealing with a single malfunctioning LED or an entire strip that’s not working, this guide will help you get your lights back up and running in no time.
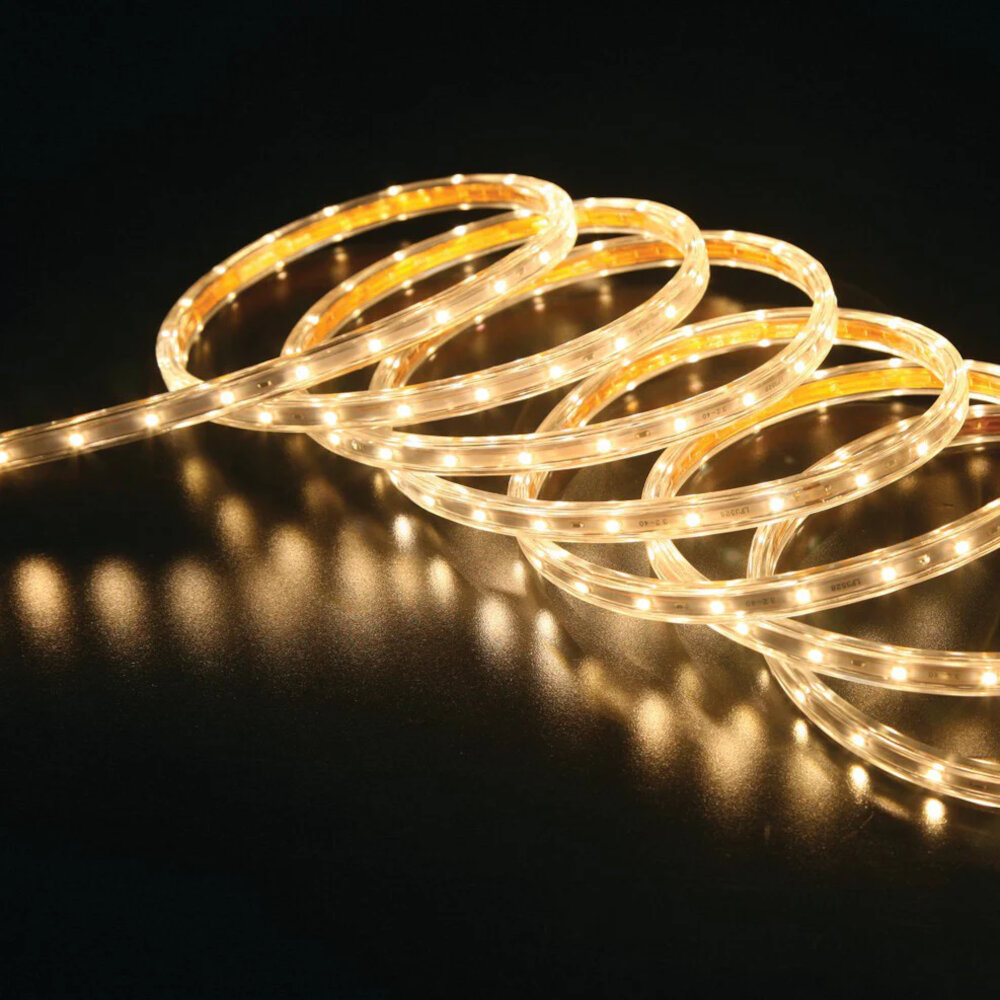
LED light strips are a versatile and energy-efficient lighting solution for both residential and commercial spaces. They are composed of small LED diodes that emit bright and colorful light, making them perfect for accent lighting, mood lighting, and even task lighting. LED light strips come in a variety of lengths, colors, and brightness levels, making them suitable for any application. They can be easily installed on a wide range of surfaces using adhesive backing or mounting clips. However, LED light strips can also encounter several issues, such as dimming, flickering, or not turning on at all. In this quick guide, we will explore some common problems with LED light strips and how to fix them.
LED light strips are a popular and versatile lighting option that can be used in a variety of settings. However, like any electronic device, they can sometimes encounter issues that can be frustrating for users. One of the most common issues that users face with LED light strips is poor connectivity. This can be caused by a faulty power source, loose connections between the LED strip and the power source or controller, or a damaged LED strip. Other issues that can arise include flickering or dim lights, uneven brightness, and difficulty controlling the strip through the use of a remote or app. Fortunately, many of these issues can be easily fixed with a few simple steps, allowing users to enjoy their LED light strips without any hassle.
Check the Power Source
When troubleshooting LED light strip issues, one of the first things to check is the power source. It is crucial to ensure that the power source is working correctly and providing sufficient power to the LED light strip. LED light strips require a constant and stable power source to function correctly. If the power source is faulty or not providing sufficient power, it can cause issues such as flickering, dimming, or not turning on at all. To check the power source, start by unplugging the LED light strip from the power source and then plugging it back in. This simple action can sometimes reset the power source and fix any issues. If this does not work, check the power source for any damage or loose connections. Ensure that the power source is plugged in correctly and that there are no exposed wires or damaged cables. If the power source appears to be working correctly, use a multimeter to ensure that it is providing the correct voltage and amperage to the LED light strip. By checking the power source first, you can save time and avoid unnecessary troubleshooting of the LED light strip itself.
If your LED light strip is not turning on, the first thing you should check is whether the power source is working properly. To do this, you can start by checking if the power outlet is functioning correctly. Try plugging in a different electronic device to see if it turns on. If the outlet is working fine, then move on to the power supply unit. Make sure that the power supply unit is properly connected to the outlet and the LED light strip. Check if there are any loose connections or frayed wires. If everything seems to be in order, use a multimeter to test the voltage output. If there is no voltage output, it may be time to replace the power supply unit.
When dealing with LED light strip issues, one common problem is a faulty power source. If your LED strip is not turning on or flickering, the first thing you should do is check the power source. Start by unplugging the power cable from the outlet and checking for any visible damage, such as frayed wires or loose connections. If there is no visible damage, try plugging the cable into a different outlet to see if the problem persists. If the LED strip still does not turn on, you may need to replace the power source entirely. It’s important to troubleshoot power source issues carefully to avoid any potential safety hazards and ensure your LED light strip is functioning properly.
Check the Connections
When dealing with LED light strip issues, one of the first things you should check is the connections. Loose or faulty connections can cause a range of problems, from flickering lights to complete failure of the strip. Start by checking the power supply connection and ensure it is securely plugged in. If the connection seems loose, try disconnecting and reconnecting it to ensure a snug fit. Next, check the connections between the LED light strip and the controller. Make sure the wires are properly connected and that there are no frayed or damaged wires. If the connections appear to be fine, try unplugging and replugging the controller to reset it. In some cases, simply checking and reseating the connections can solve the problem, saving you time and money on more complicated fixes.
Loose connections are a common issue that can cause LED light strips to malfunction. To check for loose connections, start by turning off the power source and unplugging the strip. Inspect the connections between the strip and the power source, making sure they are securely connected. Check the connections between individual light strips as well, ensuring they are properly aligned and seated into their connectors. If any connections are loose, gently push them back into place, being careful not to force them too far. Once all connections have been checked and secured, plug the strip back in and turn on the power to see if the issue has been resolved.
Loose connections can be a common issue when it comes to LED light strips. The first step in fixing this problem is to identify where the loose connection is located. Once you have located it, you can try tightening any loose screws or connectors. If this doesn’t work, you can try soldering the connection to ensure it stays in place. Another option is to use electrical tape or heat shrink tubing to secure the connection. It’s important to make sure the connection is secure to prevent any further issues or potential safety hazards. Taking the time to properly fix loose connections can save you time and money in the long run.
Check the Remote
When you encounter issues with your LED light strip, one of the first things you should do is check the remote. The remote control is an essential component of LED light strips and is responsible for controlling the color, brightness, and other settings. If the remote is not working correctly, it can cause a range of problems, from the lights not turning on to the colors not changing correctly. To check the remote, start by ensuring that it has batteries and they are working correctly. If the batteries are dead or dying, replace them with fresh ones. If the remote still does not work, try resetting it by removing the batteries and holding down the power button for a few seconds. This should reset the remote and allow you to use it again. If the remote still does not work, it may be time to replace it. Consider purchasing a new remote that is compatible with your LED light strip to ensure that you can control your lights effectively.
If you’re having trouble with your LED light strip, one thing to check is whether the remote is working properly. First, ensure that the remote has fresh batteries and that they’re inserted correctly. If the batteries are fine, try pointing the remote at the strip and pressing a button. If the strip responds, the remote is most likely working. However, if there’s no response, try resetting the remote by removing the batteries and holding down any button for 5 seconds. If the remote still doesn’t work, it may be damaged and need to be replaced. Checking the remote is a quick and easy first step in troubleshooting LED light strip issues.
If you’re having trouble with your LED light strip’s remote, there are a few things you can try to troubleshoot the issue. First, make sure that the remote’s batteries are properly installed and still have charge. If the batteries are fine, try resetting the remote by removing the batteries and holding down any button for five seconds before replacing them. You can also check for any physical obstructions between the remote and the light strip, as well as ensuring that the light strip is properly connected to its power source. If none of these solutions work, try replacing the remote entirely or contacting the manufacturer for further assistance.
Reset the LED Light Strip

LED light strips are a popular and versatile lighting option for many homes and businesses. However, like any electronic device, they can sometimes experience issues that require troubleshooting. One common problem is when the LED light strip stops working or fails to respond to commands from the remote. In such a scenario, resetting the LED light strip may be the solution to the problem. To reset the LED light strip, simply unplug the power adapter from the outlet and wait for a few seconds. Then, plug it back in and check if the LED light strip is working. If resetting the LED light strip does not solve the issue, there may be a problem with the power source, the remote control, or the LED light strip itself. Check that the power source is functioning correctly, and try replacing the batteries in the remote control. If these steps do not work, it may be necessary to replace the LED light strip or seek professional assistance. By following these simple steps, you can easily fix many of the common issues that arise with LED light strips, and enjoy the benefits of this versatile and energy-efficient lighting solution.
If you’re experiencing issues with your LED light strip, resetting it might be the solution. To reset the LED light strip, the first step is to unplug it from the power source for at least 30 seconds. After that, plug it back in and check if the issue has been resolved. If not, try resetting the controller by pressing the reset button or disconnecting it from the power source. Make sure to read the manufacturer’s instructions before attempting to reset the LED light strip to avoid causing damage. By following these simple steps, you can easily fix any issues with your LED light strip and have it working like new in no time.
If you’re experiencing issues with your LED light strip such as flickering, dimness, or inconsistent color, resetting the strip may be the solution. Resetting should be a last resort after trying other troubleshooting options such as checking the power source, connections, and controller. To reset the LED light strip, disconnect the power source and wait for at least 10 seconds before reconnecting it. This will refresh the system and clear any errors or glitches that may have occurred. Keep in mind that resetting the strip will wipe any programmed settings and return it to its default mode. Resetting the LED light strip can be a quick and easy fix, but it’s important to know when it’s necessary and to try other solutions first.
When it comes to LED light strips, there are some common issues that users may encounter. One of the main issues is the strip not turning on, which can be caused by a faulty power supply or connection issue. Another issue is flickering or inconsistent lighting, which can be due to incompatible dimmer switches or a loose connection. Additionally, the LED lights may have a color discrepancy or uneven brightness, which can be fixed by adjusting the color settings or replacing faulty lights. It’s important to troubleshoot these issues systematically to identify the root cause and find the appropriate solution. By doing so, you can easily fix your LED light strip issues and enjoy their full potential.
When it comes to maintaining LED light strips, there are a few key tips to keep in mind. First, be sure to dust them regularly to prevent buildup that can dim the lights. Additionally, avoid exposing them to extreme temperatures or humidity, which can damage the electrical components. If you need to clean them, use a soft, dry cloth to avoid scratching the surface. Finally, be mindful of the power source and make sure it is properly installed and functioning correctly to avoid any potential hazards. With these simple tips, you can keep your LED light strips looking and working their best for years to come.
Conclusion

In conclusion, troubleshooting and fixing LED light strip issues can be a straightforward process if you follow the steps outlined in this quick guide. From identifying the problem to testing and replacing faulty components, a little bit of patience and know-how can save you time and money. Remember to always prioritize safety when working with electrical components and seek professional help if you are unsure about any aspect of the repair. By taking care of your LED light strips, you can enjoy their bright and colorful glow for years to come.
Related posts:
 LED Light Strip Not Working? Here’s Why and How to Fix It
 LED Strip Lights 101: A Beginner’s Guide to Understanding the Benefits and Uses of LED Strip Lights
 LED Light Strip Installation Made Easy: A StepbyStep Guide
 LED Strip Light Troubleshooting: Why Your Lights Aren’t Working and How to Fix Them