Learn How to Wire T8 LED Lights in 5 Easy Steps: A Comprehensive Guide
In today’s day and age, technology has erupted to greater heights than ever before. One of the most notable advancements is in lighting, where LED lights have taken over the market by storm. LED lights offer several advantages over traditional lighting methods, including cost-effectiveness, energy efficiency, and longer lifespan. However, installing LED lights can be a daunting task, especially if you lack prior experience. Fortunately, with the right guidance, even a beginner can install LED lights effortlessly. In this comprehensive guide, we will show you how to wire T8 LED lights in five easy steps. T8 LED lights are the most popular type of LED lights currently available in the market. They are widely used in both commercial and residential settings, thanks to their energy efficiency, cost-effectiveness, and bright illumination. Wiring T8 LED lights is a relatively simple process that requires minimal effort and time. With a few tools and the right guidance, you can install T8 LED lights in your home or office and enjoy the numerous benefits they offer. This guide will provide step-by-step instructions on how to wire T8 LED lights in five easy steps, helping you become an expert in no time.
T8 LED lights are energy-efficient replacements for traditional fluorescent tubes used in commercial and residential settings. They provide bright, high-quality light while consuming less power and lasting up to 50,000 hours. These lights are available in various sizes and color temperatures to suit different lighting needs. T8 LED lights are easy to install and require minimal maintenance, making them an excellent choice for anyone looking to save money and reduce their carbon footprint. With their long lifespan and low energy consumption, T8 LED lights are an investment that can save you money in the long run while also promoting sustainability.
T8 LED lights have become increasingly popular in recent years due to their numerous benefits. Firstly, they are highly energy-efficient, consuming up to 50% less energy than traditional fluorescent lights, resulting in reduced energy bills and a lower carbon footprint. Secondly, they have a longer lifespan, lasting up to 50,000 hours, which means less frequent replacement and maintenance costs. Thirdly, T8 LED lights emit less heat than fluorescent lights, making them safer and more comfortable to work under. Additionally, they are available in a range of colors and brightness levels, allowing for customizable lighting solutions to suit any environment or task. Overall, T8 LED lights offer a cost-effective and eco-friendly lighting solution that can improve productivity and comfort in any setting.
Wiring T8 LED lights properly is of utmost importance as it ensures both the safety and functionality of the lighting system. Inadequate wiring can lead to electrical hazards, such as short circuits, electrocution or fires, which can cause significant damage to the property and pose a threat to the occupants. Moreover, improper wiring can also result in the failure of the LED lights to work correctly or at all, leading to a loss of time and money spent on the installation. Therefore, it is essential to follow the correct wiring process to ensure optimal performance and safety of T8 LED lights.
Step 1: Safety First
When it comes to working with electricity, safety should always be the top priority. Before you begin wiring T8 LED lights, it is essential to take the necessary precautions to avoid any accidents or injuries. Start by turning off the power supply to the area where you will be working. You can do this by flipping the circuit breaker or unplugging any electrical devices in the vicinity. It is also a good idea to use a voltage detector to ensure that there is no live electricity present before you begin. Another crucial safety measure is to wear protective gear, including gloves and safety glasses. These will help protect you from any electrical shocks or debris that may be produced during the installation process. Additionally, make sure to work in a well-lit and well-ventilated area to reduce the risk of accidents. By following these safety precautions, you can ensure that your T8 LED light installation goes smoothly and without any mishaps. Overall, taking the time to prioritize safety before beginning any electrical work is crucial. It can help prevent injuries and ensure that the installation process is completed smoothly and efficiently. By following the necessary precautions, you can rest assured that you are working in a safe environment and that your T8 LED lights will be installed correctly.
Before starting the wiring process for T8 LED lights, it is crucial to turn off the power supply to the existing fluorescent fixture. Failing to do so can result in electrical shock or damage to the LED lights. Locate the circuit breaker that controls the fixture and turn it off. Double-check that the power is off by using a voltage tester to confirm that there is no current flowing through the wires. Safety should always be a top priority when working with electricity, so take the time to ensure that the power supply is off before beginning any electrical work.
When working with electricity, it is always important to prioritize safety. One way to protect yourself from potential hazards is to wear the appropriate protective gear. This can include gloves, safety glasses, and closed-toe shoes. Additionally, when working with LED lights, it is important to ensure that they are turned off and that the power source is disconnected to avoid electrocution. By taking the proper precautions and wearing protective gear, you can minimize the risk of injury and successfully wire T8 LED lights in just five easy steps.
Using proper tools is crucial when it comes to wiring T8 LED lights. The right tools not only ensure that the job is done correctly, but they also guarantee your safety. Some necessary tools for wiring T8 LED lights include wire cutters, wire strippers, pliers, screwdrivers, and multimeters. Using the correct tools will make the process much easier and prevent any accidental damage to the LED lights. Investing in quality tools will also save you time and money in the long run, as they will last longer and perform better than cheaper alternatives. So, make sure you have the appropriate tools before starting your T8 LED light wiring project to ensure a successful and safe installation.
Step 2: Remove Old Fixture
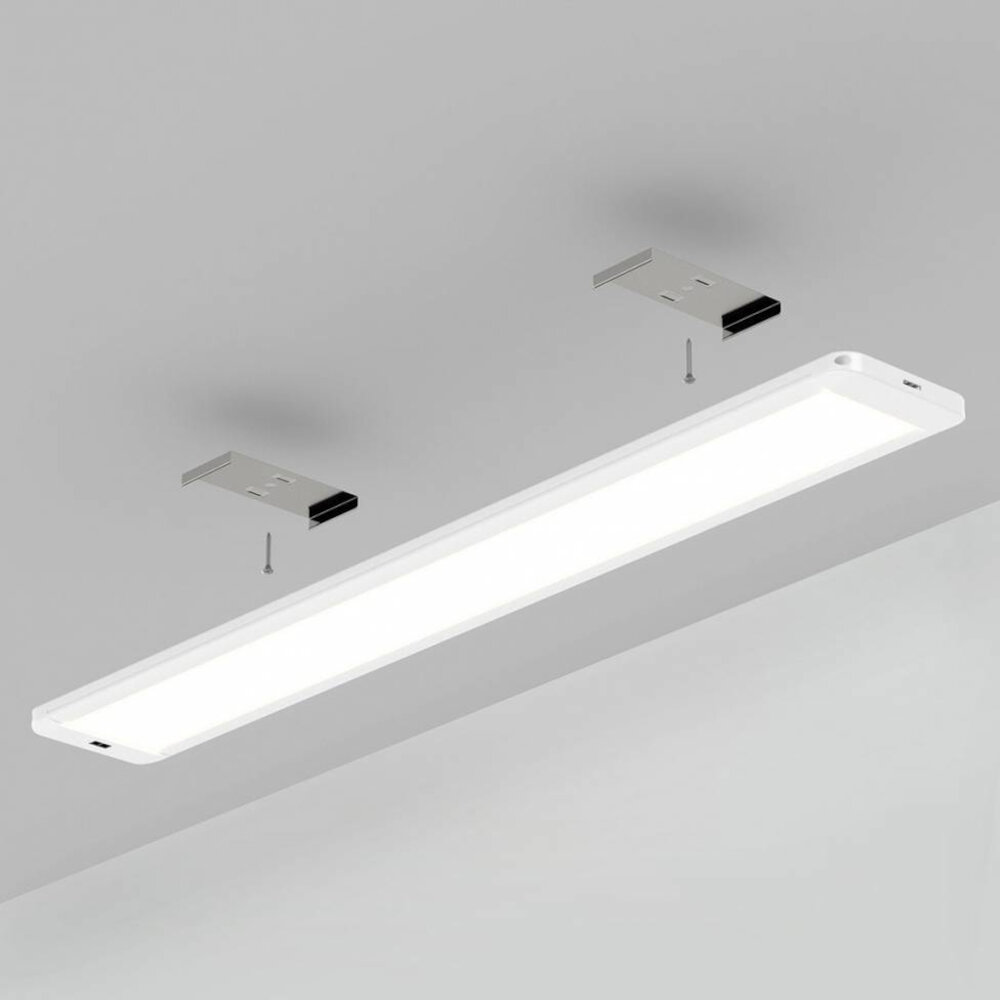
In Step 2 of the guide on how to wire T8 LED lights, the focus is on removing the old fixture. This step is crucial as it prepares the area for the installation of the new T8 LED lights. The old fixture must be removed carefully to avoid damage to the ceiling or wall. It is important to turn off the power supply before removing the fixture to avoid electrical shock. The old fixture can be removed by unscrewing it from the ceiling or wall and disconnecting the wires. The wires should be labeled to ensure that they are connected correctly when installing the new T8 LED lights. Once the old fixture is removed, the area should be cleaned and prepared for the installation of the new lights. Removing the old fixture is an essential step in the installation process of T8 LED lights. It can be a challenging task, especially for those who are not familiar with electrical wiring. However, with the right tools and instructions, it can be done easily and safely. It is important to follow the manufacturer’s instructions when removing the old fixture to ensure that the warranty is not voided. Additionally, it is recommended to have a professional electrician check the wiring before installing the new T8 LED lights to ensure that the installation is done correctly and safely. Overall, Step 2 is a critical step in the process of wiring T8 LED lights and must be done correctly to ensure optimal performance and safety.
Before you can begin installing your T8 LED lights, it is important to disconnect any old fixtures that may be in place. This step is crucial to ensure that your new lights are not connected to any wiring that may be damaged or outdated. To disconnect the old fixture, start by turning off the power supply to the area. Next, remove the light bulbs and any covers or shades that may be in place. Use a voltage tester to confirm that the wires are not live, and then unscrew the fixture from the ceiling or wall. Once the fixture is removed, you can begin preparing the wiring for your new T8 LED lights.
Before you can install your new T8 LED lights, you will need to remove the old fixture. This process involves turning off the power supply to the fixture and disconnecting it from the electrical wiring. It is important to follow proper safety procedures and use appropriate tools to avoid injury or damage to the wiring. Once the old fixture is safely disconnected, you can proceed with installing your new T8 LED lights. By taking the time to properly remove the old fixture, you can ensure that your new lights will function safely and efficiently.
Step 3: Prepare for Wiring

Step 3: Prepare for Wiring is a crucial stage when it comes to wiring T8 LED lights. This step requires careful preparation to ensure that the wiring process is done correctly and safely. First, you need to turn off the main power supply to the area where you will be installing the lights. This will prevent any electrical shock, which can be fatal. After that, you can prepare the tools and materials needed for the wiring process, such as wire strippers, wire nuts, and electrical tape, to mention a few. Additionally, you need to have a clear understanding of the wiring diagram, which comes with the LED lights. This will help you know which wires to connect to the power source, which ones to connect to the LED bulbs, and which ones to ground. It’s also essential to have a good understanding of the color coding of the wires, which will help you identify the right connections. Preparing for wiring ensures that you have all the necessary tools and materials, and you understand the wiring diagram and color coding, making the wiring process more manageable and safer.
Before starting the wiring process for T8 LED lights, it’s crucial to check wiring compatibility. Ensure that the LED tube and the ballast are compatible with each other. Some ballasts are only compatible with specific LED tubes, while others can support multiple tubes. It’s important to check the manufacturer’s instructions and specifications to avoid any damage to the LED lights, ballasts, or the electrical system. Additionally, it’s essential to turn off the power supply to the lighting fixture before starting the wiring process to avoid any electrical hazards. Checking the wiring compatibility is a crucial step in ensuring the proper functioning and longevity of T8 LED lights.
The wiring harness is a crucial component when it comes to installing T8 LED lights. It is responsible for connecting the LED light to the power source, making sure the electrical connection is secure and safe. To connect the wiring harness, you will need to identify which wires are positive and negative, strip the wires, and then connect them using wire nuts or a wiring connector. It is important to ensure that the wiring is done correctly, as any mistakes can result in damage to the LED light or even electrical hazards. Make sure to follow the manufacturer’s instructions carefully and seek professional help if you are unsure about any step in the process.
Installing an LED driver is a crucial part of wiring T8 LED lights. The LED driver regulates the power supply and voltage of the LED light, ensuring longevity and efficiency. To begin installation, identify the input and output wires of the LED driver and connect them to the corresponding wires of the T8 LED light. Make sure to securely fasten the wires with wire connectors and avoid any loose connections. Once the connections are completed, test the LED light to ensure it is working correctly. With a properly installed LED driver, the T8 LED light will provide an energy-efficient and long-lasting lighting solution.
Step 4: Wire the T8 LED Lights

Step 4 of wiring T8 LED lights is an essential part of the process. This step involves wiring the LED lights to the existing wiring system. It is crucial to follow the manufacturer’s instructions carefully to ensure the wiring is done correctly. The wiring process will vary depending on the type of T8 LED light being installed, but it usually involves connecting the wires from the LED light to the corresponding wires in the fixture. It is important to make sure the connections are secure and tight to prevent any electrical issues. Once the wiring is complete, it is time to test the LED lights to make sure they are working correctly. It is important to note that if you are not comfortable working with electrical systems, it is best to hire a professional to complete this step. Electrical work can be dangerous, and it is better to be safe than sorry. However, if you are confident in your electrical skills, wiring the T8 LED lights can be a straightforward process. With the right tools and instructions, anyone can learn how to wire T8 LED lights in 5 easy steps.
Connecting wires to the driver is an essential step in wiring T8 LED lights. The driver is responsible for converting the voltage from AC to DC, which powers the LED lights. To connect the wires, first, ensure that the power is turned off. Then, strip the wires and connect them to the corresponding terminals on the driver. It is crucial to follow the wiring diagram carefully to avoid any mistakes. Once the wires are connected, double-check the connections and secure them with wire nuts or electrical tape. Before turning the power back on, test the circuit with a voltage tester to ensure everything is working correctly. With these steps, you’ll have successfully connected the wires to the driver and be one step closer to installing your T8 LED lights.
Attaching LED tubes is a crucial step in the process of wiring T8 LED lights. These energy-efficient lights are becoming increasingly popular due to their low power consumption and long lifespan. To attach LED tubes, you will need to remove the old fluorescent tubes and ballast from your existing light fixture. This can be done by cutting the wires and disconnecting the ballast. Once the old components have been removed, you can connect the LED driver to the power supply and attach the LED tubes to the light fixture. It’s important to ensure that the polarity of the wires is correct during this step to avoid any electrical hazards. Once the LED tubes are securely in place, you can turn on the power and enjoy the bright, energy-efficient lighting provided by your new T8 LED lights.
Before finishing the wiring process of T8 LED lights, it is crucial to test them to ensure they work correctly. To do so, flip the switch and check if the fixture illuminates. If not, turn off the power and examine the wiring connections for any loose or improperly connected wires. Make sure to match the wire colors correctly and use wire connectors or electrical tape to secure the connections. After rectifying any issues, turn on the power again and test the lights once more. It’s essential to test the lights to prevent any potential hazards, and once they pass the test, you can sit back and enjoy the energy-efficient and long-lasting illumination that T8 LED lights offer.
Step 5: Clean Up and Enjoy

Step 5 of wiring T8 LED lights is arguably the most satisfying part of the process. Once all the connections are made and tested, it’s time to clean up the workspace and enjoy the fruits of your labor. Cleaning up involves removing any tools or materials used during the installation and disposing of them properly. It’s also important to ensure that any excess wire, particularly the stripped ends, are safely tucked away and not exposed, which could cause a short circuit or other electrical hazard. A good tip is to use cable ties or electrical tape to secure the wires and prevent them from getting tangled or accidentally pulled. Once everything is tidy and secure, it’s time to enjoy the new LED lights and the savings they bring in energy costs and maintenance. Enjoying the newly installed T8 LED lights can take many forms, depending on the setting and the purpose of the lighting. In a workspace, the brighter and more efficient light can help improve productivity and reduce eyestrain. In a home, the warm or cool glow of the LED lights can create a cozy and welcoming ambiance. Some people choose to install dimmer switches to adjust the brightness of the LED lights according to their needs or mood. Whatever the application, it’s important to appreciate the benefits of LED lighting, such as their longevity, low heat emission, and eco-friendliness. By following the steps in this comprehensive guide, you can confidently wire T8 LED lights and enjoy their many advantages for years to come.
Secure wiring is a crucial factor to consider when installing T8 LED lights. It involves ensuring that the wires are properly connected and insulated to prevent electrical hazards. One of the best ways to achieve secure wiring is by using wire connectors or junction boxes to join wires together. These connectors are designed to provide a safe and secure connection while ensuring that the wires are properly insulated. It’s also important to use the right size of wires and avoid overloading circuits to prevent overheating and potential fire hazards. By following these guidelines, you can ensure that your T8 LED lights are wired safely and securely.
When upgrading to T8 LED lights, it’s crucial to dispose of the old fixture properly. Throwing it in the trash or leaving it on the curb may be convenient, but it’s not environmentally responsible. Old fixtures may contain hazardous materials like mercury, which can harm the environment and human health if not disposed of properly. Instead, consider recycling the fixture or taking it to a hazardous waste disposal facility. By doing so, you can ensure that the old fixture is disposed of safely and responsibly, while also minimizing your environmental impact.
Enjoying energy-efficient lighting is a crucial step towards a sustainable lifestyle, and T8 LED lights are an excellent way to achieve this goal. Not only do they consume less electricity than traditional fluorescent lights, but they also have a longer lifespan, reducing the need for frequent replacements. Furthermore, T8 LED lights provide better lighting quality, emitting brighter and more uniform light, allowing for better visibility and a more comfortable environment. By learning how to wire T8 LED lights in just five easy steps, you can enjoy all the benefits of energy-efficient lighting while reducing your carbon footprint and saving money on your energy bills.
Wiring T8 LED lights is a straightforward process that involves five easy steps. The first step is to turn off the power supply to avoid electrocution. The second step is to remove the old fluorescent tube and the starter if your fixture has one. The third step is to connect the wires from the T8 LED tube to the fixture’s power supply. The fourth step is to test the connection by turning on the power supply and checking if the LED tube lights up. Finally, the fifth step is to mount the T8 LED tube and replace the fixture cover. By following these five steps, you can wire T8 LED lights and enjoy the benefits of energy-efficient lighting.
Proper wiring is crucial for both safety and efficiency when it comes to electrical installations. A poorly wired system can result in a range of hazards, from electrocution to fire. That’s why it’s essential to follow standards and regulations to ensure that all electrical connections are secure and functional. In addition to safety concerns, proper wiring also ensures efficient energy usage, which can save you money in the long run. By using the right wiring techniques and materials, you can reduce energy loss and improve the overall performance of your lighting system. So, whether you’re installing T8 LED lights or any other electrical component, always prioritize proper wiring for the utmost safety and efficiency.
The use of energy-efficient T8 LED lights has several advantages over traditional fluorescent lighting. Firstly, they are more energy-efficient, consuming up to 40% less energy while providing the same amount of light. This results in lower electricity bills and reduced carbon footprint. Secondly, they have a longer lifespan, lasting up to 50,000 hours or more, meaning less frequent replacement and maintenance costs. Thirdly, they have better color rendering, providing brighter and more natural light, which can improve productivity and well-being in workspaces. Lastly, T8 LED lights are also mercury-free, making them a safer and more environmentally friendly lighting option.
Conclusion
In conclusion, this comprehensive guide on how to wire T8 LED lights in 5 easy steps provides a straightforward and practical solution for anyone looking to upgrade their lighting system. With the right tools, knowledge, and attention to detail, anyone can successfully wire T8 LED lights and enjoy the benefits of energy-efficient and cost-effective lighting. By following the steps outlined in this guide, you can save money on your monthly electricity bill, reduce your carbon footprint, and enjoy brighter and more consistent lighting. Don’t hesitate to give it a try and see the difference it can make in your home or office today!

