Quick Fixes: How to Repair LED Lights in 5 Simple Steps
LED lights are a popular and energy-efficient lighting option in homes and businesses. However, like any other electronic device, they can also experience problems and malfunctions that require repair. Fortunately, fixing LED lights does not require extensive technical knowledge or expensive tools. In this guide, we will walk you through five simple steps to repair your LED lights and get them shining brightly again. Whether your LED lights are flickering, dim, or not working at all, the solutions we will provide are quick and easy to implement. You do not need to be an electrician or have any specialized equipment to follow these steps. By taking a few minutes to troubleshoot and repair your LED lights, you can save money on replacements and enjoy the benefits of energy-efficient lighting for years to come. So, let’s get started with our five-step guide to fixing your LED lights.
LED lights have become increasingly popular due to their energy efficiency, longevity, and eco-friendliness. They are also versatile and can be used in various settings, including homes, offices, and outdoor spaces. However, like any electrical device, LED lights are prone to problems that can affect their performance and lifespan. One common issue with LED lights is flickering, which can be caused by faulty wiring or a damaged driver. Another problem is dimming, which can result from a faulty dimmer switch or incompatible wiring. Additionally, overheating can cause LED lights to malfunction, leading to premature failure. Understanding these common issues and how to fix them can help to ensure that your LED lights remain in good working condition and provide you with reliable lighting for years to come.
Knowing how to repair LED lights is becoming increasingly important in today’s world as they are widely used in various applications such as residential lighting, automotive lighting, and lighting for commercial purposes. LED lights are known for their energy efficiency, durability, and long lifespan, but they can still experience issues such as flickering, dimming, or complete failure due to various reasons. Therefore, having the ability to troubleshoot and fix these issues not only saves money and time but also reduces waste and contributes to environmental sustainability. Moreover, understanding how to repair LED lights empowers individuals to take control of their own lighting systems, providing a sense of autonomy and self-reliance.
Check the Power Source

Problems with LED lights can often be traced back to the power source. Before diving into any complex troubleshooting, it’s a good idea to check the power source and make sure everything is properly connected. Start by checking the outlet or power strip that the LED lights are plugged into. If there’s any damage to the outlet or strip, it could be preventing the lights from receiving adequate power. Try plugging the lights into a different outlet to see if that makes a difference. If it does, the original outlet may need to be repaired or replaced. Additionally, if the LED lights are connected to a power strip, make sure that the strip is turned on and that all of the connections are secure. Another important thing to check when it comes to LED lights and power sources is the power supply for the lights themselves. In some cases, the power supply may be malfunctioning or not providing enough power to the lights. This can often be identified by a flickering or dimming of the lights, or by them not turning on at all. Check the power supply for any signs of damage, such as frayed wires or a burned-out fuse. If everything looks okay, try unplugging the power supply from the outlet and plugging it back in. This can sometimes reset the connection and get the lights working again. If none of these fixes work, it may be time to replace the power supply.
If your LED lights are not working, the first step is to check the power source. Start by unplugging the lights and then plugging them into a different outlet to see if they turn on. If they do, then the problem was with the original outlet. If they still don’t turn on, try checking the power cord for any damage or frayed wires. Additionally, check the power switch or the remote control batteries, as they may need replacing. It’s important to always ensure that the power source is working properly before moving on to any other troubleshooting techniques.
One common problem with power sources for LED lights is a loose connection. This can cause the lights to flicker or turn off completely. To fix this, first, unplug the power source from the wall. Then, check the connections between the power source and the LED lights. Tighten any loose connections and ensure that all wires are properly inserted. If the problem persists, try using a different power source to see if the issue is with the original one. Additionally, make sure that the power source is the correct voltage for the LED lights. Using the wrong voltage can cause damage to the lights and the power source.
Inspect the LED Bulbs

LED bulbs have become increasingly popular because of their energy efficiency and longer lifespan. However, like any other electronic device, they are prone to malfunctioning. One common issue that users face with LED lights is flickering or not turning on. Before calling an electrician or buying a new bulb, it’s essential to inspect the LED bulbs yourself. Start by checking the wiring and connections, as loose or poorly connected wires can cause the bulb to malfunction. If the wiring appears to be fine, move on to inspecting the bulb’s surface for any visible signs of damage, such as cracks or discoloration. Additionally, make sure that the bulb is compatible with the fixture and that it’s screwed in properly. By inspecting the LED bulbs yourself, you can save time and money while ensuring that your lights are working correctly. Another critical aspect to consider when inspecting LED bulbs is their heat dissipation. LED bulbs emit a significant amount of heat, and if they don’t dissipate it efficiently, it can cause the bulb to malfunction or even catch fire. Therefore, it’s vital to make sure that the bulb’s heat sink is properly functioning and isn’t obstructed by any debris or dust. In addition, make sure that the fixture allows for proper ventilation to allow the heat to escape. If you notice that the heat sink is damaged or obstructed, it’s best to replace the bulb to prevent any potential hazards. By inspecting the LED bulbs’ heat dissipation, you can ensure that your lights are not only working correctly but also safe to use.
When inspecting LED bulbs, there are a few things to keep in mind. Firstly, ensure that the bulb is not connected to a power source before handling it. Next, check the bulb for any visible signs of damage, such as cracks or chips. It’s also important to inspect the electrical contacts to ensure they are clean and not corroded. If the bulb has a dim glow or flickers when turned on, it may be a sign of a faulty driver or power supply. In this case, it may be necessary to replace the driver or have the power supply checked by a professional. By following these steps, you can quickly identify any issues with your LED bulbs and take the appropriate steps to repair them.
LED bulbs have become increasingly popular due to their energy efficiency and long lifespan. However, like any technology, they are not without their problems. One common issue with LED bulbs is flickering, which can be caused by a faulty driver or a loose connection. This can be fixed by checking the connections and replacing the driver if necessary. Another problem is dimness or uneven light distribution, which can be caused by incompatible dimmer switches or the wrong type of bulb for the fixture. To fix this, replace the dimmer switch with one designed for LED bulbs or choose a bulb that is compatible with the fixture. Additionally, LED bulbs can sometimes fail prematurely due to overheating or poor quality components. In this case, the only solution is to replace the bulb with a better quality one.
Check the Wiring
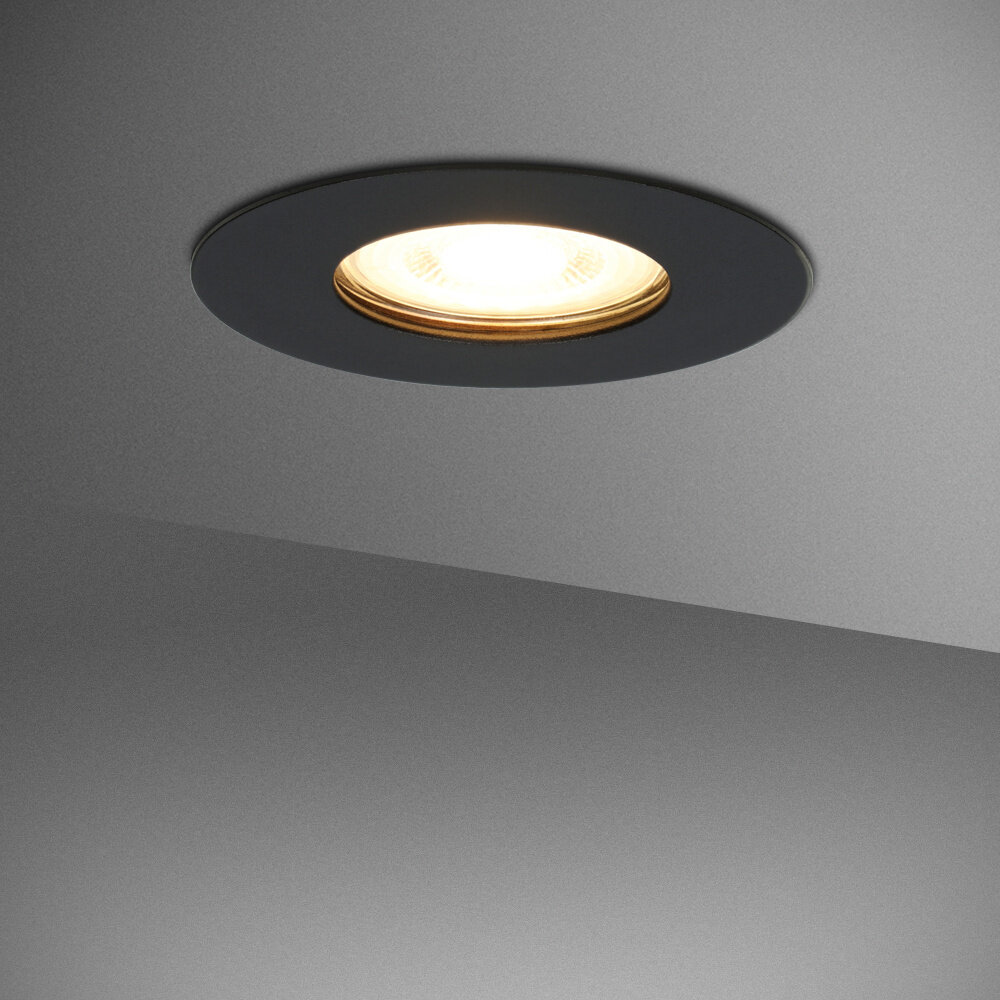
When it comes to repairing LED lights, one of the simplest yet most crucial steps is checking the wiring. LED lights are powered by electricity, and any issues with the wiring can cause them to malfunction. Thus, the first thing you should do when your LED lights are not working is to check the wiring. Start by checking the power source and make sure it’s working correctly. If you’re using a plug, make sure it’s plugged in properly and the outlet is working. If you’re using a battery, make sure it’s charged or replace it if necessary. Next, inspect the wiring of the LED lights themselves. Look for any visible damage, such as cuts or frayed wires, and repair or replace them as needed. It’s also important to ensure that the wiring is connected properly, as loose connections can cause the lights to flicker or not turn on at all. Lastly, check for any loose screws or connections in the LED light housing, as these can also cause issues with the wiring. By thoroughly checking the wiring, you can resolve many common issues with LED lights and get them working again quickly and easily. In conclusion, checking the wiring is an essential step in repairing LED lights. It’s a relatively simple process that can save you time and money in the long run. By ensuring that your LED lights are properly wired and connected, you can avoid common issues such as flickering, dimming, or not turning on at all. If you’re unsure about how to check the wiring or if you’ve tried this step and the lights still aren’t working, it’s best to consult a professional electrician to avoid causing further damage.
Checking the wiring is an essential step in troubleshooting LED lights. First, you need to unplug the lights and remove the cover to access the wiring. Carefully inspect the wiring for any signs of damage, such as cuts or breaks. Check each wire connection to ensure they are secure and tight. If you find any damaged wires, replace them with new ones. Additionally, use a multimeter to test the continuity of the wires to ensure they are properly connected. Once you have completed these steps, reassemble the light and plug it in to see if the issue has been resolved. By following these steps, you can easily check the wiring of your LED lights and fix any issues.
One common problem with wiring in LED lights is loose connections. This can cause flickering or complete failure of the light. To fix this issue, first, turn off the power to the light. Then, check the connections and tighten any loose screws or wires. If the problem persists, try replacing the wire connectors or splicing the wires together. Another issue is damaged wiring, which can cause the light to not turn on at all. To fix this, first, inspect the wiring for any visible damage such as cuts or fraying. If damage is found, replace the damaged section of wiring and ensure it is properly connected. It is crucial to address these issues promptly to ensure the safety and functionality of your LED lights.
Replace Faulty Parts
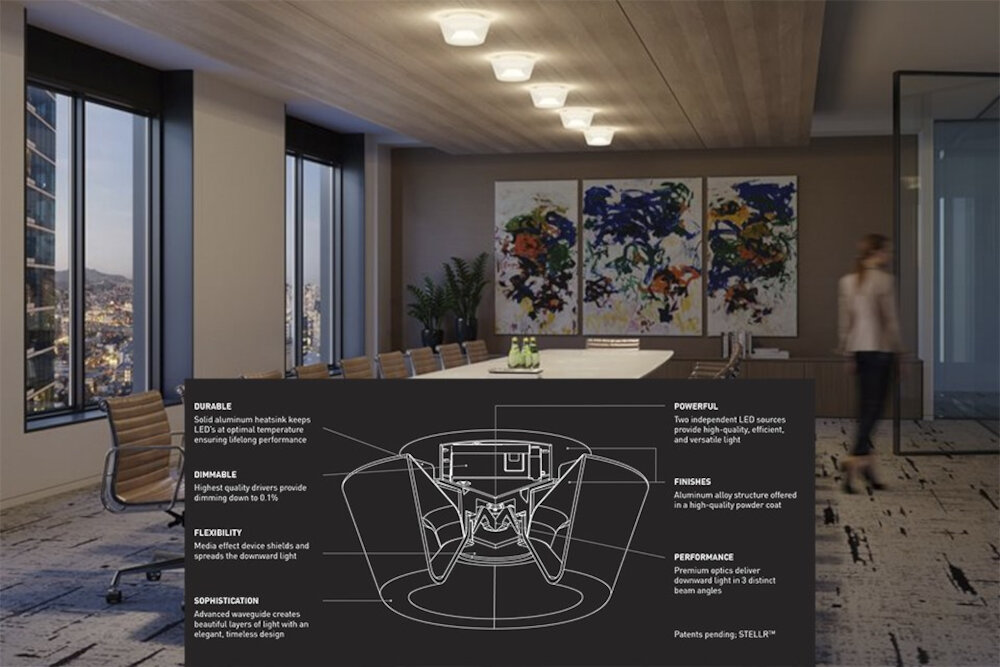
When it comes to LED lights, one of the most common issues that people face is a faulty part. This can be anything from a burnt-out bulb to a damaged power supply. Fortunately, replacing faulty parts is a relatively simple task that can be accomplished in just a few steps. The first step is to identify the faulty part. This can typically be done by carefully examining the light and looking for any signs of damage or wear and tear. Once you have identified the faulty part, the next step is to remove it from the light. This may require the use of tools such as a screwdriver or pliers. Once the faulty part has been removed, you can then replace it with a new one. It is important to ensure that the replacement part is the correct size and type for your specific LED light. Once the replacement part has been installed, you can then test the light to ensure that it is working properly. Replacing faulty parts is an essential skill for anyone who wants to keep their LED lights in good working order. By learning how to identify and replace faulty parts, you can save yourself time and money by avoiding the need to purchase a completely new light. Additionally, replacing faulty parts can also help to extend the lifespan of your LED lights, ensuring that they continue to provide reliable and efficient lighting for years to come. Whether you are a DIY enthusiast or a professional electrician, knowing how to replace faulty parts is an essential skill that can help you to keep your LED lights working properly and looking great.
When it comes to identifying faulty parts in LED lights, there are a few key things to look out for. Firstly, if the entire fixture is not lighting up, it may be a problem with the power supply or wiring. Check to make sure the power supply is working properly and that all wires are securely connected. Secondly, if only certain bulbs are not lighting up, it may be a problem with the bulbs themselves. Check to see if any of the bulbs are burnt out, loose, or damaged in any way. Finally, if the LED lights are flickering or dimming, it may be a problem with the driver. Make sure the driver is functioning properly and that all connections are secure. By identifying these common issues, you can quickly and easily repair your LED lights and get them back to optimal performance.
When it comes to LED lights, there are a few common faulty parts that can be easily replaced to get your lights up and running again. One of the most common culprits is a burnt-out LED bulb. To replace it, simply remove the cover of the light fixture, gently remove the old bulb, and insert a new one in its place. Another faulty part can be the LED driver, which regulates the power supply to the LEDs. To replace it, you’ll need to disconnect the old driver, install the new one, and reconnect the wires. Finally, if your LED lights are flickering or not turning on, it could be an issue with the circuit board. To replace it, you’ll need to unscrew the old board and install a new one in its place. By following these simple steps, you can quickly and easily fix your LED lights and enjoy their bright, energy-efficient glow once again.
LED lights have become increasingly popular in recent years, largely due to their energy efficiency, long lifespan, and versatility in design. These lights are not only cost-effective, but also eco-friendly and have a wide range of applications from household lighting to commercial and industrial use. However, like all electrical devices, LED lights can sometimes malfunction and require repair. Knowing how to repair LED lights can save you money and prevent unnecessary waste. Additionally, being able to troubleshoot and fix LED lights can help you extend their lifespan and ensure they continue to perform optimally. Therefore, it is important to have knowledge of LED light repair and the steps involved to quickly and easily fix any issues that may arise.
In the article \Quick Fixes: How to Repair LED Lights in 5 Simple Steps,\ the author suggests that repairing LED lights can be done by anyone, as long as they follow a few simple steps. First, the author recommends checking the power source and making sure it is correctly connected. Second, the author advises checking the LED driver to ensure it is functioning correctly. Third, the author suggests checking the LED strip for any damage or defects. Fourth, the author recommends checking the wiring to ensure it is properly connected. Finally, the author suggests checking the heat sink to ensure it is not overheating. By following these five simple steps, anyone can repair their LED lights and save money on replacement costs.
Don’t be intimidated by the thought of repairing your own LED lights; with the right tools and a little patience, you can save money and learn a new skill in the process! By taking the time to troubleshoot the issue and pinpoint the faulty component, you can quickly get your lights back to working order. Plus, the satisfaction of fixing something on your own is immeasurable. So why not give it a try? You may surprise yourself with your abilities and gain a newfound confidence in your DIY skills. With these 5 simple steps, you’ll be on your way to repairing your LED lights in no time.
Conclusion

In conclusion, repairing LED lights doesn’t have to be a daunting task. By following the five simple steps outlined in this article, anyone can quickly and easily fix their LED lights without the need for professional assistance. From identifying the problem to replacing any faulty components, the process is straightforward and can be completed in a matter of minutes. Whether it’s a flickering light or a complete failure, these quick fixes will restore your LED lights to their former glory and save you both time and money. So, the next time your LED lights start acting up, don’t panic – just follow these steps and enjoy a well-lit and functional space once again.

