LED Light Troubleshooting: Quick and Easy Ways to Fix Your Lighting Issues

Light Emitting Diodes (LEDs) have revolutionized lighting technology, enabling us to create energy-efficient, long-lasting, and environmentally-friendly lighting solutions. Despite their numerous advantages, LED lights can encounter problems that affect their performance, functionality, and lifespan. If you have noticed flickering lights, dimming, or complete failure of your LED fixtures, you may need to troubleshoot the issues to restore their optimal performance. LED light troubleshooting can seem daunting, especially if you lack technical knowledge or experience. However, with some basic tips and tricks, you can quickly and easily diagnose and fix your lighting problems, saving time, money, and frustration. One of the most common issues with LED lights is flickering, which can be caused by a range of factors, including unstable power supply, incompatible dimmer switches, or loose connections. Flickering can not only be annoying but also indicate a potential safety hazard if left unaddressed. Another problem is dimming, which can happen gradually over time or suddenly due to a faulty component. Dimming can compromise the quality of lighting and affect your mood, productivity, and comfort. Finally, LED lights can fail to turn on or stay lit, which can be caused by issues such as burned-out circuits, faulty wiring, or damaged components. Understanding the root cause of your lighting problems is crucial to finding the right solutions and avoiding further damage.
LED lights, or Light Emitting Diodes, are a type of lighting technology that has become increasingly popular in recent years due to their numerous advantages. Unlike traditional incandescent bulbs, LED lights are much more energy-efficient and last much longer, making them a cost-effective choice for homeowners and businesses alike. They also emit less heat, making them safer to use and reducing the risk of fire. Additionally, LED lights are available in a wide range of colors and can be dimmed, providing greater flexibility in terms of lighting design. Overall, LED lights are a smart and innovative choice for anyone looking to improve their lighting while saving money and reducing their environmental impact.
LED lights have become increasingly popular in recent years due to their energy efficiency and long lifespan. However, like any electronic device, they can experience issues that can be frustrating to deal with. One common issue is flickering, which can be caused by incompatible dimmer switches or voltage fluctuations. Another issue is color distortion, where the LED light emits the wrong color temperature. This can be caused by poor quality LED chips or incorrect installation. Additionally, overheating can cause LED lights to stop working, which can be caused by poor ventilation or overloading the circuit. It is important to troubleshoot these issues promptly to ensure that your LED lights continue to function efficiently and effectively.
Check Power Source
When facing LED light issues, one of the first things to check is the power source. Poor power supply can cause flickering, dimming or even complete failure of the light. Before moving on to any other troubleshooting measures, make sure your LED light is receiving the correct voltage and that the power source is functioning properly. Start by checking the power outlet and ensuring it is in good working condition. If the outlet is faulty, try plugging the LED light into a different outlet to see if the issue persists. If it does, then the problem may lie in the power cord or the light itself. Additionally, it is important to ensure that the power supply is compatible with the LED light. LED lights require a constant current power supply, which means that the current must remain stable at all times. A voltage that is too high or too low can cause the light to malfunction or even cause permanent damage. Always check the voltage requirements of your LED light and make sure that the power supply you are using is designed to provide a constant current. By ensuring that your LED light is receiving the correct voltage and that the power source is functioning properly, you will be one step closer to resolving any lighting issues you may be experiencing.
When troubleshooting issues with your LED lights, it’s important to start with the most basic component: the power source. To check if the power source is working, you can use a multimeter to test the voltage output. Simply set the multimeter to the appropriate voltage range (usually DC), touch the positive and negative probes to the corresponding terminals on the power source, and read the voltage output on the multimeter display. If the voltage matches the manufacturer’s specifications, then the power source is likely working properly. However, if the voltage is significantly lower or nonexistent, then the power source may be faulty and in need of replacement. It’s also important to check that the power source is securely plugged in and that the outlet it’s connected to is functioning properly.
If you are experiencing issues with your LED lights, one possible culprit could be the power source. To troubleshoot this issue, start by checking the power source and making sure it is properly connected and turned on. If the power source is connected properly, try plugging in a different device to see if it receives power. If the other device works, then the issue is likely with the LED light itself. However, if the other device does not receive power, then the problem is likely with the power source. In this case, try resetting the circuit breaker or replacing the fuse. If none of these steps work, it may be necessary to contact an electrician for further assistance.
Check Wiring
Checking the wiring is a crucial step in troubleshooting LED light issues. Faulty wiring can cause various problems, including flickering lights, dimming, or even complete failure of the LED light. Therefore, it is essential to ensure that all connections are secure and there are no damaged wires. Start by turning off the power supply to the LED light, and then carefully inspect the wiring. Look for any loose connections, frayed wires, or signs of damage. If you notice any issues with the wiring, replace the damaged wires or tighten the loose connections. It is essential to use the correct type of wire connectors and ensure they are properly crimped to prevent any future issues. If you have checked the wiring and found no issues, then it is time to test the voltage levels. Using a multimeter, measure the voltage at different points along the wiring to determine if there are any voltage drops. Voltage drops can occur due to faulty wiring, undersized wires, or long wire runs. If you notice any significant voltage drops, then it may be necessary to replace the wiring or install a voltage booster. It is important to note that working with electricity can be dangerous. If you are not comfortable working with electrical wiring or are unsure of what you are doing, it is best to call a professional electrician to avoid any potential hazards.
If you are experiencing issues with your LED lights, one of the first things you should check is the wiring connections. Start by turning off the power supply to the lights and carefully examining the wiring for any loose or disconnected connections. Check that each wire is securely fastened to its corresponding terminal and that there are no frayed or damaged wires. You may also want to use a multimeter to test the continuity of the wiring and ensure there are no breaks or interruptions in the circuit. Once you have checked and tightened all the wiring connections, turn the power back on and test your lights to see if the issue has been resolved.
If wiring is the issue, there are several troubleshooting steps you can take to fix your LED lighting problems. Firstly, check that all the connections are secure and tight, as loose connections can cause flickering or a complete lack of light. Secondly, ensure that the wires are connected to the correct terminals and that there are no exposed wires, which can cause a short circuit. Thirdly, use a multimeter to test the voltage and resistance of the circuit, which can help identify any potential issues. Finally, if all else fails, consider hiring a professional electrician to inspect and repair the wiring, as faulty wiring can be dangerous and should be handled by a qualified expert.
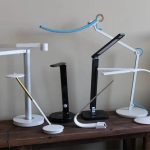
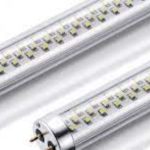
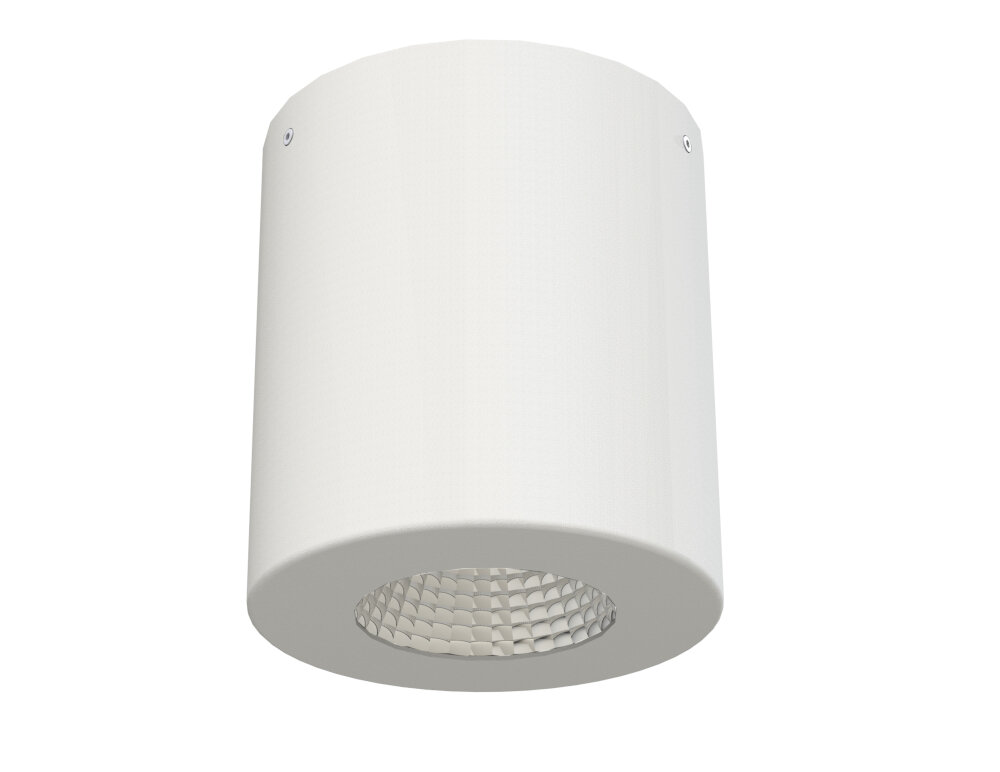
Check LED Bulbs

LED bulbs are a popular lighting option for their energy efficiency, longevity, and bright illumination. However, like any electrical device, LED bulbs can encounter issues that may affect their performance. One of the most common problems with LED bulbs is their failure to turn on or flickering light. This issue can be caused by various factors, including wiring problems, malfunctioning fixtures, or a faulty bulb. To troubleshoot the issue, you can start by checking the LED bulb itself. Inspect the bulb’s base and ensure that it is securely screwed into the socket. If it is loose, tighten it gently to ensure a proper connection. Additionally, check the bulb’s wiring and ensure that it is not damaged or frayed. If the wiring is damaged, you may need to replace the bulb entirely. Another issue that can occur with LED bulbs is their inability to dim or adjust brightness. This problem can be caused by incompatible dimmer switches or fixtures. LED bulbs require specific dimmer switches designed for their technology. If you are using an older dimmer switch that is not compatible with LED bulbs, it may cause flickering or failure to dim. In this case, you may need to replace the dimmer switch with a compatible option. Additionally, some LED bulbs are not designed to dim and may fail to adjust their brightness levels. Be sure to check the packaging or manufacturer’s instructions to ensure that your LED bulb is dimmable. By checking your LED bulb’s compatibility and connections, you can quickly and easily troubleshoot any issues and enjoy bright, efficient lighting in your space.
If you suspect that your LED bulb is not functioning properly, there are a few steps you can take to check it. Start by turning off the power source and carefully removing the bulb from its socket. Inspect the bulb for any visible damage or signs of burning, and make sure it is securely screwed in. If the bulb appears to be in good condition, you can use a multimeter to test its functionality. Set the multimeter to the resistance or continuity mode, and touch the probes to the two contact points on the base of the bulb. If the meter displays a reading, the bulb is still functioning. If not, it may be time to replace the bulb.
If you are experiencing issues with your LED bulbs, there are several troubleshooting steps you can take to resolve the problem. First, make sure the bulb is securely screwed in and the socket is not loose. If the bulb still doesn’t light up, try swapping it out with a known working bulb to see if the issue is with the bulb itself. Additionally, check the voltage of the circuit to ensure it is within the operating range of the LED bulb. If none of these steps resolve the issue, consider checking the dimmer switch compatibility or consulting an electrician for further assistance. By following these steps, you can easily fix your LED lighting issues and enjoy a well-lit space once again.
Check LED Driver
The LED driver is an essential component in LED lighting systems, responsible for regulating the electrical current that powers the LEDs. If your LED lights are not working correctly, it’s essential to check the LED driver to determine if it’s the root of the problem. The first step is to visually inspect the driver for any signs of damage or wear, such as burn marks or melted plastic. If you notice any damage, it’s best to replace the driver entirely. If the driver appears to be in good condition, the next step is to test it with a multimeter to ensure it’s delivering the correct amount of power to the LEDs. First, turn off the power supply to the LED lights and disconnect the driver. Set the multimeter to measure DC voltage and touch the positive probe to the positive wire and the negative probe to the negative wire. The voltage reading should match the output voltage listed on the driver’s label. If the voltage is significantly lower, the driver may be faulty and need replacement. Checking the LED driver is a vital troubleshooting step that can help solve lighting issues quickly and easily. In summary, the LED driver plays a crucial role in LED lighting, regulating the electrical current that powers the LEDs. If you experience issues with your LED lights, checking the driver is an essential step in troubleshooting the problem. First, inspect the driver visually for any signs of damage, and if there is any, replace it entirely. Next, use a multimeter to test the driver’s output voltage and ensure it matches the label’s listed voltage. If the voltage is significantly lower, the driver may be faulty and require replacement. By checking the LED driver, you can quickly and easily identify and solve any lighting issues.
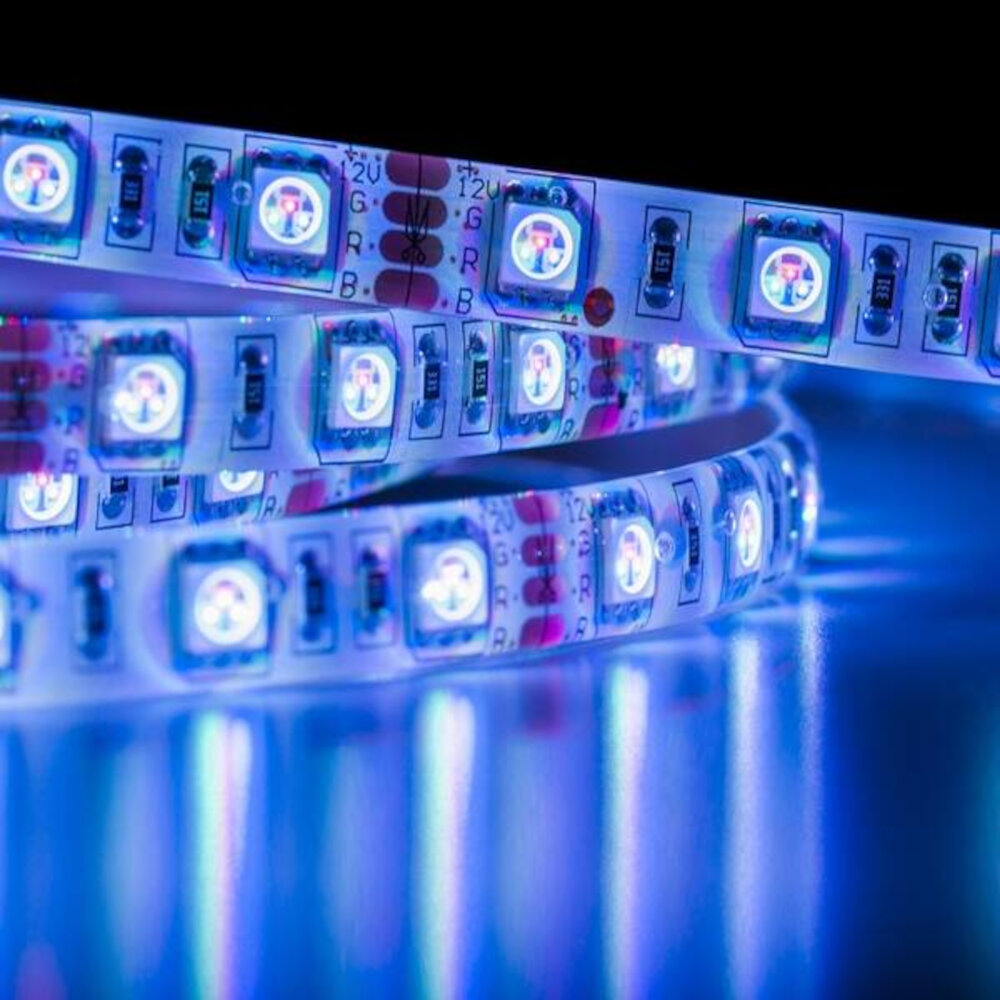
LED drivers are electronic devices that regulate the power and current flowing through LED lights to ensure they operate efficiently and safely. They convert the incoming AC voltage to a lower DC voltage, which is necessary for the LEDs to function. The driver also controls the current flow to the LED, which is crucial for maintaining the brightness and lifespan of the light. LED drivers come in various types, including constant current and constant voltage drivers, depending on the specific LED lighting requirements. A malfunctioning LED driver can cause flickering, dimming, or complete failure of the LED light, making it important to troubleshoot and replace faulty drivers promptly.
If you suspect that the LED driver is the issue, there are several troubleshooting steps you can take. First, check if the driver is receiving power by using a voltage meter. If it is not receiving power, check the wiring and connections to ensure they are secure and functioning properly. If the wiring and connections are in good condition, check if the driver is compatible with the LED bulb or fixture being used. If it is not compatible, replace the driver with one that is compatible. If the driver is receiving power and is compatible, but the LED bulb or fixture is still not working, the driver may be faulty and need to be replaced. It is important to always follow manufacturer guidelines and safety precautions when working with electrical components.
LED lights are known for their energy efficiency and longevity, but like any other electronic device, they can also malfunction from time to time. Some common LED light issues include flickering, dimming, and not turning on. Flickering can be caused by a loose connection, damaged wiring, or an incompatible dimmer switch. Dimming can be a sign of a failing driver, an overloaded circuit, or a faulty bulb. If your LED light won’t turn on, check the power source, the socket, and the bulb itself. Troubleshooting LED light problems may require some technical knowledge and tools, but with patience and attention to detail, most issues can be resolved quickly and easily.
Regular maintenance is crucial when it comes to preventing future issues with your LED lighting. Not only does it save you time and money, but it also ensures that your lighting system operates at its optimal level. A well-maintained LED light is less likely to fail or malfunction, which means that you won’t have to face inconveniences such as flickering lights or sudden power outages. Neglecting maintenance can lead to more significant problems in the long run, such as damaged fixtures or malfunctioning transformers. Therefore, it’s important to make maintenance a routine task to ensure that your LED lighting system functions smoothly for years to come.
Conclusion
In conclusion, LED light troubleshooting doesn’t have to be a daunting task. By following these quick and easy tips, you can identify and fix common lighting issues in no time. From checking connections and power sources to replacing faulty components, it’s important to approach the problem systematically and with patience. By doing so, you can ensure that your LED lights continue to provide reliable and efficient illumination for years to come. So don’t let lighting issues dim your day – take action and troubleshoot your LED lights with confidence.