How to Easily Replace Your Integrated LED Ceiling Light in a Few Simple Steps
Are you tired of staring at that outdated integrated LED ceiling light fixture in your home? Are you ready for a change, but unsure of how to replace it? Look no further! In just a few simple steps, you can easily replace your integrated LED ceiling light with a more modern and stylish fixture that will brighten up any room in your home. Replacing an integrated LED ceiling light may seem like a daunting task, but with the right tools and instructions, it can be a straightforward and stress-free process. Not only will a new fixture enhance the aesthetic of your space, but it will also improve the lighting quality and potentially even save you money on your energy bill. So, whether you’re looking to upgrade your home’s lighting or simply switch out an old fixture, this guide will provide you with all the necessary steps to do so easily and efficiently.
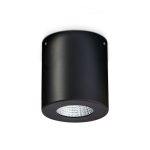
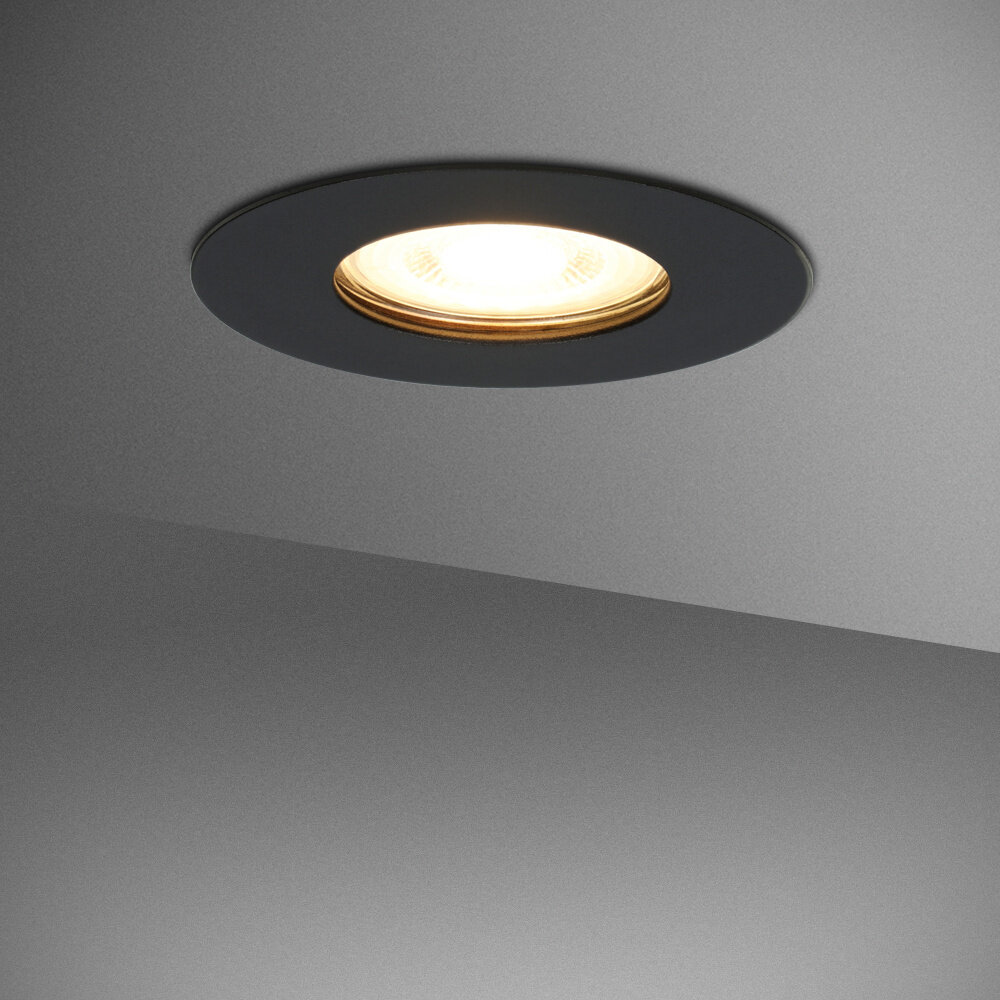
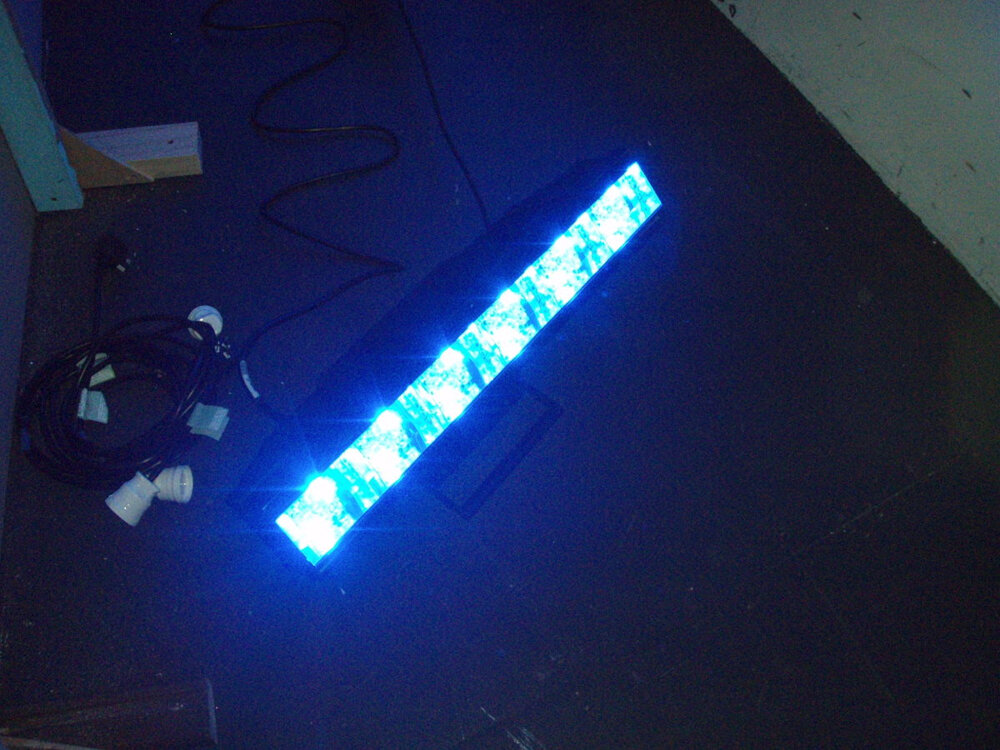
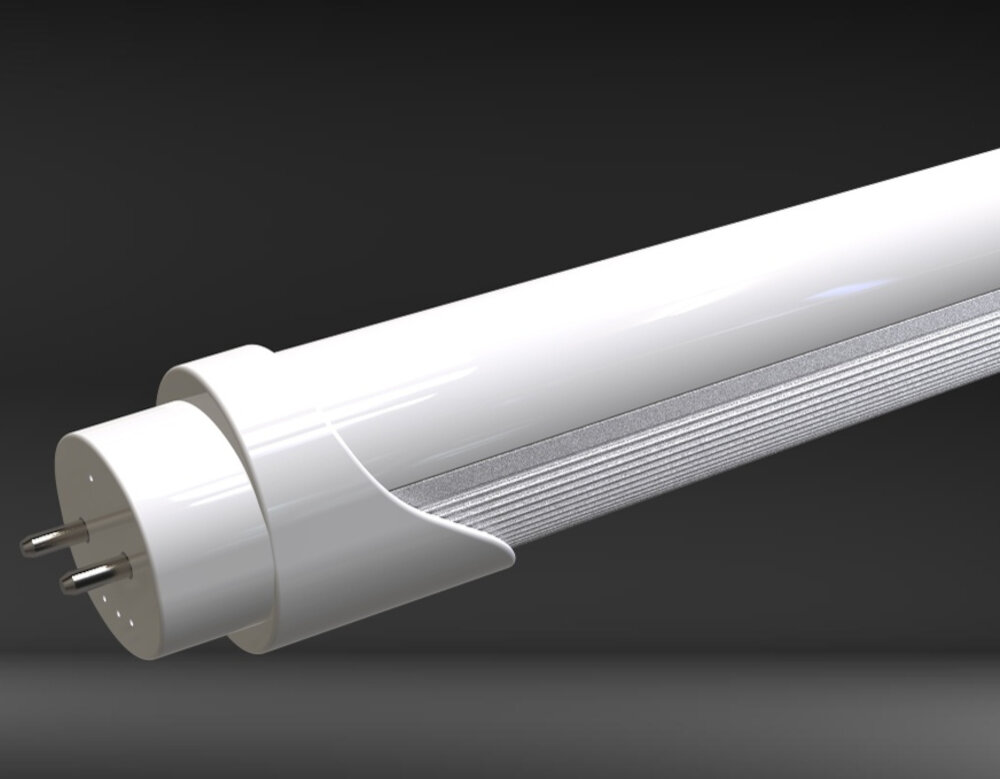
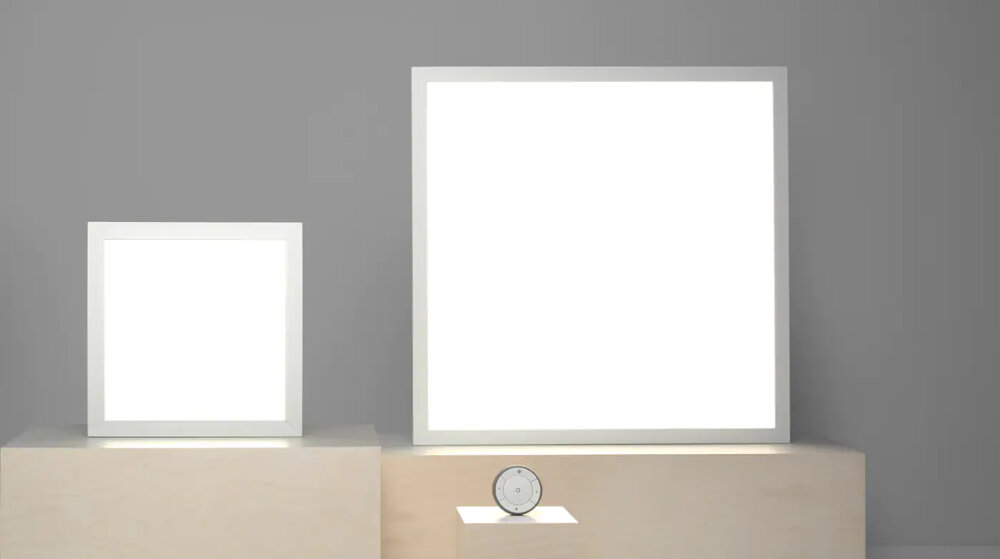
An integrated LED ceiling light is a modern lighting fixture that combines both the light source and the fixture into a single unit. It is designed to provide efficient and long-lasting lighting solutions for homes, offices, and other commercial spaces. These lights are energy-efficient, cost-effective, and have a longer lifespan than traditional light bulbs. Integrated LED ceiling lights come in a variety of shapes, sizes, and styles, making them a versatile lighting option for any space. They are easy to install and maintain, and their sleek design adds a touch of sophistication to any room. Overall, integrated LED ceiling lights are an excellent choice for anyone looking to upgrade their lighting system to a more energy-efficient and stylish option.
There are several reasons why you might need to replace your integrated LED ceiling light. Firstly, the light may have stopped working altogether, which could be due to a fault with the LED driver, a blown fuse or a loose connection. Secondly, the light may have become dim or flickering, which could be due to a faulty LED or a problem with the power supply. Additionally, you may want to replace your integrated LED ceiling light to improve the brightness or color temperature of the room. Whatever the reason, replacing your integrated LED ceiling light is a simple and straightforward process that can be done in just a few simple steps.
Tools and Materials
Replacing an integrated LED ceiling light may seem daunting, but with the right tools and materials, the process can be a breeze. Firstly, it is essential to have a ladder or step stool to access the ceiling fixture safely. A pair of gloves can also come in handy, especially when handling the light bulb or the fixture itself. Additionally, a voltage tester is crucial to ensure that the power is turned off before beginning the replacement process. A wire stripper, wire connectors, and a screwdriver are also necessary to disconnect and reconnect the wiring safely. It is crucial to ensure that the tools are of high quality and in good condition to avoid any accidents during the replacement process. In terms of materials, it is essential to have a replacement LED light that matches the specifications of the old fixture. The wattage, voltage, and base size should match to ensure compatibility. A replacement cover or trim kit can also be purchased if the old one is damaged or discolored. It is also recommended to have a soft cloth or cleaning solution to clean the fixture and the surrounding area before and after the replacement process. By having the right tools and materials, the replacement process can be completed safely and efficiently, ensuring a well-lit and aesthetically pleasing room.
Replacing an integrated LED ceiling light may seem daunting, but with the right tools and materials, the process becomes simple. Firstly, you need a screwdriver, preferably a Phillips-head screwdriver, to remove the screws that secure the light fixture to the ceiling. Secondly, you’ll require a voltage tester to ensure that the power supply to the light is switched off before commencing the replacement process. Additionally, it’s essential to have a ladder or stool to reach the ceiling, especially for higher ceilings. As for materials, you’ll need a replacement integrated LED ceiling light and wire nuts to connect the wires. In conclusion, gather all these tools and materials, and with just a few simple steps, replace your integrated LED ceiling light in no time.
Replacing an integrated LED ceiling light may seem like a daunting task, but it can be done with just a few simple steps. The first step is to turn off the power to the light at the circuit breaker. Next, remove the cover of the light fixture and unscrew the old LED light. Take note of how the wires are connected and disconnect them. Then, connect the wires of the new LED light and screw it into place. Finally, replace the cover of the light fixture and turn the power back on at the circuit breaker. Follow these steps and you can easily replace your integrated LED ceiling light without the need for an electrician.
Steps

Replacing an integrated LED ceiling light may seem like a daunting task, but with a few simple steps, it can be done with ease. The first step is to turn off the power supply to the light at the circuit breaker. This is essential for your safety and to prevent any electrical accidents from occurring. Once the power supply has been switched off, remove the light cover by gently pulling it down or twisting it to release it from the clips. If the cover is held by screws, use a screwdriver to remove them. Be careful not to drop the cover, as it may break or shatter. Next, remove the screws or clips that are holding the light fixture in place. Once you have removed all the screws or clips, gently pull the fixture down from the ceiling. If the fixture is stuck, use a flathead screwdriver to pry it loose. Once the fixture is removed, disconnect the wires that are connecting it to the power supply. You may need to use wire cutters to snip the wires, so be sure to have them on hand. Once the wires are disconnected, remove the old LED light and replace it with the new one. Finally, reattach the fixture to the ceiling, reconnect the wires, and turn the power supply back on at the circuit breaker. With these few simple steps, you can easily replace your integrated LED ceiling light and enjoy a well-lit room once again.
Replacing an integrated LED ceiling light is a simple process that can be accomplished with a few easy steps. First, ensure that the power supply to the light is turned off before beginning the replacement process. Next, remove the cover or lens of the light fixture by gently pulling it away from the ceiling. Locate the screws that hold the fixture in place, and remove them using a screwdriver. Carefully detach the fixture from the ceiling, being mindful of any wires that may be attached. Once the fixture is free, disconnect any wiring connections, and remove the old light. Finally, install the new LED light by following the manufacturer’s instructions, and reattach the cover or lens to complete the replacement process. With these simple steps, you can easily replace your integrated LED ceiling light and enjoy a new, energy-efficient lighting solution.
Clear and concise language, accompanied by pictures or diagrams, can make it incredibly easy for anyone to replace their integrated LED ceiling light in just a few simple steps. By using precise and straightforward language, the instructions become easy to follow, even for those with limited experience. Likewise, including pictures or diagrams can provide visual cues that help simplify the process even further. Whether you’re a seasoned DIY enthusiast or a beginner, these steps can help you quickly and efficiently replace your integrated LED ceiling light without any hassle. So, follow these steps, and you’ll have your new light installed and ready to use in no time!
Troubleshooting
When it comes to replacing an integrated LED ceiling light, troubleshooting may be necessary. Some common issues that may arise include flickering lights, lights not turning on at all, or uneven lighting. Flickering lights could be a result of a loose connection, a faulty driver or ballast, or a damaged LED. If the lights don’t turn on at all, it could be due to a faulty switch, a tripped circuit breaker, or a disconnected wire. Uneven lighting could be caused by an issue with the LED module or a problem with the wiring. To troubleshoot these issues, it is important to first turn off the power supply to the light. Then, inspect the wiring and connections to make sure everything is securely connected and intact. If any loose connections or damaged wires are found, they should be repaired or replaced. If the issue persists, the driver or ballast should be inspected and possibly replaced. In the case of uneven lighting, the LED module may need to be replaced or the wiring adjusted to ensure proper distribution of light. By troubleshooting these common issues, homeowners can ensure their integrated LED ceiling light is working properly and efficiently.
Replacing an integrated LED ceiling light may seem like a simple task, but there are some common issues that may arise during the process. One issue is the compatibility of the replacement light with the existing wiring and fixture. It’s important to ensure that the new light has the same voltage and wiring as the old one to avoid any electrical problems. Another issue is the size and shape of the replacement light. It’s crucial to measure the dimensions of the existing fixture and choose a replacement that will fit properly. Additionally, some fixtures may be difficult to access or require special tools to remove, which can cause frustration during the replacement process.
If you’re having trouble replacing your integrated LED ceiling light, there are a few tips that can make the process much easier. First, make sure you have the right tools on hand, including a screwdriver and wire strippers if necessary. Next, turn off the power to the light at the circuit breaker to avoid any electrical hazards. Then, carefully remove the old fixture and disconnect the wires. When installing the new fixture, make sure to follow the manufacturer’s instructions and securely connect the wires before attaching the fixture to the ceiling. Finally, test the light to ensure it’s working properly before finishing the installation. With these tips in mind, replacing your integrated LED ceiling light can be a quick and easy task.
Replacing integrated LED ceiling lights is an important task for several reasons. Firstly, if your current LED light has stopped working or is not functioning at its optimum level, then it’s time to replace it. A faulty light not only looks unpleasant but also poses a safety hazard. Secondly, replacing your LED light with a more energy-efficient model can help you save money on your electricity bills in the long run. Thirdly, an updated LED light will enhance the overall look of your room and add to its aesthetic appeal. Lastly, replacing your integrated LED ceiling light is a straightforward process that can be accomplished in a few simple steps, making it an easy DIY project for anyone to undertake.
The article titled \How to Easily Replace Your Integrated LED Ceiling Light in a Few Simple Steps\ provides a comprehensive guide on how to replace integrated LED ceiling lights seamlessly. The article emphasizes the importance of safety precautions, such as disconnecting the power source before starting the replacement process. It also advises readers to choose LED lights that match the size and fitting of the old light. The article provides easy-to-follow steps, including removing the old light, installing the new light, and testing the light after installation. The author also gives useful tips such as using a voltage tester to ensure the power is off and taking photos before disassembling the old light to aid in installation. Overall, this article provides an informative and practical guide for anyone looking to replace their integrated LED ceiling light.
Conclusion
In conclusion, replacing your integrated LED ceiling light may seem like a daunting task, but it is actually quite simple with the right tools and steps. By following the few steps outlined in this guide, you can easily replace your old light fixture and upgrade to a modern, more energy-efficient LED fixture. Not only will this save you money on your electricity bill, but it will also enhance the overall aesthetic of your home. Don’t let a faulty or outdated light fixture bring down the ambiance of your space – take the necessary steps to replace it today and enjoy the benefits of a well-lit and stylish home.