Effortlessly Remove LED Strip Light Adhesive: A StepbyStep Guide
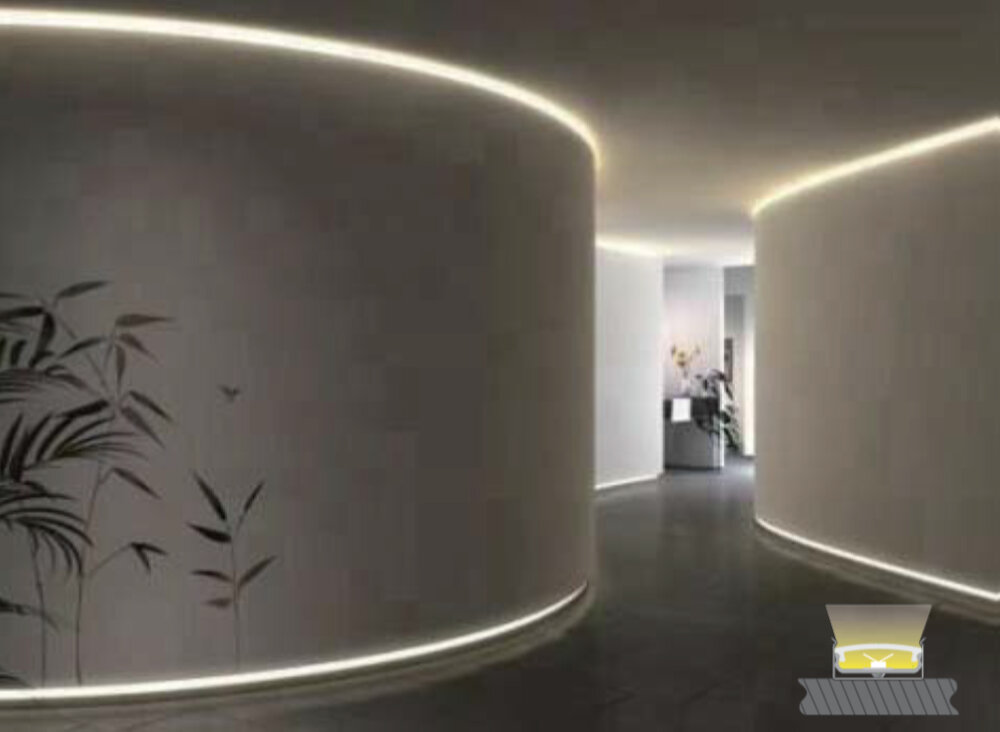
LED strip lights are an excellent way to add some ambiance and style to any room in your house. These lights are versatile, durable, and come in a variety of colors and styles that can suit any taste. However, when it comes to removing the adhesive from LED strip lights, things can get a little tricky. The adhesive that comes with the strip lights is strong and can leave behind residue and damage the surface it was stuck on. That is why it is essential to learn how to remove the adhesive effortlessly without damaging the surface or the light strip. In this step-by-step guide, we will show you how to remove the adhesive from LED strip lights without any hassle. Whether you’re moving the lights to a new location or want to replace them with a new set, this guide will make the process easy and straightforward. With a few simple tools and some patience, you can remove the adhesive quickly and efficiently, leaving your surface clean and undamaged. So, let’s get started on this journey to effortlessly removing LED strip light adhesive.
LED strip lights are a popular choice for interior and exterior lighting due to their energy efficiency, versatility, and ease of installation. However, one common issue that arises with these lights is the adhesive used to secure them in place. Over time, the adhesive can become brittle, lose its stickiness, and even leave behind residue. This can make it difficult to remove the LED strip light safely and cleanly. Therefore, it is important to remove the adhesive before replacing or repositioning the LED strip light. By doing so, you can avoid damaging the surface it is attached to and ensure a smooth and easy installation of the new LED strip light.
Removing adhesive without damaging the surface is a crucial step in any DIY project that involves the use of adhesives. Failure to do so can result in unsightly blemishes that can ruin the overall aesthetic of your project. Not only that, but it can also cause more work and expense in repairing or replacing the damaged surface. Moreover, removing adhesive without damaging the surface requires a delicate touch and patience. Using harsh chemicals or abrasive tools can not only damage the surface but also pose a risk to your health. Therefore, it is essential to follow a step-by-step guide and use the right tools and materials to ensure that the adhesive is removed effortlessly without causing any damage to the surface.
The step-by-step guide on how to effortlessly remove LED strip light adhesive is a comprehensive and easy-to-follow set of instructions that outlines the entire process from start to finish. The guide is designed to be accessible to anyone regardless of their experience level, and it breaks down each step into clear and concise instructions with accompanying images to ensure that the process is as straightforward as possible. From preparing the necessary materials to removing the adhesive residue, the guide covers everything you need to know to ensure that you can remove your LED strip light adhesive quickly and easily without causing any damage to your surfaces.
Step 1: Turn off the Power

The first step in removing LED strip light adhesive is to turn off the power source. This is a crucial step as it ensures that there is no power running through the strip lights, making it safe to proceed with the removal process. It’s important to note that strip lights are connected to a power source using an adapter, so it’s essential to unplug it from the outlet. If you’re unable to access the outlet, turn off the power supply from the main switchboard. Failure to turn off the power source can result in electrocution or damage to the LED strip lights. Turning off the power source before removing the adhesive also prevents damage to the LED strip lights. Adhesive removal can be a tricky process, and if not done correctly, it can damage the lights, rendering them unusable. By turning off the power source, you reduce the risk of damaging the strip lights, making it easier to remove the adhesive without harming them. Additionally, turning off the power source ensures that the adhesive is not heated up, making it easier to remove. Therefore, before proceeding with the adhesive removal process, ensure that you turn off the power source to avoid any possible damage or harm.
Turning off the power is an important step when removing LED strip light adhesive. This is because LED strip lights are powered by electricity, and if the power is not turned off, there is a risk of electric shock or damage to the lights. It is also important to turn off the power to ensure that the adhesive does not melt or become more difficult to remove due to the heat generated by the lights. By turning off the power, you can safely remove the adhesive without risking injury or damage to your lights. It is always better to be safe than sorry, and taking the time to turn off the power is a simple but crucial step in the process of removing LED strip light adhesive.
Before removing the LED strip light adhesive, it is essential to turn off the power supply. To do this safely, locate the power source and switch it off. For hardwired LED strip lights, turn off the circuit breaker that supplies power to the lights. For plug-in LED strip lights, unplug the power supply from the outlet. Ensure that you double-check the power supply to confirm that it is indeed off to avoid electrical shock or damage to the LED strip light. This step is crucial to ensure that the LED strip light is safe to handle during the adhesive removal process.
Step 2: Remove the LED Strip Light
Removing LED strip light adhesive can be a daunting task, but with the right steps, it can be done effortlessly. Step 2 involves removing the LED strip light itself. Before proceeding with this step, make sure that the power source has been disconnected to avoid any electrical hazards. Start by gently pulling the LED strip light off the surface it is attached to. If it is firmly attached, use a plastic scraper or credit card to loosen the adhesive. Be careful not to damage the surface underneath the LED strip light. If the adhesive is still firmly attached, try using a heat gun or hairdryer to soften the adhesive. Hold the heat gun or hairdryer about 2-3 inches away from the strip light and move it slowly along the surface to avoid damage. Once the adhesive is softened, gently pull the LED strip light off the surface. If the adhesive is still stubborn, try using rubbing alcohol or adhesive remover to loosen it. Apply the rubbing alcohol or adhesive remover to a cloth and gently rub it on the adhesive until it loosens up. With a little patience and perseverance, the LED strip light can be removed without causing any damage to the surface underneath.
Removing LED strip lights from a surface can be a tricky task, especially when you want to avoid damaging the surface or the lights themselves. The first step is to unplug the LED strip light and let it cool down completely before removing it. Next, gently peel off the adhesive tape from one end of the strip and slowly pull it back, making sure to apply even pressure to prevent any tearing or bending. If the adhesive is stubborn, use a hairdryer or a heat gun to soften the glue and loosen its grip. Once you have removed the strip, use a clean cloth or a mild adhesive remover to wipe away any residue left behind. With these easy steps, you can safely remove LED strip lights without any hassle or damage.
Removing LED strip light adhesive can be tricky, but with a few tips and tricks, you can do it effortlessly without damaging the light. First, make sure to turn off the power supply to the lights to avoid any electrical hazards. Then, use a hairdryer or heat gun to soften the adhesive and gently peel off the strip. If the adhesive is stubborn, use a plastic scraper or credit card to avoid scratching the surface. To remove any residue, use rubbing alcohol or adhesive remover and a soft cloth. Remember to take your time and be patient while removing the strip light to avoid any damage. With these tips, you can remove LED strip light adhesive like a pro!
Step 3: Remove the Adhesive
Removing the adhesive from LED strip lights can be a challenging task, but with the right tools and techniques, it can be done effortlessly. The third step in the process involves removing the adhesive residue left behind after peeling off the strip lights. There are several effective methods to accomplish this task, and it is important to choose the one that works best for your specific needs. One of the most popular methods for removing adhesive residue is by using rubbing alcohol. Simply apply a small amount of rubbing alcohol to a clean cloth and gently rub the adhesive residue until it starts to dissolve. You may need to repeat this process several times to completely remove the residue. Another effective method is to use a mixture of baking soda and water. Simply mix the two ingredients together until you have a paste-like consistency, and then apply it to the adhesive residue. Let the mixture sit for a few minutes, and then gently scrub the area with a soft-bristled brush. This method is best suited for smaller areas of residue.
When it comes to removing adhesive from LED strip lights, there are several methods that can be employed. One effective method is using heat, which involves using a hairdryer or heat gun to soften the adhesive and make it easier to remove. Another approach is using solvents, such as rubbing alcohol or acetone, which dissolve the adhesive and allow it to be wiped away. Additionally, mechanical means can be used, such as scraping with a plastic scraper or using a razor blade to carefully peel away the adhesive. Each method has its own advantages and disadvantages, and it is important to choose the one that is most appropriate for the type of adhesive and surface it is adhered to.
There are several methods to remove LED strip light adhesive, each with its own set of pros and cons. One method is to use a heat gun, which can quickly soften the adhesive and allow for easy removal. However, this method requires caution to avoid damaging the LED strip or surrounding surfaces. Another method is to use a specialized adhesive remover, which can effectively dissolve the adhesive without the need for heat. However, these products can be expensive and may take longer to work. Additionally, some people opt to use homemade solutions such as rubbing alcohol or vinegar, which can be effective but may require more effort and elbow grease. Ultimately, the best method will depend on the specific situation and personal preference.
When using solvents or heat to remove LED strip light adhesive, it is important to take appropriate safety precautions. Solvents can be hazardous if inhaled, absorbed through the skin, or ingested. It is recommended to wear gloves and eye protection to avoid direct contact with the solvent. Adequate ventilation is also essential to prevent inhaling toxic fumes. When using heat, it is important to avoid touching the heated surface and use protective gloves. Additionally, it is important to keep a fire extinguisher nearby in case of accidental fires. Taking these safety measures will ensure a safe and effective removal process.
Step 4: Clean the Surface
After removing the LED strip light, the next step is to clean the surface. Cleaning the surface will help remove the adhesive residue left behind. This step is crucial in preparing the surface for the next application. The surface must be completely free from any residue or dirt before applying a new adhesive. To clean the surface, you can use a damp cloth or paper towel. For stubborn residue, you can use a mild soap or rubbing alcohol. Ensure that the surface is completely dry before proceeding to the next step. Cleaning the surface is essential to ensure a strong bond between the adhesive and the surface. Any residue left behind can weaken the adhesive’s grip, causing it to peel off quickly. In addition, a clean surface helps to prevent any air bubbles from forming, which can weaken the adhesive’s bond. A clean surface also ensures that the adhesive is applied evenly, which is crucial for the LED strip light’s stability. Therefore, it is important to take your time in cleaning the surface, ensuring that it is completely free from any residue or dirt.
Once you have successfully removed the adhesive from your LED strip lights, it’s crucial to clean the surface thoroughly to ensure a smooth and residue-free finish. Start by wiping the area down with a damp cloth or sponge to remove any remaining adhesive particles. Next, mix a solution of warm water and mild soap and apply it to the surface, using a clean cloth or sponge to scrub away any remaining residue. Be sure to rinse the surface thoroughly with clean water and dry it completely using a lint-free cloth. If there are any stubborn residue spots, you can use rubbing alcohol or white vinegar to dissolve them. Once the surface is clean, you can proceed with re-installing or applying new adhesive as needed.
Ensuring the surface is completely clean and free of residue is crucial when removing LED strip light adhesive. The first step is to remove any dirt or debris using a damp cloth. If the surface still appears dirty, use a mild detergent to clean it thoroughly. Next, use a scraper or putty knife to remove any remaining adhesive residue. It’s important to be gentle and take your time to avoid damaging the surface. For stubborn residue, try using a solvent like rubbing alcohol or vinegar. Always test the solvent on a small, inconspicuous area first to avoid any damage. Once the surface is completely clean, dry it thoroughly before applying new adhesive. By taking these steps, you can ensure a smooth and successful removal of LED strip light adhesive.
It is crucial to remove LED strip light adhesive without damaging the surface to maintain its aesthetic appeal and functionality. Adhesive residue can attract dust and dirt, making the surface look unappealing and can hinder the adhesion of future applications. Additionally, removing the adhesive incorrectly can cause scratches or dents, which can be expensive to repair or replace. By following a step-by-step guide and using the right tools, you can effortlessly remove the adhesive and preserve the surface. This will not only enhance the lifespan of the surface but also provide a clean canvas for future applications.
The step-by-step guide for removing LED strip light adhesive is a comprehensive and easy-to-follow set of instructions that will help you remove the adhesive without damaging your walls or the LED lights themselves. The guide begins by gathering the necessary tools, such as a hairdryer, a scraper, and rubbing alcohol. It then proceeds to explain how to soften the adhesive with the hairdryer, how to use the scraper to remove it, and how to clean up any remaining residue with rubbing alcohol. The guide also provides tips and tricks for dealing with stubborn adhesive and for ensuring that your LED lights remain intact throughout the process. Overall, this guide is a valuable resource for anyone looking to remove LED strip light adhesive quickly and easily.
In conclusion, removing adhesive from different surfaces can be a daunting task, but it doesn’t have to be. With the right tools and techniques, you can make the process effortless and stress-free. It is essential to be patient and take your time to avoid damaging the surface. Always start with the mildest solution and work your way up to stronger ones if necessary. Remember to test any solution on a small, inconspicuous area first to ensure it doesn’t cause any damage. Lastly, be sure to follow the manufacturer’s instructions and wear protective gear when working with harsh chemicals. With these tips in mind, you can easily remove adhesive from any surface without causing any damage or frustration.
Conclusion
To conclude, removing LED strip light adhesive may seem like a daunting task, but with the proper steps and tools, it can be done effortlessly. By following the step-by-step guide provided, you can remove the adhesive without damaging the surface or the LED lights. Remember to take your time and be patient during the process, as rushing can result in mistakes or damage. With a little effort and care, you can have your LED strip lights removed and ready for a new installation in no time.