Effortlessly Check LED Light Bulbs with Multimeter: A StepbyStep Guide

LED light bulbs are a popular choice for both residential and commercial lighting due to their energy efficiency and longevity. However, like any other electrical device, LED bulbs can also malfunction or fail over time. In such cases, it becomes essential to check the working condition of the LED bulb using a multimeter. A multimeter is a handy tool that can measure various electrical parameters such as voltage, current, and resistance. In this step-by-step guide, we will explain how to use a multimeter to check the working condition of LED light bulbs effortlessly. If you are unsure about how to use a multimeter or are new to the process of checking LED bulbs, this guide is perfect for you. It will cover everything from the basics of using a multimeter to the step-by-step process of checking LED light bulbs. With detailed instructions and clear visuals, you can quickly and easily test the functionality of your LED bulbs without any confusion. By following the steps outlined in this guide, you can save time and money on costly repairs and replacements while ensuring your LED light bulbs are functioning optimally.
It is essential to check LED light bulbs with a multimeter to ensure that they are functioning correctly. LED bulbs are highly efficient and last longer than traditional light bulbs. However, they are susceptible to damage due to voltage fluctuations, power surges, and incorrect wiring. A multimeter can accurately measure the voltage, resistance, and current flowing through the LED bulb, allowing you to identify any issues and troubleshoot them effectively. By using a multimeter, you can save time and money by avoiding the need to replace a faulty LED bulb prematurely. Additionally, checking LED light bulbs with a multimeter can help you identify potential safety hazards, such as exposed wiring or faulty connections, before they cause damage or injury.
If you’re planning to check LED light bulbs with a multimeter, you’ll need a few tools and materials to get started. First and foremost, you’ll need a multimeter, which is a device used to measure electrical current, voltage, and resistance. Additionally, you’ll need a pair of wire strippers, which will help you strip the insulation off the wires. It’s also a good idea to have a pair of needle-nose pliers on hand, as these can be useful for manipulating wires or other small components. Other tools and materials you may need include a soldering iron, solder, electrical tape, and a circuit board, depending on the complexity of the job. With the right tools and materials at your disposal, checking LED light bulbs with a multimeter can be a straightforward and rewarding task.
Step 1: Safety First

Before starting to check LED light bulbs with a multimeter, it is important to prioritize safety first. This step is crucial to avoid any accidents or injuries that may occur during the process. First and foremost, ensure that the electrical circuit is turned off before attempting to touch any wires or components. This will prevent electric shock or damage to the multimeter. In addition, wear rubber gloves to protect yourself from any electrical current that may be present while handling the wires. It is also important to work in a well-lit and ventilated area to avoid any mishaps. Keep the multimeter and other tools within reach to avoid unnecessary movement and reduce the risk of dropping or damaging them. Always double-check the multimeter’s settings and make sure it is properly calibrated before use. Lastly, never touch the metal prongs of the multimeter with bare hands while in use, as this can cause electrical shock. By taking these safety precautions, you can ensure a secure and successful LED light bulb check using a multimeter.
When it comes to handling electrical equipment, safety should always be a top priority. Electrical shock can cause serious injury or even death, which is why it is crucial to take proper precautions when working with any type of electrical equipment, including LED light bulbs. Some of the most important safety measures to keep in mind include wearing protective gear such as gloves and safety glasses, ensuring that the power is completely turned off before handling any equipment, and avoiding contact with live wires. Additionally, it is important to have a clear understanding of the equipment and to follow all instructions carefully in order to avoid accidents or injuries. By taking these precautions, you can ensure that you are able to work with electrical equipment safely and efficiently.
Testing LED light bulbs can be a simple task, but it is important to take safety measures before proceeding. Firstly, ensure that the power source is turned off and unplugged to avoid electrical shock or damage to the multimeter. Secondly, wear protective gloves and eyewear to prevent any accidental injury. Thirdly, handle the LED light bulbs with care as they are fragile and can easily break. Lastly, avoid touching the metal parts of the multimeter probes with your bare hands to prevent any interference with the readings. By taking these safety measures, you can ensure a safe and successful LED light bulb testing process.
Step 2: Set Up the Multimeter

In Step 2 of the guide to checking LED light bulbs with a multimeter, it is important to set up the device properly. First, ensure that the multimeter is turned off before attaching the probes. The probes should be inserted into the appropriate jacks on the multimeter, typically labeled as \COM\ and \VΩmA\. It is important to note that the red probe should be connected to the positive (+) terminal while the black probe should be connected to the negative (-) terminal. Failure to connect the probes correctly can result in inaccurate readings, damaging the LED light bulb, or even injuring the user. Once the probes are securely attached, turn on the multimeter and select the correct setting. For measuring resistance, select the Ω (ohm) setting. For measuring voltage, select the V (volt) setting. It is crucial to select the correct setting to ensure accurate readings. Some multimeters may have an auto-range feature that automatically selects the correct setting, but it is always best to double-check. With the multimeter properly set up, you are now ready to move on to the next step of checking the LED light bulb.
A multimeter is a versatile tool that can measure various electrical values such as voltage, current, and resistance. There are different settings on a multimeter such as voltage, current, and resistance modes, which allow it to perform different types of tests. To test an LED light bulb, first, set the multimeter to the voltage mode. This will enable you to measure the voltage across the LED. Then, connect the multimeter’s probes to the positive and negative terminals of the LED. Make sure the LED is connected in the right direction, with the positive terminal connected to the positive probe and the negative terminal connected to the negative probe. Once the multimeter is set up, turn on the power source to the LED and observe the voltage reading on the multimeter’s display. If the voltage reading is within the LED’s voltage range, then the LED is working correctly.
Step 3: Test the LED Light Bulb
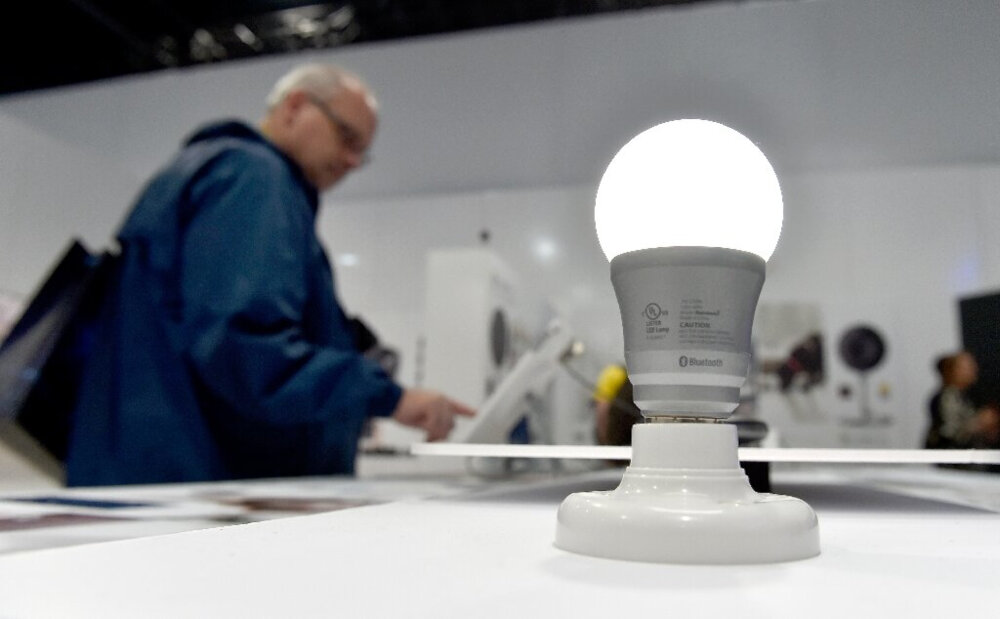
Testing an LED light bulb is an essential step in troubleshooting any electrical issues. It is crucial to ensure that the LED light bulb is functioning correctly before proceeding with any other steps. To test the LED light bulb, it is necessary to use a multimeter. A multimeter is a device that measures electrical properties such as voltage, current, and resistance. It is a versatile tool that can be used to test various electrical components, including LED light bulbs. To begin testing the LED light bulb, set the multimeter to the diode testing mode. Insert the positive and negative leads of the multimeter into the corresponding terminals of the LED light bulb. If the LED light bulb is functioning correctly, the multimeter will display a voltage drop within the specified range. If there is no voltage drop, it indicates that the LED light bulb is faulty and needs to be replaced. Testing the LED light bulb is a straightforward process that can save time and money in the long run. A faulty LED light bulb can cause electrical problems, such as short circuits, which can damage other electrical components. By testing the LED light bulb with a multimeter, it is possible to identify any issues with the bulb before they cause more significant problems. It is essential to ensure that the multimeter is set to the correct settings before testing the LED light bulb. Using the wrong settings can damage the multimeter or the LED light bulb. Additionally, it is crucial to handle the LED light bulb with care to avoid any damage or injury. By following these steps, testing an LED light bulb becomes an effortless task that can be done quickly and efficiently.
If you want to test your LED light bulb using a multimeter, there are a few steps you need to follow. First, set your multimeter to the DC voltage setting. Then, connect the black probe to the negative lead of the bulb and the red probe to the positive lead. Turn on the bulb and check the reading on your multimeter. If the voltage is within the expected range, the bulb is working properly. If the voltage is zero or significantly lower than expected, the bulb may be faulty. It’s important to handle the bulb carefully and avoid touching the contacts with your fingers to prevent damage or injury. With these simple steps, you can easily test your LED light bulb with a multimeter and ensure it’s working as expected.
The readings obtained from using a multimeter to check LED light bulbs provide valuable information about the electrical properties of the bulbs. The voltage reading indicates the amount of electrical energy being supplied to the bulb, while the resistance reading shows how much the bulb resists the flow of electrical current. By comparing these readings to the specifications provided by the manufacturer, users can determine whether the bulb is functioning properly or if there are issues with the electrical supply or the bulb itself. Additionally, the multimeter readings can help users troubleshoot any problems with the bulb and determine whether it needs to be replaced or repaired. Overall, using a multimeter to check LED light bulbs is a simple and effective way to ensure that they are functioning properly and to identify any potential issues that may need to be addressed.
Step 4: Interpret the Results
Once you have completed the previous steps, it is time to interpret the results of your LED light bulb test using a multimeter. Interpretation of the results will depend on the type of multimeter used and the readings obtained. Generally, the multimeter will display the voltage and current readings, and you will need to compare them with the specifications of the LED light bulb you are testing. If the voltage and current readings match the specifications of the LED light bulb, then it is working correctly, and you can proceed to reinstall it. However, if the readings are different or inconsistent, then the LED light bulb may be faulty, and you will need to replace it. Moreover, if the readings are zero, then there may be an issue with the wiring or the multimeter itself. In such cases, you may need to check the wiring connections or calibrate the multimeter to ensure accurate readings. In conclusion, interpreting the results of your LED light bulb test using a multimeter is essential to ensure that your lighting system is functioning correctly. By following the steps outlined in this guide, you can effortlessly test your LED light bulbs and troubleshoot any issues that may arise. Remember always to use safety precautions when working with electrical equipment and to consult a professional if you are unsure or uncomfortable with your ability to perform the test.
When checking LED light bulbs using a multimeter, there are three different readings that can be obtained: voltage, current, and resistance. The voltage reading indicates the amount of electrical potential difference between two points in the circuit, while the current reading measures the flow of electric charge in the circuit. Resistance, on the other hand, refers to the opposition to the flow of electric charge in the circuit. These readings provide vital information about the performance and health of the LED light bulb, allowing you to identify any issues or faults. By measuring these readings, you can determine if the LED light bulb is functioning correctly or if it needs to be replaced.
When using a multimeter to check LED light bulbs, there are a few common issues that may arise. One of the most frequent issues is a faulty connection between the LED and the circuit board, which can cause the bulb to flicker or not turn on at all. To troubleshoot this issue, check the solder joints and ensure they are secure. Another issue that may arise is a damaged LED, which can be caused by overheating or physical damage. In this case, the LED will need to be replaced. Lastly, it’s important to ensure that the LED is receiving the correct voltage and current. If the voltage is too high or too low, the LED may not function properly. By following these troubleshooting tips, you can easily check LED light bulbs with a multimeter and ensure they are functioning correctly.
Checking LED light bulbs with a multimeter is an essential process that can help you identify and solve problems with your lighting system. As LED bulbs are becoming more common and replacing traditional incandescent bulbs, it is important to know how they work and how to test them. By using a multimeter, you can easily measure the voltage, current, and resistance of the LED bulb, ensuring that it is functioning correctly. This can save you time and money by avoiding the need to replace the entire fixture. Additionally, checking the LED light bulbs with a multimeter can prevent potential safety hazards, such as electrical fires or shocks. Therefore, it is important to take the time to learn how to use a multimeter and regularly test your LED bulbs to ensure that they are operating at their best.
In conclusion, testing LED light bulbs with a multimeter is a simple process that can save you time and money. Remember to always start by turning off the power source to avoid any electrical accidents. Use the correct multimeter settings and follow the step-by-step guide provided. If you encounter any issues, double-check your connections and the condition of the LED bulb. Successful testing requires patience, attention to detail, and a willingness to troubleshoot. With these tips in mind, you can effortlessly check LED light bulbs with a multimeter and ensure that your lighting fixtures are operating at their best.
Conclusion

In conclusion, checking LED light bulbs with a multimeter is a simple and straightforward process that can save you time and money. By following the step-by-step guide outlined in this article, you can easily determine whether your LED bulb is functioning properly or needs to be replaced. Remember to always exercise caution when working with electrical equipment and to consult a professional if you have any doubts or concerns. With the help of a multimeter, you can ensure that your LED light bulbs are working efficiently and effectively, providing you with the bright and long-lasting illumination you need for your home or business.


