DIY Guide: Wiring an LED Light Fixture in 5 Easy Steps
The rise of DIY culture has made it possible for anyone to create their own lighting fixtures at home. Not only is it an excellent way to save money, but it also offers the freedom to customize lighting according to personal preference. One of the simplest yet most effective ways to create stunning lighting is by wiring an LED light fixture. With just a few basic tools and some knowledge, anyone can wire their own LED light fixture in no time. Wiring an LED light fixture may sound intimidating to beginners, but it is actually quite easy. LEDs are becoming increasingly popular for lighting as they offer a long lifespan, low power consumption, and come in various colors and brightness levels. This guide will take you through the process of wiring an LED light fixture in five easy steps. From preparing materials to wiring and installation, this guide will equip you with the necessary knowledge and skills to create your own LED light fixture.
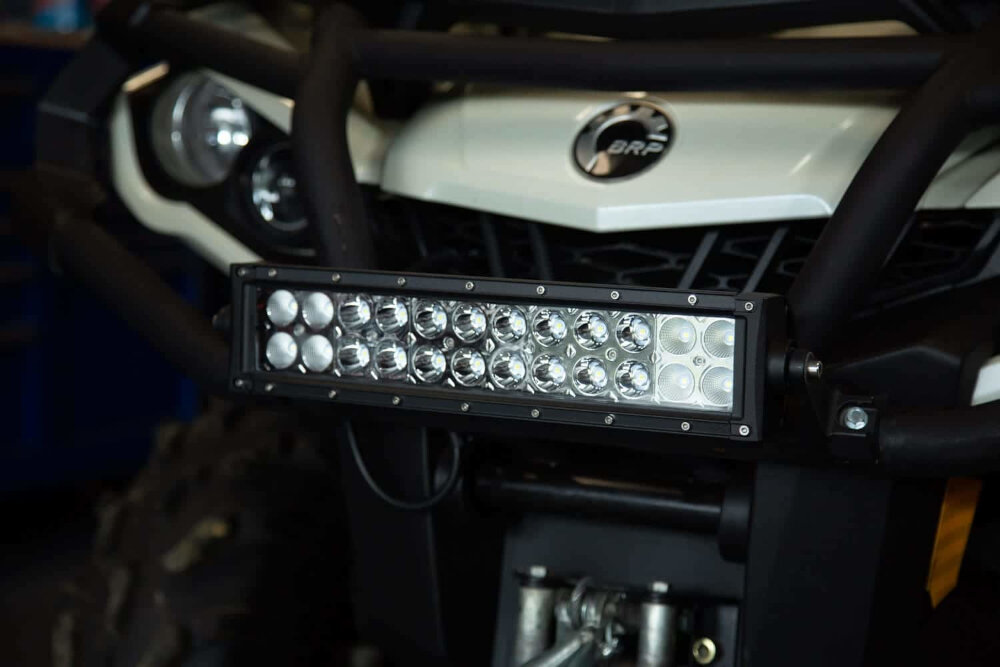
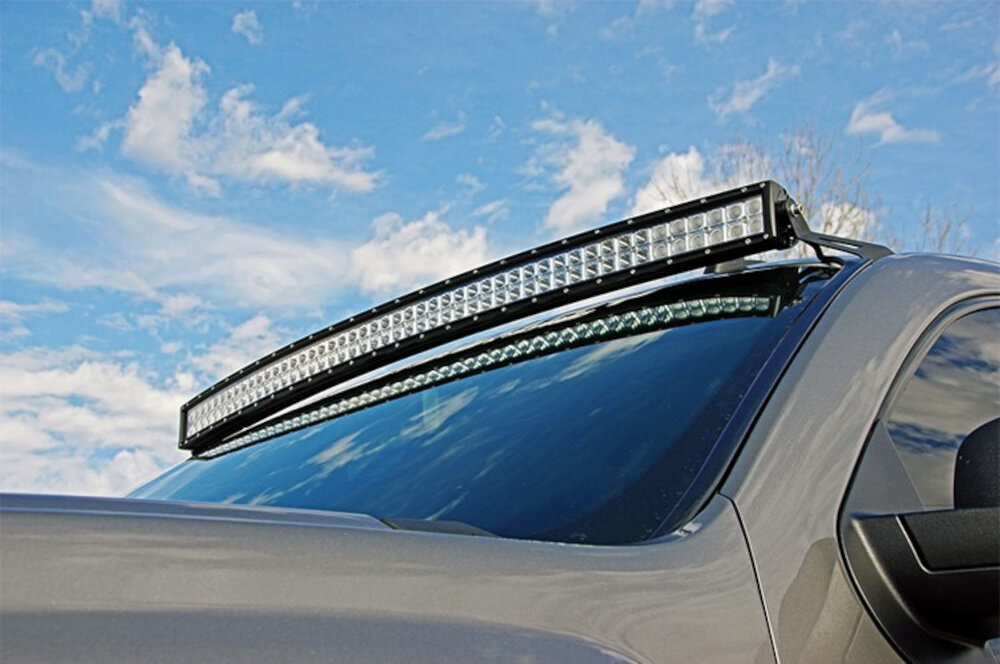
LED light fixtures are a type of lighting technology that utilizes Light Emitting Diodes (LEDs) as the primary source of illumination. These fixtures are designed to be energy-efficient, long-lasting, and versatile, making them an ideal option for both residential and commercial lighting applications. Unlike traditional incandescent bulbs, LED light fixtures do not rely on a filament or gas to produce light. Instead, they use a semiconductor material that emits light when an electrical current passes through it. This technology allows LED light fixtures to consume less energy, produce less heat, and last longer than other lighting options, making them a popular choice for those looking to reduce their carbon footprint and save money on energy bills.
Wiring LED light fixtures properly is crucial for their safe and efficient operation. A poorly wired LED light fixture can pose a risk of electrical shock, fire, or damage to the fixture itself. Proper wiring ensures that the fixture receives the correct amount of power and that the wires are securely connected. It also helps to prevent any flickering or dimming of the light, which can be frustrating and distracting. Additionally, correctly wiring LED light fixtures can prolong their lifespan and save energy costs by preventing unnecessary power consumption. In summary, taking the time to wire LED light fixtures properly is a small but important step in creating a safe and functional lighting system.
Gather Supplies
Before beginning any DIY project, it’s essential to gather all the necessary supplies. The same holds for wiring an LED light fixture. The first step is to determine the type of LED light fixture you want to install and gather the appropriate tools. Common tools include a wire stripper, wire nuts, screwdrivers, pliers, and a voltage tester. It’s also crucial to have a safe workspace with adequate lighting, ventilation, and access to electrical outlets. Once you have all the necessary tools and equipment, you can begin the process of wiring your LED light fixture. When gathering supplies for wiring an LED light fixture, it’s important to choose high-quality components that meet safety standards. The wiring should be rated for the voltage of your LED light fixture and be of sufficient gauge to handle the electrical load. The LED light fixture should also come with detailed instructions and diagrams to help guide you through the process. If you’re unsure about any part of the process, consult with a professional electrician or an expert in LED lighting. With proper preparation and supplies, wiring an LED light fixture can be a straightforward and rewarding DIY project.
When it comes to wiring an LED light fixture, it is essential to have a few tools on hand to ensure that the job is done correctly. A wire stripper is an invaluable tool that helps strip the insulation from the wires without damaging them. Wire nuts are also essential as they help join the wires together and protect them from damage. A screwdriver is necessary for securing the wires in place and tightening any screws that hold the fixture in place. Other tools that may come in handy include a voltage tester, pliers, and electrical tape. With these tools, anyone can easily wire an LED light fixture with minimal hassle.
To successfully wire an LED light fixture, you will need a few materials. Firstly, you will require the LED light fixture itself, which can be purchased from any hardware store or online. Next, you will need electrical wire to connect the fixture to the power source. The wire should be of a suitable gauge and length for the distance between the fixture and the power source. Additionally, you will need wire connectors to join the wires together securely. A wire stripper tool will be necessary to strip the insulation from the ends of the wires, and a screwdriver may be needed to attach the fixture to the ceiling or wall. Lastly, it is essential to have a voltage tester to ensure that the power is turned off before starting the wiring process for safety purposes. With these materials, you can successfully wire your LED light fixture in just five easy steps.
Turn off Power
Turning off power is an essential step in any electrical project, and it is crucial to ensure that you remain safe throughout the process. Before you start wiring your LED light fixture, make sure to turn off the power to the circuit you are working on. This step will help to prevent electric shocks and ensure that you do not damage any of the electrical components. To turn off the power, you will need to locate the circuit breaker or fuse box and switch off the corresponding breaker or remove the fuse. It is also a good idea to use a voltage tester to verify that the circuit is indeed powered off before you start working. Once you have turned off the power, you can begin to wire your LED light fixture in 5 easy steps. Remember to always follow the manufacturer’s instructions and use the correct tools and materials for the job. By taking the time to turn off the power and follow the correct procedures, you can ensure that your LED light fixture is installed safely and correctly. So do not skip this important step and take your time to complete this task with care and precision.
Before beginning to wire an LED light fixture, it is crucial to turn off the power. This step is essential because it ensures your safety and prevents any electrical hazards. Dealing with electricity can be dangerous, and working on live wires can lead to electric shock or even death. Turning off the power also ensures that you do not damage any electrical equipment or the fixture itself. By turning off the power, you eliminate the risk of an accidental short circuit, which could cause a fire hazard. Therefore, it is crucial to prioritize safety by turning off the power before starting any electrical work.
Before wiring an LED light fixture, it is crucial to ensure safety by turning off the power supply. This can be done by following a few simple steps. First, locate the circuit breaker or fuse box that controls the power supply to the area where the light fixture will be installed. Second, turn off the breaker or remove the fuse that controls the power supply. Third, use a voltage tester to confirm that the power is off before proceeding with any electrical work. Fourth, label the circuit breaker or fuse to avoid confusion in the future. Lastly, only proceed with the wiring and installation of the LED light fixture once the power supply has been turned off and confirmed to be off to ensure safety.
Connect Wires
Connecting wires is a crucial step in wiring an LED light fixture. Before connecting the wires, ensure that the power source is turned off to avoid any electrical shock. First, strip about half an inch of insulation from the end of each wire using wire strippers. Next, twist the exposed wires together, ensuring that there are no loose strands. Then, cover the twisted wires with a wire nut, screwing it on tightly. You can also use electrical tape to secure the wires further. Repeat this process for all the wires that need to be connected. It is essential to ensure that the wires are connected correctly, following the instructions provided by the manufacturer. Connecting the wires incorrectly can lead to a short circuit, which can cause damage to your LED light fixture or even cause a fire. It is crucial to follow proper safety measures when connecting wires. Always make sure that the wires are not frayed or damaged before connecting them. Also, make sure that the wires are not touching any metal parts or each other. Use wire nuts or electrical tape to cover any exposed wires, ensuring that they are not touching anything else. Finally, test the connection by turning on the power source and checking if the LED light fixture is working correctly. If you notice any issues, turn off the power source immediately and recheck your connections. Remember to always prioritize safety when working with electricity.
Connecting wires properly is crucial to ensure that your LED light fixture functions safely and efficiently. First, identify the positive and negative wires by checking the labeling or color coding. Strip the wire ends to expose the copper and twist them together tightly. Then, secure the connection with a wire connector or electrical tape. It’s important to make sure there are no exposed wires or loose connections. Double-check your work before turning on the power to avoid any hazards. Remember, taking the time to connect wires properly will save you from potential electrical issues in the future.
When it comes to connecting wires, it’s important to follow a few simple steps to ensure a secure and safe connection. Firstly, strip the ends of the wires to expose the copper strands. Then, twist the strands together tightly to create a solid connection. Once the wires are twisted together, you can use a wire nut to secure them in place. Choose a wire nut that is appropriately sized for the wires you’re connecting, and twist it onto the twisted wires until it is snug and secure. This will ensure that the wires are connected properly and won’t come loose over time. By following these steps, you can connect wires with confidence and create a safe, reliable electrical connection for your LED light fixture.
Attach Fixture
Attaching the fixture is a crucial step in wiring an LED light fixture correctly. The fixture is the part that holds the LED lights and connects to the power source. To attach the fixture, you need to ensure that the wiring is correct and secure. First, turn off the power source to ensure your safety. Then, connect the wires from the fixture to the wires from the power source using wire nuts. Ensure that the wires are connected correctly, with the black wire connected to the black wire and the white wire to the white wire. Once the wiring is complete, place the fixture onto the mounting bracket and secure it with screws. Check that the fixture is level and secure before turning the power back on. It is important to note that fixtures come in different sizes and shapes, so make sure that you choose the right fixture for your LED lights. The fixture should be able to hold the LED lights and provide enough space for the wiring. It is also essential to choose a fixture that complements the style of the room. You can choose from a wide range of fixtures, from simple and minimalist to ornate and decorative. With the right fixture, you can enhance the overall look and feel of the room. Remember, safety is paramount when working with electricity, so ensure that the power source is turned off before attaching the fixture.
Attaching a fixture to the ceiling is a crucial step when it comes to installing an LED light fixture. First, you need to ensure that the power is turned off to the circuit that you will be working on. Next, you will need to remove the old fixture and any mounting hardware from the ceiling. Then, you can mount the new fixture’s bracket to the electrical box using screws provided in the fixture kit. After that, you will need to connect the wires from the fixture to the wires in the electrical box. Once the wires are connected, you can attach the fixture to the bracket using screws provided in the fixture kit. Finally, you can turn the power back on to the circuit and test the light to make sure it is functioning properly.
Attaching a fixture to the ceiling or wall requires a few simple steps. Firstly, locate the mounting bracket and screws provided with the fixture. Position the bracket onto the desired location and mark the spots where the screws will go. Next, drill holes into the markings and insert wall anchors if needed. Then, screw the bracket onto the surface using the provided screws. Finally, attach the fixture to the bracket, ensuring that it is securely fastened. It’s important to follow the manufacturer’s instructions and use appropriate tools and safety equipment when installing a fixture. With these steps, you can easily attach your LED light fixture and enjoy a well-lit space.
In the DIY Guide \Wiring an LED Light Fixture in 5 Easy Steps,\ we have learned how to wire an LED light fixture in a few simple steps. First, we need to gather all the necessary materials like LED lights, wires, and a power supply. Then, we have to connect the LED lights to the power supply using wires. After that, we need to test the connection using a multimeter to ensure that there are no loose connections. The fourth step is to secure the connection using electrical tape or connectors. Finally, we can install the LED light fixture in the desired location and enjoy the energy-efficient and long-lasting benefits of LED lighting. With these steps, anyone can wire an LED light fixture with ease and without the need for professional help.
It’s crucial to keep in mind the importance of safety when working with wiring, whether you’re a seasoned DIY enthusiast or a beginner. Before attempting to wire an LED light fixture, always remember to turn off the power to the circuit you’re working on to prevent electrocution or any other hazards. Additionally, make sure to follow all safety precautions, such as wearing protective gear and using insulated tools. Proper safety measures can help prevent accidents and ensure that your DIY project goes smoothly, so don’t skimp on safety!
Congratulations! You’ve made it to the end of this DIY guide on wiring an LED light fixture. It’s no small feat to take on a project like this, but you did it! You should be proud of yourself for taking the initiative to learn something new and to put that knowledge into practice. Now that you’ve completed the installation, sit back and admire your handiwork. Not only have you added a beautiful new fixture to your home, but you’ve also gained valuable skills and knowledge that you can apply to future DIY projects. Keep up the great work, and don’t be afraid to take on new challenges!
Conclusion
In conclusion, wiring an LED light fixture is a simple and straightforward process that can be done in just five easy steps. By following the DIY guide outlined in this article, anyone can successfully install an LED light fixture in their home or workspace. It is important to remember to always prioritize safety when working with electrical wiring and to consult a professional if you are unsure about any part of the process. With a little bit of knowledge and effort, you can enjoy the energy efficiency and modern look of LED lighting in your own space. So, don’t hesitate to try out this DIY project and brighten up your surroundings with a beautiful LED light fixture today.