DIY Guide: Building an LED Light Bar in 5 Simple Steps
Are you looking to enhance the lighting in your workspace or vehicle? Building your own LED light bar might be the solution you’re looking for! Not only is it a cost-effective alternative to purchasing an expensive pre-made light bar, but it can also be a fun and rewarding DIY project. With just a few simple steps and some basic materials, you can create a custom LED light bar that is tailored to your specific needs. Building an LED light bar may seem daunting, but it’s actually a straightforward process that anyone can tackle with a bit of patience and know-how. In this DIY guide, we’ll walk you through five simple steps to build your own LED light bar. From selecting the right materials to wiring up the LEDs, we’ll cover everything you need to know to create a functional and stylish light bar that will brighten up your life in no time. So, roll up your sleeves and let’s get started!
LED light bars are powerful and versatile lighting solutions that can be used in a variety of applications, from off-road vehicles to home lighting. They are made up of multiple LED lights that are arranged in a bar-shaped housing, which can be mounted on a vehicle or other surface. LED light bars are known for their energy efficiency, durability, and long lifespan, making them an excellent choice for those looking for a high-quality lighting solution. They also come in a range of sizes and colors, allowing users to customize their lighting to their specific needs. Building your own LED light bar is a great way to save money while creating a custom lighting solution that meets your exact needs.
Building your own LED light bar can be a rewarding experience that offers numerous benefits. First and foremost, it allows you to have complete control over the quality and functionality of the final product. You can select the specific components that meet your requirements and budget, ensuring that the light bar performs optimally in the intended application. Additionally, building your own LED light bar is a cost-effective solution compared to purchasing a pre-made unit. This is especially true if you have some technical expertise and can source the components at a lower cost. Finally, building your own LED light bar is a great opportunity to develop your skills and knowledge in electronics and engineering. You’ll learn about circuit design, soldering, and other skills that may come in handy in future DIY projects.
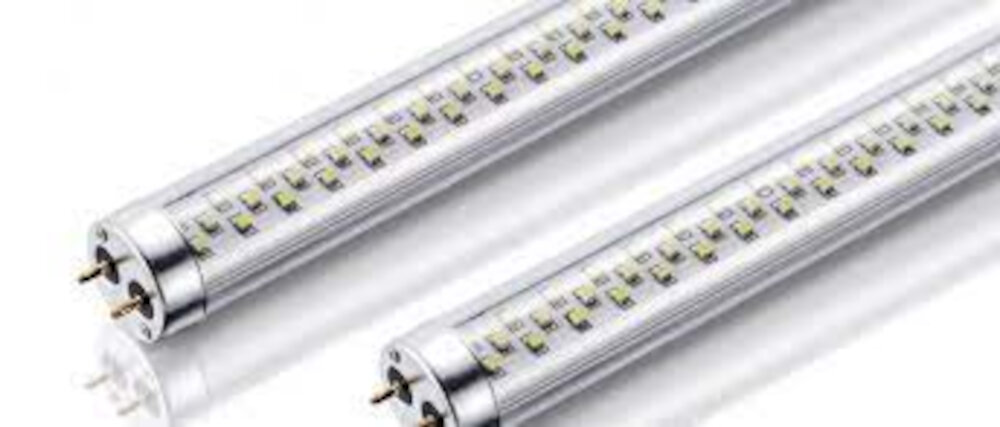
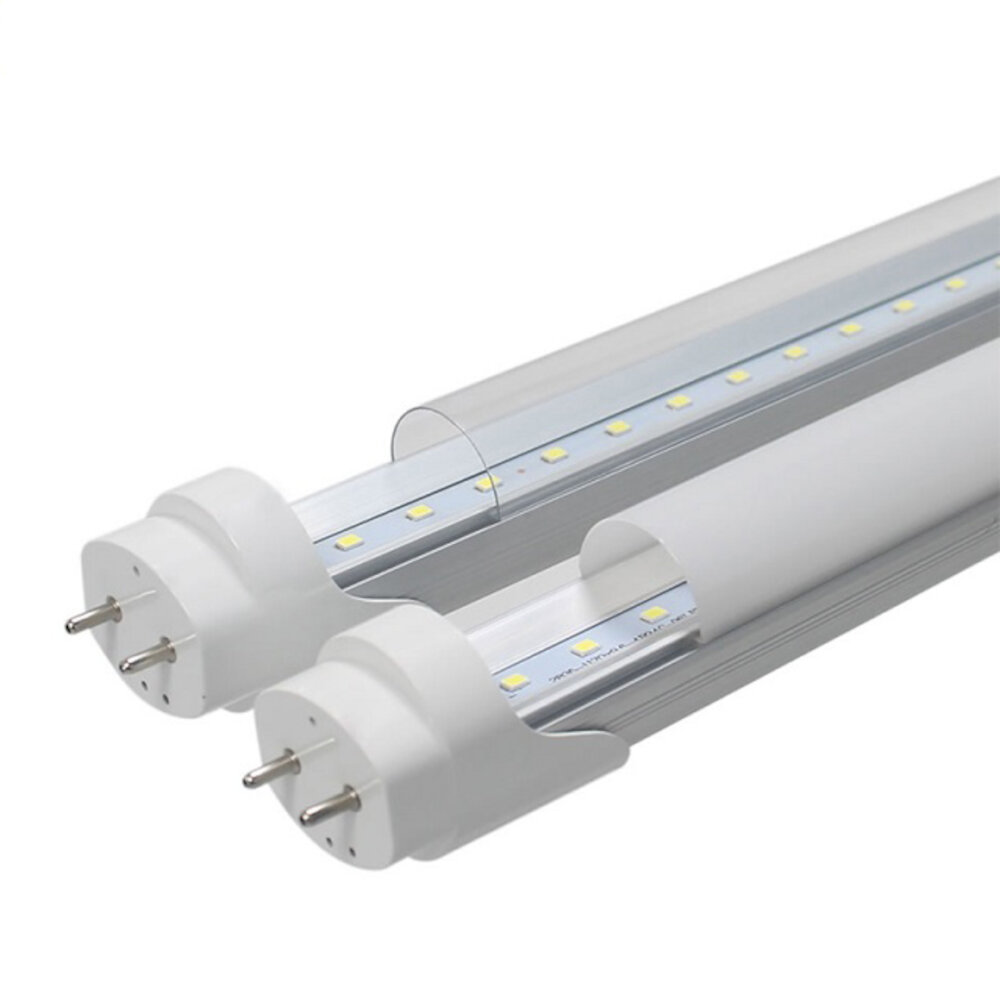
Before starting the process of building an LED light bar, it is important to have all the necessary materials at hand. The list of materials may vary depending on the specific design and size of the light bar, but some basic components are essential. Firstly, an LED strip light is a must-have, as it forms the main source of illumination. Additionally, an aluminum extrusion profile is required to serve as the framework for the light bar. Other important materials include a power supply, a switch, a soldering iron, solder, and wires. It is crucial to ensure that the selected materials are of high quality to guarantee the durability and functionality of the final product. By gathering all the necessary materials beforehand, the DIY process can be carried out smoothly and efficiently.
Step 1: Planning
Planning is the first and most crucial step in building an LED light bar. It lays the foundation for the entire project and ensures that everything goes smoothly. In this step, you need to determine the size of your LED light bar, its design, and the materials and tools you will need to complete the project. It is recommended that you create a detailed plan that includes a list of all the necessary parts, the cost of each item, and the estimated time it will take to complete the project. This will help you stay organized and on track throughout the building process. When planning your LED light bar, you should also consider its purpose and the environment in which it will be used. If you plan to use it for off-roading, you may need to build a more rugged and durable light bar. On the other hand, if you plan to use it for indoor lighting, you may want to focus more on the aesthetics of the design. Additionally, you should consider the type of LED lights you want to use, as this will impact the brightness and color temperature of your light bar. By taking the time to plan your LED light bar thoroughly, you can ensure that it meets your needs and exceeds your expectations.
Determining the size of the light bar is an important step in building an LED light bar. The size of the light bar will depend on the size of the vehicle and the purpose for which it is being used. For larger vehicles, a larger light bar may be necessary to provide adequate lighting. However, for smaller vehicles, a smaller light bar may be more appropriate. It is also important to consider the number of LED lights that will be used in the light bar, as this will affect the overall size of the bar. Ultimately, the size of the light bar should be chosen based on the specific needs of the vehicle and its intended use.
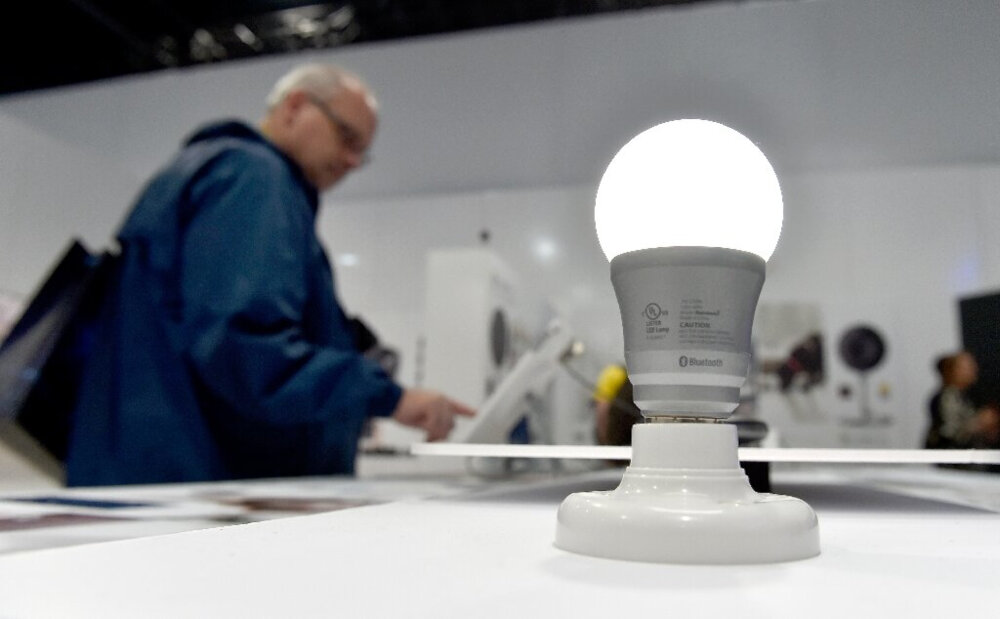
When it comes to choosing the appropriate LED lights for your DIY light bar, there are several factors to consider. First and foremost, you need to determine the specific purpose of your light bar and the amount of illumination required to achieve your desired outcome. Additionally, you should look for lights with high-quality diodes and a high Color Rendering Index (CRI) to ensure accurate color representation. You’ll also want to consider the size and shape of the LED lights, as well as their durability and weather resistance. Finally, be sure to choose lights that are energy-efficient and have a long lifespan to save you money in the long run. With these factors in mind, you can confidently select the perfect LED lights for your DIY light bar project.
When building an LED light bar, deciding on the power source is crucial. The power source will determine the brightness and functionality of your LED light bar. There are several power source options to choose from, including battery packs, AC adapters, and DC power supplies. Battery packs are portable and convenient for outdoor use, while AC adapters and DC power supplies are suitable for indoor use. Additionally, the voltage and amperage of the power source are important considerations. Higher voltage and amperage will result in brighter and more powerful LED lights. Careful consideration of the power source will ensure that your LED light bar is efficient and effective.
Step 2: Designing

Once you have gathered all the necessary materials, the next step in building your LED light bar is designing the actual product. First, consider the size and shape of your light bar. This will depend on your intended use and the space it will be installed in. If you plan to use the light bar for off-roading, you may want to opt for a longer and wider design to provide maximum coverage. On the other hand, if you plan to use the light bar for indoor lighting, a more compact and narrow design may be more suitable. Sketch out different designs and sizes on paper to help you visualize the final product. Next, think about the placement and spacing of the LED lights. Determine how many LED lights you will need and where they should be placed to provide the best lighting coverage. Keep in mind that the LED lights should be spaced evenly to avoid any dark spots or uneven lighting. You may also want to consider the angle of the LED lights to ensure they are pointing in the desired direction. Once you have finalized the design and placement of the LED lights, you can move on to the next step of building your LED light bar.
Before starting any project, it is essential to have a clear idea of what you are trying to achieve. And building an LED light bar is no different. To ensure the success of your project, you need to sketch out the design first. This will allow you to visualize the final product and make any necessary adjustments before starting the construction. A well-designed LED light bar will not only have a sleek and professional look, but it will also be more efficient and effective in providing the necessary lighting. So, take your time in this step and experiment with various design options until you find the perfect one for your needs.
Creating a blueprint is an essential step when building an LED light bar. It is a detailed plan that outlines the design, dimensions, and materials needed for the project. To start, gather all the necessary tools, including a pencil, ruler, and graph paper. Begin by sketching out the overall shape and size of the light bar, keeping in mind the number and placement of the LED lights. Next, add in any necessary supports or brackets to ensure stability. Finally, carefully label each component and its dimensions, including the wiring and power source. With a well-constructed blueprint, the process of building an LED light bar becomes much more manageable and efficient, and the end result is a high-quality, custom-made product.
Cutting the aluminum frame to size is a crucial step in building an LED light bar. Before making any cuts, it is essential to measure the frame accurately to ensure that the dimensions are correct. A miter saw or a hacksaw can be used to cut the frame to the desired length. A miter saw is recommended as it offers precision and accuracy, making it easier to make clean cuts. It is crucial to use a blade that is appropriate for cutting aluminum to avoid damaging the material. After cutting, the edges must be deburred to remove any sharp edges that may cause injury. Taking the necessary precautions and using the right tools will ensure that the aluminum frame is cut to size correctly, resulting in a sturdy and durable LED light bar.
Step 3: Wiring
Step 3 of the DIY Guide Building an LED Light Bar in 5 Simple Steps is Wiring. This is the stage where you connect the LED lights to the switch and the power source. It is crucial to pay attention to the wiring process as it determines the effectiveness of your light bar. You will require a wiring harness, crimping tools, wire strippers, electrical tape, and a multimeter to complete this step. Before starting, ensure that you have a wiring diagram to guide you through the process. Begin by crimping the wires and connectors to the LED lights, ensuring that there is no loose connection. Then, connect the wiring harness to the switch and the power source. It is essential to confirm that the switch, wiring harness, and the power source are compatible. Once the connections are secure, test the LED light bar using a multimeter to ensure that it is working correctly. If it is not, recheck the connections and make any necessary adjustments. Remember to cover the connections with electrical tape to avoid any short circuiting. With a successfully wired LED light bar, you can move on to the final step, installation.
Wiring the LEDs to the power source is a crucial step in building an LED light bar. First, you need to determine the voltage and current requirements of the LEDs to choose an appropriate power source. Once you have the power source, you need to connect the positive and negative wires of the LEDs to the positive and negative terminals of the power source. It’s important to use the correct gauge wire and connectors to ensure a secure and reliable connection. You can use a multimeter to test the circuit and ensure that the LEDs are receiving the correct voltage and current. Once everything is connected and tested, you can mount the LED light bar and enjoy your newly built lighting fixture.
Testing the circuit is a crucial step in building an LED light bar. Once you have completed the wiring and connections, it’s important to ensure that the circuit is safe and functional. You can begin by using a multimeter to check the voltage and current levels of the circuit. This will help you to identify any potential issues such as short circuits, open circuits or incorrect wiring. Once you have confirmed that the circuit is safe, you can test the LEDs by turning on the power supply. If the LEDs light up as expected, then the circuit is functioning correctly. If not, you will need to troubleshoot the circuit and make any necessary adjustments before proceeding. By testing the circuit before installation, you can ensure that your LED light bar will work perfectly and provide the desired illumination.
Securing the wires in place is a crucial step in building an LED light bar. After wiring the LEDs, it is essential to prevent any loose wires or connections that could cause a short circuit or damage the LED lights. To do this, use wire ties or clips to secure the wires in place and ensure that they are not exposed. It is also recommended to cover any exposed wires with heat shrink tubing or electrical tape for added protection. Taking the time to secure the wires properly will not only ensure that your LED light bar works correctly but also prevent any potential safety hazards associated with loose or exposed wires.
Step 4: Mounting
Mounting is the fourth and one of the most critical steps in building an LED light bar. It is the process of attaching the LED lights to a mounting bracket, which is then fixed onto the vehicle. The mounting bracket serves as the platform for the LED lights, and it needs to be sturdy enough to withstand the rough terrain that the vehicle may encounter. One of the most popular mounting brackets is the U-shaped bracket, which is designed to fit around the vehicle’s bumper or the grille. The bracket is made of durable material, usually aluminum or steel, to ensure that it can withstand the weight of the LED lights. When mounting the LED light bar, it is essential to ensure that it is securely fixed onto the vehicle. This is because the LED lights are likely to vibrate when the vehicle is moving, and if they are not adequately secured, they may fall off the mounting bracket. To ensure that the LED light bar is securely mounted, it is recommended to use screws, nuts, and bolts that are designed for the specific mounting bracket. Additionally, it is crucial to ensure that the wiring is correctly installed and connected to the vehicle’s electrical system. This will ensure that the LED lights function correctly and safely. Proper mounting of the LED light bar is essential for the vehicle’s safety and the effectiveness of the LED lights.
Attaching the LED lights to the aluminum frame is a crucial step in building an LED light bar. To begin, carefully align the LED lights on the aluminum frame where you want them to be placed. Once satisfied with the position, use small screws and bolts to secure them in place. It’s important to ensure that the screws are not too tight to avoid damaging the LED lights. The aluminum frame provides a sturdy and durable foundation for the LED lights, ensuring they remain in place even in the harshest conditions. Properly attaching the LED lights to the aluminum frame is key to achieving a professional-looking LED light bar that will provide bright and reliable illumination for any project or activity.
Securing the power source in your DIY LED light bar is critical to its performance and safety. Choose a high-quality power supply that matches the voltage and current requirements of your LEDs to avoid overheating or damage. Consider using a fuse or circuit breaker to protect against electrical surges and shorts. Additionally, ensure that all wiring connections and terminals are secure and properly insulated to prevent the risk of fire or electrocution. By taking the time to secure your power source, you can ensure your LED light bar operates efficiently and safely.
Before mounting your LED light bar, it’s essential to consider any necessary brackets or mounts that can provide the necessary support and stability. Brackets and mounts are crucial accessories that help to secure your light bar in place and prevent it from getting damaged. Depending on your vehicle’s make and model, you may need customized brackets to ensure that the light bar fits perfectly. While some brackets come pre-drilled, others may require drilling to ensure a perfect fit. It’s important to ensure that the brackets or mounts you choose are strong enough to hold the light bar and durable enough to withstand the elements.
Step 5: Final Touches
Step 5: Final Touches is the last stage of building an LED light bar, where you add the finishing touches to make it look professional and polished. The first final touch is to clean the light bar thoroughly, removing any dust or debris that may have accumulated during the build. After cleaning, you can apply a layer of clear coat or paint to protect the light bar from weathering and rusting, especially if you plan to use it outdoors. This step will also give the light bar a sleek and professional look. Another final touch is to add a wiring harness to connect the LED light bar to your vehicle’s electrical system. You can purchase a pre-made wiring harness or make one yourself using a wiring diagram. This step is crucial to ensure that the LED light bar is connected correctly and safely. Once the wiring harness is in place, you can attach the LED light bar to your vehicle, and you’re ready to go. By completing the final touches, you will have built a custom LED light bar that is both functional and stylish, adding a personal touch to your vehicle.
Painting the aluminum frame is a crucial step in building an LED light bar. It not only adds a touch of personalization to the design but also protects the frame from corrosion and rust. When choosing a paint, it is important to select a high-quality one that is specifically designed for use on metal surfaces. Before painting, ensure that the frame is clean and free from any debris or dirt. Apply a primer to the frame to create a smooth base for the paint to adhere to. Once the primer is dry, apply the paint in thin, even coats, allowing each coat to dry before adding another. A well-painted aluminum frame will not only look great but also increase the longevity of your LED light bar.
To ensure the longevity and durability of your DIY LED light bar, it is essential to add a cover to protect the LEDs. This simple step can prevent any accidental damage to the delicate components of your light bar while also safeguarding them from the outdoor elements. A cover can be made from a variety of materials such as acrylic, polycarbonate, or glass. These materials offer excellent resistance to impact, heat, and weathering, ensuring that your LEDs remain protected and functional for a long time. Additionally, a cover can also enhance the aesthetic appeal of your LED light bar, giving it a sleek and professional look. So don’t forget to add a cover to your DIY LED light bar to ensure its safety and longevity.
Once you have completed the assembly of your LED light bar, it is essential to test the final product to ensure that it operates correctly. The testing process involves connecting the light bar to a power source and turning it on to verify that all the LEDs are functioning correctly. It is essential to check the wiring connections and look for any loose connections or short circuits that could cause the light bar to malfunction. It is also crucial to test the brightness of the LEDs and make any necessary adjustments to achieve the desired lighting effect. By thoroughly testing the final product, you can identify any issues and make necessary adjustments to ensure that your LED light bar works correctly and provides optimal lighting performance.
In the article titled \DIY Guide Building an LED Light Bar in 5 Simple Steps,\ the author provides a comprehensive guide on how to create an LED light bar from scratch. The guide is broken down into five easy-to-follow steps, starting with the gathering of necessary materials and tools, followed by the preparation of the LED strips and wiring. The next step involves mounting the LED strips onto the aluminum housing and wiring them to the power source. The final step is to test the light bar and make any necessary adjustments. The guide is written in a concise and clear manner, making it accessible to anyone interested in creating their own LED light bar. Overall, the DIY guide is an excellent resource for anyone looking to take on a fun and rewarding project.
Building your own LED light bar has many benefits, including cost savings, customization, and pride of ownership. By purchasing the individual components and assembling them yourself, you can save money compared to buying a pre-made light bar. Additionally, you have complete control over the design and can tailor the light bar to your specific needs, such as choosing the number and color of LEDs. Finally, there’s a sense of accomplishment and satisfaction in building something with your own hands, and you’ll have a unique piece of equipment that stands out from the crowd. With just a few simple steps and some basic tools, you can create a high-quality LED light bar that will provide reliable, long-lasting illumination for all your off-road adventures.
If you’re someone who loves to experiment and create things on your own, then this DIY guide building an LED light bar in 5 simple steps is perfect for you! Don’t be intimidated by the technical aspects of building an LED light bar; with the right tools and a little bit of patience, anyone can do it. The feeling of accomplishment and pride that comes with building something from scratch is truly unbeatable. Plus, once you’re finished, you’ll have a functional and unique LED light bar that you can use in a variety of settings. So, what are you waiting for? Give it a try and see what you can create!
Conclusion
In conclusion, building an LED light bar is a simple yet rewarding DIY project that can enhance the functionality and aesthetics of your vehicle or workspace. By following the five simple steps outlined in this guide, you can create a customized LED light bar tailored to your specific needs and preferences. From selecting the appropriate materials and tools to wiring and mounting the LED lights, each step requires careful attention and precision. However, with patience and perseverance, the end result will be a high-quality LED light bar that provides ample illumination and adds a touch of style to your setup. So, whether you’re an experienced DIY enthusiast or a beginner looking for a fun project to tackle, building an LED light bar is a challenge that’s well worth taking on.