DIY Guide: Build Your Own LED Light Panel in 5 Simple Steps
Are you tired of purchasing expensive LED light panels for your photography or video projects? Look no further, as this DIY guide will teach you how to build your own LED light panel in just five simple steps. Not only will this save you money, but it will also be a rewarding project to tackle on your own. LED light panels are an essential tool for any photographer or videographer. They provide a soft and even light source, perfect for illuminating subjects and capturing the perfect shot. However, purchasing a pre-made LED light panel can be costly and may not fit your specific needs. By building your own LED light panel, you have the freedom to customize the size, shape, and brightness to your liking. Plus, you can feel proud of your DIY creation and the money you saved in the process.
LED light panels offer a range of benefits and uses that make them an increasingly popular choice in lighting solutions. They are energy-efficient, long-lasting, and emit a bright, even light that is perfect for photography, videography, and other creative applications. In addition to their durability and versatility, LED light panels also offer a range of customizable options, including color temperature, brightness, and diffusion. Whether you’re a professional photographer or videographer looking for a reliable lighting source, or simply looking to enhance your home or workspace with stylish and functional lighting, LED light panels are an excellent choice. With their many benefits and uses, it’s no wonder that they have become such a popular choice among DIY enthusiasts and professionals alike.
Creating your own LED light panel is an excellent way to have complete control over the lighting setup for your photography or videography projects. By building your own LED light panel, you can customize the color temperature, brightness, and overall look of your lighting to fit your specific needs. Additionally, DIY LED light panels are significantly cheaper than commercially available options, allowing you to save money while still achieving professional-quality lighting. Plus, by building your own LED light panel, you’ll gain valuable knowledge and skills in electronics and construction, which can be applied to future projects. Overall, creating your own LED light panel is a unique and rewarding experience that can enhance the quality of your work while also providing a sense of satisfaction and accomplishment.
Materials Needed
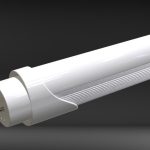
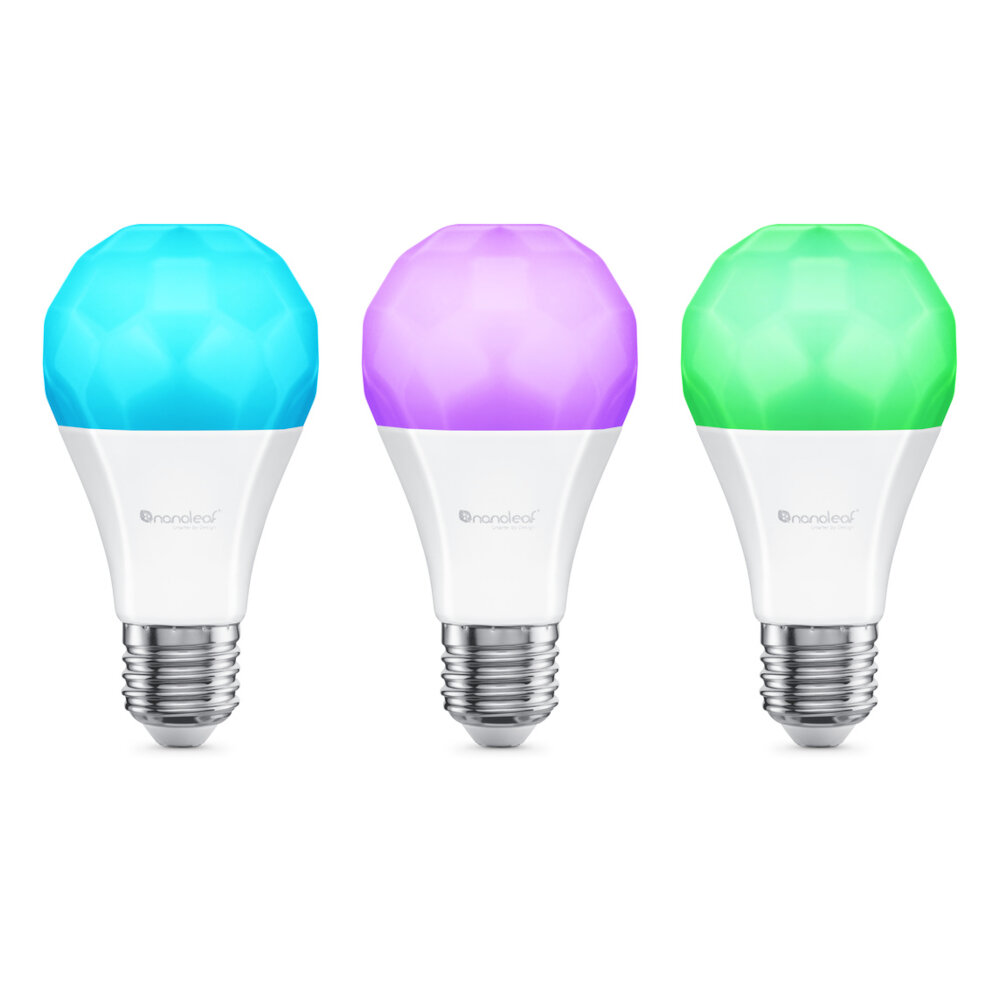
To build your own LED light panel, you must first gather the necessary materials. The materials required are readily available and can be found at any hardware store or online. The first item on the list is a sheet of acrylic or polycarbonate plastic that will serve as the panel’s diffuser. The plastic sheet should be clear and of high quality, as it will directly affect the light’s quality emitted by the panel. Next, you will need LED strips, which can be purchased in different lengths and colors. LED strips are an essential component of the panel, and they provide the light source. You should choose LED strips that are energy-efficient and have a high color rendering index (CRI) for optimal performance. Additionally, you will require a power supply, which will provide the panel with the required voltage to function. The power supply should be compatible with the LED strips and have the necessary wattage for the panel’s size you are building. You will also need a dimmer switch and an external casing to protect the panel, especially the wiring and electrical components. Lastly, you will require some basic tools such as a drill, screws, wire cutters, and pliers. Having these tools will make the process of building the panel more manageable and efficient. With all these materials in hand, you are ready to proceed to the next step of building your DIY LED light panel.
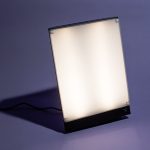
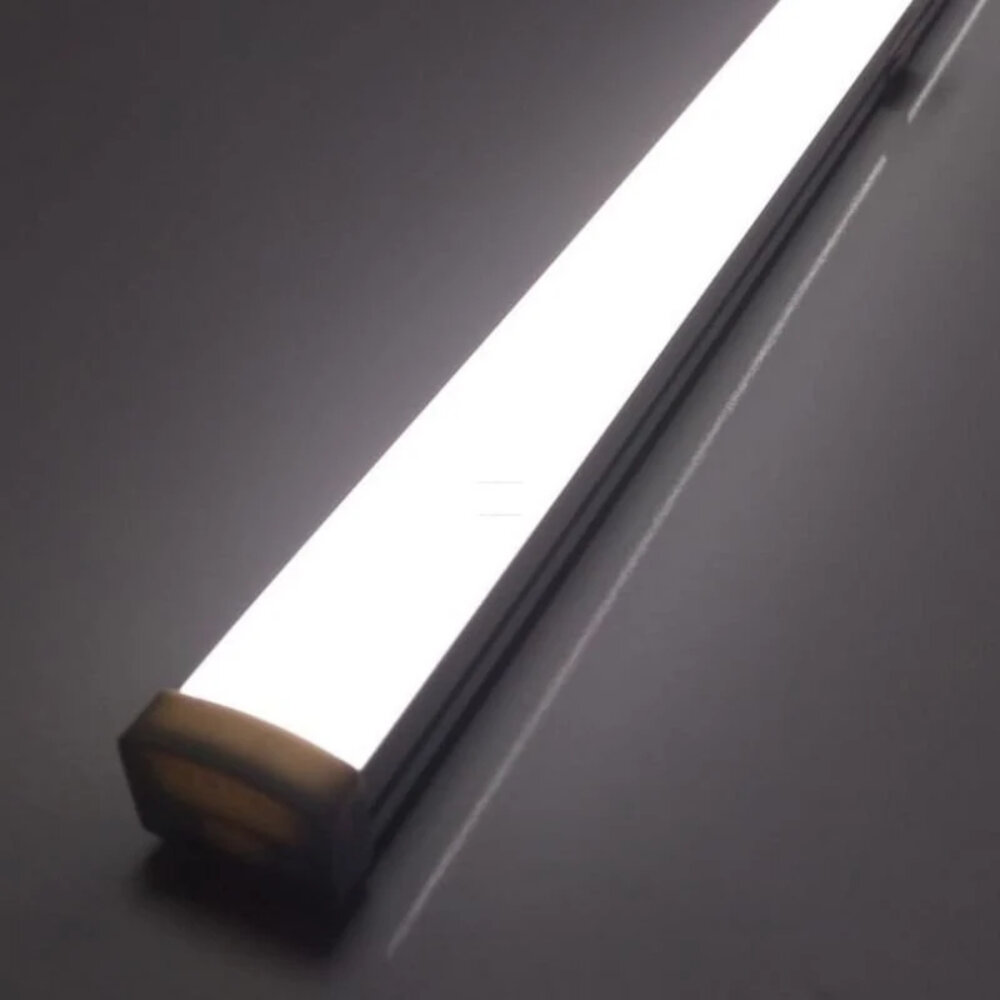
To build your own LED light panel, you’ll need a few important materials, including LED strip lights, an aluminum frame, a diffuser panel, a power supply unit, and a dimmer switch. The LED strip lights will provide the illumination for your panel, while the aluminum frame will serve as the structural support. The diffuser panel will help to evenly distribute the light and reduce glare, and the power supply unit will provide the necessary electricity to power the LED lights. Finally, the dimmer switch will allow you to adjust the brightness of your light panel to suit your needs. With these materials in hand, you’ll be well on your way to creating your own customized LED light panel that is perfectly suited to your needs.
When it comes to purchasing the materials for your DIY LED light panel, there are a few options available. You can visit your local hardware store, such as Home Depot or Lowe’s, to find most of the materials you’ll need. However, for specialized items like LED strips or drivers, you may need to look online. Websites like Amazon or eBay offer a wide range of LED light panel materials at competitive prices, with the added convenience of shipping directly to your doorstep. It’s important to compare prices and read reviews to ensure you’re getting high-quality materials for your project. With a bit of research and patience, you can easily find everything you need to build your own LED light panel.
StepbyStep Guide
If you’re interested in building your own LED light panel but don’t know where to start, don’t worry. This step-by-step guide will walk you through the process in just five simple steps. Whether you’re a seasoned DIY enthusiast or a beginner, this guide is easy to follow and will help you create your very own LED light panel that you can use for photography, videography, or any other creative project you have in mind. Step 1: Gather Your Materials – The first step in building your LED light panel is to gather all the necessary materials. This includes LED strips, a power supply, a dimmer switch, a frame, and an acrylic sheet. You can find most of these materials at your local hardware store or online. Once you have everything you need, you can move on to the next step. Step 2: Assemble the Frame – The next step is to assemble the frame for your LED light panel. You can use wood or metal for the frame, depending on your preference. Once you have the frame assembled, you can attach the LED strips to it. Make sure to follow the manufacturer’s instructions carefully to avoid damaging the LED strips. Once the LED strips are attached, you can move on to the next step.
Building your own LED light panel is a great way to save money and customize your lighting setup for photography or videography. To get started, gather the necessary materials including LED strips, a power source, and a frame. Cut the LED strips to fit the dimensions of your frame, making sure to leave space for wiring. Connect the LED strips to the power source, ensuring that the polarity is correct. Next, attach a diffuser material to the front of the frame to soften the light. Finally, mount the completed LED panel to a stand or tripod and enjoy your new, customized lighting setup. With these simple steps, you can create a professional-quality LED light panel that will enhance the quality of your work.
The first step in building your own LED light panel is to carefully plan and design the panel. This involves determining the size of the panel, the number and type of LEDs to be used, the power supply required, and any additional features such as dimming controls or color temperature adjustments. It is important to carefully consider the intended use of the light panel and the environment in which it will be used in order to ensure that the design meets your specific needs. This step requires attention to detail and a good understanding of electrical components and circuitry. Once the design is complete, you can move on to sourcing the necessary materials and beginning the construction process.
After gathering all the necessary materials, the next step in building your own LED light panel is cutting the wood and acrylic sheets. It is important to measure and mark the dimensions accurately before making any cuts to avoid any mistakes. A table saw or circular saw can be used to cut the wooden frame to the desired size and shape. Similarly, a jigsaw or handsaw can be used to cut the acrylic sheets to fit the frame. It is crucial to wear safety goggles and gloves while cutting acrylic sheets as they can easily crack or shatter. Once the wood and acrylic sheets are cut, sanding the edges to remove any roughness or sharpness is recommended. Following this step, the frame can be assembled with the acrylic sheets attached, and the LED lights can be installed.
Step 3 in the DIY guide to build your own LED light panel is all about wiring the LED strips. This is a crucial step that requires careful attention to detail to ensure that the LED lights work properly. The first thing to do is to measure the length of the LED strips that you need, and then cut them accordingly. Once you have the strips, you will need to connect them together using soldering. It’s important to use the right type of soldering wire and to ensure that the connections are secure. After you have connected the LED strips, you will need to attach the wires to a power source. This can be done using a power supply or a battery pack, depending on your preference. With the wiring complete, you are now ready to move on to the next step in building your own LED light panel.
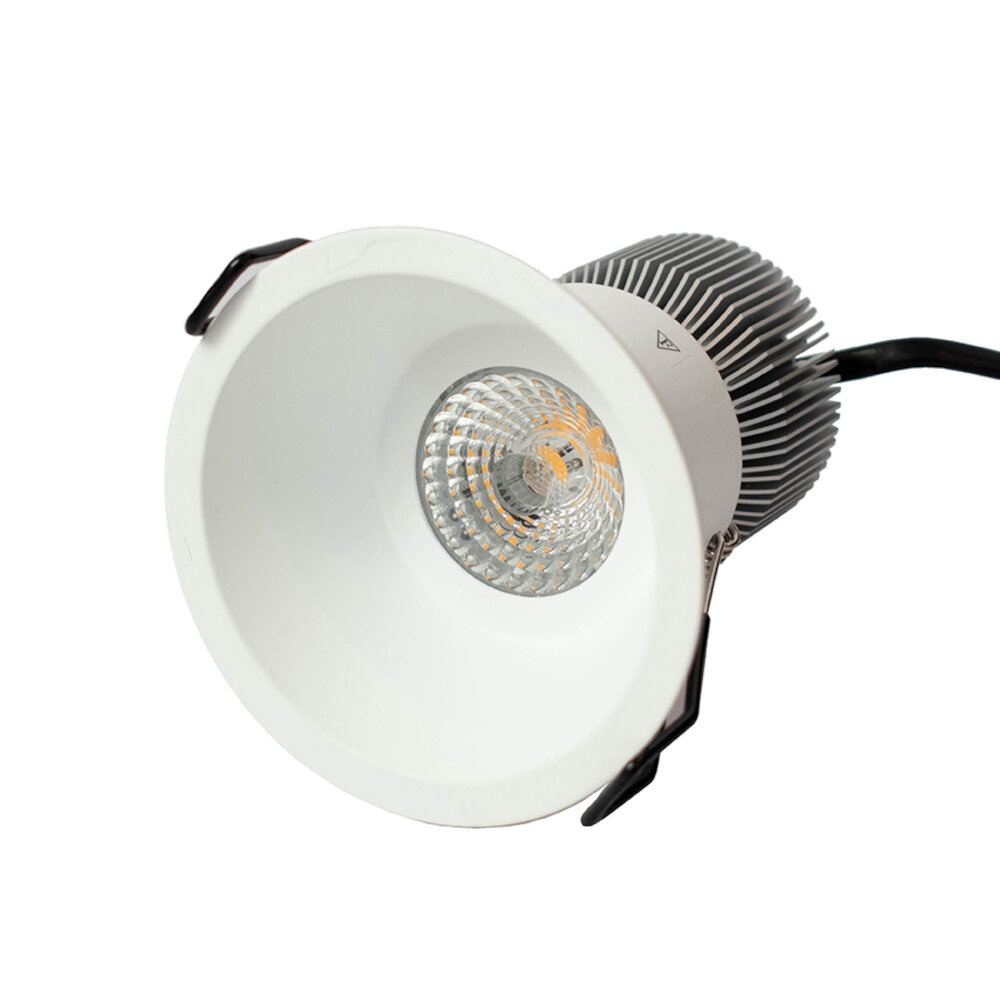
Step 4 in the DIY Guide to Build Your Own LED Light Panel is assembling the panel itself. This step is where all the hard work comes together, and you get to see the fruits of your labor. The first thing to do is to attach the LED strips to the aluminum frame. This requires careful placement and soldering of the wires. Once the strips are in place, the next step is to connect the power source and attach the dimmer switch. The final step is to attach the diffuser panel, which helps to soften the light and provide a more even distribution. Assembling the panel requires patience, precision, and attention to detail, but the end result is a high-quality LED light panel that you can be proud of.
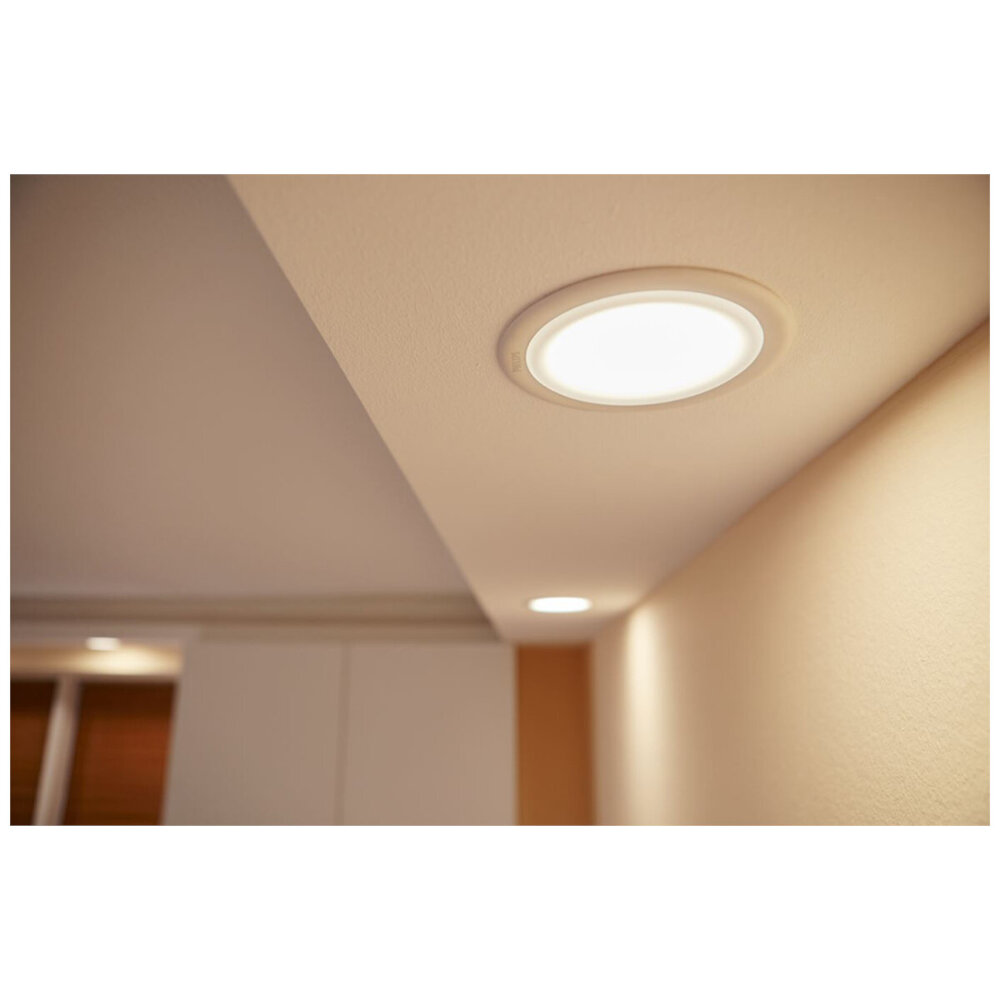
Step 5 of the DIY Guide to Build Your Own LED Light Panel is mounting the panel. This is an essential step that requires precision and accuracy to ensure that the panel is secured in place. To mount the panel, you will need to use screws and brackets to attach the panel to the desired surface. It is important to ensure that the panel is level and straight before tightening the screws to prevent any damage or instability. Additionally, it is essential to make sure that the mounting brackets are strong and durable enough to hold the weight of the panel. Once you have successfully mounted the panel, you can test it and adjust the brightness and color temperature to your desired settings.
Tips and Tricks
If you’re planning to build your own LED light panel, there are a few tips and tricks you should keep in mind to ensure that your project turns out perfectly. One of the most important tips is to choose high-quality materials. While it may be tempting to go for cheaper options, investing in good-quality materials will ensure that your LED light panel is durable and long-lasting. Make sure to choose LEDs with a high CRI (color rendering index) rating, as this will ensure that your images and videos look bright and vibrant. Additionally, consider using diffuser material to ensure that the light is evenly distributed and doesn’t create any harsh shadows. Another important trick is to pay attention to the size and layout of your LED light panel. This will depend on the size of your space, as well as the type of lighting you need. For example, if you’re shooting a video, you’ll likely need a larger light panel that can evenly illuminate the entire scene. On the other hand, if you’re just taking photos in a small studio, a smaller panel may be sufficient. Additionally, consider the color temperature of your LED light panel, as this will affect the overall mood and tone of your images and videos. By carefully considering these tips and tricks, you can create a high-quality LED light panel that perfectly suits your needs.
In addition to the five simple steps outlined in the DIY guide for building your own LED light panel, there are additional tips that can help improve the effectiveness and longevity of your creation. Firstly, consider using a diffuser to soften the light and prevent harsh shadows. Secondly, ensure that you use high-quality LEDs and a reliable power source to prevent any potential safety hazards. Thirdly, experiment with different color temperatures and brightness levels to find the perfect setting for your needs. Finally, when using your LED light panel, avoid leaving it on for extended periods of time as this can lead to overheating and damage to the LEDs. By following these additional tips, you can create a high-quality and long-lasting LED light panel that will serve you well in a variety of applications.
To make your LED light panel unique and personalized, there are a few suggestions to take into consideration. First, consider painting the frame of the panel with a color that matches your style or theme. Additionally, you can add decorative elements such as stickers, stencils, or even rhinestones to add some flair. Another idea is to customize the brightness and color temperature of the LEDs to match your desired lighting needs. Finally, you can also experiment with different diffusion materials to create a unique and customized lighting effect. By incorporating these suggestions, you can create a LED light panel that not only functions well but also reflects your personal style and taste.
Building your own LED light panel can be a great decision for numerous reasons. Firstly, it provides you with the opportunity to customize the light panel according to your specific needs and preferences. Secondly, it can save you a lot of money, compared to buying a pre-made LED light panel. In addition, it allows you to use high-quality components and materials, which can result in a longer lifespan and better performance. Furthermore, building your own LED light panel can be a fun and rewarding DIY project, which can enhance your skills and knowledge. Lastly, it can contribute to a more sustainable lifestyle, as you have the ability to choose energy-efficient components and reduce waste from disposable products. Overall, building your own LED light panel can be a practical, economical, entertaining, and environmentally-friendly choice.
If you’re feeling intimidated by the idea of building your own LED light panel, don’t be! With this easy-to-follow DIY guide, you’ll be able to create a professional-grade panel in just five simple steps. All you need are a few basic tools and materials, and a willingness to learn and experiment. By taking on this project, you’ll not only save money, but you’ll also have the satisfaction of knowing that you built a high-quality piece of equipment that will help take your photography or videography to the next level. So don’t hesitate – dive in and start building your own LED light panel today!
Conclusion
In conclusion, building your own LED light panel can be a fun and rewarding DIY project that can save you money and improve the quality of your lighting setup. By following these five simple steps and using the right materials, you can create a customized LED light panel that meets your specific needs and preferences. Whether you’re a photographer, videographer, or just looking to upgrade your home lighting, this DIY guide provides a great starting point for creating a professional-grade light panel that will enhance your creative projects and elevate your work to new heights. So don’t be afraid to get creative and experiment with different designs and techniques to make your LED light panel truly unique and effective.