Drywall Anchors for DIY: The Definitive Guide

1. What is an Anchor?
Drywall anchors are very versatile and can be used for infinite number of DIY home improvement projects. Many people don’t know how to choose good anchors for their projects and sometimes heavy objects can come down rushing from the wall when you least expect it. Let’s see now how you can prevent that from ever happening to you.
Anchor is a type of fastener. It helps you to join one item to another in situations where other common fastening methods are just not good enough or impractical. Those others being: nails, screws, adhesive tapes, glues, duck tapes etc.
Surface types where anchors are used best:
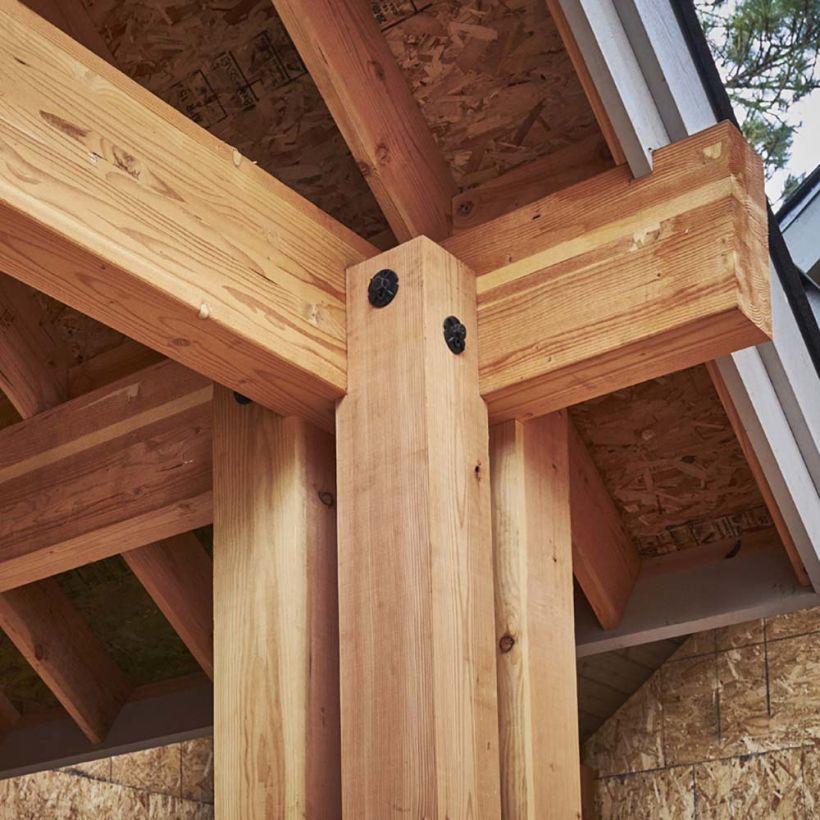
- Hollow surfaces: drywall, ceilings, walls… (Any surface where there is no any beams which support those surfaces)
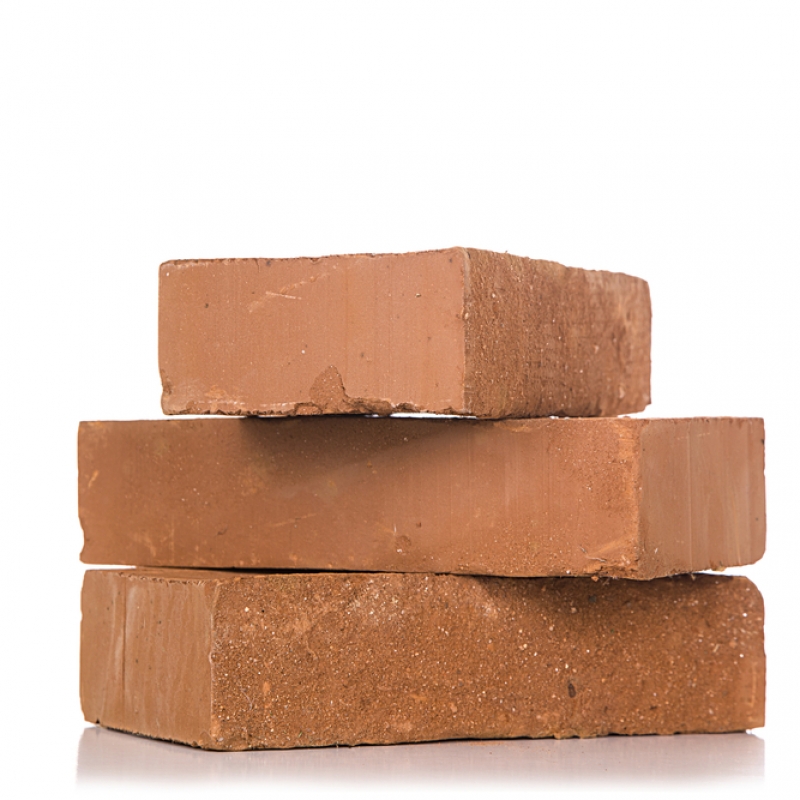
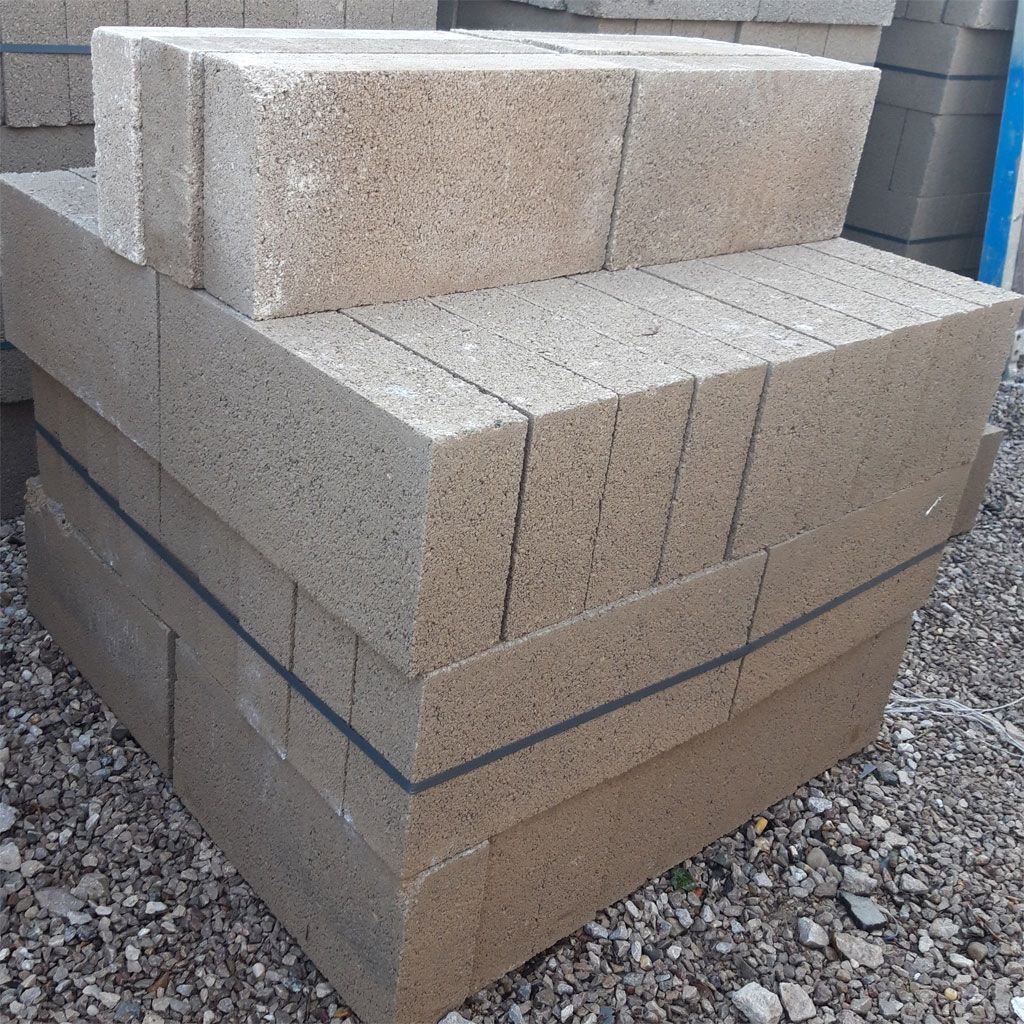
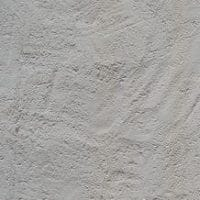
- Very hard surfaces: concrete, brick…
Specific types of anchors performance is dependent on the type of surface used with. Some anchors can be strong in the concrete but week when used in a drywall, for example. It could also be the other way around.
These weakness don’t have to show immediately when installed for the first time. but, in time, they will loosen up and what ever they were holding up will come crashing down when you least expect it.
And don’t always trust when manufacturers of different hung products like cabinets, shelves, towel bars, heavy mirrors and others come with anchors that are too weak to hold them. Some companies want to save on little things like anchors and just use the cheapest ones available. In those cases there will be no mention of stronger anchors alternatives available.
Anchors are also known as wall plugs.
2. How do they work?
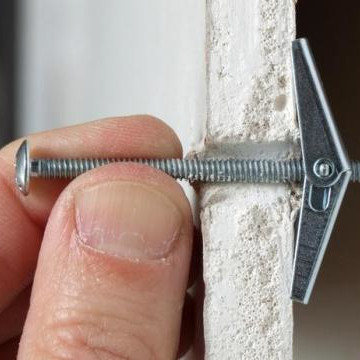
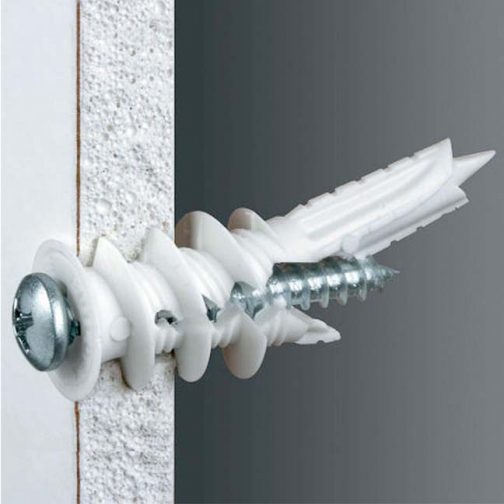
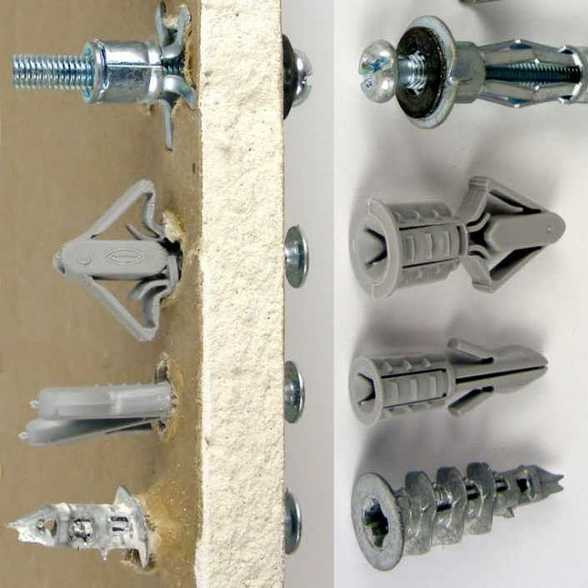
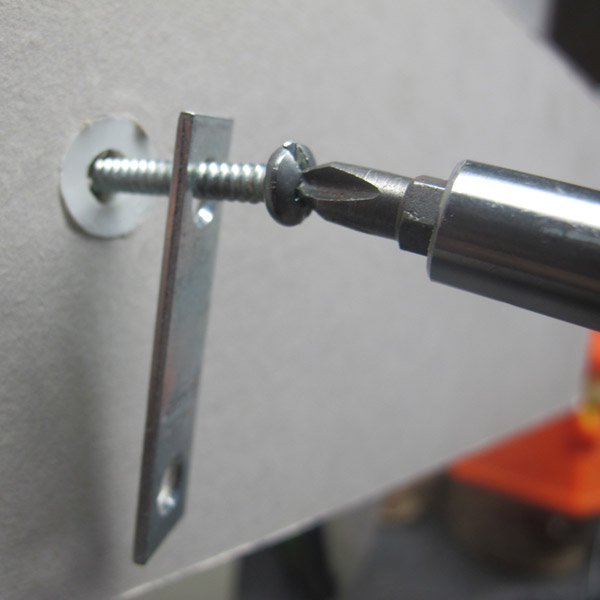
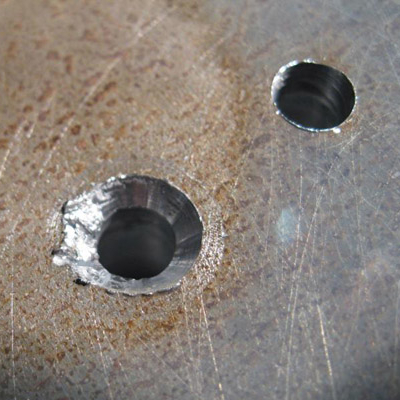
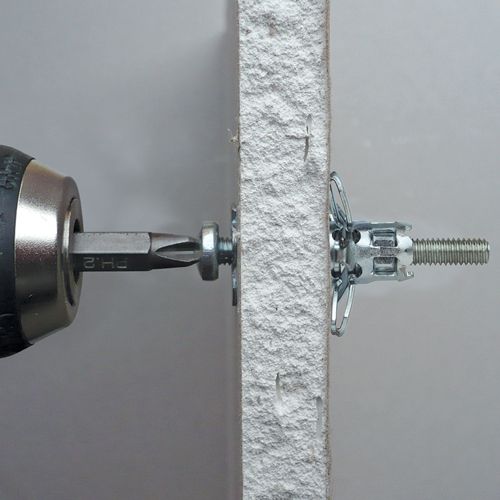
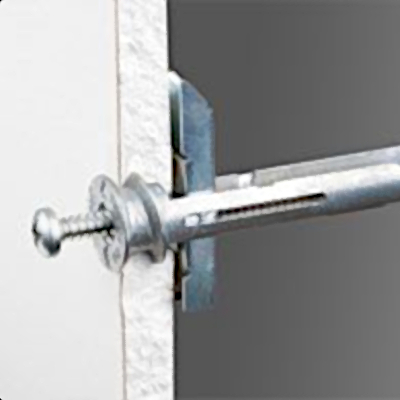
Drywall anchors work by providing a support for the bolt or screw in the drywall. First step is always to drill a hole in the drywall (or any wall or solid surface) after which an anchor is inserted. When an object is positioned and ready to be fastened, the inserted screw or bolt tightens the anchor on the side of the drywall and at the same time tightens the bolt/screw head on the outer side which essentially sandwiches the object in between ensuring a tight hold on anything you are hanging to the wall.
Here are some examples of drywall anchors in action:
3. What are different Drywall Anchor Types available?
3.1 Expansion Anchors – best used in solid materials
Expansion anchors are designed to be used in solid materials like wood, brick, concrete, mortar or even metal. The reason why they are called “expansion” is because when a screw or bolt is screwed into them they expand which in turn increases holding force between anchor and the wall (or other type of surface).
Here are some examples of solid materials fitting for expansion anchors:
The strength of expansion anchors is heavily dependent on the strength of the material they are installed in.
Although expansion anchors are designed for solid materials they can be used in a drywall also but their strength will be greatly reduced and they will loosen up and fall out eventually. So avoid at all costs to hang shelves or cabinets on a drywall by using plastic expansion anchors.
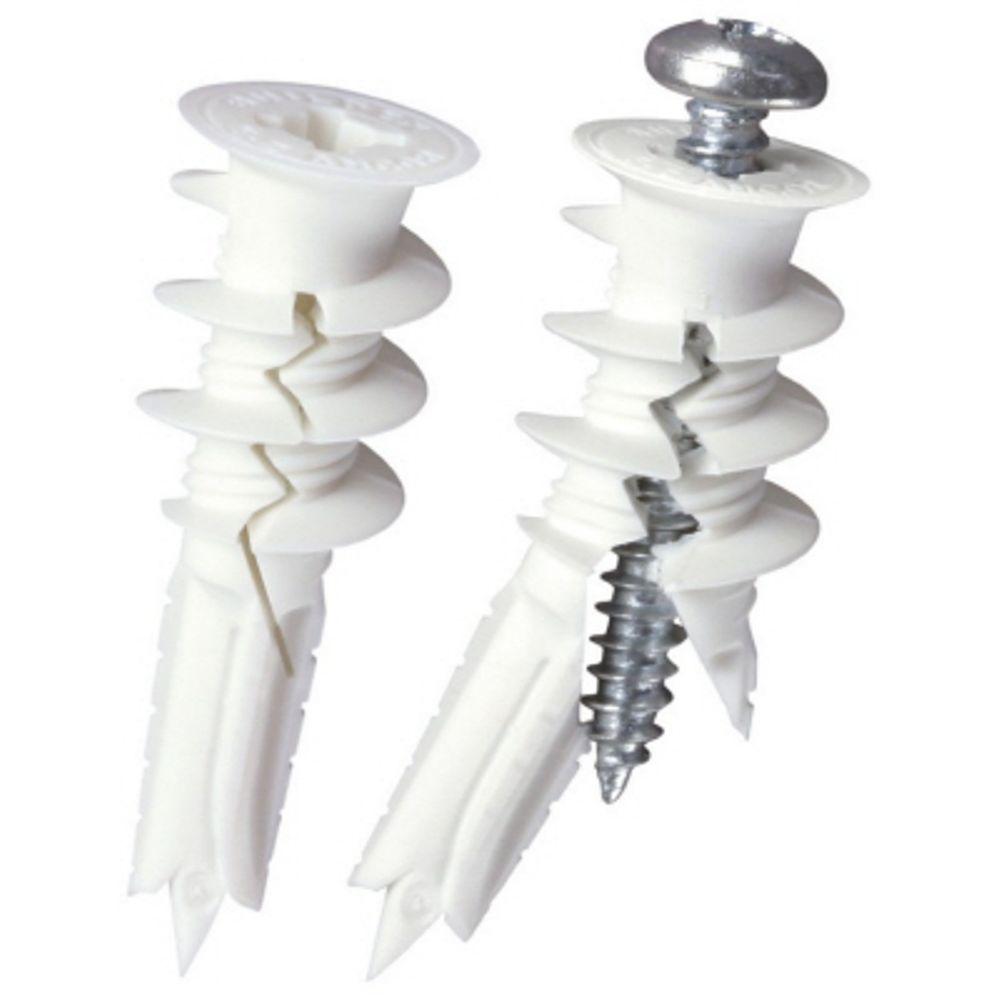
3.1.1 Plastic Expansion Anchors – most common type used
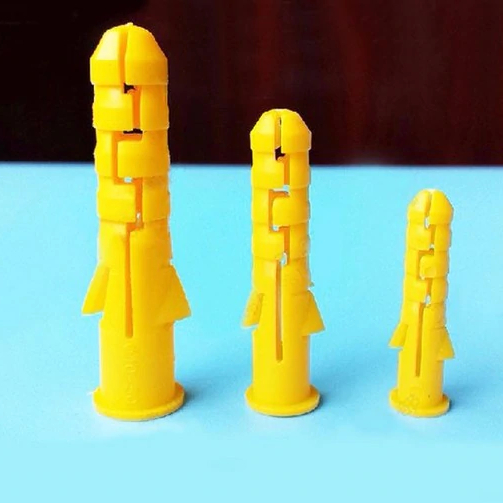
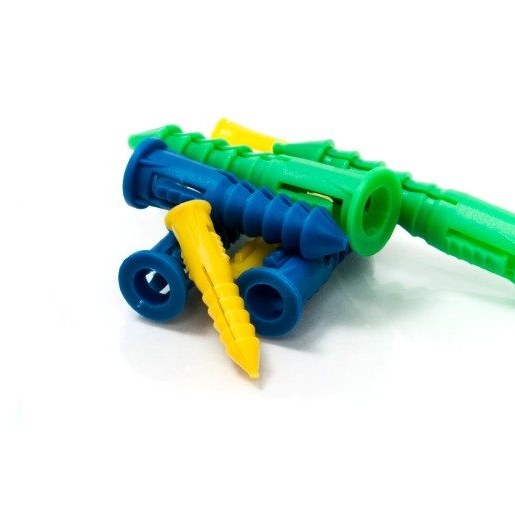
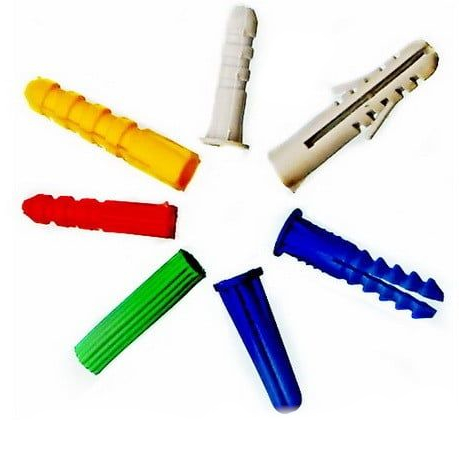
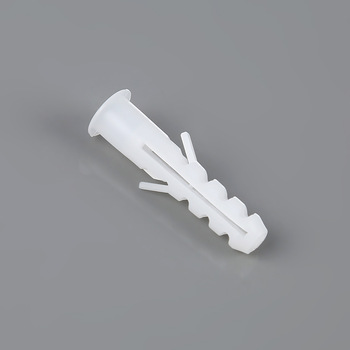
Plastic expansion anchors are the most common type of anchors used. They come in many different sizes, designs and colors. Strength of the plastic expansion anchors increases with size. Also, the strength increases with the more ribbed anchors are. This is true for any wall material.
Here are some examples:
Even though some materials are very hard by themselves, like concrete, plastic anchor is still the weak point and will be the first one to fail when enough force is applied.
Plastic expansion anchors are the least strong anchors. They are best used for light applications only. Objects that weight less than 10 lbs would be a perfect match here.
When to use plastic expansion anchor?
- Light objects where the pulling force is downward (doesn’t try to pull out anchor out of the wall).
- Always use at least 2 plastic anchors with screws. Don’t turn the screw all the way in and use it to hang an object on it.
- Avoid using plastic anchor for any ceiling applications. If something needs o be attached to a ceiling use hollow wall anchors. Do it right.
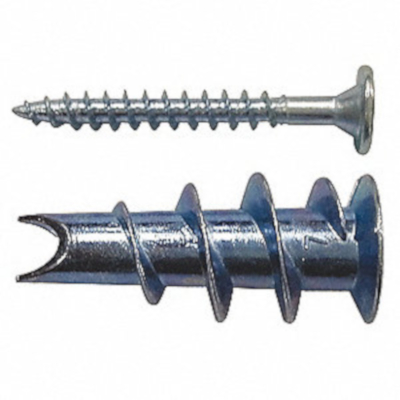
3.1.2 Threaded Drywall Anchors
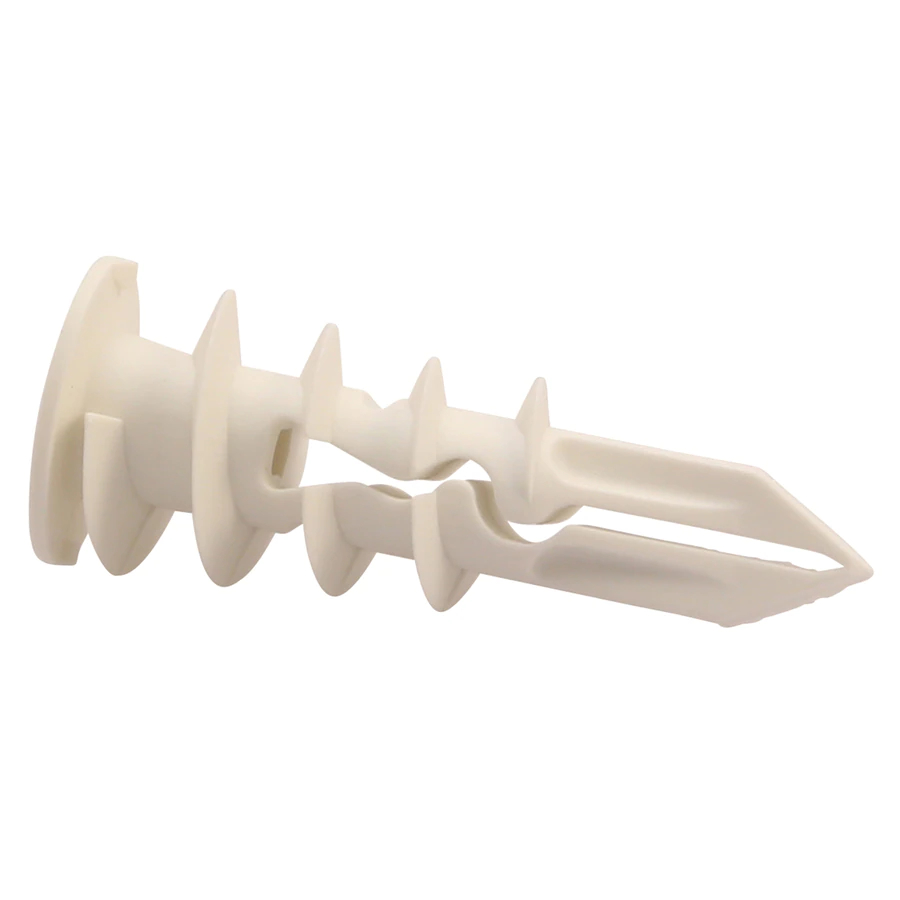
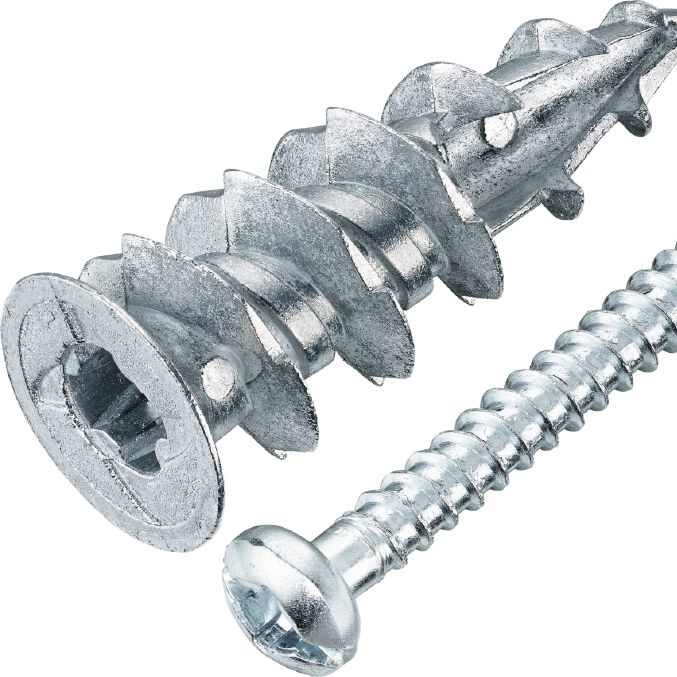
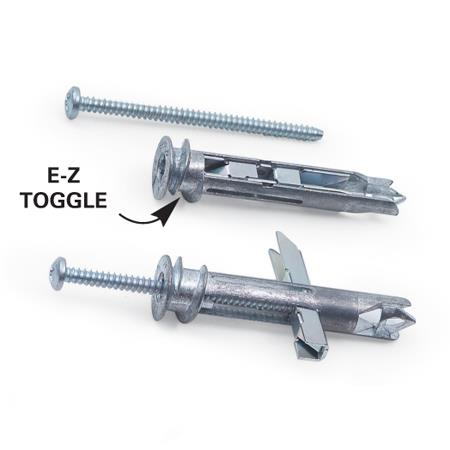
Threaded Drywall Anchor also goes by the name of EZ-Ancor, Wallboard and Zip-It trade names. It is distinguished by the big threads which make for a tighter grip in the drywall. These anchors are designed to be self-starting, meaning that no pre-drilled hole is necessary, but in practice it is very advisable to pre-drill a small hole.
It uses #6 and #8 sheet metal screws.
Best use is for lighter applications. Don’t hang very heavy items with these anchors.
How to install Threaded Drywall Anchors?
- Use awl or small drill bit to punch/drill a small hole into the drywall.
- Screw in the anchor by using the cordless drill with a screwing attachment of Philips screwdriver until it’s all the way in.
- Do not panic if the drywall bulges and deforms a little bit. This is the result of the strong forces the anchor is creating.
- Position the object that needs hanging and install the screw all the way in.

Here is the table that shows the strength of threaded drywall anchors:
[ninja_tables id=”3142″]
3.2 Hollow-wall Anchors
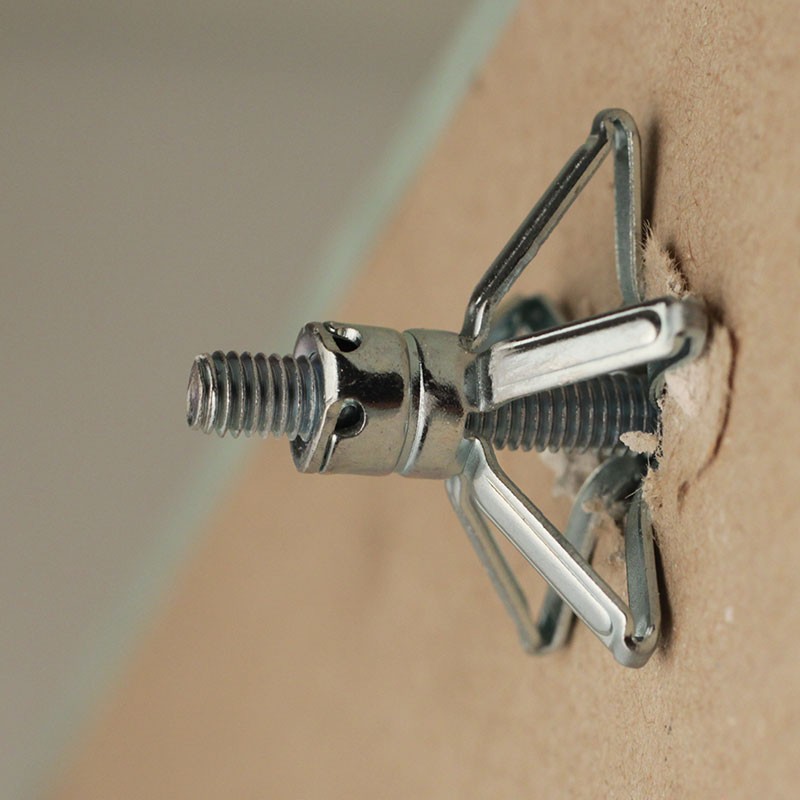
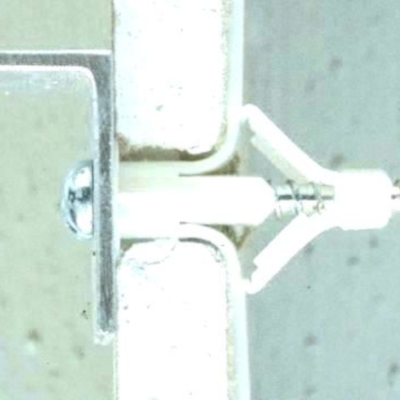
Hollow anchors by design can be installed into the solid materials. Natural place for their use are thin or hollow materials, like drywall. Once they are inserted in the hole made in the wall, their wings spread out and prevent the anchor from pulling back the anchor out. The bigger the contact surface between anchor wings and the wall the greater the strength of the anchor.
Here are some examples of how hollow-wall anchors look when installed:
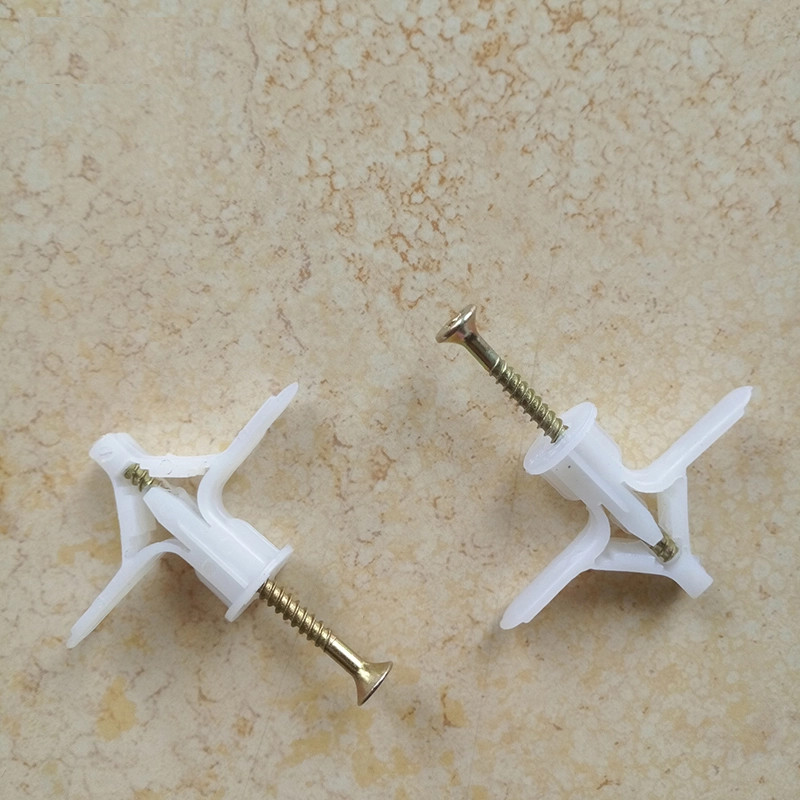
3.2.1 Winged Plastic Anchors
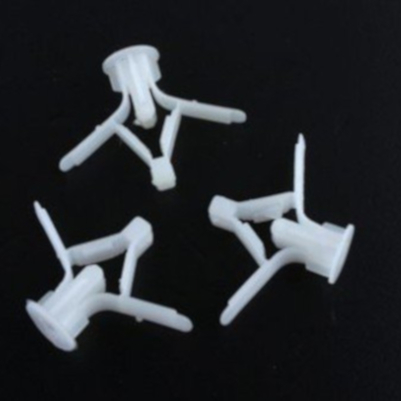
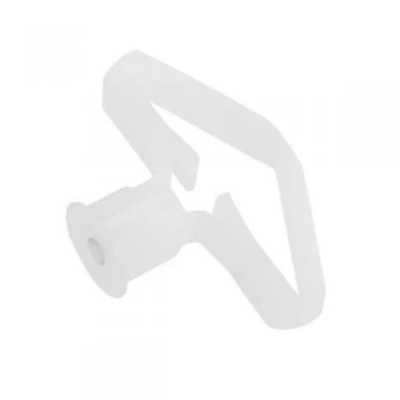
If you are looking for a good balance between cost and strength, winged plastic anchors are a great choice. When compared with expansion plastic anchors they are more than twice strong. They are also cheaper to manufacture than metal anchors.
Handle these anchors with some delicacy because they are still made out of plastic and can be damaged if you work them too hard. Do not tighten the screw too much when you are finishing the installation. Also, double check that you are using the properly sized screw, as the too big of a screw can damage the anchor threads. If that happens, the anchor is going to become significantly weaker.
How to install step by step:
- Drill 5/16″ diameter hole (about 8mm).
- Fold the anchor in the middle
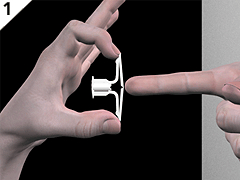
- Insert the anchor in the hole and push it until it’s flush with the wall
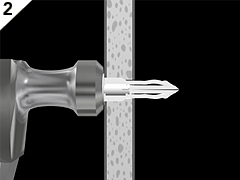
- Use the provided key, or small screwdriver, to pop open the anchor. This locks the anchor behind the wall. Don’t use hammer for this step.
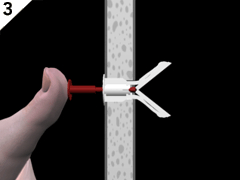
- Position the object over the anchor and install the screw. Tighten the screw only until it’s flush with the fixture.
3.2.2 Threaded Drywall Toggles
Threaded Drywall Toggles have two features that complement each other in giving this type of anchor great strength. The threads cut deep into drywall, just like the threaded anchor, but they also have a toggle which presses on the back side of the drywall for greater strength. These anchors are self drilling so they don’t require drilling a hole first. However, if you have trouble holding it steady, it may be worth a while to drill small hole first. For that purpose you may use 1/16″ drill bit and drill a hole on the marked spot about 1/8″ deep. This will give you a solid starting point to install this anchor more precisely.
How to install Threaded Drywall Toggles:
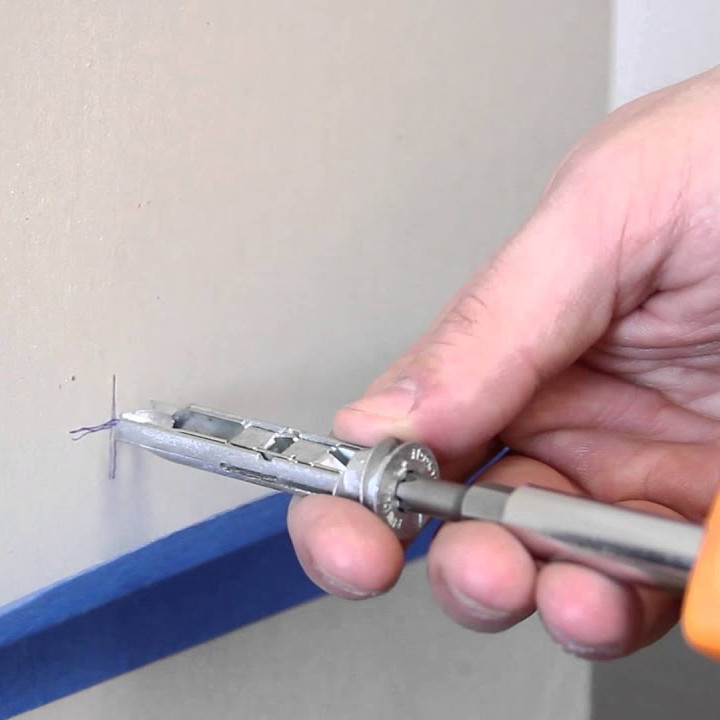
- Mark the place on the drywall with a pen. You can make a cross or a dot. Cross is easier to see from afar.
- Press the anchor against the drywall on the market spot and turn it using the screwdriver.
- Continue turning the anchor until it is completely flash with the wall.
- Now insert the screw into the anchor and start turning it to the right with a screwdriver.
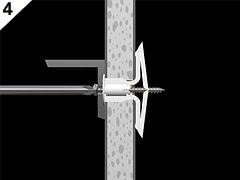
- This action will release the toggle on the other side of the wall and the screw will catch the central hole in the toggle and start to pull it towards you.
- Keep turning the screw until you feel the stiff resistance. This means the toggle has dug into the wall from the other side and is securely in place.
The drawback of this design is that sometimes it may happen that the toggle will not turn when the screw is inserted. Also, if you install the screw with too much of a force, than the screw may strip the thin sheet metal threads of the toggle. These unfortunate accidents may leave you with an unusable anchor already installed in the wall.
Don’t worry, there is a solution. Just turn the anchor counter-clockwise (or left, if you prefer) and pull the anchor out. The already made hole can be used with a regular toggle anchor. So the advice is to some of those ready just in case these fail.
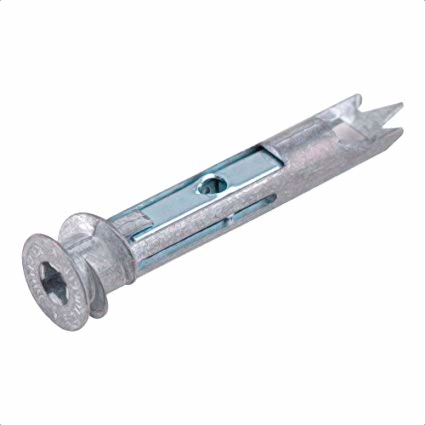
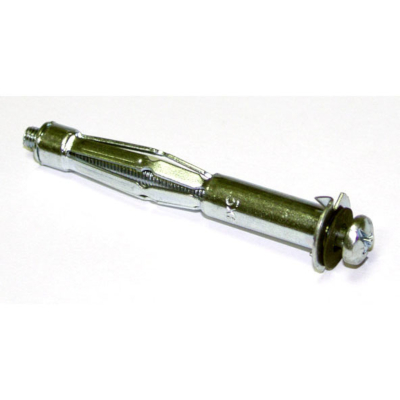
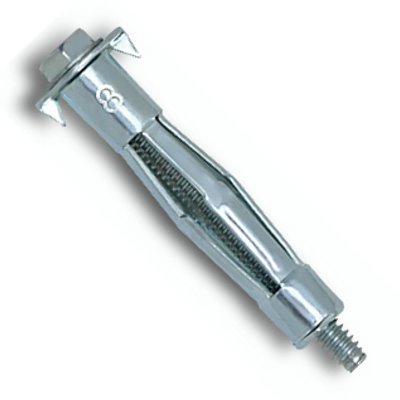
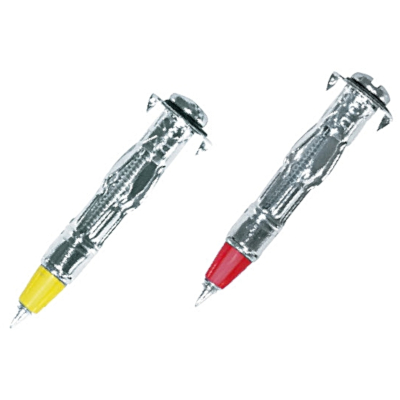
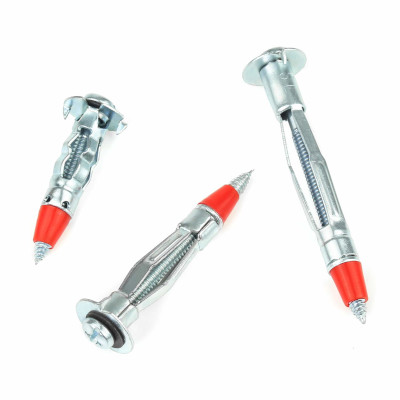
3.2.3 Molly Bolts (Sleeve-Type) Hollow Wall Anchors
Molly Bolts anchors very strong type of anchor. They are also installed easily, just like an expansion plastic anchors. They can hold up to 50 lbs each (or more), which is significant holding power for a regular household use and definitely very reliable choice for DIY projects of various sizes.
The main difference which distinguishes this anchor from the rest is that it acts as a nut which is permanently installed at the drywall. Even when you unscrew the bolt, remove the object that was hang, you are still able to hang another object using the same anchor without loosing any holding power. This makes this anchor a great choice for any hanging applications which may need to be disassembled and assembled again occasionally.
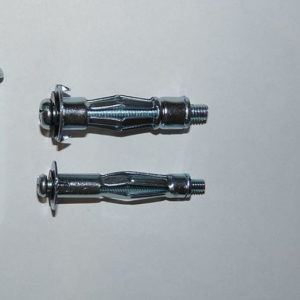
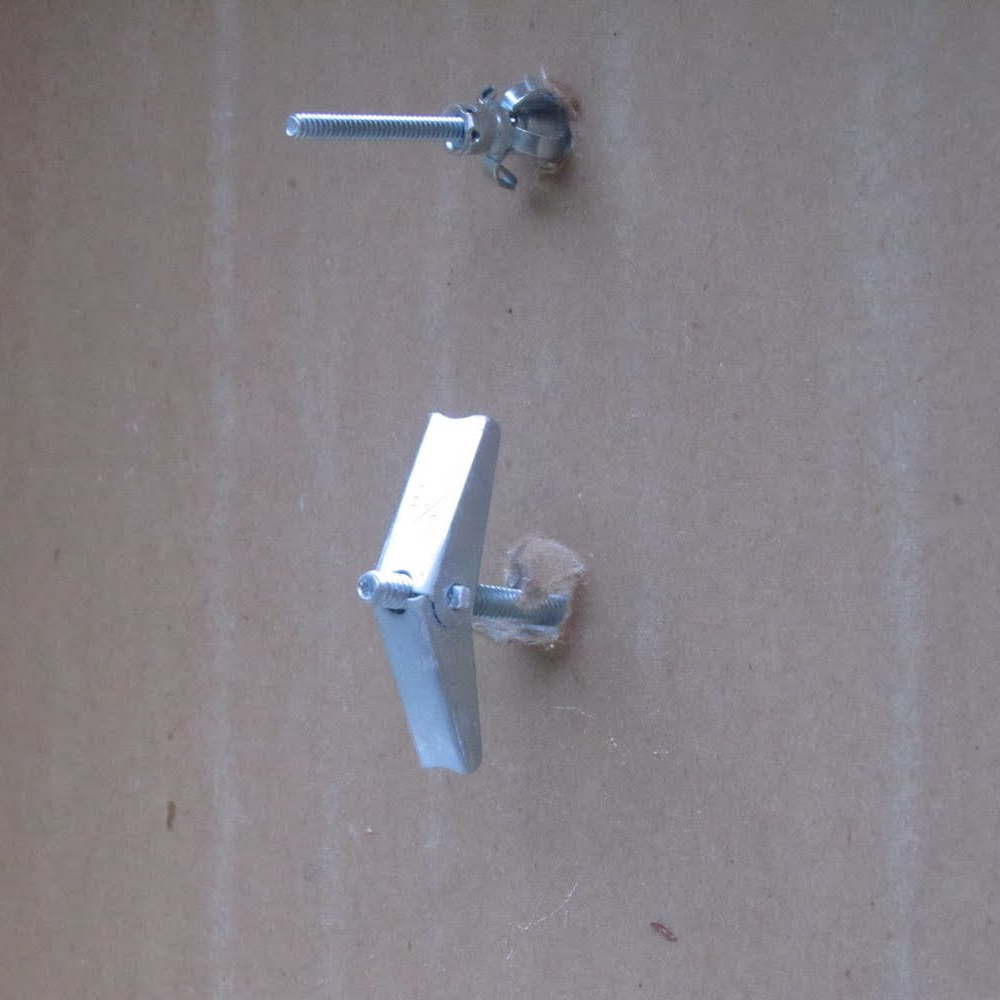
The top molly anchor from the above photo is used in thin materials. Most common examples are hanging on hollow doors items like towel bars, coat hooks or “dummy” doorknobs.
Here is the table showing sizes and load strength for Molly Bolt anchors in general:
[ninja_tables id=”3231″]
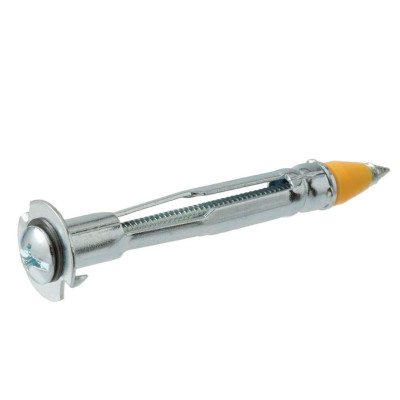
Next sub-type of Molly Bolts is the Drive Molly Bolt. Here is how they look:
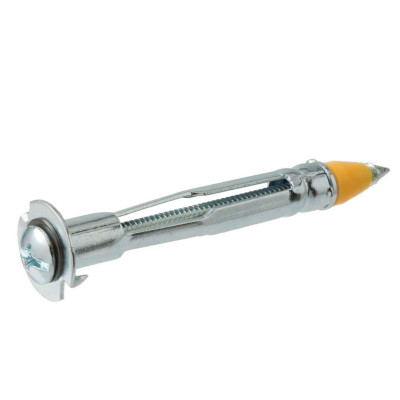
Drive Molly Bolt anchors are specifically designed to be used drywall’s of various thickness. The colored plastic part of the drive Molly Bolt anchors in combination with the sharp metal tip was designed to enable hammering the anchor into the drywall. However, we would not advise this approach as drilling a hole first is only slightly more effortful but much more safer and cleaner way to install this anchor.
Here is the table showing different sizes and maximum loads for drive molly anchors:
[ninja_tables id=”3223″]
Size in the above table is the size of the bolt used. These bolts range from 1/8″ to 1/4″. Always go for the largest size possible to ensure the greatest holding power.
Official installation instructions:
- Mark the spot on the drywall
- Hammer the drive molly anchor into the drywall until it’s flash.
- Position the item and screw the bolt in.
- Stop when you feel resistance.
Recommended installation instructions:
- Mark the spot on the drywall.
- Drill the hole using the same drill bit size as the diameter of the molly bolt. Just put the drill bit next to the anchor and choose the drill bit of the same size or the one that is slightly larger (about 1/16″). This is prefered to prevent damage to the anchor as it is made from thin sheet metal and if you hammer it into the drywall you can bend it and damage it which will reduce the designed holding strength. For 1/8″ mollys, you can use the awl to punch a hole in the drywall.
- Tap in the anchor until it’s flash with the drywall.
- Position the item properly.
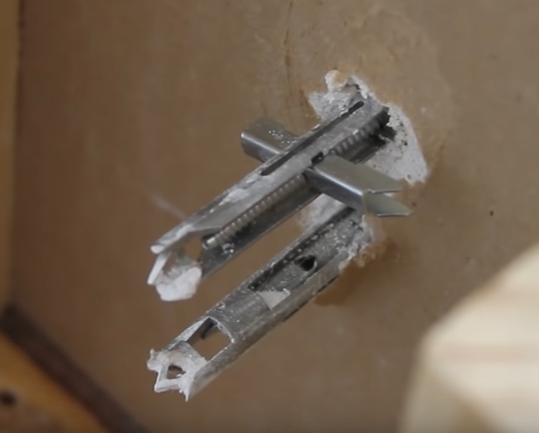
- Turn in the bolt clockwise to enable a firm grip of the “teeth” that form when this anchor type is installed. This will expand the metal legs and pull the base of the anchor towards the drywall.
This is how Molly Bolt anchor looks from the other side when installed:
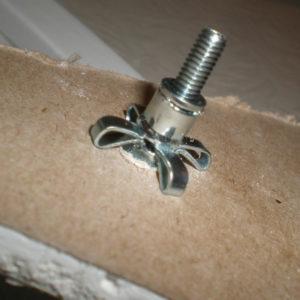
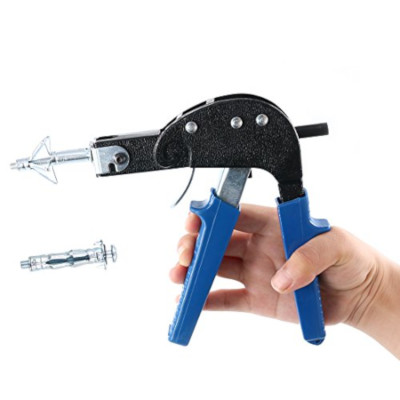
It’s worth to mention that there is also a tool available which can help to install Molly Bolts without using the screwdriver. It’s called molly setter. Molly setter pulls the base of the anchor towards the drywall expanding a legs in the process. If you have to install many Molly Bolts than this tool can save you a lot of time. If you have only an occasional need, than you don’t need to spend money on an extra tool.
Here is how it looks:

When you use molly setter tool no torison force is applied to the head of the anchor so it doesn’t twist during installation. The molly bolt has 2 sharp points that help the installation by digging deep into the drywall and prevents the head of the anchor to spin. This additional stability that this tool provides enables molly bolt installation on a wider range of surfaces including wood and even metal.
This tool is also helpful if the sharp points have been repaired before or you are trying to install the molly bolt on a hard surface. The example would be the hollow-core door.
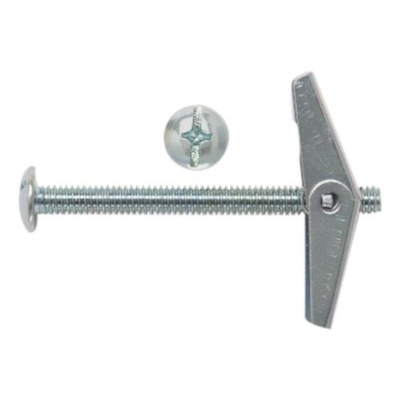
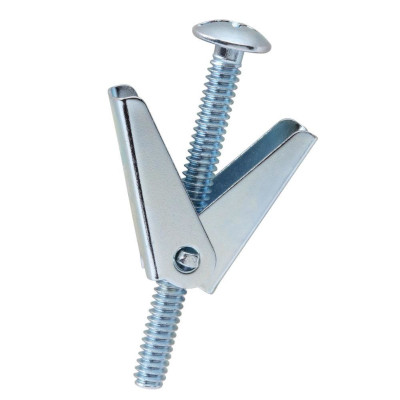
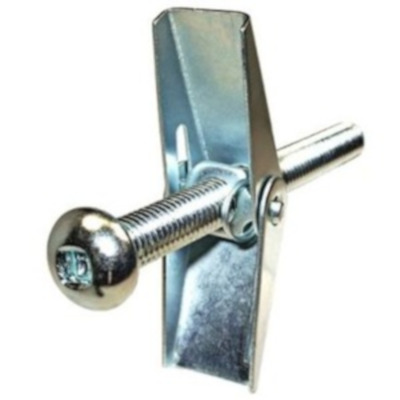
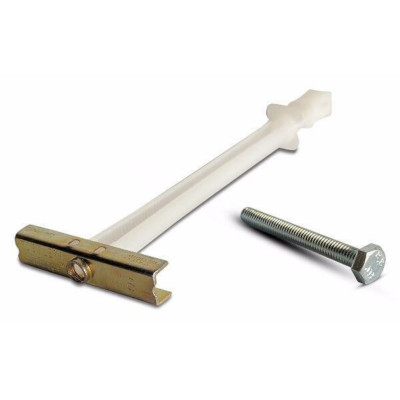
3.2.4 Standard Toggle Bolts Anchors aka. Snap Toggles
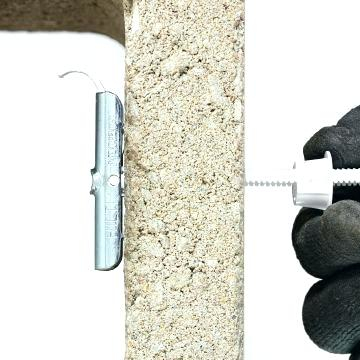
These traditional toggle bolts are exceptionally strong and have compared to the other types of hollow-wall anchor a simple design. They consist of the machine type bolt and a toggle. The toggle is spring loaded and has to be manually squeezed to close. Once they are put through the hole in the wall the wings will automatically spread. When the machine bolt is tightened with a screwdriver, the toggle will be pulled to the drywall until it grips it hard from the other side.
There are two important dimensions when determining the size of this type of anchor. The length of the machine bolt and the diameter of the machine bolt. The larger the diameter of the bolt the stronger the anchor. Longer bolts are great when thicker materials are used, like the combined thickness of the wall and the item being hang.
Here is the table which shows the Allowable Load capacity for Toggle Bolts in Wallboard:
[ninja_tables id=”3249″]
How to get the diameter dimension in metric system from this table? Easy! Multiply the diameter of the anchor bolt with 25.4. Example: 1/8″ is 0.125″; 0.125 * 25.4 = 3.175 mm
[ninja_tables id=”3253″]
So how come the strength of the toggle anchors is so much greater in Hollow Concrete Masonry? Because the drywall is going to fail before these anchors fail. That’s how strong they are!
Standard Toggle Bolts anchors are also best used in ceiling hanging applications such as hanging plants or mobiles. What you don’t want to hang with these anchors is the ceiling fan which must be attached directly to the supporting beam (or structural member). This also applies to anything that moves or rotates while being hang from the ceiling. You also must take care not to overload the ceiling as it may pull away from the joists.
How to install toggle bolt:
- Mark the spot on the wall (or ceiling).
- Drill the hole depending on the size of the chosen anchor (see table below).
- Disassemble the anchor – separate toggle from the machine bolt.
- Put the machine bolt through the item being hang.
- Reattach the toggle back to the bolt the way it was before. The “wings” should point towards the drywall.
- The correct position of the toggle before installation should be when about 1/8″ of the machine bolt is visible at the end. Do no make a mistake of barely attaching the toggle with just a few turns as the toggle may turn sideways (and drop in the drywall gap) during installation.
- Do this for all the fastening positions you do.
- Now, push the toggles 1 by 1 through the holes in the wall until you can feel (and hear) the toggle snapping to expanded position behind the drywall.
- Get the screwdriver and pull the object you are fastening so that the toggles are against the back of the drywall. This prevents the toggles from spinning around while you turn the screws one by one.
- Do not tighten the toggle too much and check the exact position before finishing the tightening. The positioning of this type of toggle is not as precise as the other ones because you are in essence left with a small diameter machine bolt going through over-sized hole. The over-sized hole is of-course needed for the “wings” to go through.
[ninja_tables id=”3258″]
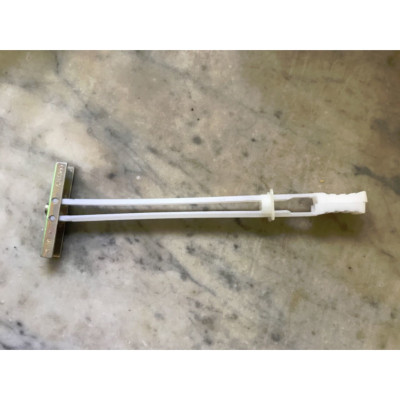
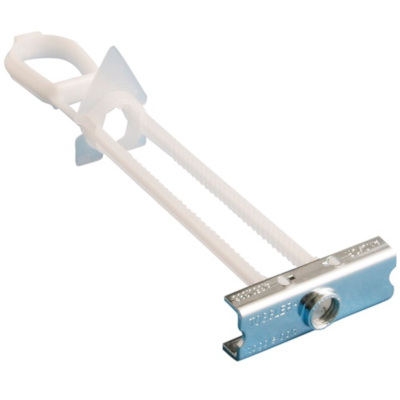
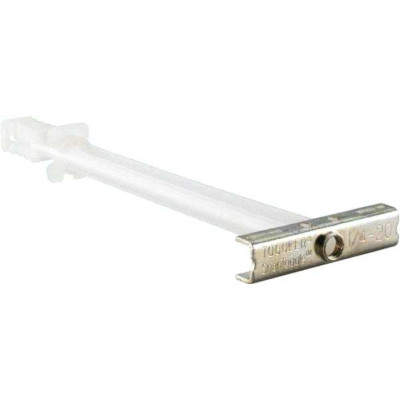
3.2.5 Snap Toggle
The snap toggle (used to be called “The Toggler”) is different from most other types on anchor because it’s reusable, but only in the same hole.
- The toggle, which is actually a steel threaded bar, is supported with by a plastic sleeve and will not drop down the drywall when the bolt is removed.
- It requires comparatively smaller hole to drill so that the toggle part of the anchor can pass through the hole. This can be a time saver if you need to drill through ceramic tiles for example or other hard surfaces.
- Since the hole is smaller, that means that there is less of a chance for this anchor type to rip through the wall.
The snap toggle anchor could be little more difficult to find in stores. Looking online would be your most secure bet.
4. How to use (install) Drywall anchors?
Here is how to install plastic expansion anchor:
- Make a hole in the wall with a drill. Alternatively you can use awl.
- Insert the anchor into the hole until it goes all in. You can use a hammer to tap it in lightly.
- Place the object in a position to be fixed.
- Use an appropriate screw for the size of the anchor to fasten the object to the wall.

Use the following table to determine the size of the drill bit to use for the plastic anchor you have available.
[ninja_tables id=”3112″]
5. How much weight can drywall anchors hold?
How strong an anchor is for specific application depends on:
- what object is being hung
- type of surface being hung on
- condition of the surface
- type of anchor
Here is why this is important.
Type of object being hung will influence how a weight of that object pulls on the anchor. If the force is completely downward (for example hanging a 30 lbs. mirror which is very thin) than a regular plastic expansion anchors can serve the purpose very well. But, if you are trying to hang a shelf which will store the heavy items than the force is pulling an anchor out of the wall which is making a plastic expansion anchor very weak in this case.
Anchors do not reach their full load carrying strength when the wall has been repaired, has suffered water damage or is week structurally. Although, you can’t measure exactly the number of specific types of anchors to use, you can always error on the side of safety a little bit to ensure whatever you are hanging will stay up on the wall.
[ninja_tables id=”3059″]
6. How to remove (take out) drywall anchors?
Removing plastic anchors
Plastic anchors are easily removed by inserting a screw into the anchor and pulling it out with a pliers while holding its head. Pull left-right and up-down to loosen it up.
Removing Threaded Drywall Anchors
This one is very easy to remove. Just use the screwdriver (Philips) to rotate the anchor counterclockwise until it separates from the drywall. Since the “wings” or spreading spikes had formed after installation, when removing threaded drywall anchors they might enlarge the hole in the wall.
Removing Winged Plastic Anchors
- Remove the screw first.
- Now you can try 3 different things: use the pliers to grab the outer edge of the winged plastic anchor and try to wiggle it out.
- If that doesn’t work, try to insert the screw back, but only until the depth of the drywall and try to pull it back with a pliers.
- Last option is to use the drill with the same diameter as the hole in the drywall and to drill through the winged plastic anchor.
Removing Threaded Drywall Toggles
These anchors a little bit tricky to remove once installed properly.
- First, remove the screw by turning it with a screwdriver to the left (or counter clockwise). Take the screw out.
- If the toggle drops down into the drywall you are in luck. Turn the anchor counter clockwise with a screwdriver until the anchor is out of the wall.
- If the toggle didn’t drop, than the anchor can still be partially pulled out of the wall. Pull it out as much as you can and use cutting pliers to remove the part of the anchor that now sticks out of the wall. This will cause the other part of the anchor with the toggle to drop down in the drywall.
What can you do after you pulled this anchor out of the wall? Well, you can repair the hole with the drywall compound or lightweight spackle. Or you can use the standard toggle anchor to replace the removed one if you still need to hang something else on the wall at the same place.
Is it possible to retrieve the toggle so it doesn’t drop down in the drywall gap? Well, yes, but not that easy:
- Keep pulling the anchor from the drywall so it maintains the friction between toggle and the wall.
- Unscrew the machine bolt almost until the end. Be careful!
- When the toggle is just barely hanging on the bolt use a piece of steel wire to push the toggle into a sideways position.
- Pull the toggle through the hole in the wall.
This is risky to do as you can do more damage than it is worth the price of retrieving the toggle and saving the anchor.
Removing a Molly Bolts Hollow Wall Anchors
To remove the molly bolt anchor type you will have to use some skills as they can be tricky to remove. Here are a couple of suggestions on how to remove them:
- Twist the top of the anchor
It’s not guaranteed to work every time but here is the process to follow:
- Find small needle nose pliers.
- Insert the one point of the nose of the pliers into the bolt hole.
- Grasp the outside edge of the top with the other point.
- Keep pulling back and forth the top of the anchor until it releases form the wall.
- Get the screwdriver
- Use it to push the body of the molly bolt anchor into the drywall.
- Drive the anchor into the wall
This option is used when you don’t need to hang anything else at the same spot.
- Get a screwdriver or a nail and a hammer
- Position the screwdriver or a nail on the head of the molly bolt anchor and tap it with a low force until it drops into the drywall.
- Use the lightweight spackle or drywall compound to repair the drywall hole.
- Reuse the hole with a toggle anchor
- Get a screwdriver or a nail and a hammer
- Position the screwdriver or a nail on the head of the molly bolt anchor and tap it with a low force until it drops into the drywall.
- Find the toggle bolt that can fit with a “wings” closed through the hole. Expand the hole if you need even bigger toggle anchor.
- Drilling the molly bolt anchor out
- Use the drill bit twice the size of the molly bolt anchor screw.
- Preferably use the sharpened drill bit.
- Position the drill at the center of the anchor hole and drill while pressing forward all the time. This prevents the molly bolt from spinning.
- Stop when the molly bolt drops into the gap in the drywall.
- If this wasn’t successful and the anchor keeps spinning in the drywall, then your only option is to tap the anchor into the drywall by using screwdriver and a hammer.
Removing Toggle Bolts
Removing Toggle Bolt is very easy:
- Unscrew the machine bolt.
- The toggle will drop down in the drywall. That’s all.
Removing Snap Toggle
- Remove the bolt.
- Drill using the drill bit of the same size as the hole so that the metal toggle will drop behind the drywall.
If the drilling fails to drop the toggle and it keeps spinning around, use the hammer and a large screwdriver to push the leftovers behind the drywall. If you have a 1/2″ rod laying around that would be a perfect tool to use along with a hammer.
7. Bonus
How to install drywall anchors without a drill?
Some of the anchors are self tapping and can be installed without using the drill. Although using the drill is recommended, but in case you don’t have one available here are some of the options:
- Use the screwdriver to make a small hole in the drywall. This will help the self tapping anchors to get a good start when you start to turn them with a screwdriver.
- Instead of using the screwdriver you can use the hammer and a nail to create that starting point for the anchor.
- Same ideas as the two above, but you can use the screw and a hammer.
- Awl is a great tool for punching holes in the drywall. It can be used to punch a hole big enough to install small plastic expansion anchors.
Here is a list of the self tapping anchors you can use:
- Threaded Drywall Anchors
- Threaded Drywall Toggles
- Drive Molly Bolt
All three of these are described in detail in this article.
How much weight can drywall hold without anchors?
The estimated strength of the drywall without anchors is about 5 to 10 lbs. So nothing to write home about.
Add to this the fact that the quality of the drywall manufacturing can vary and you can’t rely on it’s strength. Always use one of the many types of anchors available to ensure maximum safety for yourself and your property.
If you absolutely can’t use the anchors always install the screws into the stud. Those are vertical beams that support the drywall.
How to find the studs?
- You can knock on the wall and listen for the sound. If you hear the hollow sound than the beam is not behind. If the sound is dull or solid than the beam is right behind.
- Find one of the electrical outlets and screw directly above it. Electrical outlets are installed directly on the studs.
- There is a tool called electrical stud finder which you can use to find studs. It can be purchased online or at local home improvement stores.

