StepbyStep Guide: How to Easily Install LED Light Strips
LED light strips are a great way to add some flair and ambiance to any room, whether you want to highlight a certain area or create a specific mood. They’re also energy-efficient, long-lasting, and easy to install. In this step-by-step guide, we’ll walk you through the process of installing LED light strips in your home or office, so you can enjoy the benefits of these versatile lighting solutions. Whether you’re a DIY enthusiast or a complete novice, this guide will provide you with all the information and tools you need to install LED light strips with ease. We’ll cover everything from choosing the right type of LED light strips to preparing your surface for installation, and from connecting the strips to a power source to controlling the brightness and color of your lights. With our simple and straightforward instructions, you’ll be able to transform any space in no time!
Materials needed

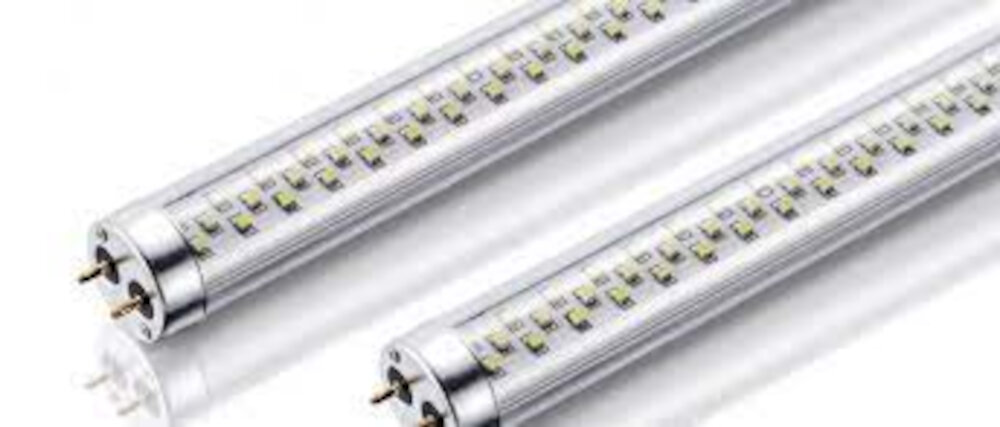
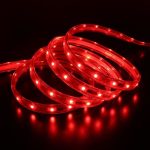
When it comes to installing LED light strips, having the right materials is crucial to ensure a smooth and successful installation process. The first and most important material needed is the LED light strip itself. LED light strips come in various lengths and colors, so it’s important to choose the right one for your specific project. Additionally, make sure to choose an LED light strip with a high-quality adhesive backing to ensure it stays in place once installed. Other materials needed include a power supply, which can be a plug-in adapter or a battery pack, depending on your preference and the location of the installation. Additionally, you will need a remote control to adjust the brightness and color of the LED light strip, as well as an extension cord if the power supply is not located near the installation area. In addition to the LED light strip and power supply, there are a few other materials that may be necessary for your particular installation. If you plan to install the LED light strip on a curved or uneven surface, you may need to purchase additional adhesive tape or mounting brackets to ensure the strip stays in place. Additionally, if your installation area is exposed to moisture or water, you will need to purchase a waterproof LED light strip and silicone sealant to protect the strip from damage. Finally, make sure to have a pair of scissors or wire cutters on hand to cut the LED light strip to the desired length and to trim any excess wiring. By having all of the necessary materials on hand before beginning the installation process, you can ensure a successful and stress-free installation.
Step 1: Planning
Planning is a crucial step in the process of installing LED light strips. Before starting the installation process, it is essential to have a clear idea of where and how the LED light strips will be installed. The first step in planning is to determine the purpose of the LED light strips. Are they going to be used for decorative purposes, or do they serve a functional purpose, such as lighting up a workspace? Once the purpose is determined, it is necessary to decide on the location of the LED light strips. This will depend on the purpose and the area that needs to be illuminated. It is important to select a location where the LED light strips will have the most significant impact and be the most effective. Another critical aspect of planning is to measure the area where the LED light strips will be installed. This will help to determine the length of the LED light strips required for the installation. It is essential to measure accurately to avoid any wastage and to ensure that the LED light strips fit perfectly into the designated area. Additionally, it is necessary to plan the power source for the LED light strips. This will depend on the location of the LED light strips and the availability of an electrical outlet. If there is no electrical outlet available, it may be necessary to install a new electrical outlet or use a battery-powered LED light strip. Planning all these details before starting the installation process will ensure a smooth and successful installation of LED light strips.
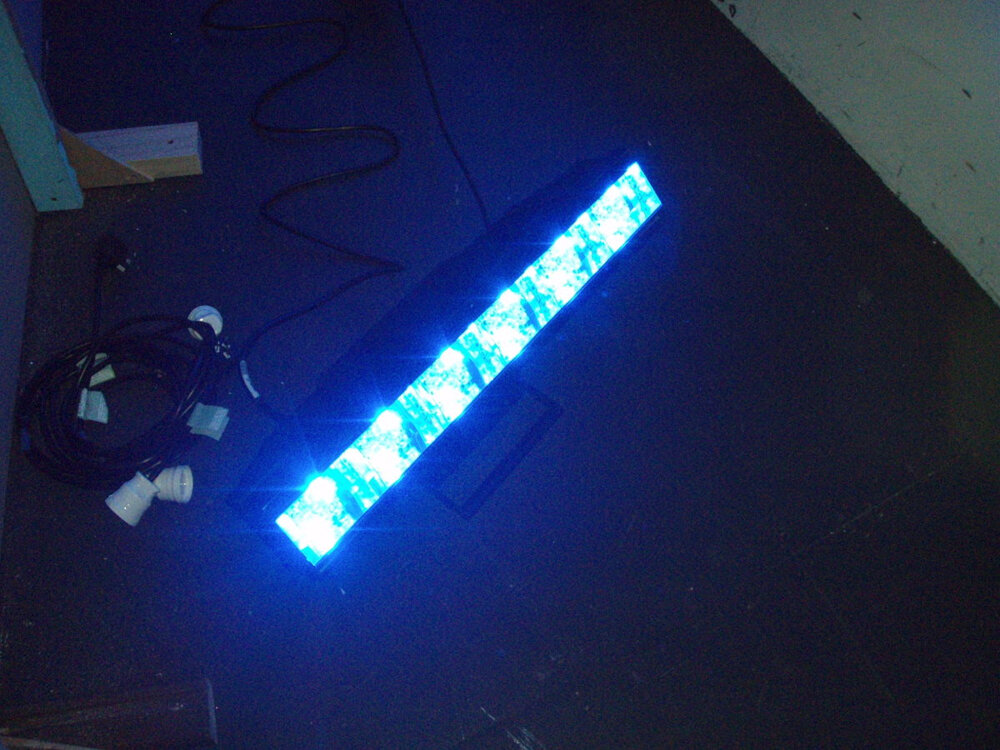
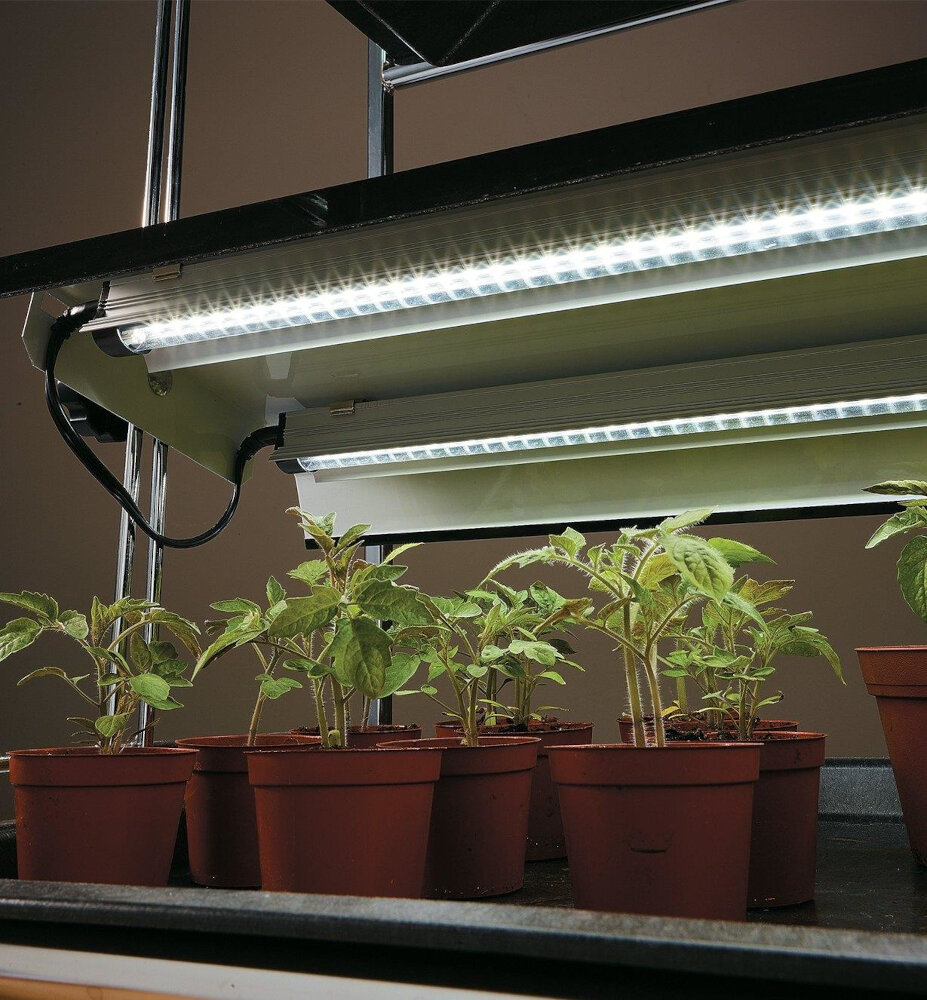
Step 2: Preparing the LED Light Strips
The second step in installing LED light strips involves preparing the strips themselves. This is an important step as it ensures that the strips are ready to be installed and will function properly once they are in place. Firstly, you will need to measure the length of the area where you want to install the LED strips. This will help you determine the length of the strips you need to purchase. Once you have the correct length of strips, you can then cut them to the desired length. Be sure to use a sharp pair of scissors or a cutting tool to ensure a clean cut. It’s also important to cut the strips along the designated cutting marks to prevent damaging the strip’s circuitry. Next, you will need to attach connectors to the ends of the LED strips. These connectors allow you to connect multiple strips together or connect the strips to a power source. There are various types of connectors available, so be sure to choose the appropriate one for your specific LED strip. Once you have the connectors attached, you can then peel off the backing from the adhesive tape on the back of the strip. This will allow you to easily stick the strip to the desired surface. Make sure the surface is clean and dry before applying the strip to ensure a strong bond. Preparing the LED strips is an essential step to ensure a successful installation and guarantee that the LED lights will function efficiently.
Step 3: Installing the LED Light Strips
The third step in installing LED light strips is arguably the most exciting part of the process. After having determined the ideal placement for the strips and preparing the surface, it’s time to put the lights in place. Begin by carefully peeling off the adhesive backing from the strip, taking care not to damage the lights themselves. Once you have removed the backing, slowly and carefully apply the strip to the surface, making sure it adheres firmly and evenly. You can use a small squeegee or your fingers to smooth out the strip and ensure it is securely in place. Repeat this process for each strip until you’ve installed all of them. It’s important to note that some LED light strips may require additional installation steps, such as soldering or wiring. Be sure to read the manufacturer’s instructions carefully and follow them closely. When installing LED light strips, it’s also important to be patient and take your time. Rushing the process can result in uneven or poorly installed strips that may not work properly or may even fall off over time. With a little patience and attention to detail, however, you can install LED light strips in your home or office and enjoy the many benefits they offer.
Step 4: Connecting the LED Light Strips

Connecting the LED light strips is a crucial step in the installation process that requires attention to detail. First and foremost, it is important to ensure that the LED light strips are compatible with the power source. This is because the voltage requirements of the LED light strips vary, and connecting them to a wrong power source can damage them. Once you have confirmed the compatibility, proceed to connect the LED light strips to the power source. This is done by soldering the wires of the LED light strips to the power source. Alternatively, you can use connectors that come with the LED light strips to connect them to the power source. It is important to ensure that the connections are secure and that there are no exposed wires that can cause short circuits. After connecting the LED light strips to the power source, it is important to test them to ensure that they are working properly. This is done by turning on the power source and checking that all the LED light strips are lighting up. If any of the LED light strips are not lighting up, then there is a problem with the connection or the LED light strip itself. In such a case, you should check the connections and ensure that they are secure. If the connections are secure and the LED light strip is still not lighting up, then it may be faulty and needs to be replaced. Once you have confirmed that all the LED light strips are working properly, you can proceed to mount them in the desired location.
Conclusion
In conclusion, installing LED light strips is a simple and easy process that can be done by anyone with basic DIY skills. By following the step-by-step guide outlined in this article, you’ll be able to add a beautiful and energy-efficient lighting solution to any room in your home. Whether you’re looking to create a cozy ambiance or brighten up a workspace, LED light strips are a versatile and cost-effective option. So don’t hesitate to get started on your next lighting project today and enjoy the many benefits that LED technology has to offer!
Related posts:
 How to Install and Enjoy Supernight LED Light Strips Underwater: A StepbyStep Guide
 Mastering LED Light Strips: A StepbyStep Guide to Efficiently Folding Your Strips
 Illuminate Your Space: How to Install and Control LED Light Strips with Ease
 Effortlessly Connect 2 LED Light Strips: A StepbyStep Guide