StepbyStep Guide: How to Easily Install LED Lights in Your Home
Are you tired of the dull and outdated lighting in your home? Do you want to upgrade your lighting system to something more efficient and modern? LED lights might just be the solution you’re looking for. LED lights are energy-efficient, long-lasting, and versatile, making them a popular choice for homeowners. In this step-by-step guide, we will show you how to easily install LED lights in your home, so you can enjoy a brighter and more modern living space. Before we dive into the installation process, let’s take a closer look at the benefits of LED lights. LED lights use up to 80% less energy than traditional incandescent bulbs, which means you’ll save money on your energy bills. They also have a much longer lifespan, lasting up to 25 times longer than traditional bulbs. This means you’ll spend less time and money on replacements. Additionally, LED lights are available in a wide range of colors and styles, so you can find the perfect lighting to suit your home decor. With all these benefits and more, it’s no wonder that LED lights are becoming increasingly popular among homeowners.
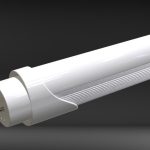
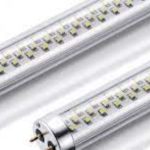
LED lights, or Light Emitting Diode lights, are a type of lighting that use significantly less energy than traditional lighting options. They are also more durable, as they do not contain fragile filaments that can break over time. LED lights are known for their efficiency, as they can last up to 25 times longer than traditional light bulbs. Additionally, LED lights come in a variety of colors and brightness levels, making them a versatile option for any home. By installing LED lights in your home, you can save money on your energy bills while also enjoying the benefits of a long-lasting, durable lighting solution.
The installation process of LED lights is a relatively simple and straightforward task that can be completed by practically anyone with basic electrical knowledge. The first step in the process is to gather all the necessary tools and materials, including the LED lights themselves, electrical wire, wire connectors, and a screwdriver. Next, the power source must be turned off to ensure safety during the installation. The LED lights can then be connected to the electrical wire using the wire connectors, and the lights can be mounted in the desired location using screws. Once the lights are securely in place, the power can be turned back on, and the LED lights should be working perfectly, providing energy-efficient lighting for any room in your home.
Gather Materials and Tools
Gathering the proper materials and tools is crucial before beginning an LED light installation project. The first step is to determine the type of LED lights you want to install and the area where you want to install them. This will help you determine the amount of LED strip lights or bulbs you need, as well as the necessary connectors and wires. Make sure to purchase high-quality materials that are compatible with each other to ensure a safe and efficient installation process. In addition to materials, you will also need a variety of tools to complete the installation. These may include wire strippers, scissors, a soldering iron, electrical tape, and a power drill. It is important to have these tools on hand before beginning the installation process to ensure that everything runs smoothly. If you do not feel comfortable using certain tools or techniques, it may be best to seek the help of a professional electrician to ensure that the installation is done safely and correctly. By gathering the proper materials and tools, you can ensure that your LED light installation project will be a success.
Before you begin installing LED lights in your home, it is important to gather all the necessary materials and tools. You will need LED light strips, a power supply, connectors, and a remote control for the lights. In addition, you’ll need wire cutters, a soldering iron, and heat shrink tubing to connect the wires. A ladder, measuring tape, and a pencil are also useful tools to have on hand for measuring and marking where the lights will be installed. It’s essential to have all these materials and tools ready before starting the installation process to ensure a smooth and successful project.
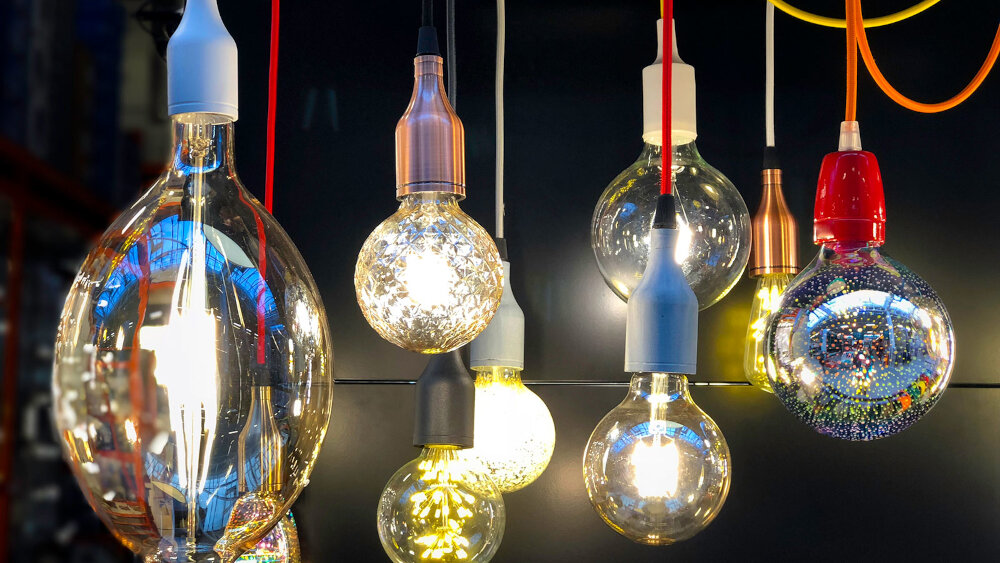
Selecting the right LED lights for your home can be a daunting task, but it doesn’t have to be. First, consider the color temperature you want to achieve. Warmer temperatures (2700K-3000K) are best for bedrooms and living rooms, while cooler temperatures (4000K-5000K) are ideal for kitchens and workspaces. Second, choose the right bulb shape and size for your fixture. You don’t want a bulb that’s too big or too small for the space. Third, look for ENERGY STAR certified bulbs to ensure energy efficiency and cost savings. Finally, consider the dimming capabilities of the bulb if you want to adjust the light levels in your space. By following these tips, you can easily find the right LED lights for your home and enjoy the benefits of energy-efficient lighting.
Plan Your Installation
One crucial step in the process of installing LED lights in your home is planning out the installation. It’s essential to take the time to assess the space you’ll be working in, including the layout, the number of lights you’ll need, and the power source. This will help you determine the scope of the project and ensure that you have all the necessary materials and tools. It’s also essential to consider any safety precautions to take during the installation process, such as turning off the power supply to the area you’ll be working in or using a ladder to reach high ceilings. Another crucial aspect of planning your LED light installation is deciding on the type of lighting you want to use. There are several options to choose from, including recessed lighting, track lighting, and pendant lighting. Each type of lighting has its unique benefits and drawbacks, depending on your specific needs and preferences. For example, recessed lighting is ideal for creating a clean and modern look, while pendant lighting can add a more decorative touch to your space. By considering these factors and making informed decisions, you can ensure that your LED light installation project is a success and that you’re happy with the results.
When it comes to installing LED lights in your home, choosing the right location is crucial. You want to make sure that the lights are placed strategically to achieve the desired effect. One important factor to consider is the purpose of the room. For example, in the kitchen, you may want brighter lights to aid in cooking and food preparation. In the bedroom, you may want dimmer lights to create a relaxing atmosphere. Another factor to keep in mind is the layout of the room. You want to make sure that the lights are evenly spaced and not too close together. Finally, consider the type of LED lights you are using. Some are better suited for certain locations than others. By taking these factors into account, you can choose a location that will enhance the overall look and feel of your home.
When planning your LED light installation, there are several factors to consider to ensure that the project runs smoothly. Firstly, it is important to decide on the type of LED light that will best suit your needs and preferences. This includes the color temperature, brightness level, and style of the light. Secondly, you need to consider the location of the lights and the wiring requirements. This will help you determine the amount of wiring needed and the best location for the lights. Thirdly, you need to ensure that you have all the necessary tools and equipment needed for the installation. This includes screwdrivers, wire strippers, and pliers. Lastly, it is important to plan for safety measures such as turning off the power supply before starting the installation and ensuring that all wiring is properly grounded to avoid electrical hazards. By considering these factors, you can ensure that your LED light installation is a success.
Install Your LED Lights
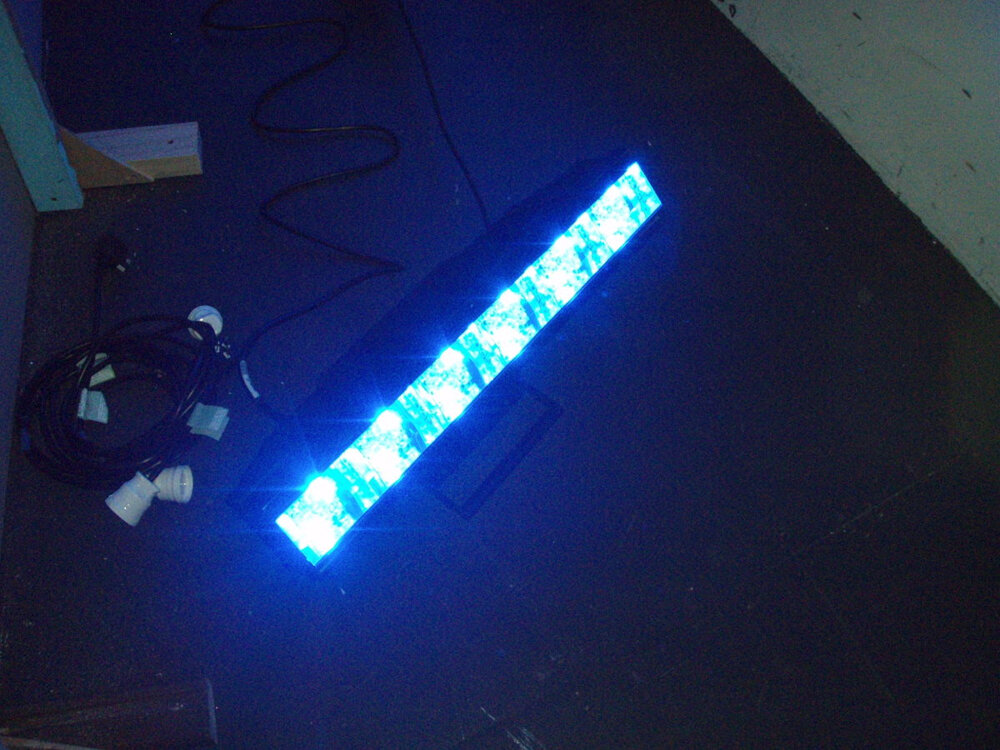
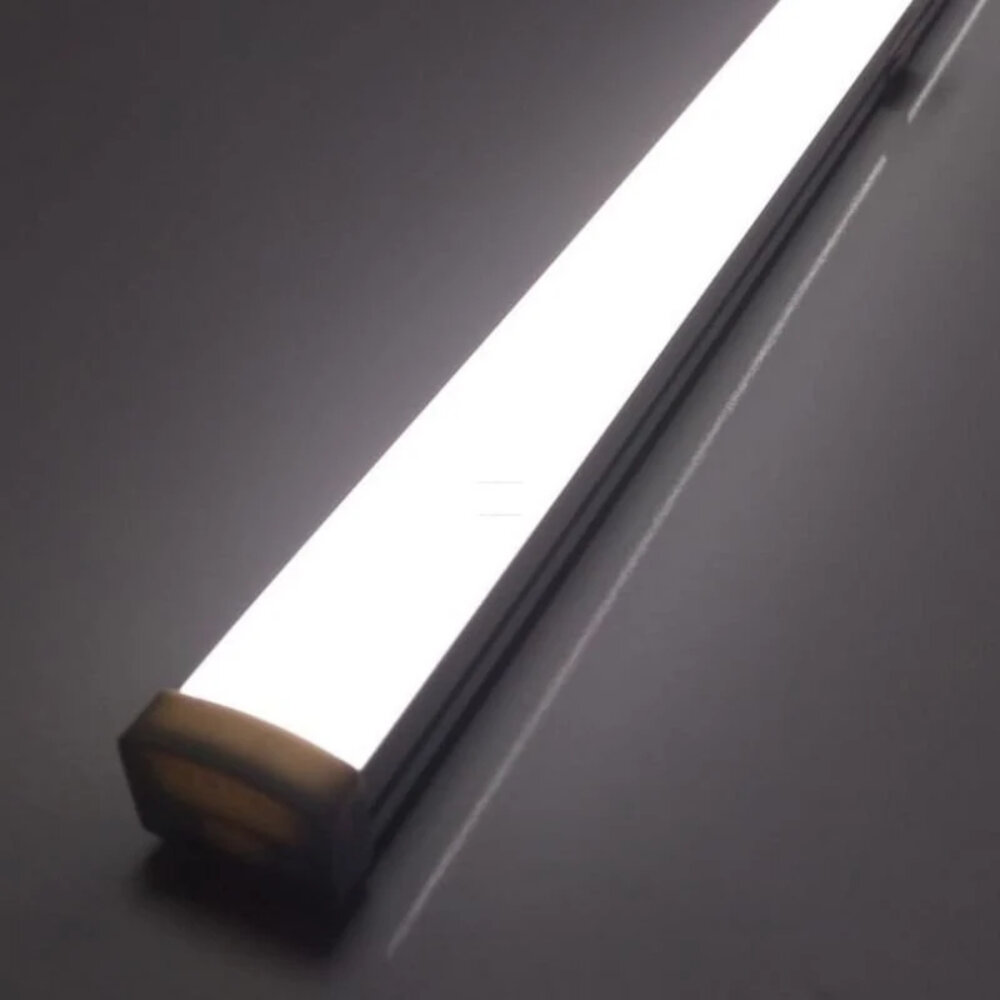
Installing LED lights in your home can be a great way to improve the ambiance and energy efficiency of your living space. With their long lifespan and low power consumption, LED lights have become a popular choice for homeowners looking to upgrade their lighting system. However, before you start installing your LED lights, there are a few things you need to consider. Firstly, you need to decide on the type of LED lights you want to install, whether it’s strip lights, recessed lights, or a combination of both. You also need to determine the right placement of the lights to achieve the desired effect. Once you have made these decisions, you can begin the installation process. To install your LED lights, you will need a few tools and materials such as a screwdriver, wire strippers, electrical tape, and mounting clips. Once you have gathered all the necessary items, you can begin the installation process. Start by turning off the power to the area where you will be installing the lights. Then, remove the old light fixtures or bulbs and install the LED lights according to the manufacturer’s instructions. If you are installing recessed lights, you will need to cut holes in the ceiling and run the wiring through the ceiling joists. Once the wiring is in place, connect the lights to the power source and test them to ensure they are working correctly. With a little bit of patience and attention to detail, you can successfully install LED lights in your home and enjoy the benefits of improved lighting and energy efficiency.
Installing LED lights in your home is a great way to conserve energy and save money on electricity bills. The process is fairly simple and can be completed by following a few easy steps. First, gather all the necessary tools and materials, including the LED lights, power supply, and wiring. Next, plan the layout and placement of the lights to ensure the best coverage and functionality. Once the layout is decided, begin drilling holes for the lights and running the wiring to connect the lights and the power supply. Finally, test the lights to ensure they are working properly and adjust the placement or brightness as needed. By following these step-by-step instructions, you’ll have energy-efficient LED lights installed in no time.
When installing LED lights in your home, it’s important to be prepared for common problems that may arise during the process. One tip for troubleshooting is to double-check all connections and ensure they are secure. Loose connections can cause flickering or dimming of the lights. Another tip is to make sure the LED lights are compatible with your existing wiring and switches. If they are not, you may need to replace them. It’s also important to check the voltage of your LED lights to avoid overloading the circuit. If you encounter any issues during installation, refer to the manufacturer’s instructions or seek assistance from a professional electrician.
Finishing Touches
The finishing touches are what will make your LED lighting installation project stand out. After all the work you’ve put into planning, measuring, and installing your LED lights, it’s important not to overlook the final touches that will make your project truly shine. One of the most important finishing touches is choosing the right type of dimmer switch. Dimmer switches give you control over the brightness of your LED lights, allowing you to adjust the lighting to suit your needs and preferences. Make sure to choose a dimmer switch that is compatible with LED lights, and that has a high enough wattage rating to handle the number of lights you’ve installed. Another important finishing touch is to hide any visible wires or cables. This can be done by using cable covers or raceways, which are designed to conceal wires and cables while also protecting them from damage. Cable covers and raceways come in a variety of colors and styles, so you can choose the one that best matches your decor. Additionally, you may want to consider adding some decorative elements, such as LED light strips or accent lighting, to enhance the overall aesthetic of your installation. With a few simple finishing touches, your LED lighting installation will look polished and professional, and will provide you with years of energy-efficient lighting.
Once you have finished installing your LED lights, it’s time to add the finishing touches! One of the most important things to do is to clean up any debris or dust left behind from the installation process. This will ensure that your lights look polished and professional. Additionally, consider adding some accents or decorations to really make your lights pop. For example, you could add some decorative trim around the edges of the lights or use colored filters to create a unique ambiance. Finally, don’t forget to test your lights to make sure they are working properly and adjust any settings as needed. With these tips in mind, your LED lights will look beautiful and functional in no time!
One way to enhance your LED lights is by integrating them with smart home technology. With the help of smart home devices like Amazon Alexa or Google Home, you can control your LED lights using voice commands. You can also use a mobile app to adjust the brightness and color of your LED lights. Another option is to install smart switches, which allow you to control your lights from anywhere using a smartphone. Smart home technology can also help you automate your LED lights, so they turn on and off at specific times or in response to certain events, such as when you enter or leave a room. With the addition of smart home technology, your LED lights can become an integral part of your home’s automation system, providing convenience, comfort, and energy efficiency.
LED lights are a popular lighting solution that offers several benefits over traditional lighting options. They are energy-efficient, long-lasting, and eco-friendly. LED lights use less energy than incandescent bulbs and last up to 25 times longer, which means less frequent replacements and lower energy bills. Additionally, they emit less heat, making them safer to touch and reducing the risk of fire hazards. The installation process for LED lights is relatively simple and can be done by anyone with basic DIY skills. It involves selecting the right type of LED lights, calculating the number of lights needed, and wiring them correctly. With the help of this step-by-step guide, you can easily install LED lights in your home and enjoy the benefits of this modern and efficient lighting technology.
In conclusion, installing LED lights in your home is a great way to save money on your energy bill and reduce your carbon footprint. With this step-by-step guide, you should feel confident in tackling this DIY project. LED lights are also versatile and can be used in a variety of ways to enhance the ambiance of any room in your home. So why not give it a try? You’ll be amazed at the difference it can make. Don’t be afraid to get creative and experiment with different lighting options. With a little effort, you can transform your home into a well-lit, energy-efficient oasis.
Conclusion
In conclusion, installing LED lights in your home can be a simple and cost-effective way to elevate your living space. By following a step-by-step guide, you can easily replace your old light fixtures with energy-efficient LED lights that not only save you money on your electricity bill but also provide a brighter and more vibrant atmosphere. With a variety of styles and colors to choose from, the possibilities are endless. Don’t hesitate to take the plunge and give your home a modern and stylish makeover with LED lights.