Cutting Corners: Where to Cut LED Lights for Your DIY Project
LED lights have become increasingly popular in recent years, thanks to their energy efficiency, flexibility, and long lifespan. With the rise of DIY projects, many people have begun to incorporate LED lights into their home décor, creating unique and personalized lighting designs. However, cutting LED lights to fit a specific space or design can be a daunting task, especially for those who are new to DIY. In this article, we will explore the best ways to cut LED lights to ensure your DIY project is a success. When it comes to DIY projects, cutting corners is often seen as a negative thing. However, when it comes to cutting LED lights, cutting corners can be a great way to create a unique and personalized lighting design. Knowing where and how to cut LED lights can make all the difference in the success of your DIY project. Whether you are creating a custom light fixture, adding accent lighting to a room, or illuminating a display, cutting LED lights can help you achieve the perfect look. In the following sections, we will share tips and tricks for cutting LED lights to fit your specific project needs.
Understanding LED Lights
LED lights have become increasingly popular due to their energy efficiency, long life span, and versatility. Understanding the technology behind LED lights is crucial for those who wish to incorporate them into their DIY projects. LED stands for Light Emitting Diode, which is a semiconductor device that emits light when an electric current is passed through it. Unlike traditional incandescent bulbs, LED lights do not have a filament that can break or burn out, which is why they can last up to 50,000 hours or more. LED lights also have the advantage of being more energy-efficient than traditional bulbs, as they require less electricity to produce the same amount of light. Additionally, LED lights do not emit as much heat as traditional bulbs, making them cooler to the touch and safer to use in enclosed spaces. When it comes to cutting corners of LED lights for DIY projects, it’s important to understand how to properly cut and connect LED strips. LED strips consist of a series of small LED lights that are connected to a flexible circuit board. These strips can be cut to the desired length using scissors or a sharp knife, but it’s important to cut them only at specific points, which are usually marked by a line or symbol on the circuit board. Cutting the strip at the wrong point can damage the LEDs and render them useless. Once the strip has been cut to the desired length, it can be connected to a power source using wires or connectors that are specifically designed for use with LED lights. It’s important to follow the manufacturer’s instructions carefully when connecting LED strips to avoid damaging the lights or creating a safety hazard.
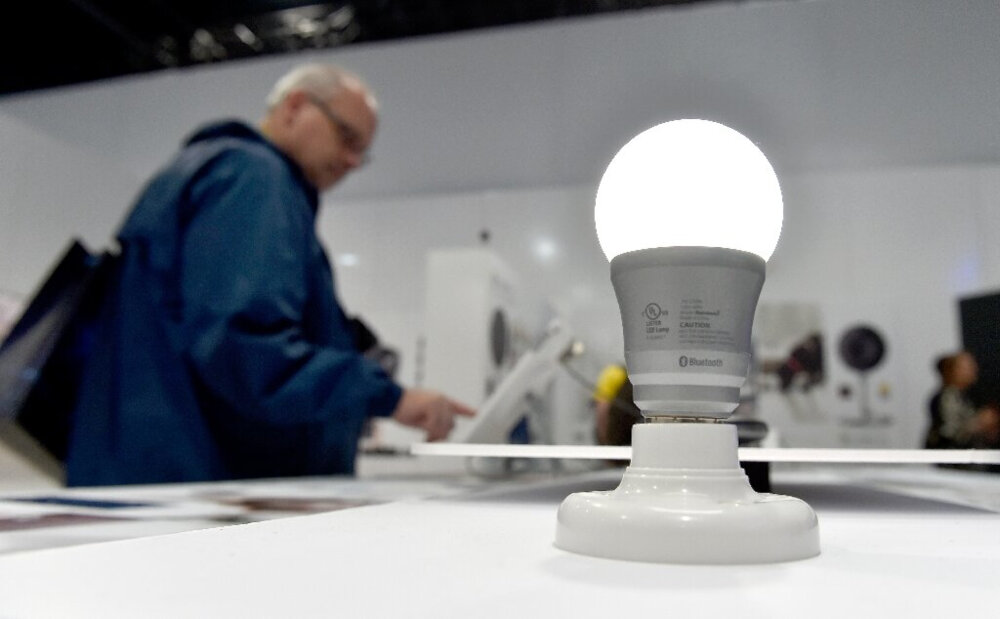
Light Emitting Diode (LED) lights are a type of energy-efficient lighting that has revolutionized the lighting industry. They are small, solid-state devices that emit light when an electric current is passed through them. LED lights are incredibly versatile and can be used for a wide range of applications, from lighting up your home to illuminating a stadium. They are also extremely durable and long-lasting, making them a cost-effective lighting solution for both residential and commercial applications. LED lights come in a variety of shapes, sizes, and colors, and can be easily customized to suit your specific needs. Whether you’re looking to add some ambiance to your home or create a stunning light show for your next event, LED lights are the perfect choice.
LED lights work by the process of electroluminescence. When a current flows through a semiconductor material in the LED, it excites the electrons within the material, causing them to release energy in the form of photons. The photons then emit light, which can range in color depending on the specific materials used in the semiconductor. Unlike traditional incandescent bulbs, which emit light by heating a filament, LEDs are much more energy-efficient and have a longer lifespan. By cutting LED lights to fit your specific DIY project, you can create custom lighting solutions that are both cost-effective and environmentally friendly. Just be sure to follow proper safety precautions when cutting and handling the LED strips.
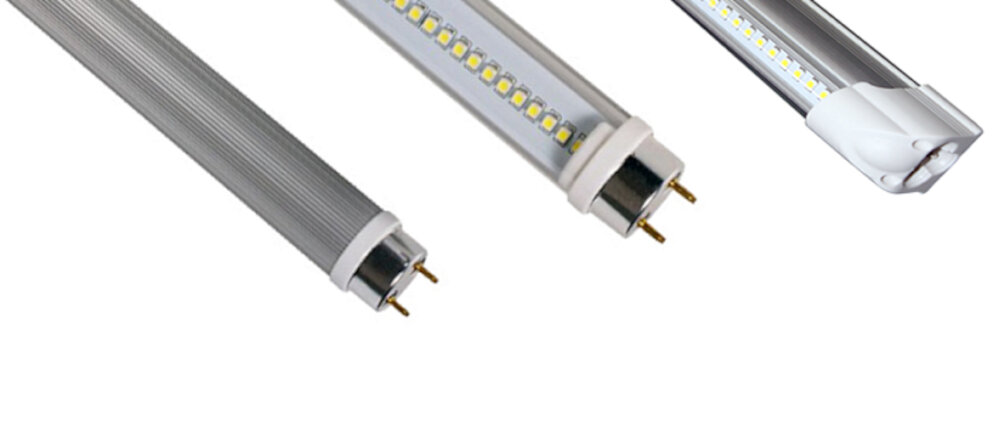
When it comes to selecting LED lights for your DIY project, it’s essential to understand the different types available to make an informed decision. Firstly, there are SMD (Surface Mounted Device) LED lights, which are small and compact, making them easy to install in tight spaces. Secondly, there are COB (Chip on Board) LED lights that provide high brightness and consume less energy. Thirdly, there are RGB (Red, Green, Blue) LED lights that offer a wide range of colors and can be controlled by a remote. Fourthly, there are LED strip lights that come in a flexible strip form and can be cut to fit any desired length. Lastly, there are LED rope lights that use a PVC tube to protect the LED bulbs and are ideal for outdoor use. Knowing the different types of LED lights available can help you choose the best option for your DIY project while cutting corners.
Choosing the Right LED Lights for Your Project
When it comes to choosing the right LED lights for your project, there are a few key factors to consider. Firstly, you will need to think about the size and shape of the LED lights that will work best for your project. LED lights come in a range of shapes and sizes, from small and round to large and rectangular, so it’s important to choose the right size for your needs. You’ll also want to think about the brightness and color temperature of the LED lights, as these factors can have a significant impact on the overall look and feel of your project. Additionally, you may want to consider the energy efficiency and lifespan of the LED lights you choose, as these factors can affect the long-term cost and maintenance of your project. Another important factor to consider when choosing LED lights for your project is the quality of the lights themselves. Not all LED lights are created equal, and it’s important to choose high-quality lights that will provide consistent performance and durability over time. Look for LED lights from reputable manufacturers with a proven track record of quality and reliability, and be sure to read reviews from other customers to get an idea of the performance of different LED lights on the market. By taking the time to choose the right LED lights for your project, you can ensure that your DIY project will look and perform its best for years to come.
When it comes to choosing LED lights for your DIY project, there are several factors to consider. First and foremost, you’ll want to think about the brightness of the lights you need, as well as the wattage and color temperature. Other important factors include the size and shape of the bulbs, the type of base they have, and whether they are dimmable or not. You may also want to consider the lifespan of the bulbs, as well as any additional features they may have, such as smart home integration or compatibility with different lighting controllers. Ultimately, choosing the right LED lights for your project will depend on your specific needs and preferences, so it’s important to do your research and compare different options before making a final decision.
When it comes to LED lights for your DIY project, there are a variety of different colors and brightness options available to choose from. From warm white to cool white, red, green, blue, and even multicolor RGB options, you can easily customize the look and feel of your space with the right LED lights. Additionally, brightness options range from very dim to very bright, allowing you to create the perfect ambiance for any occasion. By carefully selecting the right LED lights for your project, you can add a touch of style and sophistication to your home or workspace without breaking the bank.
Cutting LED Lights
LED lights are a popular choice for DIY projects due to their flexibility, low power consumption, and long lifespan. However, when it comes to cutting LED lights to fit specific areas, it can be a bit tricky. Cutting LED lights can be done, but it’s important to know where to cut and how to do it properly to avoid damaging the lights or creating a short circuit. The good news is, cutting LED lights is relatively easy once you know what you’re doing. One of the most important things to consider when cutting LED lights is where to make the cut. LED lights are made up of small light-emitting diodes that are connected in a series. To cut LED lights, you need to cut along the designated cut lines, which are usually marked on the strip. These lines indicate where the circuitry is designed to be cut so that the remaining portion of the strip will still function properly. If you cut the strip in the wrong place, you risk damaging the circuitry and rendering the lights useless. Therefore, it’s important to measure carefully and double-check where the cut lines are before making any cuts.
Cutting LED lights requires some specific tools to ensure that the job is done safely and accurately. Firstly, a pair of sharp and sturdy scissors or wire cutters are necessary to cut the LED strip. A ruler or measuring tape is also essential to ensure that the cut is straight and precise. A soldering iron and solder are needed to reattach wires to the cut ends of the LED strip. Additionally, it is important to have a heat shrink tubing and a heat gun to cover and insulate the exposed wires. These tools will allow you to cut the LED lights according to your desired length and make sure that the strip continues to work properly after the cut is made.
When it comes to DIY projects involving LED lights, cutting them to the desired length is often necessary. However, knowing where to cut them can be a bit tricky. Most LED strips have designated cutting points, usually marked with a scissors icon or a dotted line. It’s important to note that cutting the strip in the wrong place can damage the circuitry and render the rest of the strip useless. Before making any cuts, be sure to measure the space you want to fill and carefully plan where to cut the strip. Use a sharp pair of scissors or a precision knife to make clean cuts at the designated points. If you’re unsure about where to cut or how to properly connect the strips after cutting, it’s best to consult a professional or refer to the manufacturer’s instructions.
If you’re planning on cutting LED lights for your DIY project, safety should be your top priority. First and foremost, ensure that you have the right tools for the job. You will need a sharp pair of scissors, a ruler, and a pencil to mark where you need to cut. Before you start cutting, make sure the lights are unplugged and the power source is switched off. Next, measure and mark the area where you need to cut using the ruler and pencil. When you’re ready to cut, use the scissors to snip through the LED strip’s copper contacts. Be careful not to cut too close to the LED bulbs, as this can damage them. Finally, dispose of the excess LED strip safely, and make sure to clean up any debris or dust left behind.
When it comes to cutting LED lights for your DIY project, there are some common mistakes that you should avoid in order to ensure the success of your project. Firstly, cutting the LED strip in the wrong place can result in damage to the circuitry and render the strip unusable. Secondly, failing to use the appropriate tools can also cause damage to the strip and may even be a safety hazard. Thirdly, not planning the layout of your LED strip can result in uneven or insufficient lighting. Finally, cutting too much or too little of the LED strip can result in wasted materials or an incomplete project. By avoiding these common mistakes, you can ensure that your DIY LED lighting project is a success.
Installing Cut LED Lights
When it comes to installing cut LED lights, the first thing you need to do is measure the space where you want to install them. This will help you determine the length of the LED strip you need to cut. Once you have determined the length, use a pair of sharp scissors or a cutting tool to cut the strip at the designated cut points. These cut points are typically marked on the LED strip, and they are usually located every few inches. Make sure to cut along the designated cut points to ensure that the LED strip remains functional. After cutting the LED strip, you will need to attach it to a power source. Most LED strips come with a connector that allows you to plug the strip into a power source. If your LED strip does not come with a connector, you can purchase one separately. Once you have the connector, simply attach it to the cut end of the LED strip and plug it into a power source. If you plan on installing the LED strip in a hard-to-reach area, it may be beneficial to use a remote control to turn the lights on and off. Overall, installing cut LED lights is a simple DIY project that can add a stylish and functional touch to any space.
When it comes to cutting LED lights for a DIY project, soldering is often necessary to reconnect the cut ends. Soldering involves heating a metal alloy and melting it onto the two pieces of metal to create a strong bond. Before soldering, it’s important to strip the wires and clean them to ensure a good connection. Additionally, it’s important to use the right type of solder and flux to prevent corrosion or damage to the wires. Soldering can seem intimidating, but with the right tools and techniques, it can be a simple and effective way to cut LED lights for your project.
If you’re looking to cut LED lights for your DIY project, it’s important to know how to connect them to a power source. First, make sure the LED lights you’re using are designed to be cut, as not all LED strips are. Once you’ve confirmed that, you’ll need to determine the voltage and current requirements of your LED strip and choose an appropriate power supply. To connect the LED lights to the power source, you’ll need to strip the wires on both the LED strip and the power supply and then attach them using a connector or soldering. It’s important to follow proper safety precautions when working with electricity, such as wearing protective gloves and turning off power sources when making connections. With a little bit of know-how and care, you’ll be able to connect your cut LED lights to a power source and bring your DIY project to life.
Mounting cut LED lights is a crucial step in any DIY project that involves the use of LED lights. First, it is essential to identify the best location to mount the lights, which could be on the ceiling, walls, or any other surface that requires illumination. When mounting the lights, it is important to ensure that they are securely affixed to the surface to avoid any accidents or damage. One effective method of mounting cut LED lights is by using adhesive tapes or clips that are specifically designed for this purpose. Additionally, it is recommended to use a level to ensure that the lights are mounted evenly and in a straight line. Overall, mounting cut LED lights requires attention to detail and proper planning to achieve the desired outcome.
In conclusion, when cutting LED lights for a DIY project, it’s essential to consider the type of LED strip, the cutting points, and the necessary tools. If you have a flexible strip, it’s crucial to cut it along the designated cut lines to avoid damaging the circuitry. However, if you have a rigid strip, you can cut it anywhere between the solder points. Additionally, make sure you have the right tools for the job, such as wire cutters, soldering iron, and electrical tape. Cutting corners when it comes to LED light installations can lead to costly mistakes and safety hazards, so it’s essential to follow these guidelines to ensure a successful and safe project.
When it comes to cutting and installing LED lights in DIY projects, there are a few final tips and recommendations to keep in mind. First, always measure twice and cut once to ensure that you are cutting the lights to the correct length. Additionally, be sure to use the appropriate tools and techniques to avoid damaging the lights during cutting and installation. It’s also important to properly secure the lights in place and use the appropriate connectors and wiring to ensure they are functioning safely and effectively. Finally, don’t be afraid to get creative with your LED lighting designs and consider using dimmer switches or color-changing options to add even more versatility to your DIY projects.
Conclusion
In conclusion, cutting corners when it comes to LED lights in DIY projects can be a tricky task that requires careful consideration and planning. While it may seem tempting to take shortcuts and save time, cutting the lights in the wrong place can lead to irreversible damage and render the project useless. It’s important to follow proper instructions, use the right tools, and take necessary precautions to ensure a successful outcome. With the right approach, cutting LED lights can be a rewarding and satisfying experience that adds a personal touch to any project. So, before you take the scissors or the knife, make sure you know where to cut and how to do it properly to achieve the desired result. Remember, a little extra effort can go a long way in making your DIY project shine bright like a diamond!