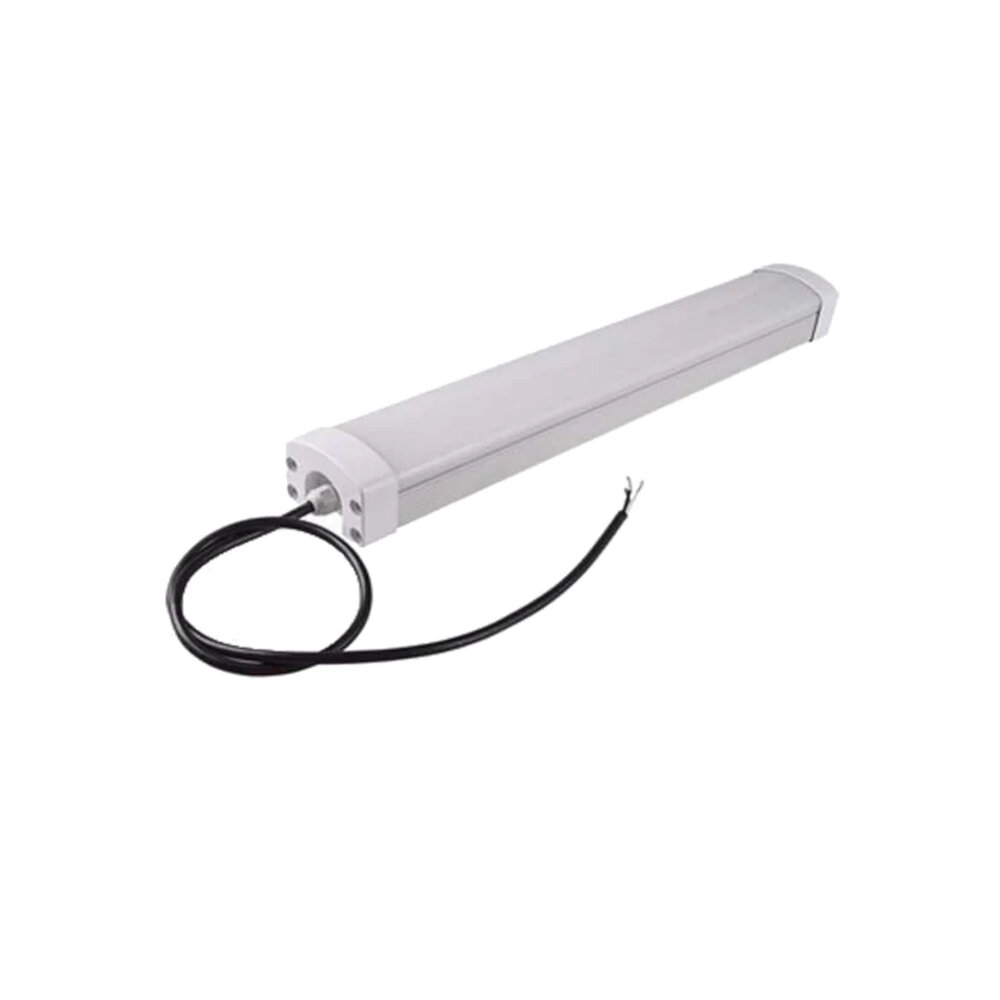
RV Awning LED Light Strip Replacement Made Easy: StepbyStep Guide


Image after heading

Recreational vehicles (RVs) are a popular choice for people who love to travel and explore new places. They offer the freedom to go wherever you want, whenever you want, without having to worry about accommodation. And when it comes to RVs, one of the most important features is the awning. Not only does it provide shade and protection from the elements, but it also adds to the overall aesthetic appeal of the vehicle. And if you want to take your RV to the next level, you can add LED light strips to your awning. These lights are not only functional but also add a touch of ambiance to your outdoor space. However, like any other component of your RV, the LED light strip on your awning may need to be replaced at some point. Whether it’s due to wear and tear or simply because you want to upgrade to a newer model, it’s important to know how to replace it. And that’s exactly what this step-by-step guide is all about. In this article, we’ll take you through the process of replacing your RV awning LED light strip, from start to finish. So whether you’re a seasoned RV owner or just starting out, read on to learn how to make this process as easy as possible.
LED light strips for RV awnings are a game-changer for outdoor enthusiasts who want to enhance the ambiance of their RV space. These light strips provide a wide range of benefits, including energy efficiency, durability, and flexibility. Unlike traditional lighting options, LED light strips consume less energy, making them a cost-effective choice for RVers who want to save on their electricity bills. Additionally, these strips are designed to withstand harsh weather conditions, ensuring that they remain functional even in extreme temperatures. The flexibility of these light strips allows RVers to customize their lighting experience by choosing from a wide range of colors, brightness levels, and lighting modes. Overall, LED light strips for RV awnings are an excellent investment for those who want to create a more comfortable and inviting outdoor space.
Replacing a malfunctioning RV awning LED light strip is crucial to maintain the functionality and aesthetics of your recreational vehicle. In addition to providing illumination during camping trips, a working LED light strip enhances the overall appearance of your RV, making it more appealing and attractive. Neglecting to replace a broken light strip can result in the inconvenience of having to fumble around in the dark, and it can also be a safety hazard, especially when navigating around your RV at night. Moreover, a malfunctioning LED light strip can be an eyesore and can detract from the overall look of your RV. Therefore, it is important to promptly replace any non-functioning LED light strips to ensure that your RV remains well-lit, safe, and visually appealing.

Materials Needed


Image after heading

When it comes to replacing the LED light strip on your RV awning, it’s important to have all the necessary materials before you start the project. Some of the materials you’ll need include a replacement LED light strip, a pair of scissors or wire cutters, a drill, screws, and a ladder or step stool. It’s also a good idea to have some electrical tape and a wire stripper on hand. When purchasing a replacement LED light strip, it’s important to make sure that it’s the right size for your awning. Measure the length of your awning and choose a light strip that’s slightly shorter to ensure a proper fit. You’ll also want to look for a strip that’s waterproof and designed for outdoor use. Once you have all the necessary materials, you’re ready to start the replacement process. Overall, having all the materials needed for the RV awning LED light strip replacement will make the process much easier and more efficient. It’s important to take the time to gather everything you need before you start the project, as this will help you avoid any unnecessary delays or trips to the hardware store. With the right tools and materials, you’ll be able to complete the replacement quickly and with minimal hassle, allowing you to enjoy your newly lit awning in no time.
Replacing an RV awning LED light strip can be a challenging task, but with the right tools and equipment, it can be made much easier. The necessary tools and equipment for the replacement process include a screwdriver, wire stripper, wire cutters, heat shrink tubing, heat gun, and replacement LED strip. The screwdriver is essential in removing the old LED strip, while the wire stripper and cutters are necessary for trimming and preparing the wires for the new strip. Heat shrink tubing and a heat gun are necessary for sealing the connections between the wires and the new strip. It is important to have all these tools and equipment ready before starting the replacement process to ensure a smooth and hassle-free experience.
RV awning LED light strip replacement is a simple process that requires some basic tools. The first tool you will need is a screwdriver to remove the old LED light strip. Next, you will need a wire stripper to remove the old wires from the old LED light strip. After that, you will need a pair of wire cutters to cut the new LED light strip to the appropriate length. Finally, you will need a soldering iron to connect the new wires to the new LED light strip. These tools will make the RV awning LED light strip replacement process easy and ensure that your RV awning is properly lit.

See also  DIY Guide: Wiring an LED Light Fixture in 5 Easy Steps

Steps to Replace RV Awning LED Light Strips


Image after heading

Replacing the RV awning LED light strips is a crucial task that requires careful attention to detail. It is essential to replace these lights to ensure that your RV remains well-lit and appealing. The process of replacing these light strips is easy and straightforward. The first step is to locate the screws that hold the light strip in place. Once you have located the screws, use a screwdriver to remove them. Be careful not to damage the screws or the light strip when removing them. After removing the screws, gently pull the light strip away from the RV. You may need to use a bit of force to detach the light strip from the awning. Be sure to pull the light strip slowly and carefully to avoid damaging it. Once you have removed the light strip, inspect it for any damage or wear and tear. If the light strip is damaged, it is best to replace it with a new one. However, if it is still in good condition, you can proceed to install it back onto the RV.
Replacing LED light strips on an RV awning can be a daunting task, but with the right tools and instructions, it can be done easily. To start, turn off the power to the awning and remove the old LED light strips. Next, measure the length of the awning and purchase LED light strips that are the same length. Then, attach the new LED light strips to the awning using adhesive tape or clips, making sure to follow the manufacturer’s instructions. Finally, connect the new LED light strips to the power source and test them to ensure they are working properly. With these step-by-step instructions, you’ll have your RV awning shining bright in no time.
Replacing the RV awning LED light strip may seem like a daunting task, but it can be done easily with the right tools and steps. The first step is to remove the old LED light strip carefully, making sure not to damage the awning itself. Next, measure the dimensions of the awning and purchase a new LED light strip that fits perfectly. Once you have the new strip, clean the awning thoroughly to ensure there is no dirt or debris that could interfere with the adhesive tape. Then, carefully attach the new LED light strip to the awning, making sure it is straight and even. Finally, test the LED lights to ensure they are working properly before enjoying your newly lit RV awning. With these simple steps, you can replace the LED light strip on your RV awning with ease.
Replacing an RV awning LED light strip can be a daunting task, especially if you’ve never done it before. However, there are some tips and tricks that can make the process easier. First, make sure you have all the necessary tools and equipment before starting. This includes a ladder, a screwdriver, and a replacement LED light strip. Secondly, measure the length of the old light strip before removing it to ensure that the replacement strip is the correct size. It’s also helpful to have a second person to assist with the installation process. Finally, take your time and follow the step-by-step guide carefully to ensure that the new LED light strip is installed correctly. With these tips and tricks, replacing your RV awning LED light strip will be a breeze.

See also  IPL vs. LED Light Therapy: Understanding the Key Differences

Benefits of Switching to LED Light Strips


Image after heading

Switching to LED light strips for your RV awning can be a game-changer when it comes to energy efficiency and durability. LED lights use significantly less energy than traditional incandescent bulbs, which can help you conserve power and save on your electricity bill. Additionally, LED lights have a much longer lifespan than traditional bulbs, meaning you won’t have to replace them as frequently. This can be especially beneficial for RVers who spend a lot of time on the road and don’t want to have to worry about constantly changing out their awning lights. Another benefit of switching to LED light strips is the versatility they offer. LED lights come in a wide range of colors and can be easily dimmed or brightened to suit your needs. Plus, LED light strips are easy to install and can be cut to fit any length or shape, making them a flexible lighting option for your RV awning. Not only can LED lights help you save energy and money, but they also give you more control over the ambiance of your outdoor living space. So if you’re looking for a simple and effective way to upgrade your RV awning lighting, consider making the switch to LED light strips.
LED light strips are becoming increasingly popular among RV owners due to their numerous benefits. These strips provide energy-efficient lighting that can be adjusted to fit any mood or occasion. They are also durable and long-lasting, meaning you won’t have to replace them as often as other types of lighting. LED light strips are easy to install and can be customized to fit the size and shape of your RV awning. With their ability to emit a bright and colorful glow, they can transform your RV’s outdoor living space into a welcoming oasis. Additionally, LED light strips are safe to use, as they don’t generate heat and are resistant to water and moisture. Overall, installing LED light strips on your RV awning is a simple and cost-effective way to enhance your outdoor living experience.
When compared to traditional lighting methods, RV awning LED light strips have several advantages. Firstly, they are more energy-efficient and can save you money on your power bill. Secondly, they last longer than traditional bulbs and require less maintenance. Additionally, LED lights are more durable and can withstand harsh weather conditions, making them perfect for outdoor use. Furthermore, RV awning LED light strips come in a wide range of colors and styles, allowing you to customize the lighting to suit your preferences. Overall, the benefits of LED lighting make them a superior choice for RV awning lighting.
RV awning LED light strips are an essential part of any outdoor experience. These strips offer a variety of benefits that can enhance your camping experience. First and foremost, they provide excellent illumination for outdoor activities, making them ideal for nighttime gatherings or cooking. Additionally, they can create a warm and inviting atmosphere that can be enjoyed by all. Furthermore, they are energy-efficient and long-lasting, making them a cost-effective option for RV owners. Finally, they are incredibly easy to install and can be removed and replaced quickly if they become damaged or malfunction. For all these reasons, RV awning LED light strips are an essential addition to any camping setup.
Replacing RV awning LED light strips can seem like a daunting task, but it doesn’t have to be. It’s important to remember that these light strips are not designed to last forever and will eventually stop working. Rather than feeling discouraged, use this as an opportunity to upgrade and improve your RV’s lighting. With the help of this step-by-step guide, replacing your RV awning LED light strips can be a simple and rewarding experience. Not only will it enhance the appearance of your RV, but it will also improve your overall camping experience. So don’t hesitate to replace them when they stop working – your future self will thank you for it!
In conclusion, LED light strips offer a wide range of benefits for RV owners. They are energy-efficient, durable, and provide a bright and vibrant light that can transform the interior and exterior of your RV. With the ability to customize colors and brightness levels, LED light strips can create the perfect ambiance for any occasion. Additionally, their easy installation process makes them a great DIY project for RV enthusiasts. By replacing your old awning lights with LED light strips, you can enhance your RV’s appearance and save money on energy costs. Overall, investing in LED light strips is a smart choice for any RV owner looking to upgrade their lighting system.

See also  Transform Your Space: Easily Change Yellow LED Light to White with These Simple Steps

Conclusion


Image after heading

In conclusion, replacing the LED light strip on your RV awning may seem like a daunting task at first, but with the right tools and a step-by-step guide, it can be done easily and efficiently. By following the instructions outlined in this guide, you can ensure that your RV awning will be shining bright for all your outdoor adventures. Remember to always prioritize safety while working with electrical components and take your time to avoid any mistakes. With a little bit of patience and perseverance, you’ll have your RV awning looking brand new in no time.