DIY Guide: Easily Change LED Light in Ceiling with Simple Steps
Lighting is an essential aspect of any room. It influences the mood and ambiance of the space, making it a crucial element in home decor. LED lights have become increasingly popular in recent years due to their energy efficiency and longevity. However, replacing LED lights in the ceiling can seem daunting, especially for those who are not familiar with electrical work. But fear not! This DIY guide will provide you with simple steps to easily change LED lights in your ceiling, without the need for professional assistance. The first step to changing LED lights in your ceiling is to ensure that the power supply to the lights is turned off. This is a crucial safety measure that should not be overlooked. You can do this by switching off the main power supply or turning off the lighting circuit in the distribution board. It’s always better to be safe than sorry, so double-check that the power is off before proceeding with the next steps.
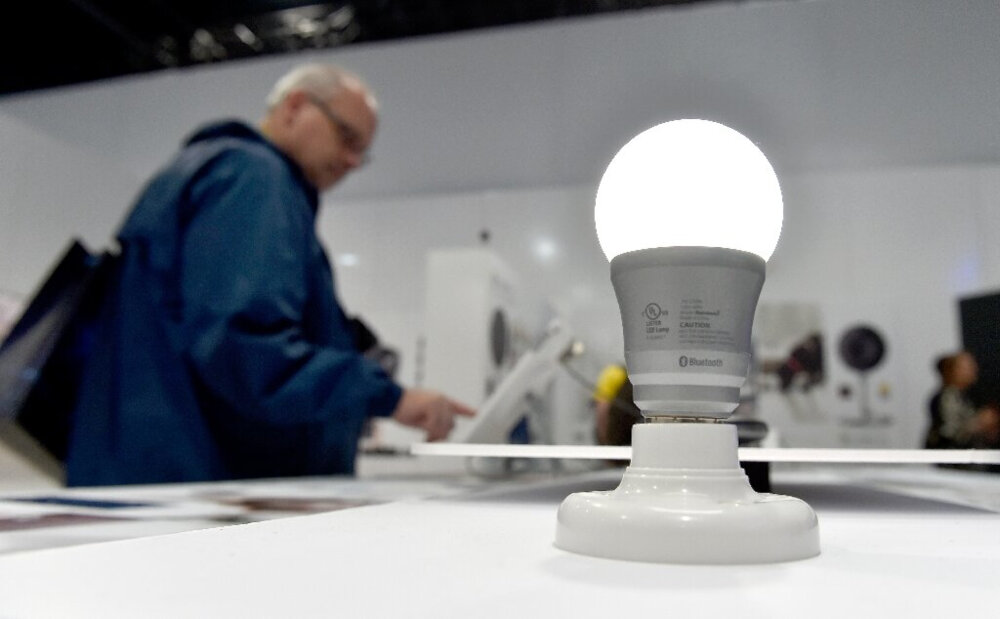
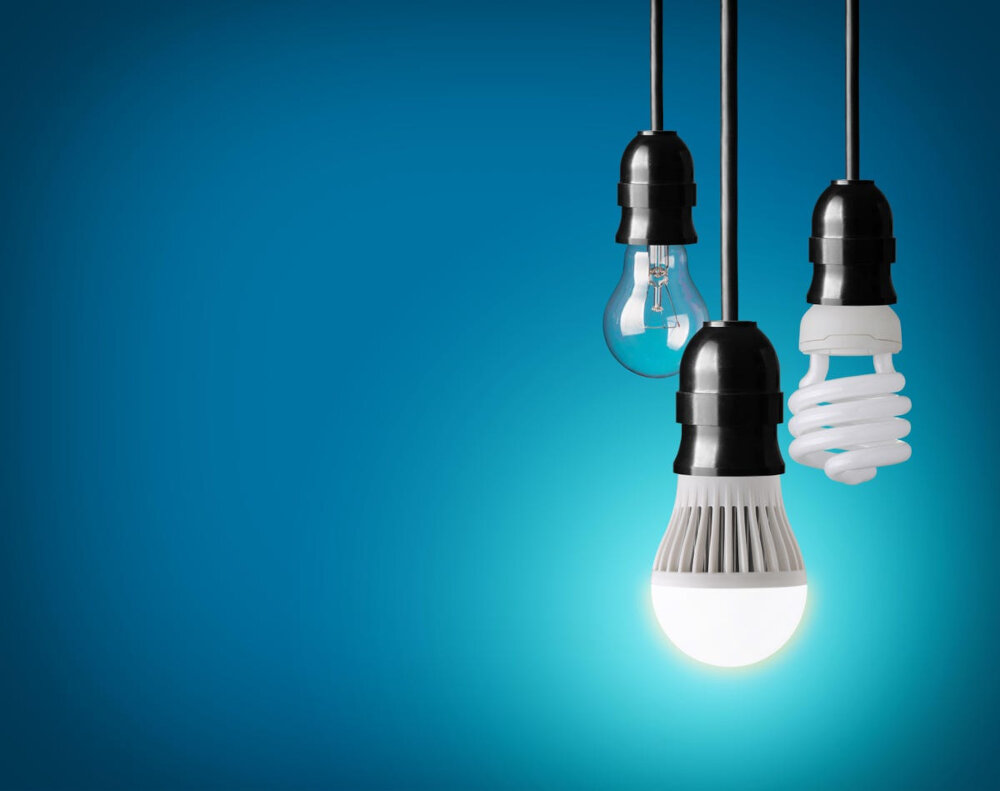
LED lights are becoming increasingly popular in homes due to their energy efficiency and cost savings. Compared to traditional incandescent bulbs, LED lights use significantly less energy and last much longer, which means homeowners can save money on their electricity bills and replacement costs. Additionally, LED lights are versatile and come in a variety of colors and styles, allowing homeowners to customize the lighting in their homes to fit their needs and preferences. By switching to LED lights, homeowners can not only save money and energy but also enhance the overall aesthetics of their living space.
The DIY guide titled \Easily Change LED Light in Ceiling with Simple Steps\ has been created to assist individuals in replacing LED lights in their home or office without the need for professional assistance. The guide aims to provide readers with a step-by-step approach to changing LED lights, in a clear and concise manner, ensuring that the process is straightforward and stress-free. Readers can expect to find detailed instructions, accompanied by helpful images, that will enable them to carry out the task with ease. The guide also aims to highlight the benefits of changing LED lights, such as energy efficiency, cost savings, and longevity. Overall, the DIY guide serves as a valuable resource for those who wish to undertake the task of changing LED lights themselves.
Safety Precautions
When it comes to changing an LED light in the ceiling, safety precautions are essential. Before beginning any DIY project, it’s essential to ensure that you have the right tools and equipment to get the job done safely. One of the most important things to consider is the height of the ceiling. If the ceiling is too high, you may need to use a ladder or scaffolding to reach the light fixture. It’s crucial to make sure that the ladder or scaffolding is secure and stable before climbing up. Always wear slip-resistant shoes and take your time to avoid any slips or falls. Additionally, it’s essential to turn off the power supply to the light fixture before beginning any work. This will help prevent electrical shock or injury. Another safety precaution to consider is wearing protective gear. It’s important to wear safety glasses to protect your eyes from any falling debris. Additionally, wearing gloves can help protect your hands from cuts or abrasions. If you’re working with electrical wires, it’s essential to wear insulated gloves to prevent electrical shock. Finally, it’s important to have a first aid kit on hand in case of any accidents or injuries. By following these safety precautions, you can ensure that your DIY project to change an LED light in the ceiling is completed safely and successfully.
It is crucial to prioritize safety when dealing with electricity, especially when attempting a DIY project such as changing LED lights in the ceiling. One should always turn off the power supply to the area before starting work, and use appropriate tools and protective gear such as insulated gloves, goggles, and footwear. It is also recommended to have a partner or someone nearby in case of emergency, and to avoid working with wet hands or in damp environments. Neglecting safety precautions can lead to serious accidents such as electrocution, burns, or even fire. Therefore, taking the time to ensure that all safety measures are in place is a small but necessary step in successfully completing any electrical project.
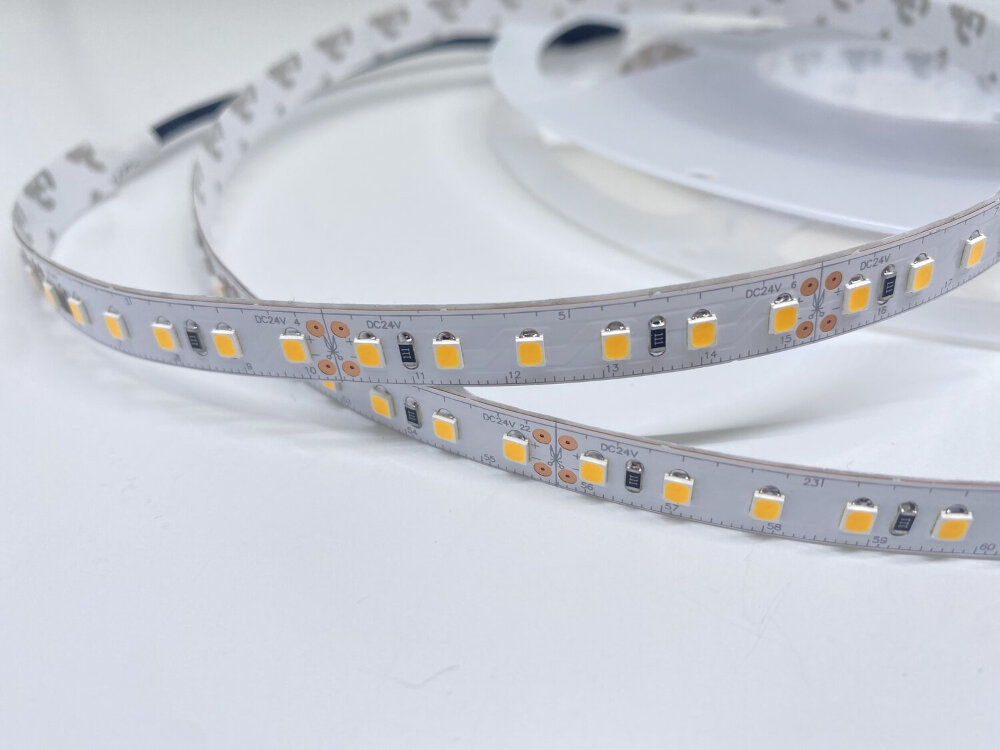
When it comes to changing the LED light in your ceiling, there are a few essential tools and pieces of equipment you’ll need to have on hand. These include a ladder or step stool to reach the light fixture, a screwdriver or drill to loosen and remove any screws or bolts holding the fixture in place, and of course the replacement LED light itself. You may also need a pair of pliers or wire cutters to disconnect any electrical connections, as well as a voltage tester to ensure that the power is off before you begin working on the fixture. Finally, it’s always a good idea to have a few spare light bulbs on hand, just in case you accidentally break or damage one during the installation process.
When it comes to installing LED lights in your ceiling, safety should always be a top priority. Before starting the installation process, make sure to turn off the power supply to the room where you’ll be working. Wear protective gear such as gloves, goggles, and a dust mask to avoid any injuries or exposure to harmful substances. Use a stable ladder or step stool to reach the ceiling, and make sure it’s placed on a flat surface. Always read the instructions carefully and follow them step by step. If you’re unsure about any part of the installation process, consult a professional electrician. By taking these safety precautions, you can ensure a successful and safe installation process for yourself and others.
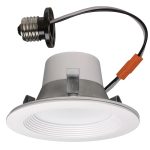
Removing the Old Light Fixture
Removing the old light fixture is an essential step in changing an LED light in the ceiling. Before starting the process, ensure that the power supply to the old fixture is turned off. This can be done by turning off the circuit breaker that powers the light or by switching off the light switch. Once the power is off, remove the screws that hold the old fixture in place. The screws may be located on the sides or at the bottom of the fixture. Carefully detach the fixture from the ceiling, ensuring that no wires are still connected to it. In case there are wires still attached to the fixture, disconnect them carefully by unscrewing the wire nuts. For safety purposes, it is advisable to cover the wire ends with electrical tape to prevent any accidental contact. With the old light fixture removed, discard it appropriately or set it aside for future use. Removing the old light fixture can be a simple task or a complicated one, depending on the type of fixture and the wiring involved. It is important to follow the manufacturer’s instructions or consult a professional if unsure of the process. When removing the fixture, it is essential to use the right tools and take safety precautions such as wearing gloves and protective eyewear. Additionally, if the old fixture is not compatible with the LED light being installed, it may be necessary to replace the electrical box or make other modifications to the ceiling to ensure a smooth installation. With the old light fixture removed, the next step is to prepare the ceiling for the installation of the new LED light.
Before replacing the LED light in the ceiling, it is crucial to turn off the power supply to the light fixture. Safety always comes first, and it is essential to take necessary precautions to avoid any electrical hazards. Firstly, locate the circuit breaker box and switch off the circuit that powers the light fixture. If you are unsure which circuit is connected to the light fixture, it is better to turn off the main power switch. Once the power supply is off, double-check it by turning on the light switch to see if it works. If the light is not working, it means the power supply is successfully turned off, and you can proceed with the LED light replacement.
To remove the old light fixture from the ceiling, start by turning off the power source to the fixture at the circuit breaker. Next, use a ladder to access the fixture and remove any screws or bolts holding it in place. Carefully disconnect the wiring by unscrewing the wire nuts and separating the wires. Use a wire stripper to remove any excess wire coating and ensure that the wires are clean and straight. Finally, remove the mounting bracket and carefully lower the fixture from the ceiling. Be sure to dispose of the old fixture properly and follow any local regulations for electrical waste. With these simple steps, you can safely and easily remove an old light fixture from your ceiling and prepare for installation of a new LED light.
Properly disposing of the old fixture is crucial for safety and environmental reasons. Firstly, turn off the electricity supply to the fixture before removing it. Then, carefully remove the fixture and any attached wires, being sure not to damage the surrounding ceiling or wall. Next, check with your local waste management facility for any specific disposal instructions. Many facilities have designated areas for disposing of electronic waste, including light fixtures. Finally, if your old fixture is still in good condition, consider donating it to a local charity or non-profit organization. By taking these steps, you can ensure that your old fixture is disposed of safely and responsibly.
Installing the New LED Light Fixture
Installing a new LED light fixture is a simple and easy task that can be done by anyone with basic electrical knowledge. First, turn off the power to the circuit by flipping the switch on the breaker panel. Then, remove the old fixture by unscrewing the screws that hold it in place and disconnecting the wires. Make sure to note which wires are connected to which terminals. Next, attach the mounting bracket to the ceiling box using the screws provided. Connect the wires from the new fixture to the wires in the ceiling box, making sure to match the colors of the wires. Use wire connectors to secure the connections, and tuck the wires into the ceiling box. Finally, attach the new fixture to the mounting bracket using the screws provided, and turn the power back on to the circuit. Your new LED light fixture is now ready to use!It is important to choose the right LED light fixture for your needs, as there are many different types and styles available. Consider the size of the room and the amount of light you need, as well as the style of the fixture and the color temperature of the LED bulbs. LED bulbs are more energy-efficient than traditional incandescent bulbs, so they will save you money on your energy bills over time. They also last much longer, so you won’t have to replace them as often. Installing a new LED light fixture is a great way to update the look of your room and save money on your energy bills at the same time. With these simple steps, you can easily change your old ceiling light to a new, modern LED light fixture.
When choosing the right LED light fixture for your needs, there are several factors to consider. First, determine the purpose of the fixture and the amount of light you need. This will help you choose the appropriate wattage and color temperature. Next, consider the size and style of the fixture to ensure it fits the space and aesthetic of the room. Additionally, look for a fixture with a high CRI (color rendering index) to ensure accurate color representation. Finally, consider the energy efficiency and lifespan of the fixture to make sure it is a cost-effective and sustainable choice. By taking these factors into account, you can choose an LED light fixture that suits your needs and enhances the look and functionality of your space.
To install a new fixture in the ceiling, follow these step-by-step instructions for a successful DIY project. First, turn off the power supply to the light switch and remove the old fixture from the ceiling. Next, remove the electrical box and attach the mounting bracket to the ceiling. Then, connect the wires from the fixture to the wires in the electrical box, securing them with wire nuts. Finally, attach the fixture to the mounting bracket and turn on the power supply to test the new LED light. With these simple steps, you can easily change the LED light in your ceiling and enjoy a brighter, more efficient lighting solution.
When replacing an LED light fixture in the ceiling, it’s important to ensure that it is secure and properly aligned. A few tips to achieve this include making sure that the mounting screws are tightened adequately, checking that the fixture is level using a spirit level, and ensuring that the wires are connected correctly according to the manufacturer’s instructions. Additionally, it’s important to make sure that the fixture is flush against the ceiling and that any gaps are filled with caulk or sealant. Taking the time to properly secure and align the fixture will not only ensure that it looks neat and professional, but it will also prevent any potential safety hazards.
Testing the New LED Light Fixture
Testing the new LED light fixture is a crucial step in ensuring that the installation process was successful. After installing the new LED light, it is essential to test it to make sure it is working correctly. This step involves switching on the light fixture and checking if the LED light illuminates the room. If the light does not turn on, it could be an indication that the installation was not complete or incorrect, and the problem should be fixed as soon as possible. Additionally, testing the LED light fixture ensures that the wiring is done correctly and that there are no loose connections. To test the new LED light fixture, it is recommended to use a voltage tester to check if there is electricity running through the circuit. This step is essential because it helps to identify any electrical issues that could pose a danger to the user. After testing for electricity, turn on the light switch and check if the LED light is working correctly. If the LED light does not work, it could be an indication of a faulty light fixture, which should be replaced. Overall, testing the new LED light fixture is a crucial step in ensuring that the installation process is successful, and the user can enjoy well-lit rooms.
After changing an LED light in the ceiling, it’s important to turn the power back on to the fixture. The first step in doing so is to locate the circuit breaker that controls the power to the fixture. Once you have found the correct breaker, switch it back to the “on” position. If you are unsure which breaker controls the fixture, it’s best to turn off the main power switch to the entire house before attempting to turn the power back on. Once the power is restored, turn on the switch for the fixture to ensure that it is working properly. Always exercise caution and turn off the power before attempting any electrical work to ensure your safety.
Once you have installed the new LED light fixture, it is important to test it to ensure that it is working properly. First, turn off the power to the fixture at the circuit breaker before testing. Once the power is off, turn the switch for the fixture on and check to see if the LEDs illuminate. If they do not turn on, check the wiring connections to make sure they are properly connected. Also, ensure that the bulbs are correctly installed and seated in the fixture. If the light still does not turn on, it may be a faulty fixture and should be returned or replaced. Remember to turn the power back on at the circuit breaker once the testing is complete.
If you’re having trouble changing your LED light in the ceiling, there are several common issues that might be causing the problem. First, make sure that the power is turned off before attempting to change the light. If the light is stuck or won’t come out, try twisting it gently to loosen it. If that doesn’t work, you may need to use suction cups or pliers to grip the light and twist it out. Another issue could be a faulty connection or wiring, which might require the help of an electrician to fix. By troubleshooting these common issues, you can easily change your LED light and enjoy the benefits of a bright and efficient lighting solution in your home.
LED lights are becoming increasingly popular due to their numerous benefits. One of the most significant advantages of LED lights is their energy efficiency, which can save you a considerable amount of money on your electricity bill. Unlike traditional incandescent bulbs, LED lights consume less energy and last much longer, making them a great investment for your home. Additionally, LED lights do not emit heat, which means they are safer to use and reduce the risk of fire hazards. By replacing your old light bulbs with LED lights, you can significantly reduce your carbon footprint and contribute to a more sustainable future. So, if you’re looking to upgrade your lighting system, consider switching to LED lights and enjoy the benefits of energy efficiency, cost savings, and safety.
Changing an LED light fixture in the ceiling is a simple and straightforward process that can be completed with just a few steps. First, you need to turn off the power supply to the light fixture by switching off the circuit breaker. Next, remove the old fixture by unscrewing it from the ceiling and disconnecting any wires. Then, install the mounting bracket for the new LED fixture and connect the wires to the corresponding terminals. Finally, attach the fixture to the bracket and turn the power back on to test the new LED light. With these easy steps, you can update your ceiling lighting with energy-efficient and stylish LED fixtures.
If you’re tired of your old, outdated ceiling lights and want to give your home a much-needed facelift, then why not give our DIY guide a try? With just a few simple steps, you can easily change your LED light fixtures and transform the look and feel of any room in your home. Don’t be intimidated by the thought of DIY – our guide is easy to follow and doesn’t require any special skills or tools. Plus, by doing it yourself, you’ll not only save money on installation costs but also gain a sense of accomplishment and pride knowing that you did it all on your own. So why wait? Grab our guide and get started on your DIY LED light upgrade today!
Conclusion
In conclusion, changing the LED light in your ceiling is a simple and achievable DIY task that can be done with just a few basic tools and some easy-to-follow steps. Not only is it a cost-effective way to update your home’s lighting, but it also allows you to customize the ambiance of your space. With this guide, you can confidently take on this project and enjoy the benefits of a well-lit and beautiful home. So go ahead, grab your tools, and let your creativity shine!