Light Up Your Space: A StepbyStep Guide on How to Easily Connect 2 LED Light Strips
Lighting is an essential component of every home. It sets the tone and mood for your space while providing functionality and security. One popular lighting trend that has taken the world by storm is the use of LED light strips. These versatile strips can be used to create ambiance, highlight accent features, or serve as task lighting. However, connecting two LED light strips can be a challenging task for many, especially those who are not technically inclined. Fear not, as this step-by-step guide will provide you with all the information you need to easily connect two LED light strips, and light up your space like a pro. LED light strips are an excellent option for those who want to add a touch of creativity and personality to their space. Whether you want to create a cozy atmosphere in your living room, highlight your kitchen island or add some pizzazz to your bedroom, LED light strips can help you achieve your desired look. In this guide, we will walk you through the steps required to connect two LED light strips, from choosing the right tools and materials to understanding the wiring process. By the end of this guide, you will have the knowledge and confidence to tackle this project and elevate your space with stunning LED light strips.
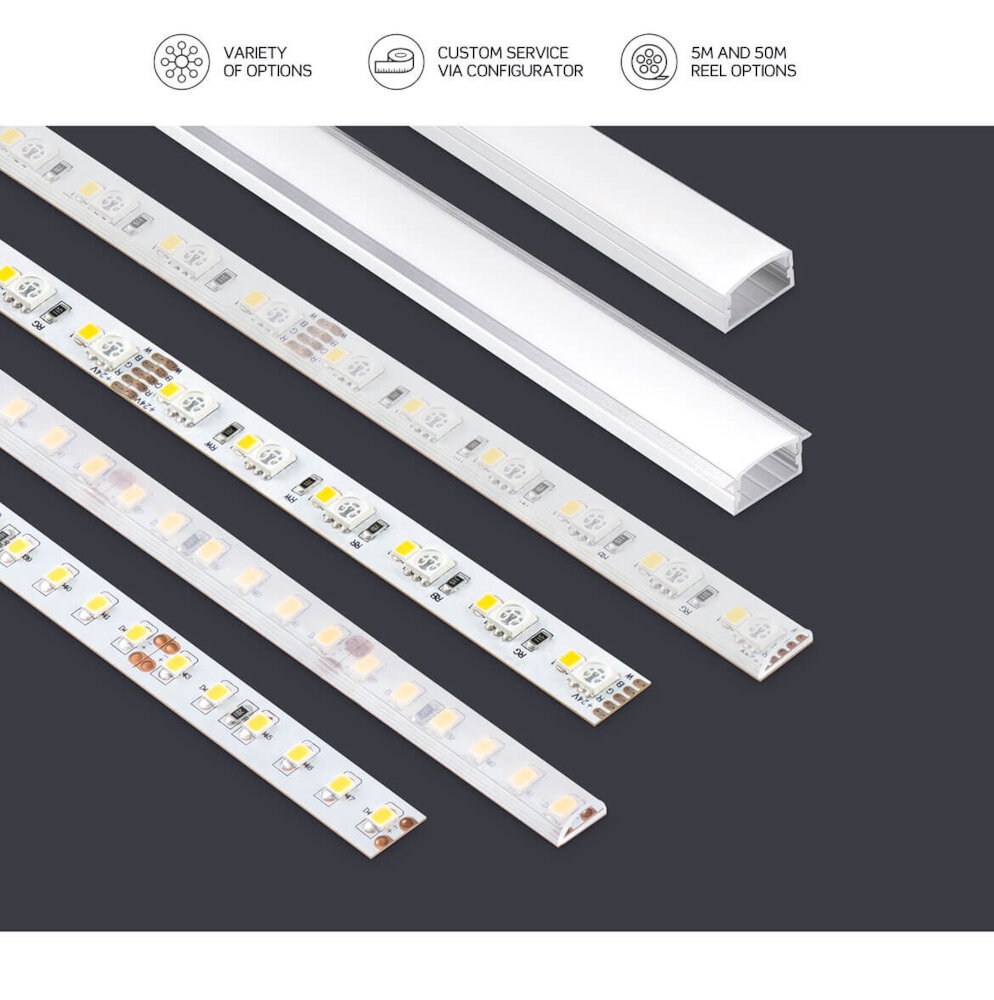
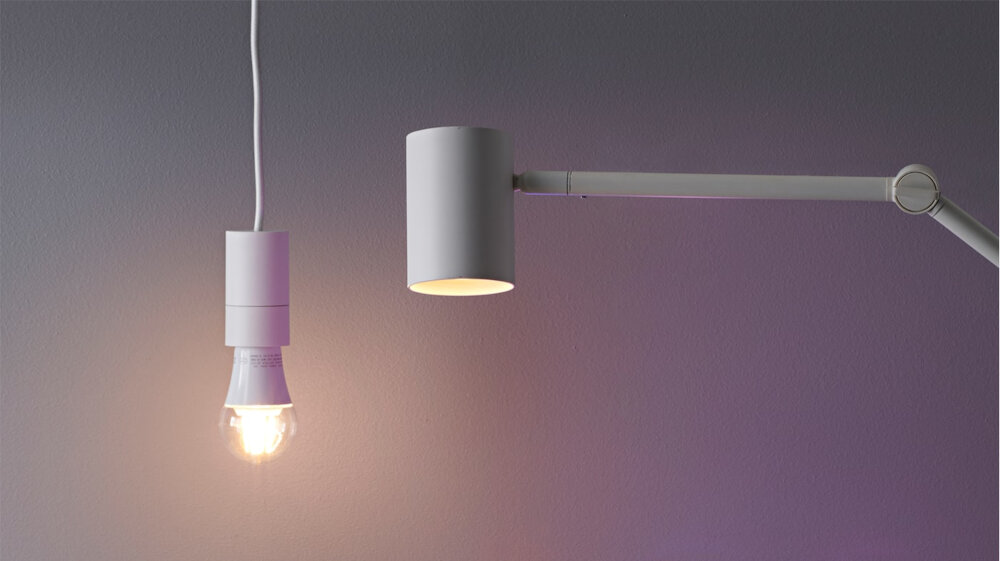
LED light strips are flexible circuit boards that contain multiple light-emitting diodes (LEDs). These strips are designed to be customizable and versatile, providing a wide range of lighting options for any space. LED light strips are available in different colors and lengths, allowing users to choose the perfect strip for their needs. They are easy to install and can be cut to fit any size or shape. LED light strips are energy-efficient and have a long lifespan, making them a popular choice for lighting solutions. They can be used for accent lighting, task lighting, or even as a primary light source. With their versatility and ease of use, LED light strips are a great way to add a touch of style and functionality to any space.
LED light strips have become increasingly popular in recent years due to their numerous benefits over traditional lighting options. One of the most significant advantages of LED light strips is their energy efficiency. LED bulbs use up to 80% less energy than incandescent bulbs, which means that they can provide brighter light and last longer while using less electricity. Additionally, LED light strips are highly versatile and can be used for a variety of purposes, from accent lighting to task lighting. They are also incredibly easy to install, making them a popular choice for DIY projects. LED light strips also emit less heat than other types of lighting, making them safer and more comfortable to use. Overall, LED light strips are an excellent choice for anyone looking to add stylish and energy-efficient lighting to their home or workspace.
The guide titled \Light Up Your Space: A Step-by-Step Guide on How to Easily Connect 2 LED Light Strips\ provides detailed instructions on how to connect two LED light strips in a hassle-free manner. The guide is well-structured and easy to follow, making it accessible to both beginners and experienced individuals. Furthermore, the guide provides a comprehensive list of tools and materials required for the task, ensuring that individuals have everything they need before starting. The step-by-step instructions are concise and thorough, leaving no room for confusion or mistakes. Overall, this guide is an excellent resource for anyone looking to enhance their space with LED lighting.
Materials Needed
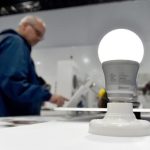
When it comes to connecting two LED light strips, there are a few materials that you’ll need to get started. First and foremost, you’ll need the LED light strips themselves. Make sure you have two identical strips, as this will make the process much easier. You’ll also need an LED power supply that matches the voltage and wattage of your light strips. It’s important to get a power supply that can handle the total wattage of both strips combined. Next, you’ll need a soldering iron and soldering wire to connect the wires of the two strips. A wire stripper may also come in handy if your LED strips have a protective coating that needs to be removed before soldering. Finally, you’ll need some electrical tape to secure the wires and connections once everything is soldered together. In addition to the basic materials listed above, there are a few optional items that you may find helpful. A heat gun can be used to shrink the heat shrink tubing that covers the soldered connections, providing extra protection and reducing the risk of short circuits. A multimeter can also come in handy if you need to test the voltage and current of your LED light strips. And if you’re mounting your LED strips in a specific location, you may need some mounting hardware or adhesive strips to keep them in place. With these materials on hand, you’ll be ready to start connecting your LED light strips and illuminating your space in no time.
Before starting any project, it is crucial to have a list of all the necessary items to ensure a smooth and efficient process. For this particular project, connecting 2 LED light strips, there are several items that are required to complete the task. Firstly, you will need the LED light strips themselves, which come in various lengths and colors. Additionally, you will need a power adapter, a soldering iron, electrical tape, wire cutters, and a ruler or measuring tape. It is also important to have a clean workspace and a steady hand to ensure precision during the soldering process. By having all of these necessary items ready beforehand, you can ensure a successful and stress-free project.
While connecting LED light strips may seem like a daunting task, there are optional tools that can make the process much easier. For instance, a soldering iron can help you secure the wires and ensure a strong connection. Additionally, using wire connectors can simplify the process and reduce the risk of damaging the LED light strips. A wire cutter can also be helpful in cutting the wires to the desired length. Finally, using a multimeter can help you test the voltage and ensure that the connection is working properly. By utilizing these optional tools, you can streamline the process and ensure that your LED light strips are connected safely and securely.
Steps to Follow
When it comes to connecting LED light strips, it may seem like a daunting task at first, but with the right steps, it can be done easily. The first step is to gather all the necessary materials, including the LED light strips, a power supply, a connector, and a pair of scissors. Once all the materials are available, it’s essential to read the manufacturer’s instructions carefully to ensure that everything is connected correctly. Next, it’s time to cut the LED light strips to the required length and attach them to the connector. This process can be a bit tricky, so it’s essential to be patient and gentle to avoid damaging the strips. Once the strips are attached, it’s time to connect the power supply and test the lights to ensure they’re working correctly. The second step is to decide on the location where the LED light strips will be installed. This step is crucial as it determines the length of the LED strips and the type of connector needed. Once the location is chosen, measure the length of the area where the LED strips will be installed and cut the strips accordingly. It’s important to remember to leave some extra length in case of any mistakes during installation. After cutting the strips, attach them to the connector and secure them in place. Once everything is connected, test the lights to ensure they’re working correctly. Finally, it’s time to install the LED light strips in the chosen location, and this can be done using adhesive tape or clips. With these simple steps, anyone can easily connect LED light strips and light up their space.
Step-by-step instructions with visuals are an essential aspect of any DIY project. In the case of connecting two LED light strips, clear visuals and concise instructions make the process simpler and more accessible. This guide provides a comprehensive walkthrough of the process, complete with detailed diagrams and images that illustrate each step. From identifying the necessary materials to connecting the strips correctly, the visuals help eliminate any confusion or uncertainty. Following these instructions, anyone can successfully connect two LED light strips and brighten up their space in no time.
Connecting LED light strips is a straightforward process that can add an exciting and vibrant atmosphere to any space. First, make sure you have the correct tools, including a pair of scissors, a soldering iron, and LED strip connectors. Cut the LED strip to the desired length and attach the connector, ensuring that the positive and negative wires are correctly placed. Once connected, test the strip to ensure it is working correctly. Lastly, secure the strip in your desired location, and enjoy the ambiance created by your newly installed LED light strips. With a little time and effort, you can transform any space into a stunning and inviting area.
Before installing LED light strips, it is crucial to test the connection to ensure they are working correctly. Firstly, connect the power supply to the LED transformer and switch on the power. Then, use a multimeter to confirm that the voltage output of the transformer matches the voltage requirements of the LED light strips. Next, connect the positive and negative wires of the LED light strips to the output wires of the transformer. Finally, turn on the power supply, and the LED light strips should light up. If they do not, recheck the connections, and if the problem persists, the LED light strips may be faulty, and a replacement may be necessary. It is essential to test the connection to avoid any errors during installation and to ensure the safety of the electrical system.
When troubleshooting, it’s essential to approach the problem with a systematic and logical mindset. First, identify the issue by observing the symptoms and asking questions. Then, isolate the problem by testing individual components and ruling out potential causes. It’s also helpful to have a basic understanding of the technology and equipment involved to make informed decisions. Don’t be afraid to consult manuals, online forums, or experts for guidance. Finally, document your steps and solutions for future reference. With these tips, troubleshooting can be a less daunting task and help you achieve a well-lit space with your newly connected LED light strips.
Creative Ways to Use LED Light Strips
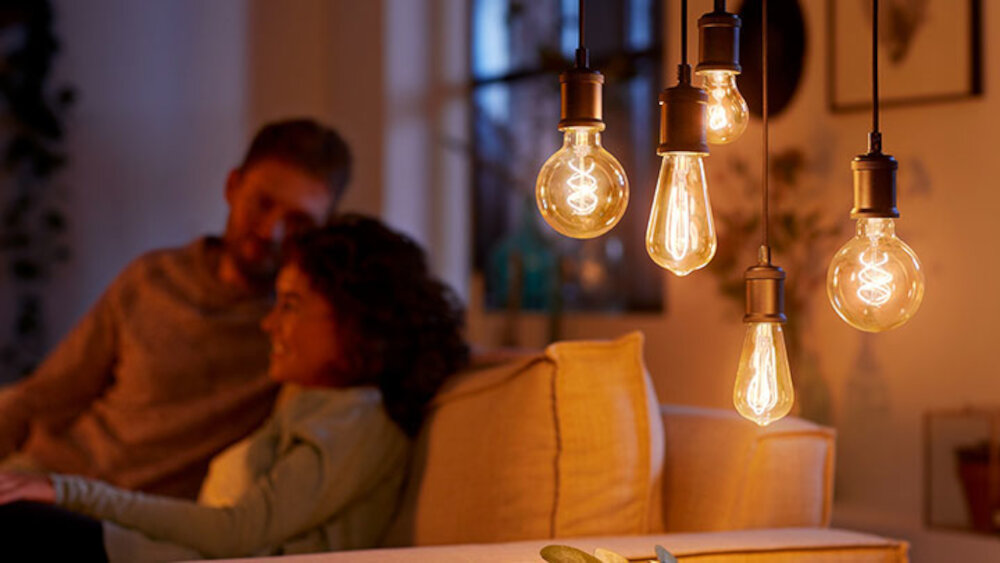
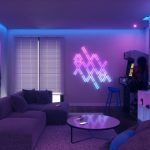
LED light strips are a versatile lighting solution that can be used in creative ways to add a touch of ambiance to your space. One creative way to use LED light strips is to install them behind your TV or computer monitor. This not only adds a cool effect to your viewing experience but also reduces eye strain by providing a subtle backlight. You can also install them under your kitchen cabinets to enhance the look of your kitchen while making it easier to see what you’re doing while cooking. LED light strips can also be used to create a unique and inviting atmosphere in your bedroom. By installing the strips around the perimeter of your ceiling or bed frame, you can create a warm and cozy environment that is perfect for relaxation. You can also use them to highlight your favorite artwork or to create a focal point in your room by placing them behind your headboard. With so many creative ways to use LED light strips, the possibilities are endless. Whether you’re looking to add some personality to your home or simply want to improve the lighting in your space, LED light strips are a great solution.
LED light strips are versatile and can be used in different areas of the home to create ambiance, highlight architectural features, or add a pop of color. In the living room, LED light strips can be installed behind the TV or along the ceiling to create a cozy atmosphere. In the kitchen, they can be installed under the cabinets or on the top of the kitchen island to provide task lighting. In the bedroom, they can be installed along the headboard or under the bed to create a relaxing environment. In the bathroom, they can be installed around the mirror or under the vanity to provide soft lighting. With endless possibilities, LED light strips are a great way to add a touch of style and functionality to any space in the home.
LED light strips are a fantastic way to add a touch of charm to any space. These versatile strips can be used in a variety of ways, from creating a cozy ambiance in your living room to highlighting the architectural features of your home. To use LED light strips for decorative purposes, start by selecting the right color and brightness level that suits your needs. Then, determine the installation location that will provide an optimal visual impact. Once installed, you can use the LED strips to create unique patterns, shapes, and designs. With a little creativity and a few simple steps, you can transform your living space into a glowing work of art.
LED light strips are a versatile and energy-efficient lighting solution that can enhance the ambiance of any space. These strips are highly durable, long-lasting, and easy to install, making them an excellent choice for both residential and commercial spaces. They offer a range of benefits, including flexibility in design, customizable color options, and low energy consumption. LED light strips are also highly efficient, emitting less heat than traditional lighting options, and are less prone to breakage due to their solid-state design. Overall, using LED light strips can provide a cost-effective, visually appealing lighting solution for a wide range of applications.
In conclusion, connecting two LED light strips is a simple and straightforward process that anyone can do. By following the steps mentioned in this guide, you can easily light up your space and create a warm and inviting atmosphere. It is important to remember to use the correct tools and connectors, and to ensure that the power source can handle the added load of the LED light strips. Additionally, it is recommended to choose high-quality LED light strips that will last longer and provide a brighter and more consistent light. With these tips and recommendations in mind, you can enjoy your newly lit space for years to come.
Embarking on a new project can be daunting, but don’t let that stop you from diving in and having fun with it! Connecting LED light strips may seem intimidating, but with our step-by-step guide, it’s a breeze. So grab your tools and get ready to transform your space with beautiful, customizable lighting. With each step you take, you’ll gain confidence and satisfaction in knowing that you’re creating something unique and beautiful. So don’t hesitate, let the excitement of the project fuel your creativity and enjoy the process. Who knows, you might even discover a new hobby or passion along the way!
Conclusion
In conclusion, connecting 2 LED light strips can seem daunting at first, but with the right tools and steps in place, it can be a simple and rewarding process. Whether you’re looking to brighten up your room or add a bit of ambiance to your living space, LED light strips are a fantastic choice. From measuring and cutting the strips to soldering and securing the wires, the step-by-step guide provided can help you create the perfect lighting setup for your needs. So go ahead and let your creativity shine as you light up your space with ease!
Related posts:
 LED Light Strips: A StepbyStep Guide on How to Connect and Illuminate Your Space
 Connect LED Light Strips Like a Pro: A StepbyStep Guide
 Illuminate Your Space: A StepbyStep Guide on How to Connect LED Lights
 DIY Guide: How to Easily Connect LED Light Strips Together for a Brighter and Vibrant Home Décor