How to Create Stunning Acrylic LED Light Displays: A StepbyStep Guide
Acrylic LED light displays are becoming increasingly popular in various settings, from home décor to commercial advertising. These displays add a touch of sophistication and elegance to any space, and their versatility allows them to be used for a wide range of purposes. With the right tools and skills, creating stunning acrylic LED light displays is both achievable and rewarding. In this step-by-step guide, we will take a closer look at the process of creating these displays, providing you with the knowledge and skills needed to create your own stunning displays. The first step in creating a stunning acrylic LED light display is to gather all the necessary materials. These include acrylic sheets, LED lights, a laser cutter, and a power supply. It is important to choose high-quality materials to ensure that your display will be both durable and visually appealing. Once you have gathered all the materials, the next step is to plan out your design. This can involve sketching out your ideas on paper or using a computer-aided design (CAD) program to create a digital mockup of your display. Planning your design in advance will help you to visualize the finished product and ensure that you have all the necessary materials and tools before you begin.
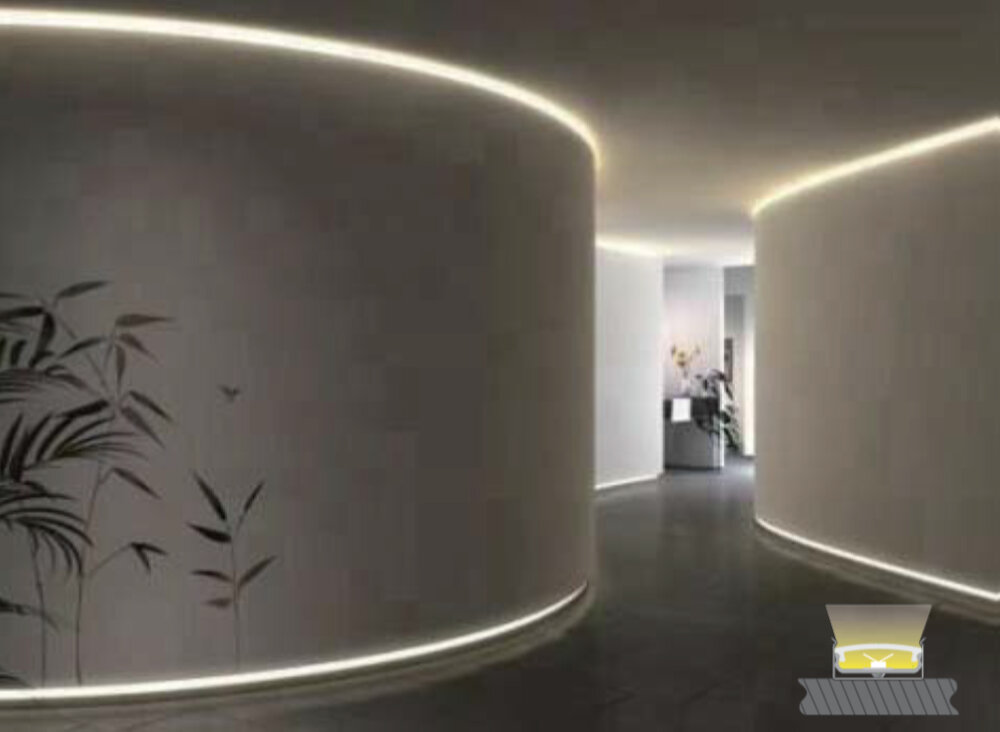
Acrylic LED light displays are a visually stunning way to showcase any message or image. This type of display utilizes a combination of acrylic sheets and LED lights to create a vibrant and eye-catching presentation. The acrylic sheets are laser-cut into the desired shape and then etched with the desired design. LED lights are then placed behind the acrylic sheets, illuminating the design and creating a stunning visual effect. The beauty of acrylic LED light displays is their versatility – they can be used in a variety of settings, from retail displays to event signage. With the right design and execution, acrylic LED light displays can truly be a work of art.
Creating stunning displays is crucial for capturing attention and engaging audiences. In today’s highly competitive market, businesses and individuals must showcase their products or ideas in a visually appealing way to stand out from their competitors. With the rise of social media and online platforms, having eye-catching displays can attract a wider audience and generate more interest. Furthermore, a well-designed display can create an immersive experience for viewers and leave a lasting impression. By incorporating LED lights and acrylic materials, displays can be elevated to a new level of sophistication and creativity. With this step-by-step guide, anyone can learn how to create stunning acrylic LED light displays that will leave viewers in awe.
Materials Needed

When it comes to creating stunning acrylic LED light displays, the materials you choose can make all the difference. To start with, you’ll need high-quality acrylic sheets that are at least 1/4 inch thick. Look for sheets that are clear and free of any scratches or blemishes, as these imperfections can detract from the overall look of your final display. You’ll also need a cutting tool, such as a circular saw or jigsaw, to cut the acrylic sheets to size. Make sure to wear safety goggles and gloves when cutting the acrylic, as it can be brittle and sharp. In addition to the acrylic sheets, you’ll need LED light strips and a power source. Look for LED strips that are flexible and easy to install, and make sure they come with an adhesive backing to make installation a breeze. You’ll also need a power source, such as a battery or AC adapter, to power the LEDs. Make sure to choose a power source that is compatible with the LED strips you’ve chosen, and that it provides enough power to light up your display effectively. With these materials in hand, you’ll be well on your way to creating a stunning acrylic LED light display that will wow your friends and family.
Acrylic sheets are a type of plastic material that is widely used in various industries due to their durability, clarity, and versatility. They are lightweight, shatter-resistant, and can be easily molded into different shapes and sizes, making them an excellent choice for creating stunning LED light displays. Acrylic sheets come in different colors and thicknesses, allowing you to choose the perfect one for your project. They are also UV-resistant, which means they won’t yellow or fade over time, ensuring that your display will look vibrant and beautiful for years to come. With the right tools and techniques, you can transform acrylic sheets into a work of art that will capture the attention of anyone who sees it.
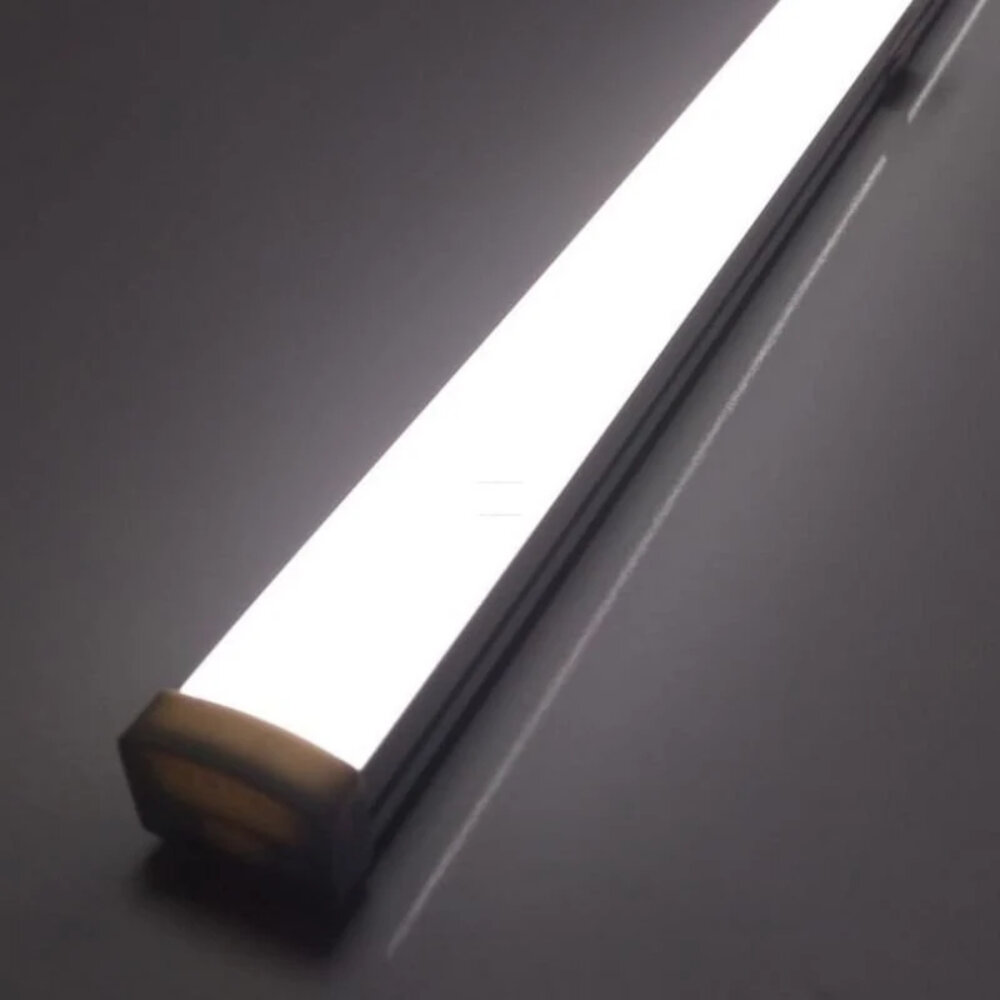
LED lights are a fantastic way to create stunning acrylic displays. They offer a wide variety of colors and brightness levels that can be easily adjusted to suit your needs. LED lights are also energy-efficient, which means that they will save you money on your electricity bill in the long run. They are durable and long-lasting, making them an excellent investment for anyone who wants to create eye-catching displays. With LED lights, you can create a range of effects, from subtle to bold, and they are easy to install and maintain. Whether you want to create a stunning centerpiece or add some ambiance to your home or office, LED lights are an excellent choice.
The power supply is a crucial component when creating acrylic LED light displays as it transforms the electrical current from the outlet to the correct voltage needed for the LEDs to function properly. It is important to choose a power supply that can handle the wattage of the LEDs being used and has the appropriate connectors for the wiring setup. A high-quality power supply can ensure consistent and safe operation of the LED lights, preventing any damage or malfunctions. It is essential to take into account the power supply’s location and accessibility when designing the display to ensure that it is easily accessible for maintenance or replacement if necessary.
Glue is an essential component when creating acrylic LED light displays as it helps in joining the pieces of acrylic together. There are different types of glue available in the market, such as cyanoacrylate glue, epoxy resin, and solvent cement, to name a few. However, it is crucial to choose the right type of glue depending on the application as each type has its own unique properties. While cyanoacrylate glue is ideal for bonding small pieces of acrylic, solvent cement is better suited for larger pieces. Epoxy resin, on the other hand, provides excellent bonding strength and is ideal for creating permanent joints. It is important to follow the manufacturer’s instructions carefully while using glue and to ensure that the pieces are held together firmly until the glue dries completely.
Cutting tools are an essential component in creating stunning acrylic LED light displays. A variety of cutting tools can be used, including saws, knives, and laser cutters, each with their own unique advantages. Saws are ideal for cutting thicker sheets of acrylic and can easily create intricate and curved shapes. Knives provide greater precision and control, allowing for more intricate designs. Laser cutters are the most precise option and can create intricate designs with ease. Regardless of the tool used, it is important to ensure that the cutting edge is sharp and that the acrylic is held securely in place to prevent any slipping or errors in the cutting process.
When it comes to creating stunning acrylic LED light displays, measuring tools are essential for achieving precise and accurate cuts. A ruler or measuring tape can be used to measure the acrylic sheet before cutting it to the desired size, while a square can ensure that the edges are at perfect right angles. A caliper can also be useful for measuring the thickness of the acrylic sheet, which is important for selecting the appropriate LED lights and ensuring a proper fit. Accurate measurements are crucial for creating a professional-looking display, and investing in quality measuring tools is a worthwhile investment for any DIY enthusiast or professional artist.
Design software is an essential tool for creating stunning acrylic LED light displays. With the right software, designers can bring their ideas to life and create unique, eye-catching designs that will captivate their audience. There are many different design software options available, each with their own set of features and capabilities. Some of the most popular software programs include Adobe Photoshop, Illustrator, and InDesign, which allow designers to create intricate designs with ease. Additionally, software like SketchUp and AutoCAD can help designers create 3D models and visualize their designs in a realistic way. By utilizing the power of design software, designers can take their acrylic LED light displays to the next level and create truly unforgettable pieces.
Designing the Display
Designing the display is a crucial step when creating acrylic LED light displays. The design of the display will determine the overall look and feel of the final product. It’s important to consider the purpose of the display, as well as the audience that it will be targeting. The design should be visually appealing and attention-grabbing, while also conveying the intended message or information. When designing the display, it’s important to consider the placement and positioning of the acrylic sheets and LED lights. The placement should be strategic in order to create a cohesive and visually pleasing arrangement. The colors and brightness of the LED lights should also be considered, as they can greatly impact the overall look of the display. Additionally, the design should be scalable, in case the display needs to be adjusted or expanded in the future. Overall, a well-designed acrylic LED light display can be a powerful tool for advertising, branding, or conveying information.
When it comes to creating stunning acrylic LED light displays, choosing the right design software is crucial. There are many options available in the market, ranging from beginner-friendly to advanced-level programs. The key is to select a software that suits your skill level and design requirements. Some popular design software for creating acrylic LED light displays are Adobe Illustrator, CorelDRAW, and SketchUp. These programs offer various features such as vector graphics, 3D modeling, and precision design tools that can help you create intricate and visually appealing designs. It is essential to research and compare different software options before making a decision to ensure that you can create the best possible acrylic LED light displays.
Creating a design for an acrylic LED light display is an exciting process that requires patience, creativity, and attention to detail. The first step is to determine the purpose of the display and the message that it should convey. Whether it’s a logo, a piece of artwork, or a promotional message, the design should be clear and visually appealing. Once the concept is established, the next step is to select the appropriate materials and colors that will bring the design to life. This may involve experimenting with different acrylic thicknesses, LED colors, and lighting effects. With a clear vision and a willingness to experiment, anyone can create a stunning acrylic LED light display that will captivate and inspire viewers.
Scaling the design to fit the acrylic sheet is a crucial step in creating a stunning acrylic LED light display. The first step is to measure the dimensions of the acrylic sheet accurately. Once the dimensions are determined, the design can be scaled to fit the sheet using specialized software or manually. It’s essential to ensure that the design fits perfectly on the acrylic sheet, leaving no gaps or excess material. This step requires precision and attention to detail to achieve the desired result. A well-scaled design will enhance the aesthetic appeal of the display, making it visually appealing and eye-catching. It’s crucial to take time and effort to scale the design accurately to ensure that the final product is nothing short of spectacular.
Preparing the design for cutting is an essential step in creating stunning acrylic LED light displays. Firstly, it is important to have a clear and well-defined design to ensure precision and accuracy during the cutting process. This can be achieved by using design software such as Adobe Illustrator or CorelDRAW. Once the design is finalized, it should be converted into a vector file format such as EPS or SVG, which is necessary for the cutting machine to recognize the design. It is also crucial to consider the dimensions and thickness of the acrylic sheet to avoid any errors during the cutting process. By taking the time to properly prepare the design for cutting, you can ensure that your acrylic LED light display will be a beautiful and flawless masterpiece.
Cutting the Acrylic Sheet

Cutting the acrylic sheet is a crucial step in creating stunning and precise acrylic LED light displays. There are several ways to cut an acrylic sheet, but the most efficient and effective method is using a table saw. Before cutting the sheet, you need to ensure that it is clean and free from any debris, as any dirt or dust particles can cause scratches on the surface. Next, you need to measure the sheet accurately and mark the cutting line with a marker or a piece of tape. It is essential to use a fine-toothed blade for the table saw as it prevents the sheet from chipping or cracking during the cutting process. Once the blade is set to the correct height, you can start cutting the sheet along the marked line, ensuring that the sheet is held securely and smoothly while cutting. After the cut is complete, the edges may be rough, and you may need to sand them down to ensure a smooth finish. Another method to cut the acrylic sheet is using a circular saw or a jigsaw. However, these methods are not as precise as a table saw and may cause the sheet to chip or crack during the cutting process. It is essential to use a blade that is specifically designed for cutting acrylic sheets and to ensure that the saw is set to a slow speed. Additionally, it is recommended to use a straight edge or a guide to ensure that the cutting line is straight and accurate. Once the cut is complete, the edges may be rough and require sanding to ensure a smooth finish. It is crucial to wear protective gear, such as safety goggles and gloves, while cutting the acrylic sheet, as small pieces of acrylic may fly off during the cutting process, causing injury.
Choosing the right cutting tool is essential when creating acrylic LED light displays. A rotary tool with a cutting wheel attachment is the most versatile option for cutting through acrylic sheets of varying thicknesses. However, a jigsaw or table saw can also be used for larger cuts. It’s important to use a sharp blade or bit to ensure clean and precise cuts. Additionally, using a cutting lubricant can help prevent the acrylic from melting or cracking during the cutting process. Taking the time to choose the right cutting tool and technique will result in a beautifully crafted acrylic LED light display.
Measuring and marking the acrylic sheet is an essential step in creating stunning acrylic LED light displays. To achieve the perfect size and shape, you’ll need to use a measuring tape and a marker to mark the sheet’s dimensions accurately. It’s crucial to take precise measurements to ensure that the acrylic sheet fits correctly in the LED light display frame. Once you’ve marked the sheet, use a plastic cutting tool or a saw to cut along the lines. You can also use a sandpaper or a polishing tool to smooth the edges and create a polished finish. Taking the time to measure and mark the acrylic sheet correctly will result in a seamless, professional-looking LED light display that will impress any viewer.
Cutting the acrylic sheet is an important step in creating stunning acrylic LED light displays. The acrylic sheet can be cut using a variety of tools such as a circular saw, jigsaw, or laser cutter. It is important to choose the right tool for the thickness and size of the acrylic sheet. Before cutting, it is recommended to mark the sheet with a pencil to ensure accuracy. The cutting process should be done slowly and carefully to prevent the acrylic from cracking or melting. Once the sheet is cut, it can be sanded and polished to achieve a smooth and clear finish. Overall, cutting the acrylic sheet requires precision and patience, but the end result is a beautiful and unique LED light display.
Once you have all of your acrylic pieces cut to size, it is important to sand the edges to remove any rough or sharp edges. This not only ensures a smooth finish, but also helps to prevent any injuries when handling the acrylic. To do this, use a sanding block or sandpaper with a fine grit and gently sand the edges of the acrylic until they are smooth to the touch. Be sure to wipe away any debris with a clean cloth afterwards. This step may seem small, but it can make a big difference in the overall appearance and safety of your acrylic LED light display.
Adding LED Lights
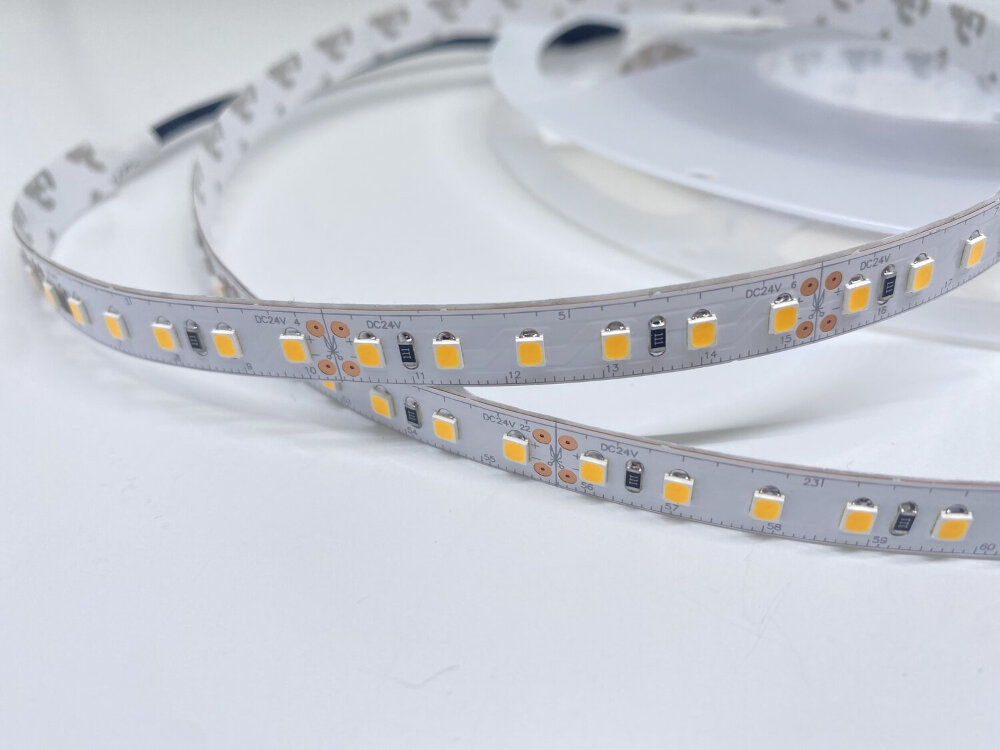
Adding LED lights to acrylic displays can take your design to the next level. The addition of LED lights can give your display a pop of color and create a visually stunning effect that is sure to impress. LED lights are a popular choice for acrylic displays because they are energy-efficient, long-lasting, and come in a variety of colors. When adding LED lights to your acrylic display, there are a few things to keep in mind. First, it’s important to choose the right type of LED lights for your design. There are many different types of LED lights available, including strip lights and individual LEDs. Strip lights are a popular choice because they are easy to install and can be cut to fit any size or shape. Individual LEDs are a bit more difficult to install, but they are great for creating intricate designs and patterns. Once you’ve chosen the type of LED lights you want to use, it’s important to plan out your design and decide where you want to place the lights. You can create a simple design with just a few lights, or you can create a more complex design with multiple colors and patterns. Whatever design you choose, adding LED lights to your acrylic display is sure to make it stand out and grab attention.
Choosing the right LED lights is critical to creating stunning acrylic LED light displays. Firstly, consider the color temperature of the LED lights. A warm white LED light will emit a yellowish-orange glow, while a cool white LED light will emit a blueish-white glow. Secondly, it is important to consider the brightness of the LED lights. If the acrylic display is going to be in a brightly lit area, then brighter LED lights will be needed. Thirdly, it is important to choose LED lights that are energy-efficient and have a long lifespan. This will save money in the long run and ensure that the acrylic display can be enjoyed for years to come. Lastly, consider the size and shape of the LED lights, as they can come in a variety of sizes and shapes to fit the specific needs of the acrylic display.
Before starting on the acrylic LED light displays, it is important to measure and mark where the lights will go. This step is crucial in creating a visually pleasing and balanced display. Using a ruler or measuring tape, the distance between each light should be determined and marked on the acrylic sheet. The placement of the lights should also be evenly spaced and aligned with the overall design of the display. A pencil or marker can be used to mark the spots where the lights will be inserted. Taking the time to accurately measure and mark the placement of the lights will ensure a polished and professional looking finished product.
Attaching LED lights to an acrylic sheet is a crucial step to create captivating LED light displays. First, ensure that you have a flat and clean surface to work on. Then, plan the layout of your LED lights on the acrylic sheet. Use double-sided adhesive tape or a strong adhesive glue to attach the LED lights to the sheet. Make sure to keep the wiring tidy and hidden beneath the acrylic sheet. You can also use a heat gun to mold the acrylic sheet for a more customized fit around the LED lights. Once the LED lights are securely attached, test them to ensure they are functioning correctly before moving on to the next step.
To wire the LED lights to the power supply, you will need to take a few careful steps. First, ensure that your power supply is compatible with your LED lights and that it provides enough voltage to power them. Once you have confirmed this, carefully strip the ends of your LED light wires and connect them to the power supply wires. Be sure to use wire connectors or solder to secure the connections and prevent any loose wires that could cause a short circuit. Once the wiring is complete, test the lights to ensure they are functioning properly before mounting them onto your acrylic display. With a bit of patience and attention to detail, you can create a stunning and vibrant LED light display that will add a touch of magic to any space.
Assembly
Assembly is the final step in creating a stunning acrylic LED light display. It involves putting together all the pieces that you have cut and prepared in the previous steps. The assembly process will require patience and attention to detail to ensure that your display looks as intended. The first step in assembly is to lay out all the pieces that you have cut and make sure that everything is in order. Once you have done this, you can begin to put the pieces together, starting with the base. The next step is to attach the LED strips to the acrylic pieces. This is a delicate process and requires precision to ensure that the strips are evenly spaced and aligned. Once the LED strips are in place, you can begin to attach the pieces to the base. This can be done using glue or screws, depending on your preference. Finally, you will need to connect the LED strips to the power source and test that everything is working as expected. With a little bit of patience and attention to detail, you can create a stunning acrylic LED light display that will impress all who see it.
Putting the display together is the final step in creating a stunning acrylic LED light display. After all the components have been cut, sanded, drilled, painted and assembled, it’s time to bring everything together. Careful attention should be paid to the wiring of the LED lights to ensure that they are properly connected to the power source and that the lights are evenly distributed throughout the display. Once the wiring is complete, the acrylic panels can be attached to the frame using adhesive or screws, depending on your preference. The final touch is to test the display to ensure that everything is working correctly and that the lights are shining brightly. When done correctly, the finished display will be a work of art that will bring any room to life.
One of the essential steps in creating stunning acrylic LED light displays is gluing the acrylic sheets together. There are various types of adhesives available in the market that can be used for this purpose. However, it is important to choose the right one that suits the type of acrylic you are using. Some adhesives may not work well with certain types of acrylics, leading to weak joints or discoloration. The process of gluing involves carefully applying the adhesive on the edges of the acrylic sheets and then pressing them together firmly. The joints must be held in place until the adhesive dries completely. With proper gluing techniques and the right adhesive, you can create seamless and sturdy acrylic displays that can withstand the test of time.
Testing the display is a crucial step in creating a stunning acrylic LED light display. Before showcasing the display to the world, it is important to ensure that it is working perfectly. To test the display, turn on the LED lights and check if they are emitting the desired amount of light. Adjust the brightness and color settings as necessary. Additionally, check the wiring and connections to make sure there are no loose ends. It is also important to test the display in different lighting conditions to see how it performs. By thoroughly testing the display, you can ensure that it is ready to be the center of attention and amaze all who see it.
Creating stunning acrylic LED light displays is a creative and fun process that requires careful planning and execution. The first step is to select the appropriate materials and tools for the job, including acrylic sheets, LED lights, drill bits, and a cutting tool. Next, it is essential to measure and mark the acrylic sheet accurately and cut it to the desired size and shape. After that, drill holes for the LED lights and attach them to the acrylic sheet. Finally, connect the LED lights to a power source and mount the display in the desired location. With a little bit of patience and attention to detail, anyone can create a beautiful and eye-catching acrylic LED light display that will impress friends and family alike.
Being creative with acrylic LED light displays is crucial in order to create stunning and captivating designs that will attract attention and leave a lasting impression on viewers. Acrylic LED light displays have the ability to transform any space into a visually stunning environment, whether it be for commercial or personal use. By incorporating unique designs, color schemes, and patterns, you can elevate the aesthetic appeal of any space and create an unforgettable experience for those who view it. In addition, being creative with acrylic LED light displays allows for endless possibilities in terms of customization and personalization, making it a versatile and exciting medium to work with. The key to creating an exceptional acrylic LED light display is to think outside the box and let your imagination run wild, resulting in a one-of-a-kind masterpiece that is sure to impress.
Creating acrylic LED light displays at home can seem daunting, but with the right tools and a little encouragement, anyone can do it! Not only is it a fun and creative DIY project, but it also allows you to personalize your space with unique and eye-catching decor. Don’t be afraid to experiment with different colors, shapes, and designs – the possibilities are endless! With this step-by-step guide, you’ll be able to create stunning displays that will impress your friends and family. So gather your materials, put on some music, and let your creativity shine! You’ll be amazed at what you can achieve with a little bit of effort and imagination.
Conclusion
In conclusion, creating stunning acrylic LED light displays is an art that can be mastered through practice and creativity. With the step-by-step guide provided, anyone can unleash their inner artist and bring their ideas to life. The choice of acrylic material, lighting, and design elements are crucial in achieving a breathtaking display. It is essential to pay attention to detail and be patient during the creation process. When done correctly, acrylic LED light displays can transform any space into a spectacular masterpiece that will leave a lasting impression on anyone who lays their eyes on it. So, go ahead and let your imagination run wild and create a stunning acrylic LED light display that will leave everyone in awe.