DIY Guide: Easily Replace Your LED Flush Mount Ceiling Light

In today’s world, LED flush mount ceiling lights have become an essential part of our homes. They provide us with brighter, more energy-efficient lighting and add a touch of modernity to our living spaces. However, like everything else, these lights are also prone to wear and tear over time, and we may need to replace them eventually. While you may be tempted to call a professional electrician, replacing your LED flush mount ceiling light is a relatively simple DIY task that you can do yourself. In this guide, we will take you through the steps required to replace your LED flush mount ceiling light and help you save some money in the process. Before we get started, it’s essential to note that safety should be your top priority when dealing with electricity. Always turn off the power supply to the wires you’re working on by turning off the circuit breaker. You should also ensure that the new LED flush mount ceiling light you’re installing is compatible with your existing wiring. With that said, let’s get started with our DIY guide to replacing your LED flush mount ceiling light.
LED flush mount ceiling lights are modern, energy-efficient lighting fixtures that can be installed directly into the ceiling without protruding. They feature a sleek, low-profile design that blends seamlessly into any room decor, providing bright, evenly-distributed light. LED flush mount ceiling lights use up to 80% less energy than traditional incandescent bulbs, making them an eco-friendly and cost-effective lighting solution. By replacing your old light fixture with a new LED flush mount ceiling light, you can enjoy brighter, more efficient lighting while reducing your energy bills. With a few basic tools and some DIY know-how, you can easily replace your LED flush mount ceiling light yourself, saving time and money on professional installation.
Tools and Materials
When it comes to replacing your LED flush mount ceiling light, having the right tools and materials on hand is essential. Some of the basic tools you will need include a screwdriver, wire stripper, pliers, and a voltage tester. These tools will help you safely disconnect the old light fixture and install the new one. Additionally, you may need a ladder or step stool to reach the ceiling, as well as a helper to hold the light fixture while you connect the wires. It’s always a good idea to read through the manufacturer’s instructions and consult with an electrician if you have any questions about the process. In terms of materials, you will need the new LED flush mount ceiling light, which should come with all the necessary hardware for installation. Make sure to choose a light fixture that is the appropriate size and style for your room. You may also need wire connectors, electrical tape, and a mounting bracket if one is not included with the light fixture. It’s important to follow the manufacturer’s instructions carefully and take your time during the installation process to ensure that everything is done correctly and safely. With the right tools and materials and some basic electrical knowledge, replacing your LED flush mount ceiling light can be a simple and rewarding DIY project.
Replacing an LED flush mount ceiling light might seem like a daunting task, but with the right tools and materials, it can be a straightforward process. Firstly, you will need a ladder or step stool to reach the ceiling. You will also need a screwdriver set, wire cutters, and a voltage tester to ensure the power is off before you begin. It’s essential to have a replacement LED flush mount ceiling light that matches the dimensions of your current fixture. You may also require wire nuts and electrical tape to connect the wiring and secure the new fixture in place. Having a flashlight or work light on hand can also be helpful to see in dimly lit areas. By gathering these necessary tools and materials, you’ll have everything you need to complete the LED flush mount ceiling light replacement process with ease.
StepbyStep Guide
If you’re looking to replace your LED flush mount ceiling light, it’s important to have a step-by-step guide to ensure the process goes smoothly. First, make sure to turn off the power to the existing light fixture by flipping the switch in the circuit breaker box. Then, remove the screws or bolts that are holding the light fixture to the ceiling. Once the fixture is free, gently pull it down from the ceiling and disconnect the wires. Next, it’s important to choose a new LED flush mount ceiling light that is the same size and shape as the old one. Ensure that the wires from the new light fixture match the wires from the ceiling, and connect them carefully. Once the wires are connected, carefully tuck them into the ceiling and secure the new light fixture in place with screws or bolts. Finally, turn the power back on and test the new light fixture to ensure that it is working properly. Following these steps carefully will allow you to easily replace your LED flush mount ceiling light with minimal hassle.
Replacing an LED flush mount ceiling light can be a simple task with the right tools and knowledge. First, turn off the power to the existing fixture and remove the old fixture from the ceiling by unscrewing any screws or twisting the fixture counterclockwise. Next, expose the wiring and disconnect it by unscrewing the wire nuts and separating the wires. Then, wire the new fixture by connecting the black wire to the black wire, the white wire to the white wire, and the ground wire to the green or bare wire. Finally, attach the new fixture to the ceiling by securing it with screws or twisting it clockwise until it locks into place. Turn the power back on and enjoy your new LED flush mount ceiling light.
Common Mistakes to Avoid
When it comes to replacing your LED flush mount ceiling light, there are a few common mistakes that you should avoid. The first mistake is not turning off the power before starting the replacement process. It’s crucial to turn off the power at the circuit breaker and use a voltage tester to ensure there is no electrical current flowing to the fixture. Failing to do this can result in electrical shock or damage to the new fixture. Additionally, it’s essential to follow the manufacturer’s instructions carefully when installing the new fixture. Failure to do so can result in an improperly installed fixture that doesn’t work correctly or is potentially dangerous. Another common mistake to avoid when replacing your LED flush mount ceiling light is not properly securing the fixture to the ceiling. Be sure to use the right hardware and ensure that the fixture is flush with the ceiling. An improperly installed fixture can fall or become damaged, posing a safety hazard. Additionally, be careful not to over-tighten screws or other hardware, as this can cause damage to the fixture or ceiling. By avoiding these common mistakes and taking the time to carefully follow the manufacturer’s instructions, you can easily replace your LED flush mount ceiling light and enjoy a well-lit space.
During the replacement process of an LED flush mount ceiling light, people often make some common mistakes that can lead to further problems. One of the most common mistakes is not turning off the electricity before starting the replacement process, which can result in electrical shock. Another mistake is not checking the compatibility of the new LED light with the old fixture, which can cause fitting issues. Additionally, people often forget to properly secure the new fixture or tighten the screws, causing it to fall off or hang loosely. To avoid these mistakes, it is important to turn off the power supply, carefully read the instructions, and make sure the new LED light is compatible with the old fixture. It is also important to double-check that the new fixture is properly secured and tightened before turning the power back on.
Tips for Success
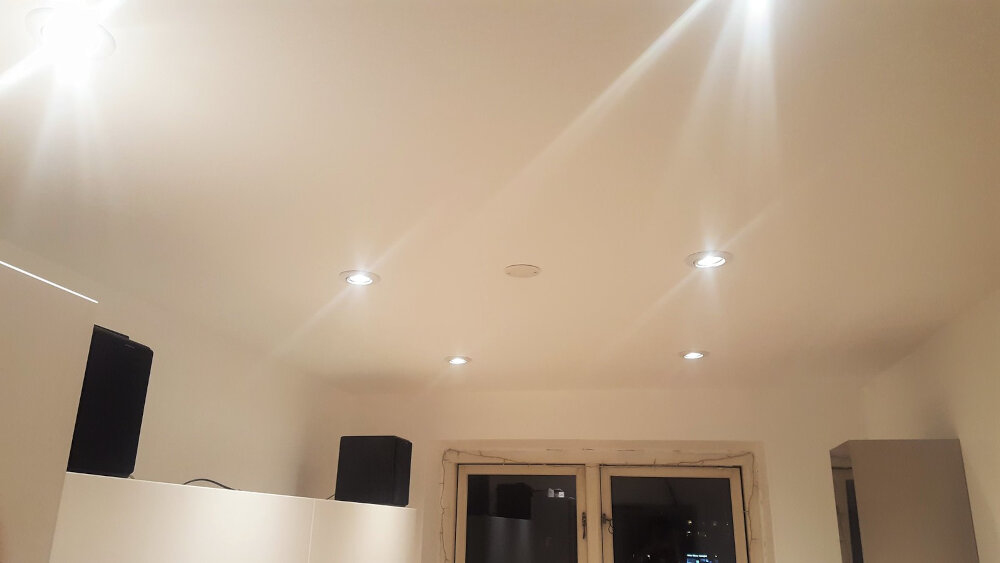
When it comes to DIY home projects, success often comes down to preparation and attention to detail. Before attempting to replace your LED flush mount ceiling light, take the time to gather all necessary tools and materials and review the manufacturer’s instructions. It’s also helpful to watch online tutorials or seek advice from experienced DIYers before getting started. Additionally, make sure to turn off the power to the light fixture before beginning any work to avoid electrical shock. Another key tip for success when replacing your LED flush mount ceiling light is to work systematically and methodically. Start by removing the old light fixture and inspecting the wiring and mounting bracket to ensure everything is in good condition. Then, carefully install the new fixture according to the manufacturer’s instructions, making sure to connect the wiring correctly and securely. Finish up by testing the light and adjusting the mounting bracket as needed to ensure the fixture is level and secure. By taking the time to prepare, work systematically, and pay attention to details, you can successfully replace your LED flush mount ceiling light and enjoy a new, improved lighting solution in your home.
To ensure a successful LED flush mount ceiling light replacement, there are a few additional tips and tricks to keep in mind. First, make sure to turn off the power to the existing fixture before attempting to remove it. This can be done at the circuit breaker or by turning off the light switch. Additionally, it’s important to measure the size of the existing fixture and choose a replacement that will fit the same dimensions. When installing the new fixture, follow the manufacturer’s instructions carefully and take the time to properly secure it to the ceiling. Finally, consider adding a dimmer switch to the new fixture for added versatility in lighting. By following these tips and tricks, you can easily replace your LED flush mount ceiling light and enjoy a brighter, more energy-efficient space.
Upgrading your LED flush mount ceiling light can bring numerous benefits to your home. Firstly, LED lights tend to last longer and are more energy-efficient than traditional lighting options, which can save you money on your electricity bills in the long run. Secondly, LED lights emit less heat, making them a safer option for your home. Additionally, they are available in a variety of styles and designs, allowing you to customize the lighting in your space to suit your preferences. Finally, replacing your light fixture is a simple DIY project that can be done with basic tools, and it can have a significant impact on the overall look and feel of your space. So, if you’re looking to update your home’s lighting while also saving money and energy, consider replacing your LED flush mount ceiling light – it’s a project that’s well worth the effort!
Conclusion
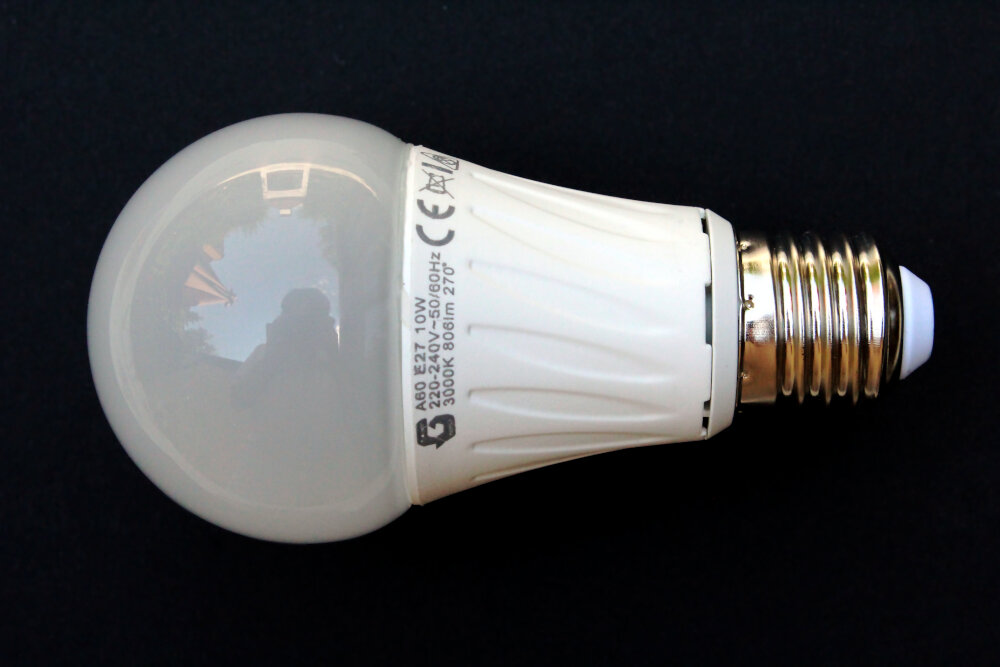
In conclusion, replacing your LED flush mount ceiling light can be a simple and rewarding DIY project that can enhance the look and function of your home. By following the steps outlined in this guide, you can easily and safely replace your old light fixture with a new LED flush mount ceiling light. Remember to always turn off the power before beginning any electrical work, and to carefully follow the manufacturer’s instructions. With a little patience and attention to detail, you can enjoy a brighter, more energy-efficient lighting solution that will last for years to come. So why not take on this DIY challenge and see the difference it can make in your home?


