Cutting and Connecting LED Light Strips: The Ultimate Guide to DIY Illumination

Lighting is an essential aspect of any home decor, and LED light strips are a popular choice for creating a warm and inviting atmosphere. These versatile strips can be used to highlight architectural features, create mood lighting, or provide task lighting in a variety of settings. However, to achieve the desired effect, you may need to cut and connect the LED light strips to fit your specific needs. In this ultimate guide to DIY illumination, we will explore the best practices for cutting and connecting LED light strips to help you achieve the perfect lighting for your home. LED light strips are available in different lengths and colors and can be cut to fit the exact length required for your project. Cutting LED light strips requires precision and care to ensure that you do not damage the strip or the LED bulbs. Additionally, connecting the strips together requires a basic understanding of electrical wiring and soldering techniques. This guide will take you through the steps required to cut and connect LED light strips, providing you with the knowledge and confidence needed to complete your project successfully. Whether you are a seasoned DIY enthusiast or a novice, this guide will help you achieve the perfect lighting for your home.
LED light strips are thin, flexible circuit boards that are equipped with tiny light-emitting diodes (LEDs). They are available in various colors, sizes, and densities, and can be cut or connected to fit any desired length or shape. These strips are highly versatile and can be used for a variety of decorative and functional purposes, such as illuminating under cabinets or shelves, highlighting architectural features, or creating mood lighting for parties or events. LED light strips are energy-efficient, long-lasting, and easy to install, making them a popular choice for DIY projects and commercial applications alike. Whether you are looking to add a pop of color to your living room, or create a stunning visual display for your business, LED light strips offer endless possibilities for creative illumination.
Knowing how to cut and connect LED light strips is a crucial skill for any DIY enthusiast who wants to achieve a professional-looking illumination project. Properly cutting LED strips not only ensures that they fit perfectly into the desired space but also reduces the risk of damage to the strips. Additionally, connecting LED light strips is essential to create a coherent and continuous pattern of light. Understanding how to connect strips also allows for customization of the lighting layout and improves the overall functionality of the project. Having this knowledge can save time, money, and frustration by avoiding costly mistakes and ensuring a flawless and long-lasting installation. Therefore, mastering the art of cutting and connecting LED light strips is an essential skill for anyone who wants to create their own custom lighting design.
Tools and Materials Needed

When it comes to DIY projects involving LED light strips, it’s important to have the right tools and materials on hand. First and foremost, you’ll need a good pair of scissors or wire cutters to precisely cut the strips to the desired length. Additionally, a soldering iron and solder are crucial for connecting the strips and ensuring a secure electrical connection. A hot glue gun or double-sided tape can be used to affix the strips to surfaces, and a ruler or measuring tape will help you accurately measure the length of the strips. In addition to these tools, there are a few materials that are necessary for cutting and connecting LED light strips. You’ll need the LED light strips themselves, which come in a variety of colors and lengths. It’s important to choose the right length for your project, as cutting the strips can damage them if not done correctly. You’ll also need wire connectors, which are used to join the strips together and create a continuous connection. Finally, a power supply is necessary to provide electricity to the strips, and you may want to consider purchasing a dimmer switch to control the brightness of the lights. With these tools and materials, you’ll be well-equipped to take on any LED light strip DIY project.
When it comes to cutting and connecting LED light strips, you’ll need a few tools and materials to get the job done right. First and foremost, you’ll need a pair of sharp scissors to cut the LED strip to the desired length. A ruler or measuring tape will also come in handy to ensure accurate cuts. To connect multiple strips together, you’ll need soldering equipment, including a soldering iron, solder wire, and flux. A wire cutter and stripper will also be necessary to prepare the wires for soldering. Finally, you’ll need a power source, such as a battery pack or power adapter, to supply electricity to the LED light strips. With these tools and materials on hand, you’ll be well-equipped to create stunning DIY illumination projects.
LED light strips are a versatile and customizable lighting solution for any home or commercial space. When it comes to cutting and connecting LED light strips, there are a few essential tools and materials that are necessary for success. The first tool is a pair of sharp scissors or wire cutters, which are used to cut the strips to the desired length. A soldering iron and solder are also necessary for connecting the strips together or to a power source. Additionally, a heat gun or lighter can be used to shrink the heat shrink tubing that insulates the connections. Finally, double-sided adhesive tape is used to secure the strips in place on any surface. With these tools and materials, anyone can easily cut and connect LED light strips to create a stunning and unique lighting display.
How to Cut LED Light Strips
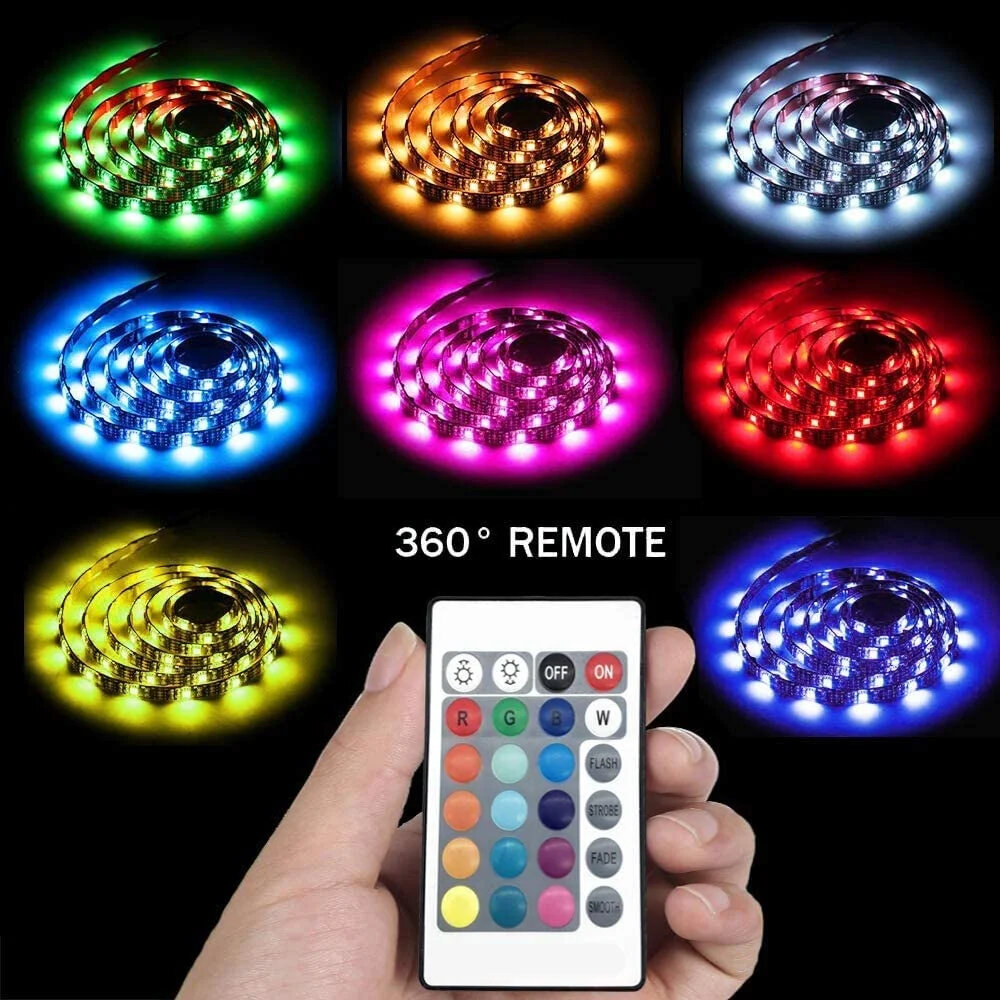
When it comes to cutting LED light strips, there are a few important steps to follow to ensure that the strip remains functional and safe. First, it’s crucial to determine where to cut the strip. LED light strips usually have designated cutting points, which are marked with scissor icons or dotted lines. It’s essential to cut the strip only at these points to avoid damaging the circuitry and preventing the LED lights from functioning correctly. When cutting, use sharp scissors or wire cutters to achieve a clean and precise cut. Avoid using a regular knife or razor blade, as these tools can damage the circuitry or cause the strip to break. After cutting the strip, it’s essential to prepare the ends for connecting to the power source or other strips. LED light strips come with solder pads or connectors that allow you to connect multiple strips or attach them to a power source. If you cut the strip, you’ll need to solder wires or connectors to the cut ends. To do this, strip the insulation from the wires and tin them with solder. Then, apply solder to the cut end of the LED light strip and attach the wires or connectors. Be sure to match the polarity of the wires or connectors to the strip to avoid damaging the circuitry. With these steps, you’ll be able to cut and connect LED light strips with ease, allowing you to customize your lighting solutions to fit your needs.
Cutting LED light strips is an essential aspect of installing them in a DIY project. To begin, measure the length of the strip you need and mark it with a pen or masking tape. Next, use a sharp pair of scissors or a utility knife to cut along the designated line. Be sure to cut only on the designated cut line, as cutting in the wrong place can damage the circuitry and render the strip unusable. Once you have cut the strip, you may need to reattach the connector wires or solder the ends to another strip. It’s important to follow manufacturer guidelines for cutting and connecting LED light strips to ensure safety and optimal performance. With these steps, you’ll be able to customize and install LED light strips to fit your specific lighting needs.
When cutting LED light strips, it is crucial to take the necessary safety precautions to avoid injury. Firstly, always wear protective gloves to prevent cuts or abrasions. Secondly, make sure to unplug the LED light strip before cutting it to avoid any electrical shocks. Additionally, use sharp scissors or a utility knife to ensure a clean and precise cut. It is also important to cut the light strip at the designated cutting marks to avoid damaging the circuitry. Lastly, dispose of any scrap pieces of the LED light strip properly to avoid any potential hazards. By following these safety measures, you can ensure a safe and successful DIY project.
When it comes to cutting LED light strips, there are several tips and tricks to keep in mind. First, make sure to use a sharp pair of scissors or a sharp blade to avoid damaging the strip. Measure twice before making any cuts and mark the spot with a pencil or marker. Cut along the designated cut line, which is typically marked on the strip. If there is no designated cut line, cut between the copper pads. After cutting, make sure to seal the cut end with a silicone sealant or electrical tape to protect the exposed wires. Additionally, avoid cutting through any soldered points or LEDs as this can damage the entire strip. By following these tips and tricks, you can ensure a successful and safe cutting process for your LED light strips.
How to Connect LED Light Strips
Connecting LED light strips can be a fun and rewarding DIY project for anyone looking to add some illumination to their home or workspace. The process is relatively simple, but it’s important to have the proper tools and materials to ensure a successful connection. First, you’ll need to decide how many LED light strips you want to connect and how long you want them to be. Once you have this information, you can purchase the necessary connectors and extension cables. The next step is to prepare the LED light strips for connection. If you’re using a pre-cut strip, you’ll need to strip the ends of the wires and connect them to the corresponding pins on the connector. If you’re using a continuous strip, you may need to cut it to the desired length and strip the ends of the wires before connecting them to the pins on the connector. Once you’ve made the connections, you can plug the LED light strips into a power source and test them to ensure they’re working properly. With a bit of patience and attention to detail, you can create a beautiful and functional lighting display that will enhance the ambiance of any space.
Connecting LED light strips is an easy DIY project that can add a touch of ambiance to any room. To start, measure the length of your LED light strip and cut it to fit your desired space. Next, peel the adhesive backing off the strip and attach it to a clean, dry surface. Connect the power supply to the strip by inserting the positive and negative wires into the corresponding slots on the connector. Finally, plug the power supply into an outlet and turn on your LED light strip. With these simple steps, you’ll be able to enjoy the warm glow of your new LED light strip in no time.
When it comes to connecting LED light strips, there are several methods to choose from. One of the most common methods is soldering, which involves melting a soft metal alloy to create a bond between the LED strip and wires. This method is preferred by professionals as it creates a reliable and durable connection. Another method is using connectors, which are often sold separately and come in various shapes and sizes to fit different types of LED strips. Connectors are easy to use and require no special tools or skills. Additionally, some LED light strips come with adhesive backing, making it quick and easy to install without any additional tools or materials. However, it’s important to note that adhesive backing may not be the most reliable method and may require additional reinforcement to ensure a secure connection.
When it comes to connecting LED light strips, there are a few tips and tricks to keep in mind to ensure a successful DIY illumination project. Firstly, make sure to purchase high-quality connectors and wiring to ensure a secure and reliable connection. It’s also important to cut the strip at the designated cut points to avoid damaging the circuitry. When connecting multiple strips, use splitters or amplifiers to ensure even distribution of power and brightness. Additionally, consider using a soldering iron for a stronger connection or using adhesive tape to secure the connection. With these tips and tricks in mind, you’ll be able to create a stunning LED light display that will brighten up any room or space.
Troubleshooting Common Issues
When it comes to cutting and connecting LED light strips, there can be a few common issues that you may encounter. One of the most common issues is the LED light strip not turning on or not lighting up properly. This can be caused by a few different factors such as incorrect wiring or a faulty power supply. To troubleshoot this issue, first, check to make sure all connections are secure and the wiring is correct. If everything appears to be in order, try replacing the power supply with a new one to see if that resolves the issue. Another common issue is the LED light strip flickering or flashing. This can be caused by a few different factors such as a loose connection or a faulty LED driver. To troubleshoot this issue, first, check to make sure all connections are secure and the wiring is correct. If everything appears to be in order, try replacing the LED driver with a new one to see if that resolves the issue. It’s important to note that if you’re not familiar with electrical wiring or troubleshooting, it’s always best to consult with a professional to avoid any potential safety hazards.
Cutting and connecting LED light strips is a popular DIY project that can be done easily by anyone. However, there are some common issues that may arise while doing this. One issue is that the LED strip may not work after cutting, which is often caused by cutting the strip in the wrong place. Another issue is that the strip may not stick properly after being cut, which can be due to not cleaning the surface before applying. Additionally, connecting the strips can be tricky, as it requires proper alignment and the right type of connector. Finally, it’s important to ensure that the power supply is sufficient for the length of the strip, otherwise, the LED lights may not function properly. Overall, with careful attention to these common issues, cutting and connecting LED light strips can be a fun and rewarding DIY project.
When it comes to cutting and connecting LED light strips, there are several solutions to common issues. Firstly, to avoid damaging the LED strip while cutting, make sure to use proper tools such as sharp scissors or a utility knife. Secondly, when connecting multiple strips, be sure to use the correct connectors and wires to ensure a secure and stable connection. Additionally, it is important to properly seal and protect the connections with heat shrink tubing or electrical tape to prevent any accidental short circuits or water damage. Finally, if you encounter any issues, consult the manufacturer’s instructions or seek advice from a professional to ensure your DIY illumination project is a success.
When it comes to cutting and connecting LED light strips for DIY illumination, there are several common issues that can arise. However, there are also several tips and tricks that can help you avoid these problems. First and foremost, make sure you have the proper tools and equipment, including a sharp pair of scissors, a soldering iron, and a power supply. Additionally, be sure to measure your LED light strip accurately before making any cuts, as this will help ensure that your connections are secure and that your lights will function properly. Finally, take your time and be patient when working with your LED light strips, as rushing or making mistakes can lead to costly and frustrating errors. By following these tips and tricks, you can enjoy beautiful, customized illumination in your home or workspace without any hassle or frustration.
Knowing how to cut and connect LED light strips is a valuable skill for any DIY enthusiast or lighting designer. By understanding the basic principles of LED technology and the various types of connectors and cutting tools available, you can create customized lighting installations that perfectly suit your needs and preferences. Whether you’re looking to create a stylish accent for your home or office, light up a stage or event space, or add a unique touch to your vehicle or boat, LED light strips offer a versatile and cost-effective solution. With the right knowledge and tools, you can easily cut and connect LED light strips to achieve your desired results, making your DIY lighting projects both enjoyable and rewarding.
When it comes to DIY illumination using LED light strips, there are a few final tips and tricks to keep in mind. First and foremost, make sure to measure and plan before cutting and connecting the strips. This will save you time and frustration in the long run. Additionally, consider using a soldering iron for a more secure and permanent connection. When installing the strips, make sure to clean and dry the surface thoroughly to ensure proper adhesion. Finally, be creative with your placement and use of the LED light strips. They can be used for accents, task lighting, and even as the primary light source in a space. With these tips and tricks in mind, you’ll be well on your way to creating stunning and functional DIY illumination with LED light strips.
Conclusion
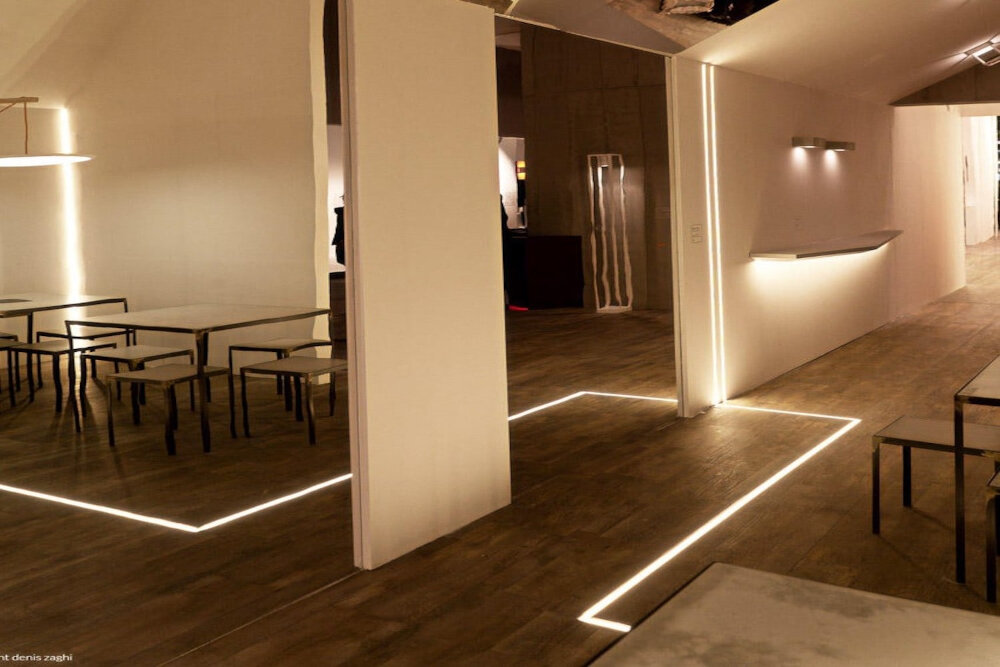
In conclusion, cutting and connecting LED light strips can be a fun and rewarding DIY project that allows you to customize your illumination to fit your specific needs and preferences. With the right tools and techniques, you can easily create stunning lighting effects that enhance the ambiance of any space. However, it’s important to follow safety guidelines and ensure that you have a thorough understanding of the process before beginning. Whether you’re looking to add some extra sparkle to your home or create a dazzling display for a special event, the possibilities for DIY LED illumination are endless. So why not get creative and start experimenting today?


