Fixing Cracked Holes: A StepbyStep Guide to Installing Mopar Running Boards on Your Truck
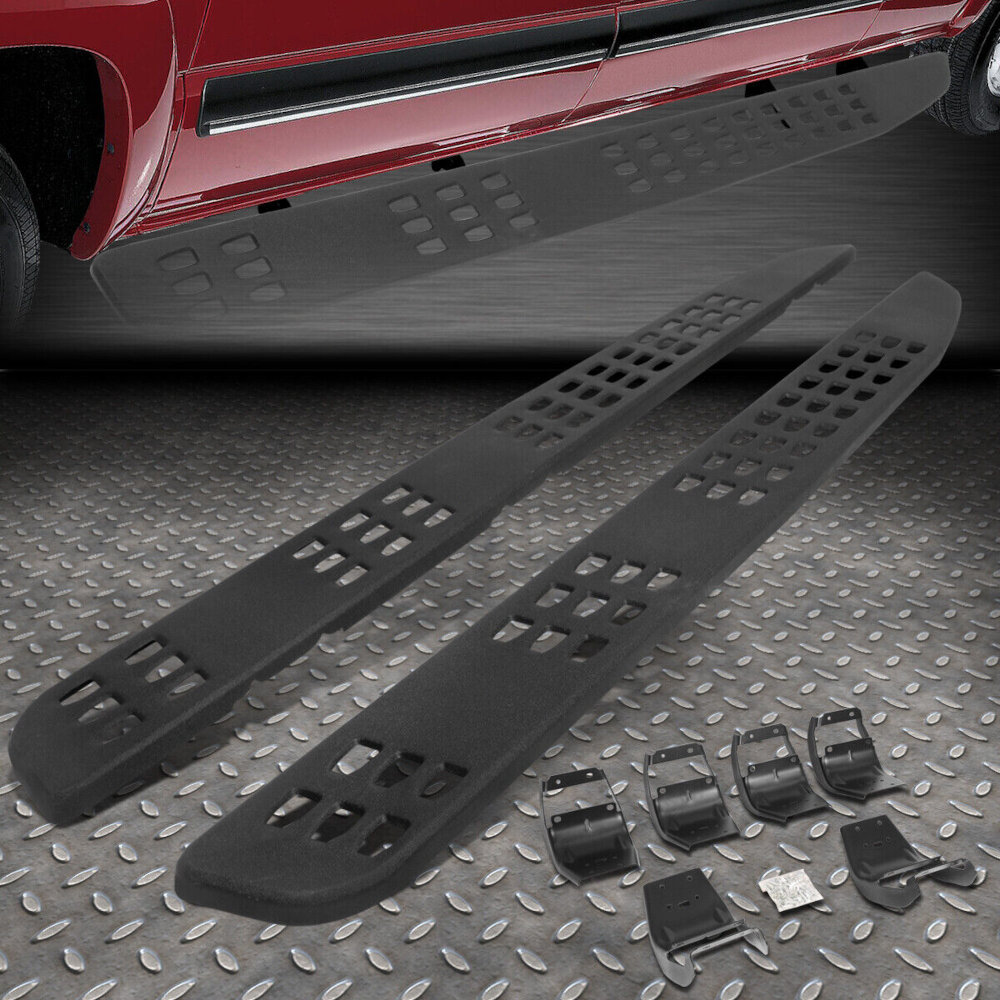
If you’re a truck owner, you know how important it is to have functional and durable running boards. However, over time, running boards can start to crack and wear down, leaving you with the unenviable task of replacing them. Fortunately, with the Mopar Running Boards, you can easily install new, high-quality running boards that will last for years to come. In this step-by-step guide, we’ll take you through the process of installing Mopar Running Boards on your truck, so you can get back on the road with confidence. Mopar Running Boards are designed to fit perfectly on your truck, making installation a breeze. These running boards are made from high-quality materials that are built to last, even in the toughest conditions. With a sleek and stylish design, Mopar Running Boards will not only improve the functionality of your truck but also enhance its appearance. Whether you’re looking to replace your old running boards or install new ones for the first time, this guide will provide you with all the information you need to ensure a successful installation. So, let’s get started!
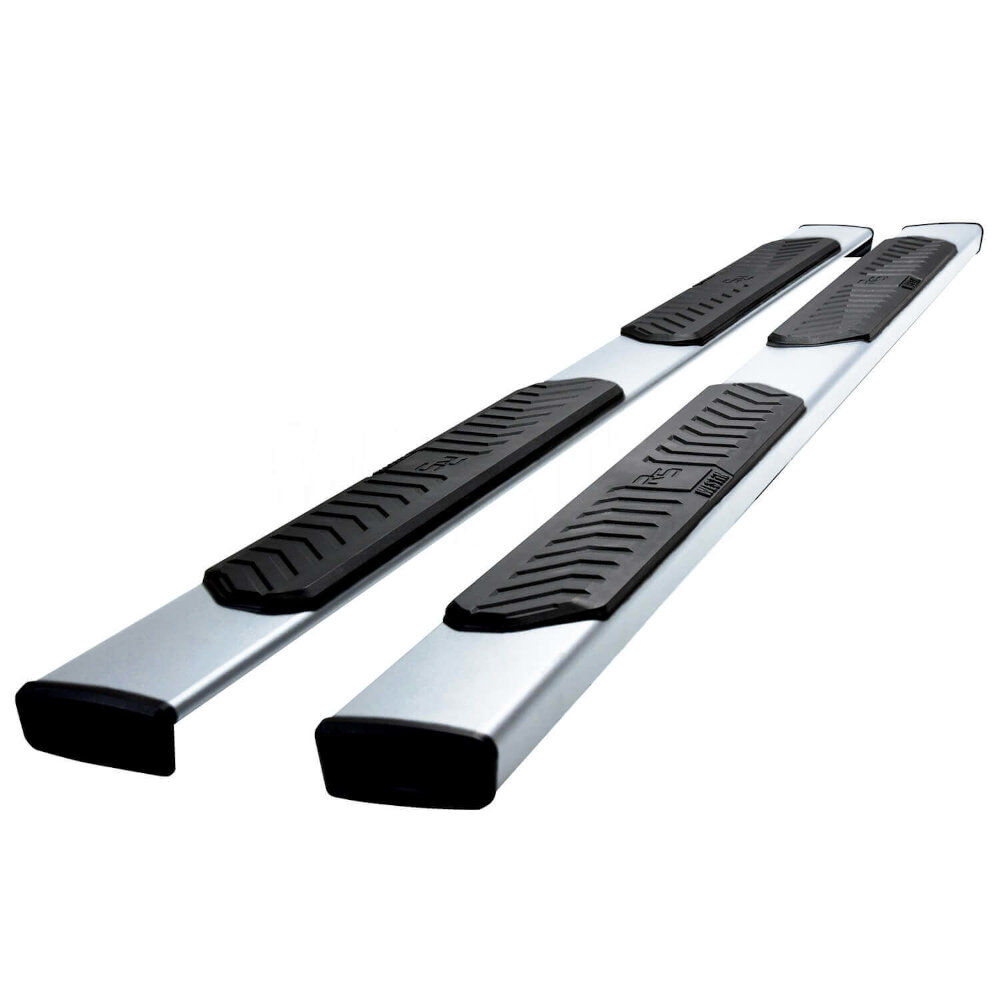
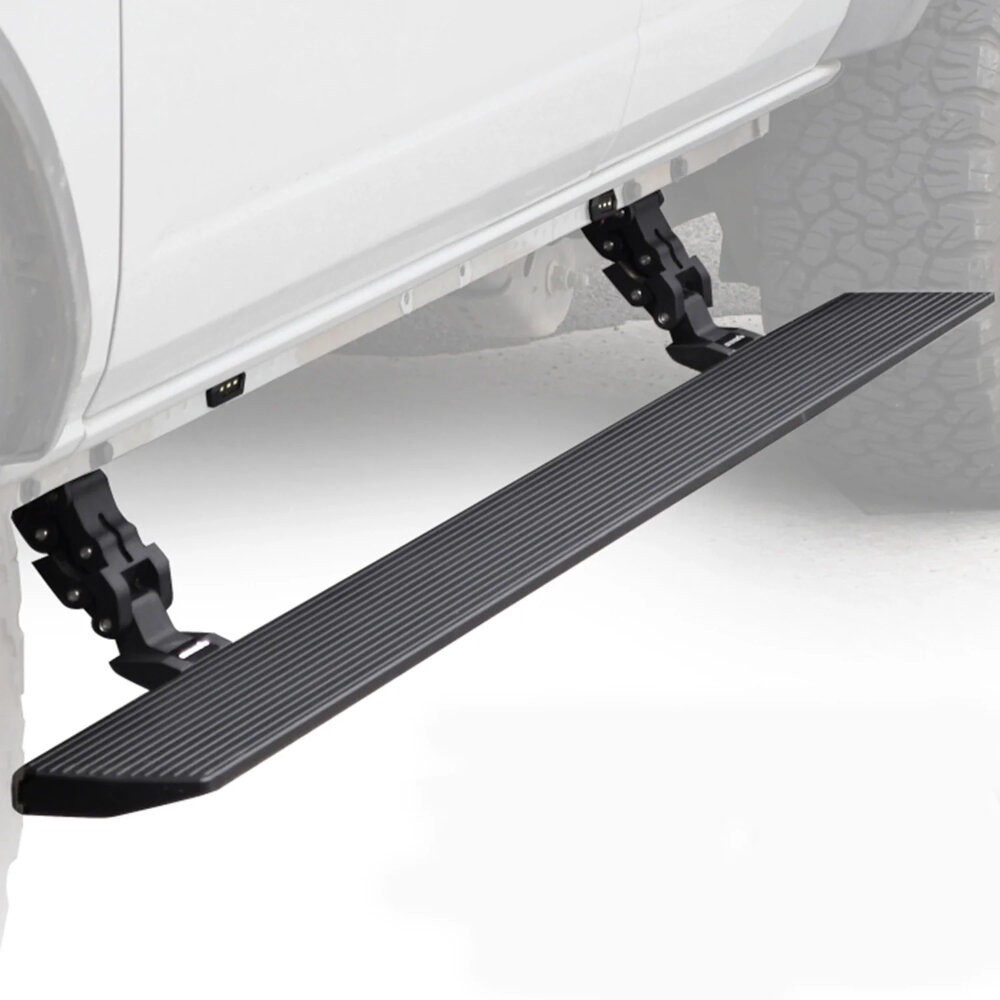
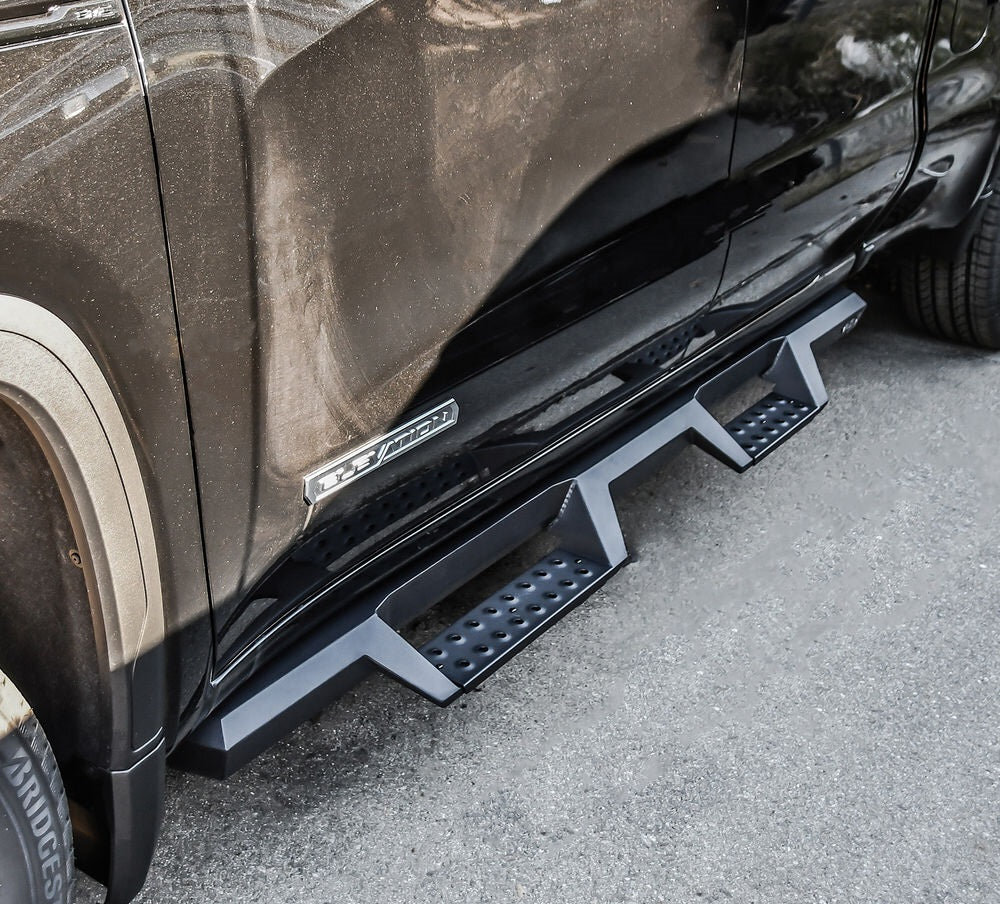
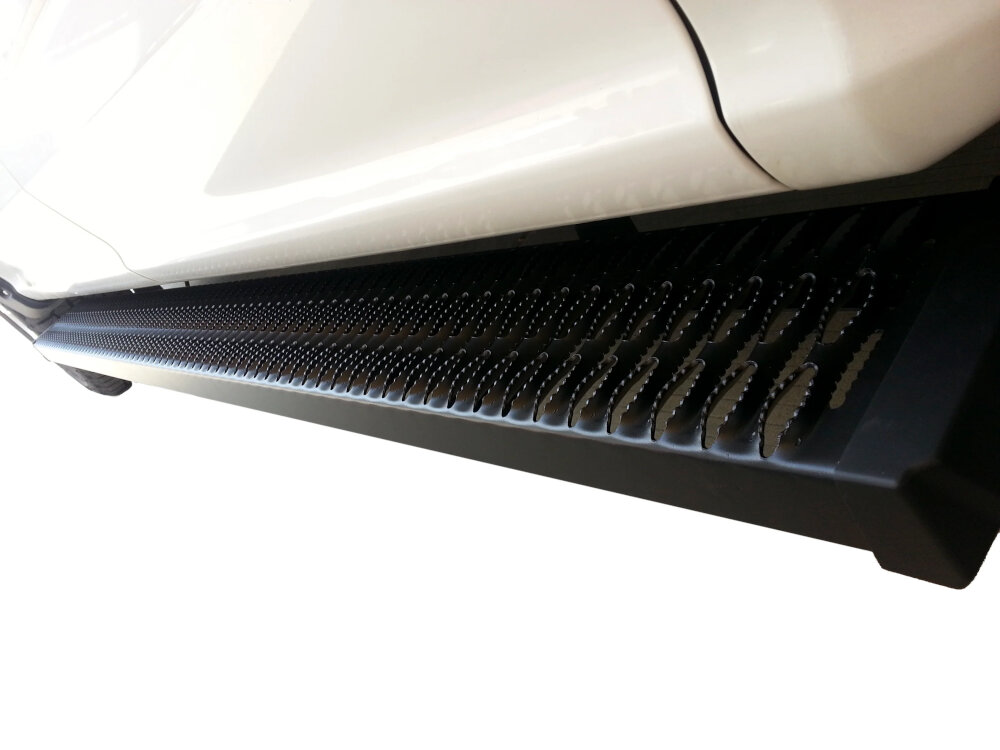
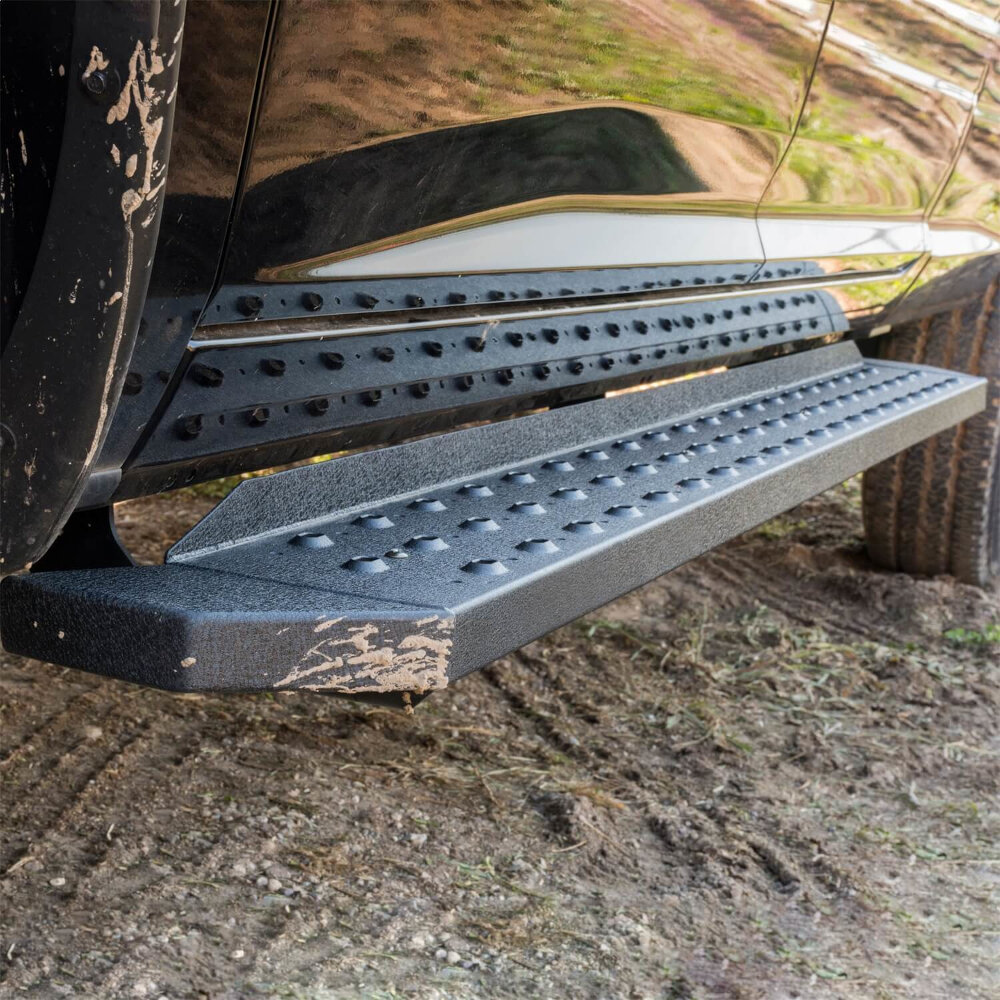
Running boards are an essential accessory for trucks and SUVs that provide a range of benefits to vehicle owners. These boards are designed to make it easier to get in and out of the vehicle, especially for those with mobility issues. They also protect the vehicle’s body from damage caused by rocks, debris, and other road hazards. Running boards also enhance the vehicle’s visual appeal, giving it a sleek, streamlined look that can increase its overall value. Additionally, running boards can increase the resale value of a truck or SUV, making them a worthwhile investment for owners who plan to sell their vehicle in the future. Overall, installing running boards on your truck or SUV is a smart decision that can provide both practical and aesthetic benefits.
Running boards are a convenient addition to any truck, providing a sturdy step up into the vehicle. However, these boards can become cracked and damaged over time due to a number of factors. One common cause of damage is exposure to harsh weather conditions, such as extreme heat or cold, which can cause the material to expand and contract, eventually leading to cracks. Additionally, heavy use of the running boards can lead to wear and tear, especially if they are frequently used to transport heavy items or equipment. Finally, accidental impacts, such as hitting a curb or rock, can also cause cracks and damage to the running boards. Regardless of the cause of the damage, it is important to address cracked running boards quickly to prevent further deterioration and ensure the safety of those entering and exiting the vehicle.
Step 1: Gather Your Tools
When it comes to installing Mopar Running Boards on your truck, the first step is to gather all the necessary tools. Having the right tools on hand can make the entire process much smoother and easier. Some of the essential tools you will need include a drill, drill bits, a socket wrench, a torque wrench, and a level. Additionally, you will need a set of running boards, which you can purchase directly from Mopar or through a third-party retailer. Before starting the installation process, it’s essential to ensure that you have all the necessary tools and materials. This will help you avoid delays or complications during the installation process and ensure that the running boards are securely attached to your truck. You may also want to consider wearing protective gear, such as gloves and safety glasses, to prevent any injuries during the installation process. Overall, gathering your tools is the first step towards a successful installation of Mopar Running Boards on your truck, and it’s important to take the time to ensure that you have everything you need before getting started.
Before starting the installation process, it is essential to prepare the necessary tools and materials. For installing Mopar running boards on your truck, you will need a drill, a set of drill bits, a wrench set, a torque wrench, a socket set, a utility knife, a measuring tape, a marker, and safety glasses. In addition to these tools, you will also need the mounting hardware that comes with the running boards, including brackets, bolts, and nuts. It is crucial to ensure that you have all the necessary tools and materials before starting the installation process to make it smoother and more efficient.
Although the focus of this article is on installing running boards on your truck, it’s important to first prepare your workspace properly. To start with, clear any clutter or debris from the area where you’ll be working to ensure that you have enough space to move around. It’s also a good idea to lay down a protective mat to prevent damage to your truck’s paint or any other surfaces. Additionally, make sure you have all the necessary tools and supplies within easy reach before you begin. By taking the time to properly prepare your workspace, you’ll be able to work more efficiently and with greater peace of mind.
Step 2: Removing the Old Running Boards
When it comes to installing new running boards on your truck, it’s essential to remove the old ones first. This is a critical step in the process, as it allows you to properly prepare the area for the new running boards. Begin by disconnecting any electrical connections that may be attached to the old running boards. This can include wiring for side step lights or turn signals. Once the electrical connections have been removed, it’s time to remove the running boards themselves. This is typically done by removing bolts that hold the running boards in place. Depending on the make and model of your truck, you may need to remove additional hardware or trim pieces to fully remove the old running boards. Be sure to keep all hardware and trim pieces in a safe place, as they will be needed during the installation of the new running boards. Removing the old running boards may require some heavy lifting, so be sure to use proper lifting techniques to avoid injury. It’s also important to inspect the area where the old running boards were attached for any damage or corrosion. If there is any damage, it will need to be repaired before the new running boards can be installed. Additionally, take the opportunity to clean the area thoroughly before installing the new running boards. This will ensure a clean and secure attachment for the new running boards. By taking the time to properly remove the old running boards, you’ll be setting yourself up for a successful installation of the new running boards.
When it comes to removing damaged or old running boards, there are a few key steps to follow. Firstly, ensure that you have all the necessary tools, such as a wrench, screwdriver and pliers. Then, begin by loosening and removing any bolts or screws that are securing the running board to the truck. Be sure to keep track of these fasteners as you will need them for the installation of the new running boards. Once all fasteners have been removed, carefully lift the running board off the truck and set it aside. It may be necessary to use a scraper or similar tool to remove any adhesive residue that is left behind. With the old running board removed, you can now move on to installing your new Mopar running boards.
When it comes to handling heavy or awkward parts during installation, safety should always be the top priority. Make sure to wear proper protective gear, such as gloves and safety glasses, to prevent any injuries. Additionally, it’s important to ask for help when needed, whether it’s from a friend or a lifting device. Take breaks and avoid rushing to prevent fatigue, which can increase the risk of accidents. When positioning the parts, use a stable surface, such as sawhorses or a workbench. Overall, taking the necessary precautions can make the installation process smoother and safer.
Step 3: Preparing the Truck

Step 3: Preparing the Truck involves a few crucial steps that must be taken before proceeding with the installation process. Firstly, it is essential to clean the area where the running board will be installed thoroughly. Wipe it down with a clean cloth and ensure that there are no dirt, dust, or any other debris that may hinder the installation process. Additionally, inspect the body of the truck to make sure that there are no scratches, dents, or damages that may require fixing before installing the running board. Secondly, it is crucial to locate and mark the mounting holes. This step requires precision and accuracy as any mistake could lead to the running board not fitting properly. Use a measuring tape to determine the exact location of the mounting holes. Once found, mark the holes with a marker and double-check the measurements to ensure that they are correct. This step will ensure that the running board fits perfectly and securely onto the truck. By following these steps, you can ensure that the installation process runs smoothly, and the running board is installed correctly.
Before installing the new Mopar running boards on your truck, it is important to clean and prepare the area properly. Firstly, remove the old running boards and any debris or dirt that may have accumulated underneath them. Use a degreaser to clean the area thoroughly, ensuring that there is no grease or oil left behind. Next, use sandpaper to roughen up the surface of the mounting brackets to ensure a better grip for the adhesive. After cleaning, wipe the area down with a clean, dry cloth to remove any remaining dust or debris. By taking the time to properly clean and prepare the area, you will ensure that the new running boards will be securely and safely installed on your truck.
When installing Mopar running boards on your truck, drilling holes is an essential part of the process. First, you need to measure and mark the exact location of each hole to ensure the boards are level and secure. Use a center punch to make a small indentation in each marked spot, which will help guide the drill bit. When drilling, start with a smaller bit and gradually increase the size until you reach the desired diameter. Check the fit of the boards often and make any necessary adjustments to the hole placement before proceeding. Remember to wear appropriate safety gear such as goggles and ear protection while drilling, and always follow manufacturer instructions for your specific running board model.
Step 4: Installing the Mopar Running Boards
Installing Mopar Running Boards on your truck can be a great way to add both style and functionality to your vehicle. Not only do these running boards offer a convenient step up into your truck, but they can also help protect your vehicle from damage caused by rocks and debris on the road. Step 4 of this process involves actually installing the running boards onto your vehicle. To begin, you’ll want to carefully read the instructions that came with your Mopar Running Boards. These instructions should provide you with all of the information you need to properly install the running boards onto your truck. You’ll need to gather all of the necessary tools and materials, such as a drill, screws, and brackets, before getting started. Once you have everything you need, you can begin the installation process by attaching the brackets to your truck’s body. Next, you’ll need to attach the running boards themselves to the brackets using screws and washers. Once everything is securely in place, you can step back and admire your handiwork. Overall, installing Mopar Running Boards on your truck is a relatively simple process that can greatly enhance the look and functionality of your vehicle. By following the instructions carefully and taking your time, you can ensure that your running boards are securely attached and will last for years to come. So why not give it a try and see what a difference these running boards can make for your truck?
To attach the running boards to your truck, you will need to follow a few detailed instructions. First, locate the mounting holes on the underside of your truck. Then, align the running board brackets with the mounting holes and secure them in place using the provided bolts and nuts. Next, attach the running boards to the brackets using the screws provided. It’s important to ensure that the running boards are level and aligned with the truck’s body before tightening the screws. Once the running boards are securely attached, use a silicone sealant to fill any gaps between the running board and the truck body. This will prevent water and debris from getting trapped and causing damage over time. With these steps, you can successfully install Mopar running boards to your truck and add both functional and aesthetic value to your vehicle.
Proper alignment and stability are crucial when installing running boards on your truck. To ensure proper alignment, start by measuring the truck’s ground clearance and the running board’s height to find the correct mounting height. Also, ensure that both running boards are mounted at the same height to maintain balance. The stability of the running boards can be improved by using high-quality brackets and bolts. Make sure the bolts are tightened to the manufacturer’s specifications, and use a torque wrench for accurate tightening. Additionally, inspect the brackets and bolts regularly to ensure that they remain tight and secure. Proper alignment and stability of running boards will not only enhance the appearance of your truck but will also provide a safer and more comfortable ride.
Step 5: Finishing Touches
Step 5: Finishing Touches is perhaps the most crucial step in the installation of Mopar Running Boards on your truck. After all, no one wants to go through all the trouble of installing the running boards only for them to look shoddy and out of place. The finishing touches involve making sure that everything is in the right place and that all the bolts and screws are tightened as they should be. You also want to make sure that there are no loose ends or wires hanging around, as these can be dangerous and unsightly. In addition, this step involves checking for any potential issues that may arise and addressing them before they become major problems. Properly finishing the installation ensures that your running boards look great and function as they should, giving you the peace of mind you need when driving on the road. The finishing touches also involve taking care of any minor details that may have been overlooked during the installation process. For example, you may need to polish the running boards to make them shine, or you may need to paint them to match the color of your truck. You may also want to add some accessories such as step pads or lights to enhance the functionality and appearance of your running boards. Whatever it is that you need to do to make your running boards look and function at their best, the finishing touches step is the time to do it. With the right attention to detail, you can be sure that your running boards will not only look amazing but also last for a long time to come.
To add the finishing touches to your newly installed Mopar running boards on your truck, it is essential to apply trim and weatherstripping. Firstly, ensure that the running boards are clean and dry before installing the trim. Measure and cut the trim to fit the length of the running board and attach it using adhesive or screws. Next, weatherstripping must be applied to prevent water and debris from entering the vehicle. Measure the length of the running board and cut the weatherstripping accordingly. Peel off the adhesive tape and carefully attach it to the edge of the running board. Finally, make sure to smooth out any wrinkles or bubbles in the trim or weatherstripping to achieve a neat and professional finish.
Once you have installed the Mopar Running Boards on your truck, it is essential to test them thoroughly and make necessary adjustments to ensure safe and efficient use. First, inspect the running boards for any loose parts or screws that may have been missed during installation. Then, take your truck for a test drive on a flat, level surface to check for any scraping or dragging on the ground. If everything checks out, try stepping on the running boards from different angles and weights to test their stability and weight-bearing capacity. Finally, make any necessary adjustments to the brackets or screws to ensure a secure fit. With these tips, you can confidently enjoy your new Mopar Running Boards for years to come.
Having sturdy and reliable running boards is essential for any truck owner. These boards offer stability and support when entering and exiting the vehicle, especially for those with mobility challenges. They also protect the truck’s body from damage caused by debris or road hazards. Additionally, running boards enhance the truck’s appearance and increase its resale value. It is crucial to choose high-quality running boards that can withstand heavy use and harsh weather conditions. Installing Mopar running boards is an excellent option for truck owners looking for durable and stylish running boards that can provide the necessary support and protection.
As you begin to install Mopar Running Boards on your truck, it’s important to remember the many benefits of this high-quality product. Not only will these running boards add a sleek and polished look to your vehicle, but they also provide practical advantages. With Mopar Running Boards, you can more easily access your truck bed or roof, making it simpler to load and unload gear. These running boards are also designed with durability in mind, ensuring that they will last for years to come. Plus, with easy installation and a precise fit, Mopar Running Boards are a hassle-free choice for truck owners looking to enhance their ride.
After all the hard work and effort that you put into installing the Mopar Running Boards on your truck, it’s time to take a step back and appreciate the finished product. Take pride in the fact that you were able to fix the cracked holes and install the running boards yourself, enhancing the functionality of your truck. The improved accessibility and convenience will make your driving experience even better. So, go ahead and admire your handiwork, take your truck for a spin, and enjoy the benefits of your labor. You deserve it!
Conclusion
In conclusion, installing Mopar running boards on your truck can enhance its functionality and appearance. This step-by-step guide has provided a comprehensive approach to fixing cracked holes and mounting your running boards. It is essential to follow the instructions carefully and use appropriate tools to ensure a successful installation. By doing so, you can enjoy the benefits of a more comfortable and safer entry and exit into your truck. Don’t let cracked holes discourage you from installing running boards, follow this guide, and upgrade your truck today!
Related posts:
 StepbyStep Guide on Installing Raptor Running Boards on Dodge Ram 1500 Crew Cab
3 Inch Running Boards Installation Guide for 2013 GMC 3500 Sierra: How to iBoard Your Truck
Fleetside vs Styleside: A Guide to Choosing the Right Running Boards for Your Truck
Choosing the Perfect Size Running Boards for Your Truck: Expert Tips and Recommendations
StepbyStep Guide on Installing Raptor Running Boards on Dodge Ram 1500 Crew Cab
3 Inch Running Boards Installation Guide for 2013 GMC 3500 Sierra: How to iBoard Your Truck
Fleetside vs Styleside: A Guide to Choosing the Right Running Boards for Your Truck
Choosing the Perfect Size Running Boards for Your Truck: Expert Tips and Recommendations