Effortlessly Upgrade Your Vehicle: StepbyStep Guide on How to Switch Out Running Boards
Are you looking for a simple and effective way to enhance the appearance and functionality of your vehicle? Installing new running boards is a great option! Not only do they give your car or truck a sleek and stylish look, but they also provide a practical step-up for passengers to easily enter and exit the vehicle. Whether you’re replacing old, worn-out running boards or simply upgrading to a better design, this step-by-step guide will help you effortlessly switch out your running boards and achieve the perfect look for your ride. Before you get started, it’s important to gather all the necessary tools and equipment. You will need a socket wrench, a torque wrench, a drill, a screwdriver, and a pry bar, along with the new running boards and any additional hardware that may come with them. It’s also a good idea to have a friend or family member on hand to assist you with the installation process, as some parts may be heavy or difficult to maneuver on your own. With these preparations in place, you’re ready to begin upgrading your vehicle with new running boards!
Running boards are an essential accessory for any vehicle, especially for larger ones like trucks and SUVs. They serve multiple purposes, including providing a secure foothold for passengers while getting in and out of the vehicle, protecting the vehicle’s body from dirt, rocks, and debris, and adding a stylish look to the vehicle. Running boards also improve the vehicle’s accessibility, making it easier for children, seniors, and individuals with limited mobility to enter and exit the vehicle. Moreover, they can enhance the vehicle’s resale value, making it a smart investment for any car owner. By upgrading your vehicle with new running boards, you can improve its functionality, safety, and aesthetics, giving it a sleek and modern look.
The purpose of this article is to provide a step-by-step guide on how to upgrade your vehicle’s running boards. It aims to provide readers with a comprehensive and easy-to-follow guide on how to make the switch from old and worn-out running boards to new ones without any hassle. The article outlines the necessary tools and materials required for the project, as well as the steps involved in the installation process. The article is intended to be a helpful resource for anyone looking to upgrade their vehicle’s running boards, whether they are experienced mechanics or beginners. By following the instructions laid out in the article, readers can effortlessly improve the look and functionality of their vehicle.
Step 1: Gather Necessary Tools and Equipment
The first step to upgrading your vehicle’s running boards is to gather all the necessary tools and equipment. This includes a socket set, a ratchet, a torque wrench, a pry bar, and a rubber mallet. You will also need replacement running boards that are specifically designed for your vehicle’s make and model. It is important to ensure that the new running boards are the correct size and that they are compatible with your vehicle’s mounting brackets. Before you begin the installation process, it is important to read through the manufacturer’s instructions carefully. This will give you a clear understanding of the steps involved and any potential challenges you may encounter along the way. It is also a good idea to have a friend or family member assist you with the installation process, as running boards can be heavy and difficult to maneuver on your own. With the right tools and a bit of patience, you can effortlessly upgrade your vehicle’s running boards and give it a stylish new look.
To switch out running boards on your vehicle, there are several tools and equipment you will need. These include a socket set, a wrench set, a torque wrench, a pry bar, a drill, a screwdriver, and a rubber mallet. Additionally, you will need new running boards that are compatible with your vehicle’s make and model. Before beginning the installation process, it is important to ensure that you have all the necessary tools and equipment to avoid any delays or complications. By having the right tools and equipment on hand, you can effortlessly upgrade your vehicle with new running boards and enhance its appearance and functionality.
Having the right tools for any job is crucial for its successful completion, and this is particularly true when it comes to upgrading your vehicle. Using the wrong tool can not only damage your vehicle but can also lead to personal injury. For instance, when switching out running boards, you need tools such as a jack, wrenches, and screwdrivers, among others. Without these tools, the process can be frustrating, time-consuming, and can even lead to costly mistakes. Additionally, using the right tools can make the job easier, faster, and more efficient, ultimately ensuring that your vehicle upgrade is a success. Therefore, investing in high-quality tools is essential for any DIY project, especially when it comes to upgrading your vehicle.
Step 2: Remove Old Running Boards
Step 2 of upgrading your vehicle involves the removal of any existing running boards. This process may seem daunting, but it is quite simple with the right tools and knowledge. First, locate the bolts or screws that are holding the running boards in place, which are typically located underneath the vehicle. Using a socket wrench or screwdriver, carefully remove each bolt or screw one at a time. Once all of the bolts or screws have been removed, gently slide the running board away from the vehicle. Be sure to have a friend or family member assist you in holding the running board to avoid any potential damage or injury. Once the old running board has been removed, it is time to move on to the next step of this simple upgrade process. Removing old running boards is an essential step in upgrading your vehicle, as it allows you to start fresh with a new set of running boards. Not only will this improve the overall appearance of your vehicle, but it can also provide additional safety benefits. Old, worn-down running boards can become a safety hazard, as they may not be as sturdy or reliable as they once were. By removing the old running boards and installing new ones, you can ensure that your vehicle is safe and secure for all passengers. So, take the time to properly remove your old running boards, and get ready to install your new, upgraded set.
Removing old running boards is a fairly straightforward process that can be accomplished with a few basic tools. The first step is to locate all of the bolts and screws that are holding the running boards in place. This may require crawling underneath the vehicle and inspecting the underside. Once you have identified all of the fasteners, use a socket wrench or power drill to remove them. Be sure to keep track of the hardware, as you will need it to install the new running boards. Once all of the fasteners are removed, gently pry the old running boards off of the vehicle. If they are stubborn, a rubber mallet or pry bar may be necessary to loosen them. With the old running boards removed, you can now start the process of installing the new ones.
Including images is a crucial step in assisting with the process of switching out running boards in your vehicle. Not only do they provide a visual aid for readers to follow along with, but they also help to clarify any confusion that may arise during the process. With detailed images, readers are able to see exactly how each step should be completed, making the process much easier to understand and follow. Additionally, images can help to speed up the process by allowing readers to quickly identify any potential issues or mistakes before they become major problems. By including clear and concise images throughout the step-by-step guide, upgrading your vehicle’s running boards can be a seamless process.
Step 3: Prepare The Vehicle
Step 3 is a crucial part of upgrading your vehicle’s running boards. Preparing your vehicle properly will ensure that the installation process runs smoothly and without any hiccups. It’s important to take the time to do this step correctly to avoid causing any damage to your vehicle or the new running boards you’ll be installing. To start, you’ll need to gather all the necessary tools and equipment needed for the installation. Check the instructions that came with your new running boards to see what tools are required. Some common tools needed include a socket wrench, a torque wrench, pliers, and a screwdriver. Next, you’ll need to clean the area where the running boards will be installed. This will involve removing any dirt, debris, and rust that may have accumulated in the area. This can be done using a wire brush, sandpaper, or a power sander. Once the area is clean and dry, you can begin to attach the mounting brackets for the new running boards. Make sure to follow the instructions closely and double-check that everything is securely fastened before moving on to the next step. By taking the time to prepare your vehicle properly, you’ll be setting yourself up for an easy and successful installation of your new running boards.
Preparing the vehicle for new running boards is an essential step that should not be overlooked. It ensures that the installation process will be smooth and successful, without any hiccups or issues. Firstly, it is important to assess the condition of the current running boards, checking for any rust or damage that needs to be addressed before proceeding. Secondly, the surface area where the new running boards will be installed must be clean and free of debris or residue. Any old adhesive or mounting hardware must be removed to ensure a secure fit. Lastly, it is crucial to have all the necessary tools and equipment on hand to make the installation process as efficient as possible. Taking the time to prepare the vehicle for new running boards will not only ensure a professional-looking installation, but it will also prolong the life of the running boards and enhance the overall performance of your vehicle.
Before installing new running boards on your vehicle, it’s important to ensure that the surface area is clean and free from debris. Start by washing the exterior of the vehicle using soap and water. Pay special attention to the areas where the running boards will be installed, as any dirt or grime may affect the adhesive’s ability to stick. After washing the vehicle, dry the surface area thoroughly using a clean towel or cloth. Next, use rubbing alcohol to clean the area where the running boards will be installed. This will remove any remaining dirt and help the adhesive stick better. Finally, measure and mark the area where the running boards will be installed, ensuring that they are level and aligned with the vehicle’s body. With these steps completed, you will be ready to install your new running boards and take your vehicle to the next level.
Step 4: Install New Running Boards
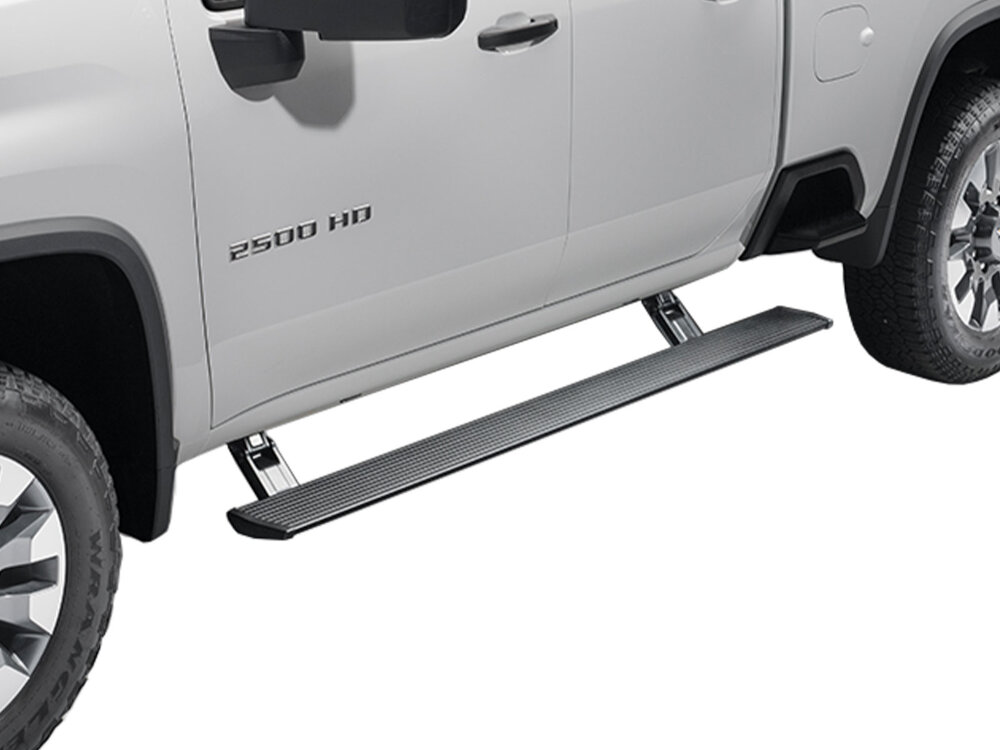
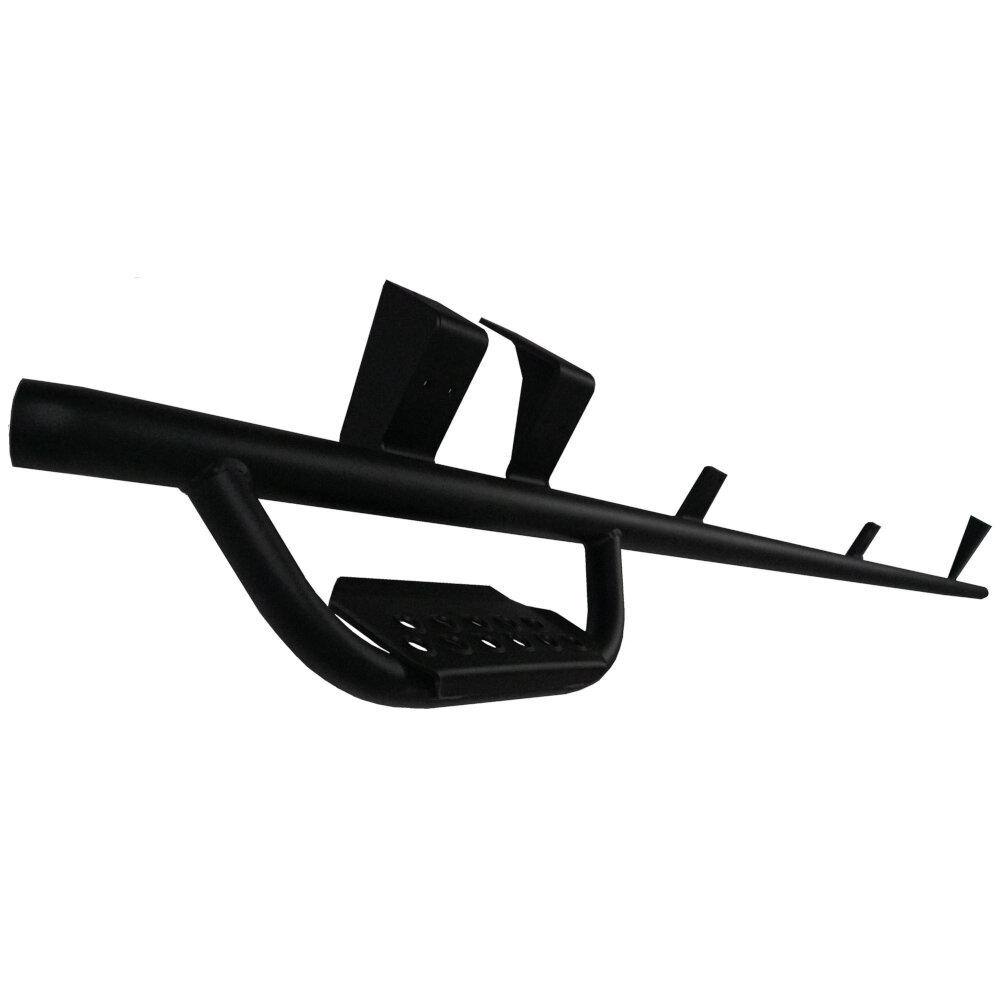
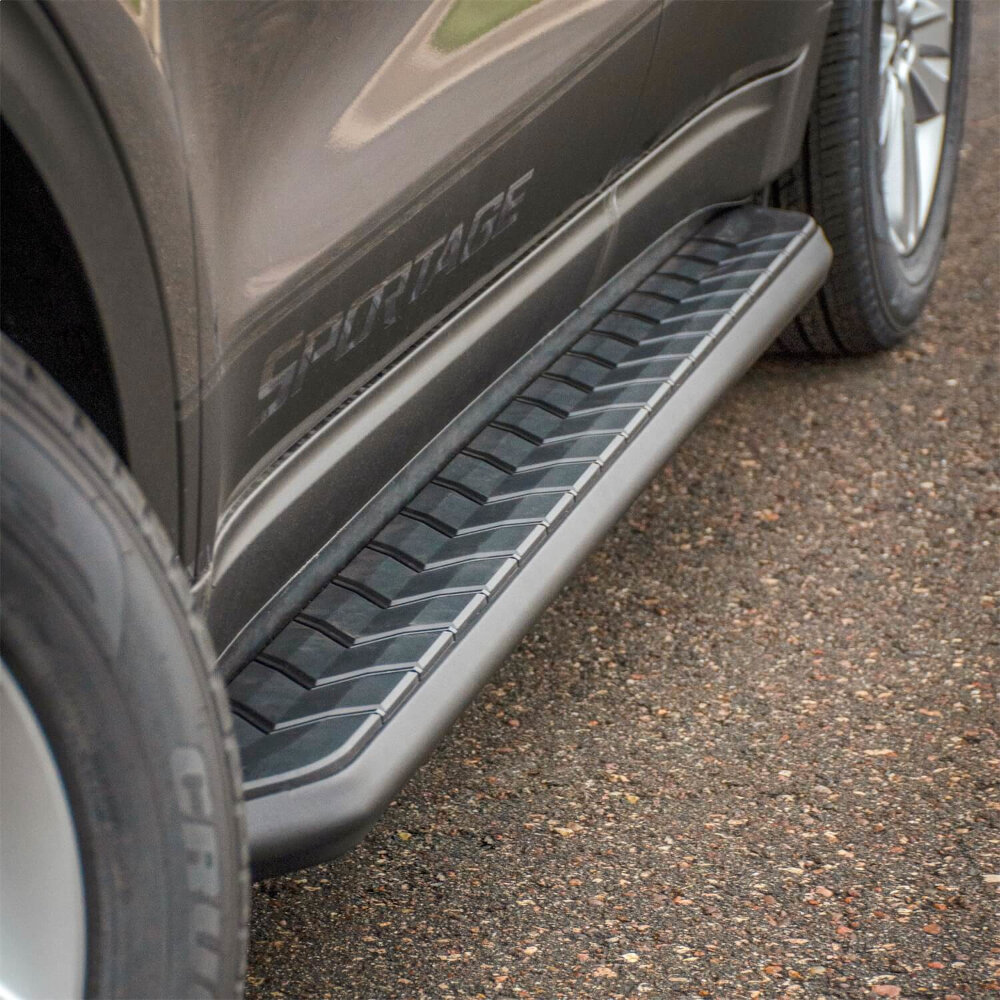
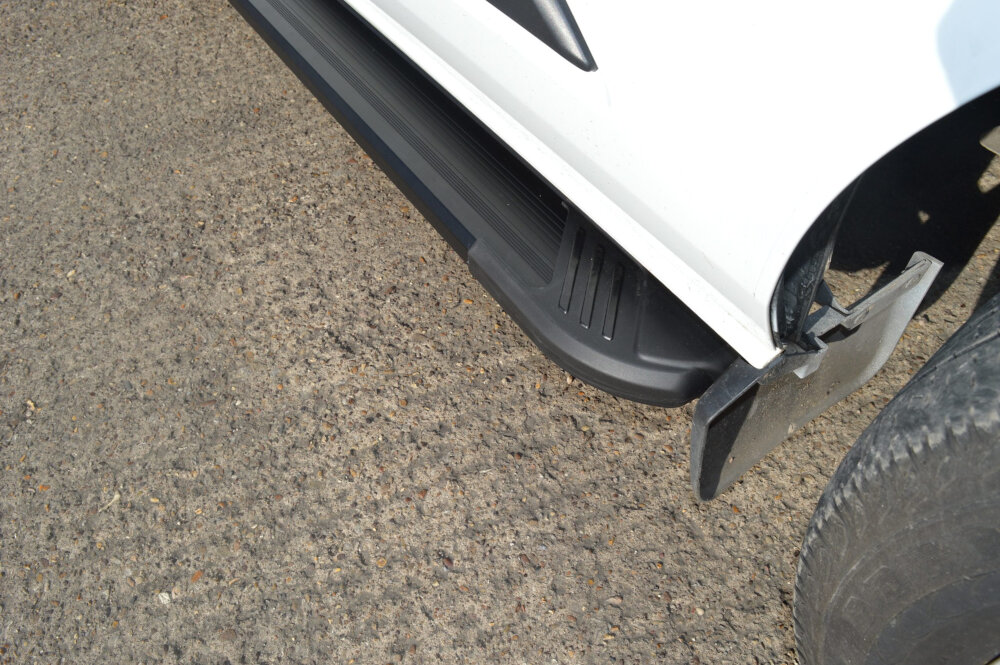
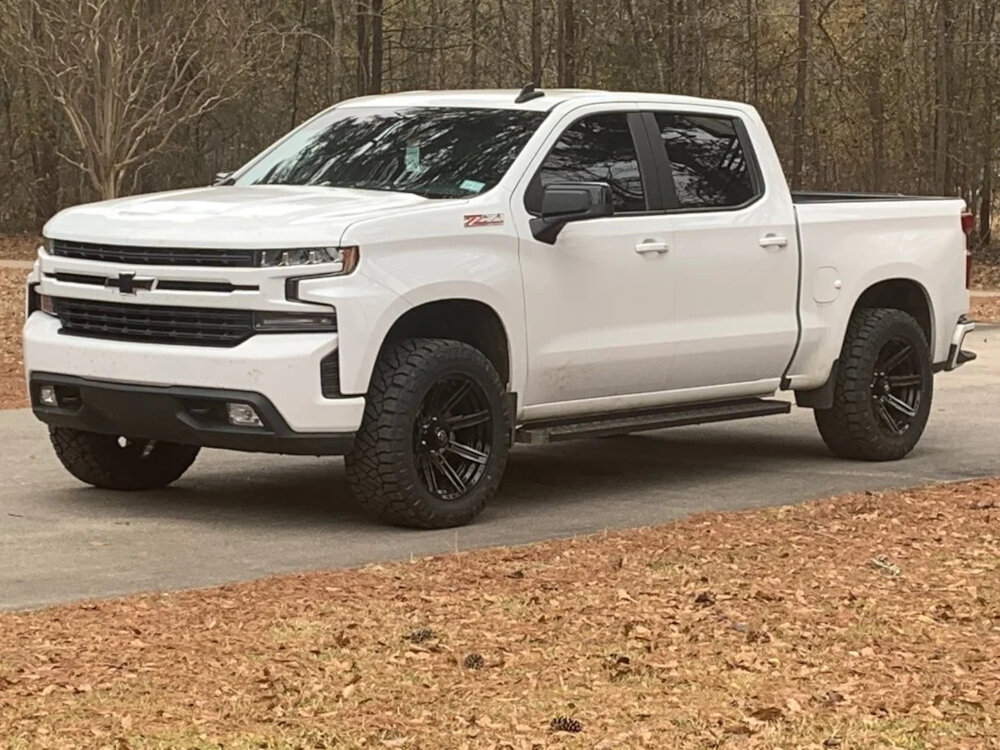
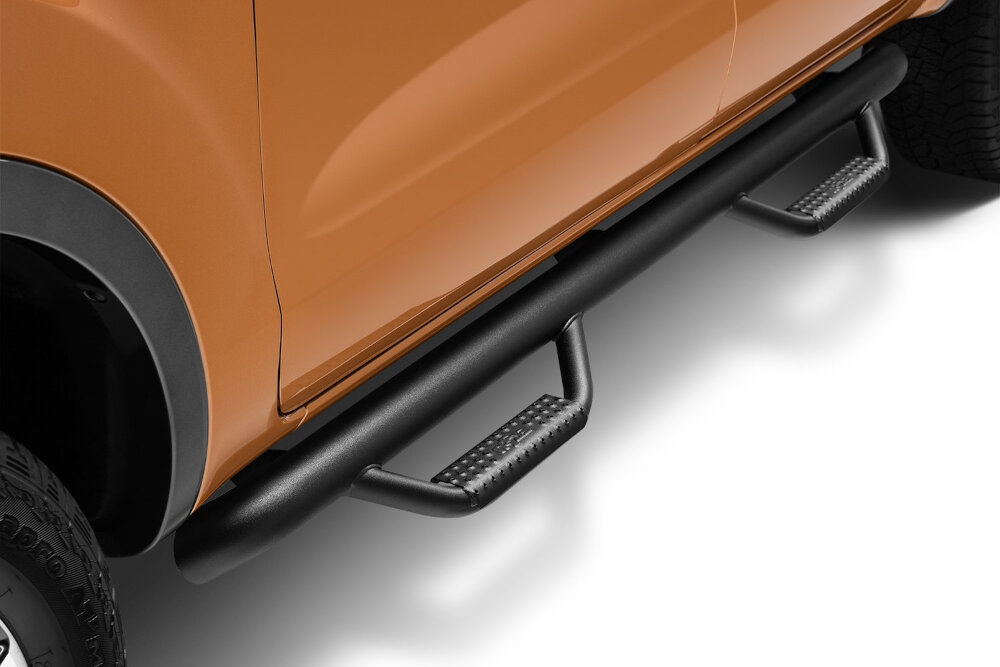
Step 4 in upgrading your vehicle involves installing new running boards. This is an essential and practical step in enhancing the overall look and functionality of your car. Running boards provide a convenient platform for passengers to step onto, especially those with limited mobility. They also protect the vehicle’s lower body from scratches and dents. The installation process is relatively easy and can be achieved by following a few simple steps. First, remove the old running boards and any mounting hardware. Then, install the new running boards using the supplied brackets and hardware. Finally, adjust the running boards to ensure they are level and secure. New running boards come in a variety of styles, materials, and finishes, including stainless steel, aluminum, and black powder-coated. Choosing the right running boards for your vehicle can add a touch of style and improve the overall look of your car. Running boards can also be customized to fit the specific make and model of your vehicle, ensuring a perfect fit. Additionally, some running boards come with added features such as LED lights, which can provide additional lighting for passengers entering and exiting the vehicle at night. Overall, installing new running boards is a simple and practical upgrade that can improve the functionality and style of your vehicle.
Installing new running boards on your vehicle can be a great way to upgrade its appearance and functionality. Before you begin, make sure you have all the necessary tools and materials, including a socket wrench, drill, and running board kit. Start by removing the old running boards, if applicable, and cleaning the area thoroughly. Then, follow the instructions provided with your new running board kit to attach the brackets and secure the running boards in place. Make sure to double-check all connections and bolts for tightness and security before testing out your new running boards. With a little effort and attention to detail, you can easily switch out your old running boards for a fresh, new look that enhances both the form and function of your vehicle.
Adding images to a process can make a significant difference in understanding and executing steps effectively. In the case of upgrading your vehicle’s running boards, images can help clarify the process and make it easier to follow along. By including images of the parts and tools needed, as well as the steps involved in removing and installing the new running boards, you can provide a visual guide that complements the written instructions. This can be especially helpful for people who are more visual learners or who may be unfamiliar with the process. Overall, adding images to assist with the process can enhance the overall user experience and make upgrading your vehicle a breeze.
Step 5: Test The New Running Boards
Step 5 of the running board switch-out process is all about testing the new running boards to ensure they are properly installed and functioning as intended. This step is crucial to the success of the upgrade and can prevent any future issues or safety concerns while driving. Once the installation is complete, it’s important to carefully inspect the running boards for any signs of damage or loose parts. This includes testing the sturdiness of the brackets and ensuring that the boards are level and secure. Once you are satisfied with the installation, test the running boards by stepping onto them and applying your weight evenly across the surface. This will help to ensure that the boards can support your weight and provide a safe and stable platform to enter and exit your vehicle. During the testing process, it’s important to listen for any unusual noises or vibrations that could indicate a problem with the installation. This may include creaking or rattling sounds, which could indicate loose brackets or hardware. If you do notice any issues during testing, it’s important to address them immediately to prevent any further damage or safety concerns. By taking the time to properly test your new running boards, you can enjoy a safer and more comfortable ride, while also prolonging the lifespan of your vehicle.
Testing the new running boards is an essential step when upgrading your vehicle. This process ensures that the new running boards are functional, safe, and compatible with your vehicle. Testing can help you identify any installation issues and make adjustments before the final installation. A thorough test drive can also help you check for any noises or potential hazards that may arise during use. Testing can also help you ensure that the new running boards meet your expectations in terms of style, design, and functionality. Overall, testing the new running boards is an important step that can give you peace of mind and confidence in the quality and safety of your vehicle’s new upgrade.
Before fully installing your new running boards, it is crucial to test them out beforehand. To do this, you must first ensure that the vehicle is parked on a level surface. Next, place the running board onto the brackets and make sure that they are securely attached. Proceed by standing onto the running board with one foot and applying pressure. This will test the durability and stability of the running board. If it feels wobbly or unstable, you may need to readjust the brackets. Lastly, repeat the process with the other foot to ensure that both sides are balanced. By following these steps, you can ensure that your new running boards are safe and secure for your use.
Running boards are an essential upgrade that can enhance the look and functionality of your vehicle. Not only do they provide a more convenient step for entering and exiting your car, but they also serve as a protective barrier from dirt and debris that can damage your vehicle’s exterior. Running boards can also increase the resale value of your car by improving its overall appearance and providing a sense of luxury. In addition, they can be customized to fit your specific vehicle and personal style, making them a versatile and practical addition to any car or truck. Whether you’re looking for a more comfortable and stylish ride or seeking to protect your investment, running boards are a must-have accessory for any vehicle owner.
Upgrading your vehicle’s running boards is a straightforward process that can be done without any professional help. The first step is to gather the necessary tools such as a socket wrench, a screwdriver, and a jack. Then, you need to loosen the bolts that hold the old running boards in place and remove them. Next, fit the new running boards onto the brackets and secure them with bolts. Once the new running boards are in place, test their stability by putting weight on them. Finally, tighten all the bolts and screws to ensure that the running boards are securely attached to the vehicle. With these simple steps, you can effortlessly upgrade your vehicle with new, stylish running boards.
Upgrading your vehicle is a great way to enhance its appearance and functionality, and installing new running boards is an excellent place to start. Not only do running boards provide a stylish look to your vehicle, but they also offer practical benefits such as easier entry and exit, as well as additional protection from debris and road hazards. With this step-by-step guide, upgrading your vehicle with new running boards has never been easier. Whether you’re a seasoned DIYer or a novice, you’ll find the process simple and straightforward. So why wait? Upgrade your vehicle today and enjoy the benefits of new running boards!
Conclusion
In conclusion, upgrading your vehicle’s running boards can be a simple and rewarding process with the right tools and instructions. By following this step-by-step guide, you can effortlessly switch out your old running boards for a new and improved set. Not only will this upgrade enhance the look of your vehicle, but it will also provide better functionality and safety for you and your passengers. So, don’t hesitate to take on this easy DIY project and enjoy the benefits of having new and upgraded running boards on your vehicle.
Related posts:
 Effortlessly Upgrade Your Vehicle: A StepbyStep Guide on How to Move GM Articulated Running Boards
DIY Truck Upgrade: Create Custom Running Boards for Your Vehicle
Effortlessly Remove Running Boards from a 2005 Chevy A StepbyStep Guide
Effortlessly Enter Your ML350 with Running Boards: StepbyStep Guide
Effortlessly Upgrade Your Vehicle: A StepbyStep Guide on How to Move GM Articulated Running Boards
DIY Truck Upgrade: Create Custom Running Boards for Your Vehicle
Effortlessly Remove Running Boards from a 2005 Chevy A StepbyStep Guide
Effortlessly Enter Your ML350 with Running Boards: StepbyStep Guide