Easy Steps to Remove Running Boards on 3rd Gen 4Runner: A DIY Guide
If you own a 3rd generation 4Runner and are looking to remove the running boards, you’ve come to the right place. Running boards can be a useful accessory for getting into your vehicle, but they can also be a hindrance when you’re off-roading or going over rough terrain. Luckily, removing them is a simple process that can be done with just a few basic tools. In this DIY guide, we’ll walk you through the easy steps to remove the running boards on your 3rd gen 4Runner. Whether you’re looking to improve your vehicle’s off-road capabilities or simply want to change up its appearance, this guide will give you all the information you need. With our step-by-step instructions and helpful tips, you’ll be able to remove your running boards quickly and easily, without any professional help. So, let’s get started!
Running boards are the metal or plastic steps that are attached to the side of a vehicle to provide an easier way to get in and out of it. They serve as a functional and aesthetic addition to the car, giving it a sleek and stylish look. However, there may be situations where removing them is necessary. Removing running boards can increase ground clearance and improve off-road capabilities, which is important for those who like to take their vehicles on rugged terrain. Additionally, they can become damaged or rusted over time, making them an eyesore and a safety hazard. By removing them, you can restore the appearance of your car and prevent any potential injuries caused by their deterioration.
Tools and Materials Needed
If you’re planning to remove the running boards on your 3rd Gen 4Runner, you’ll need several tools and materials to make the process easier and safer. First and foremost, you’ll need a set of wrenches and sockets that match the size of the bolts used to secure the running boards to your vehicle’s frame. A ratchet wrench can also come in handy to speed up the removal process. You may also need a pry bar or a rubber mallet to loosen any stubborn bolts that won’t come off easily. It’s important to wear gloves and safety glasses to protect your hands and eyes from any debris that may fall off during the removal process. In addition to tools, you’ll also need some materials to help you remove the running boards safely and effectively. A can of penetrating oil can work wonders in loosening rusted bolts and making them easier to remove. You may also need some threadlocker to secure the bolts back in place after you’ve removed the running boards. A plastic trim removal tool can also come in handy to help you remove any plastic clips or retainers that may be holding the running boards in place. Finally, you’ll need a clean and flat surface to work on, such as a garage floor or driveway, to prevent any damage to your vehicle and ensure a safe working environment.
Before starting the removal process of the running boards on your 3rd Gen 4Runner, it’s important to ensure that you have all the necessary tools and materials. You will need a socket wrench set, pliers, drill, drill bits, and a pry bar. Additionally, it’s recommended to have safety equipment such as gloves and safety glasses to protect yourself during the process. The materials required include silicone spray, touch-up paint, and rubber plugs to cover the holes left after removing the running boards. Having all the required tools and materials will ensure that the removal process goes smoothly and without any hiccups.
StepbyStep Guide
If you’re looking for an easy-to-follow guide on how to remove running boards on a 3rd Gen 4Runner, this is the article for you. With clear and concise instructions, this step-by-step guide will help you remove your running boards in no time. First, gather your tools and make sure you have everything you need. You’ll need a socket wrench, a Philips-head screwdriver, and a flat-head screwdriver. Once you have your tools, begin by removing the three screws on the front of the running board using a Philips-head screwdriver. Then, move to the back of the running board and remove the two screws using the same screwdriver. After all the screws are removed, use the flat-head screwdriver to gently pry the clips off the running board. Repeat this process on the other side of the vehicle. With these simple steps, you’ll have your running boards removed in no time, leaving your 3rd Gen 4Runner looking sleek and stylish.
If you’re looking to remove the running boards on your 3rd Gen 4Runner, the process is fairly straightforward. First, locate the mounting bolts holding the running boards in place. These bolts can typically be found underneath the running boards and are secured to the vehicle’s frame. Once you’ve located the bolts, use a ratchet or wrench to remove them. It’s important to keep track of the bolts and any accompanying washers or nuts, as you’ll need to reattach them later. After all bolts have been removed, carefully lift the running boards off of the vehicle. It may be helpful to have a friend assist with this step, as the boards can be heavy and awkward to handle. With the running boards removed, you can now clean and maintain the area underneath. Removing the running boards can also improve your vehicle’s clearance and off-road capabilities.
When it comes to removing running boards on a 3rd Gen 4Runner, having pictures or diagrams can be immensely helpful. Not only do they provide a visual aid to follow along with, but they can also prevent any confusion or mistakes during the process. By including clear and concise images, readers can better understand the steps involved and ensure that they are completing each one correctly. Additionally, diagrams can highlight specific areas or parts that may need to be referenced or manipulated during the removal process. Overall, including pictures or diagrams in a DIY guide for removing running boards on a 3rd Gen 4Runner can greatly enhance the reader’s experience and make the process smoother and more manageable.
Tips and Tricks
When it comes to removing the running boards on your 3rd Gen 4Runner, there are a few tips and tricks that can make the process go more smoothly. First and foremost, be sure to have all the necessary tools on hand before you begin. This includes a socket wrench, screwdriver, and possibly a breaker bar if the bolts are particularly tight. Additionally, it’s a good idea to have a friend or family member assist you with the removal process. Not only will this make the task go faster, but it can also prevent any accidents or injuries that could occur if you were to attempt it alone. Another tip to keep in mind is to take your time and be patient during the removal process. While it may be tempting to rush through the task, doing so can lead to mistakes or damage to your vehicle. Instead, take the time to carefully remove each bolt and screw, and make sure to keep track of where each one goes. This will make it easier to re-install the running boards or any other parts that you may need to remove in the future. By following these tips and tricks, you can remove your running boards safely and efficiently, without causing any damage to your vehicle or yourself.
In addition to the steps outlined in this guide, there are a few additional tips and pieces of advice that can help make the removal process even easier and more efficient. Firstly, it’s important to have all the necessary tools and equipment ready before beginning. This includes a socket wrench, a pry tool, and a rubber mallet. Additionally, it may be helpful to have a second person to assist with the removal process, especially when dealing with larger or heavier running boards. Finally, taking the time to thoroughly clean and inspect the mounting brackets before re-installing new running boards can help ensure a more secure and long-lasting installation. By following these additional tips and advice, the removal process can be completed quickly and easily, allowing you to upgrade your vehicle’s appearance and functionality with new running boards in no time.
What to Do After Removing Running Boards
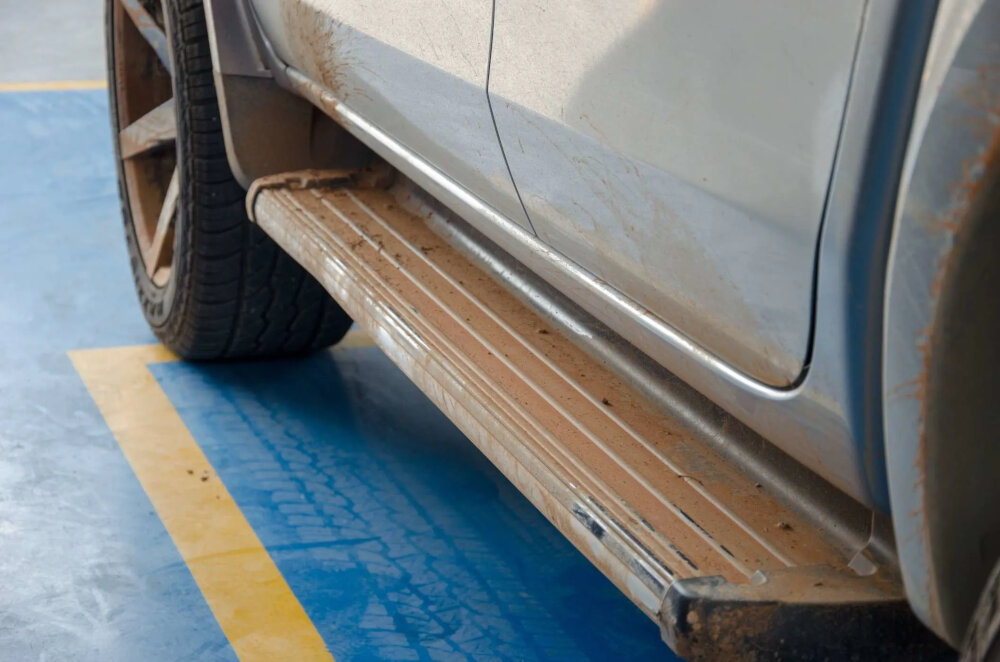
After successfully removing the running boards from your 3rd Gen 4Runner, there are a few steps that you should take to ensure that your vehicle looks and operates as best as possible. The first step to take is to clean the area where the running boards were attached. Use a cleaning solution that is gentle on your vehicle’s paint job, and be sure to remove all dirt, grime, and debris from the area. Once the area is clean, you can then take a closer look at the condition of the paint and make any necessary touch-ups or repairs. Next, you may want to consider installing new rocker panel protectors. These protectors can help to prevent damage to your vehicle’s rocker panels and can also add a sleek and stylish look to your 4Runner. There are many different types of rocker panel protectors available on the market, so be sure to choose one that is compatible with your vehicle and meets your specific needs. With the right care and maintenance, your 3rd Gen 4Runner will look and function great for years to come.
After successfully removing the running boards from your 3rd Gen 4Runner, you may be wondering what to do with them next. One option is to sell them online or at a local auto parts store. Another possibility is to repurpose them for a different use, like cutting them down to create steps for your garage or workshop. If you’re feeling creative, you could even turn them into a unique piece of home decor or furniture. However, if you don’t want to go through the hassle of selling or repurposing them, you can always recycle them at a scrap metal yard. Whatever you choose to do, make sure you dispose of them responsibly and safely.
If you’ve removed the running boards from your 3rd Gen 4Runner and are wondering what to do with them, there are several creative ways to repurpose or sell them. One idea is to clean them up and sell them online or through a local classifieds site to someone who may need them for their own vehicle. Another option is to repurpose them as steps or shelves in your garage or workshop. You could even use them as a unique and functional piece of art by painting or decorating them and hanging them on a wall. With a little creativity, your old running boards can have a new life and purpose beyond their original use.
In this guide, we have provided step-by-step instructions and helpful tips for removing the running boards from your 3rd Gen 4Runner. To begin, we suggested gathering all the necessary tools and equipment before starting the removal process. We then walked through the process of removing the bolts and brackets that secure the running boards to the vehicle’s frame, and highlighted the importance of being careful not to damage the body or paint during this process. Additionally, we recommended using a pry bar or rubber mallet to gently loosen any stubborn bolts or brackets. Finally, we emphasized the importance of taking your time and being patient throughout the removal process to ensure that everything is done correctly and safely. By following these easy steps and tips, you can successfully remove your running boards and upgrade your 3rd Gen 4Runner to your desired preference.
Car maintenance and repair can be intimidating for many people, but taking on DIY projects can be a rewarding and empowering experience. Not only can it save you money, but it can also give you a sense of accomplishment and a better understanding of how your vehicle works. Don’t be afraid to try new things and learn as you go – there are countless resources available online and in print to guide you through even the most challenging repairs. With a little patience, attention to detail, and the right tools, you can tackle almost any task. So why not give it a shot and see what you can accomplish? Who knows, you might even discover a new passion or skill in the process.
Conclusion
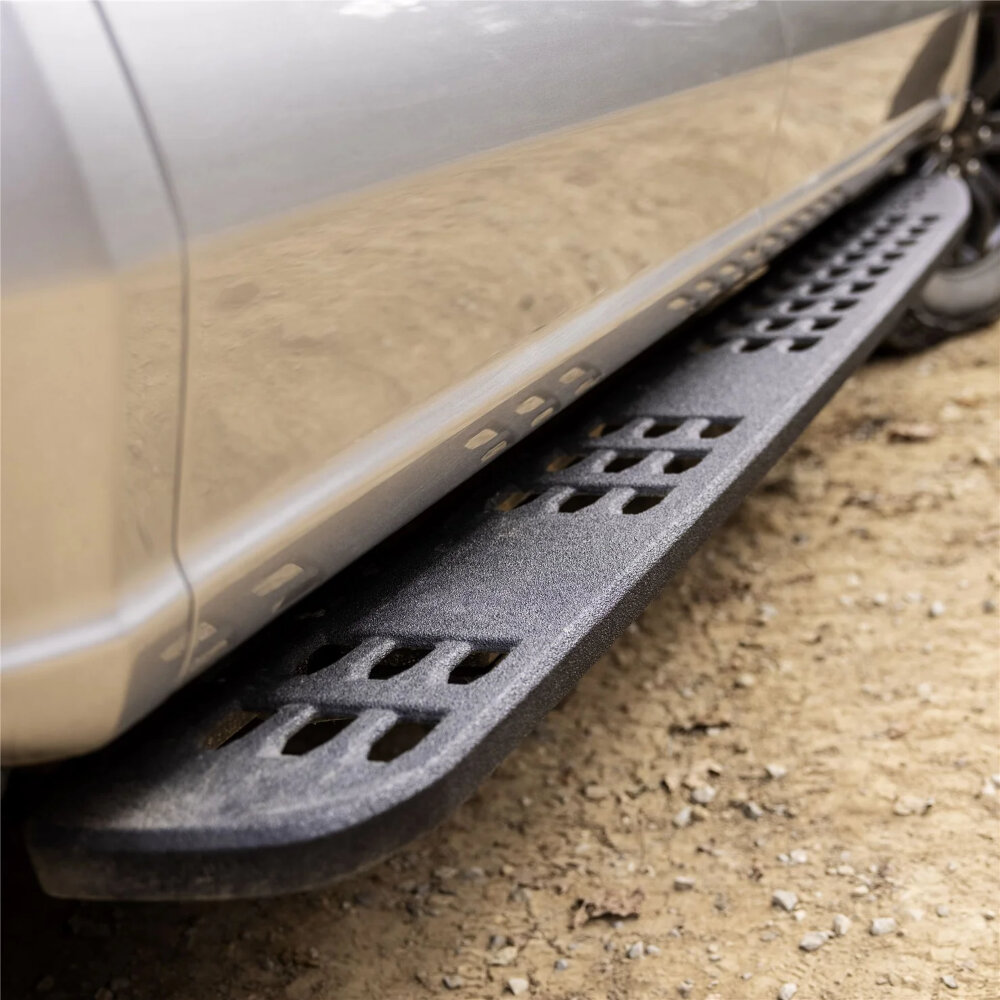
In conclusion, removing the running boards on a 3rd Gen 4Runner can be a simple and satisfying DIY project that can enhance the look and functionality of your vehicle. By following the easy steps outlined in this guide, you can safely and efficiently remove the running boards with minimal tools and effort. Whether you’re looking to replace your running boards or just prefer the sleek look of a board-less vehicle, this guide has provided you with the knowledge and confidence to tackle this project on your own. So go ahead and give it a try, and enjoy the benefits of a more personalized and streamlined 3rd Gen 4Runner.

