DIY Guide: Removing Fenders and Running Boards from YTH1542XP in 5 Easy Steps
If you’re looking to give your YTH1542XP tractor a makeover, removing the fenders and running boards can be a great place to start. Not only will it give your tractor a sleeker, more streamlined look, but it can also make it easier to maneuver in tight spaces. While it may seem like a daunting task, removing the fenders and running boards can actually be done in just 5 easy steps with the help of this DIY guide. Before you begin, it’s important to note that you should always wear protective gear such as gloves and eye protection when working with tools. Additionally, make sure to follow all safety guidelines and instructions provided by the manufacturer. With that said, let’s dive into the 5 steps to remove the fenders and running boards from your YTH1542XP tractor. By the end of this guide, you’ll be able to give your tractor a fresh new look that’s sure to turn heads.
There are several reasons why someone may need to remove fenders and running boards from YTH1542XP. Firstly, it could be for maintenance purposes, such as repairing or replacing damaged parts. Secondly, it could be to customize the appearance of the mower, as removing the fenders and running boards can give it a sleeker and more streamlined look. Additionally, removing these parts can make it easier to access the engine and other components for cleaning or servicing. Whatever the reason may be, the process of removing fenders and running boards from YTH1542XP is a simple and straightforward task that can be completed in just a few easy steps.
Removing fenders and running boards from a YTH1542XP might seem daunting, but with the right tools and knowledge, it can be accomplished in just five easy steps. It is important to note that while this task is not the easiest, it is also not the most difficult. The level of difficulty is moderate and requires some level of mechanical expertise. However, with patience, attention to detail, and following the steps carefully, anyone with basic mechanical knowledge can remove the fenders and running boards from a YTH1542XP. It is always advisable to consult the user manual and take safety precautions such as wearing gloves and eye protection before attempting any DIY task.
It is crucial to follow safety precautions when removing fenders and running boards from YTH1542XP in 5 easy steps as it can prevent potential accidents and injuries. Working on heavy machinery requires the proper use of tools and equipment, and any mistake can lead to serious consequences. By following safety guidelines like wearing protective gear, disconnecting the battery, and securing the vehicle, you can minimize the risks of accidents and ensure the task is completed safely. Neglecting safety precautions can result in severe injuries or even death, making it essential to prioritize safety above all else. So, it is advisable to take all necessary precautions before attempting to remove fenders and running boards from YTH1542XP.
Step 1: Gather Necessary Tools
When it comes to removing fenders and running boards from your YTH1542XP, it’s important to gather all the necessary tools before starting the process. This will ensure that you have everything you need to complete the job efficiently and effectively. Some of the tools you’ll need include a socket wrench set, pliers, screwdrivers, and a pry bar. Additionally, you may need a torque wrench, hammer, and safety glasses. It’s essential to have a socket wrench set that includes a variety of sizes to ensure that you can access all the bolts and screws holding the fenders and running boards in place. Pliers will also come in handy when removing clips and other fasteners. Screwdrivers are necessary for removing bolts and screws, while a pry bar can help loosen any stubborn parts. A torque wrench is necessary for tightening bolts to the manufacturer’s recommended specifications. Finally, a hammer and safety glasses are essential safety tools that can help protect you from flying debris and other hazards while working on your YTH1542XP. By gathering these tools before starting the process, you’ll be well-prepared to remove your fenders and running boards with ease.
To successfully remove the fenders and running boards from your YTH1542XP, you will need several tools to make the process easier and quicker. Firstly, a socket wrench set with different sizes of sockets will be necessary to remove the bolts and nuts holding the fenders and running boards in place. Additionally, a flathead screwdriver and pliers may be required to remove any clips or fasteners holding the parts together. A rubber mallet or hammer might also come in handy to loosen any stubborn parts. Lastly, it is recommended to have a pair of safety goggles and gloves to protect yourself from any potential hazards during the removal process. With these tools at hand, removing the fenders and running boards from your YTH1542XP should be a smooth and straightforward process.
There are several tools that are necessary for removing fenders and running boards from a YTH1542XP in 5 easy steps. The first tool that is necessary is a socket wrench set, which will allow you to remove the bolts that hold the fenders and running boards in place. Additionally, you will need a pair of pliers to remove any clips or fasteners that may be holding the fenders and running boards in place. A pry bar will also be necessary in order to gently pry the fenders and running boards away from the mower. Finally, a rubber mallet will be necessary in order to gently tap the fenders and running boards into place once they have been removed. By having all of these tools on hand, you will be able to easily remove the fenders and running boards from your YTH1542XP in just 5 easy steps.
Step 2: Disconnect Battery
When removing fenders and running boards from a YTH1542XP, it is crucial to follow the second step of the DIY guide, which is to disconnect the battery. This step is critical to ensure safety and to prevent any electrical damage that may occur during the removal process. Disconnecting the battery will prevent any accidental electrical shorts or sparks that could occur while working on the fenders and running boards. Additionally, it will prevent any damage to sensitive electrical components, which may result in expensive repairs. Therefore, it is essential to ensure that the battery is disconnected before proceeding with the removal process. Furthermore, disconnecting the battery is a straightforward process that can be done quickly and easily. Before starting, make sure that all electrical components are turned off, and the key is removed from the ignition. Next, locate the battery, which is typically located under the hood, and use a wrench to loosen the negative cable clamp. Once the clamp is loose, slide it off the battery terminal and secure it away from the battery. Repeat the process for the positive cable clamp. It is important to make sure that the cables do not touch each other or any other metal objects. After disconnecting the battery, proceed with the removal process, knowing that you have taken the necessary safety precautions.
It is crucial to disconnect the battery before beginning any work on a vehicle, even when it seems unrelated to the electrical system. This is because the battery is the source of power for all electrical components and can pose a safety risk if not properly disconnected. A simple mistake like accidentally touching a live wire while performing work on the fender or running board can cause severe electrical shock or even start a fire. Therefore, taking a few minutes to disconnect the battery can prevent potential hazards and ensure a safe and successful DIY project.
Before beginning the process of removing fenders and running boards from your YTH1542XP, it is crucial to disconnect the battery to ensure safety and avoid any electrical mishaps. The first step is to locate the battery in your vehicle, which is usually located under the hood or in the trunk. Once you have located the battery, you should turn off the ignition and remove the key from the ignition. Next, use a wrench or pliers to loosen and remove the negative cable from the battery terminal, followed by the positive cable. Be sure to cover the exposed battery terminals with a protective material to prevent accidental contact, and store the disconnected cables in a safe and secure location. By following these simple step-by-step instructions, you can safely and efficiently disconnect the battery from your YTH1542XP before continuing with the fender and running board removal process.
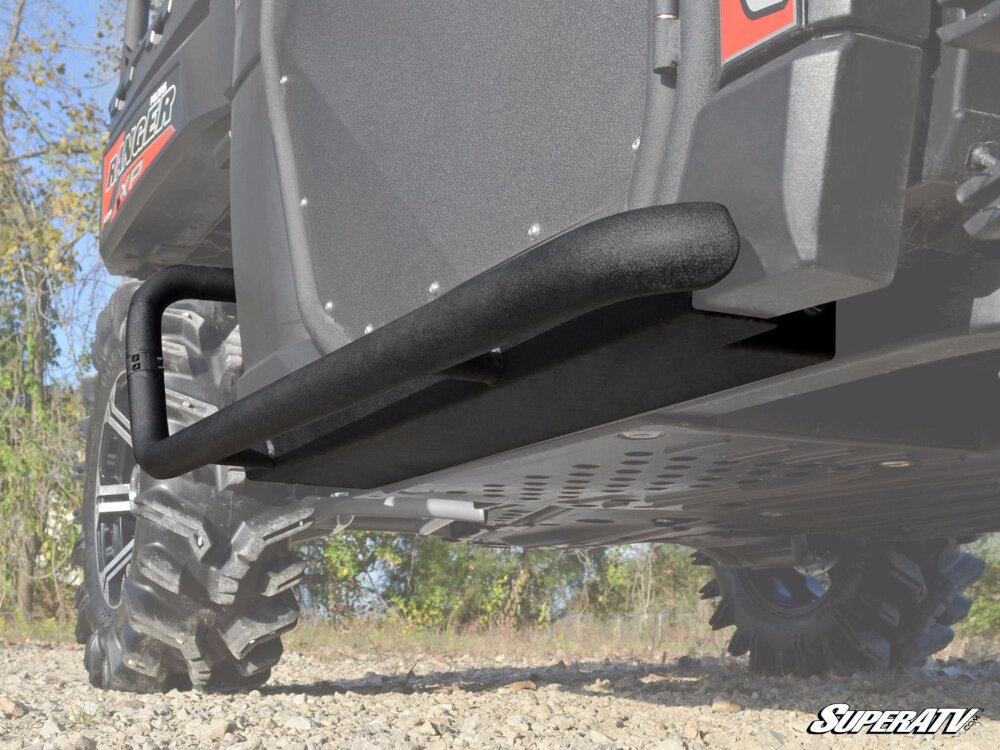
Step 3: Remove Fenders
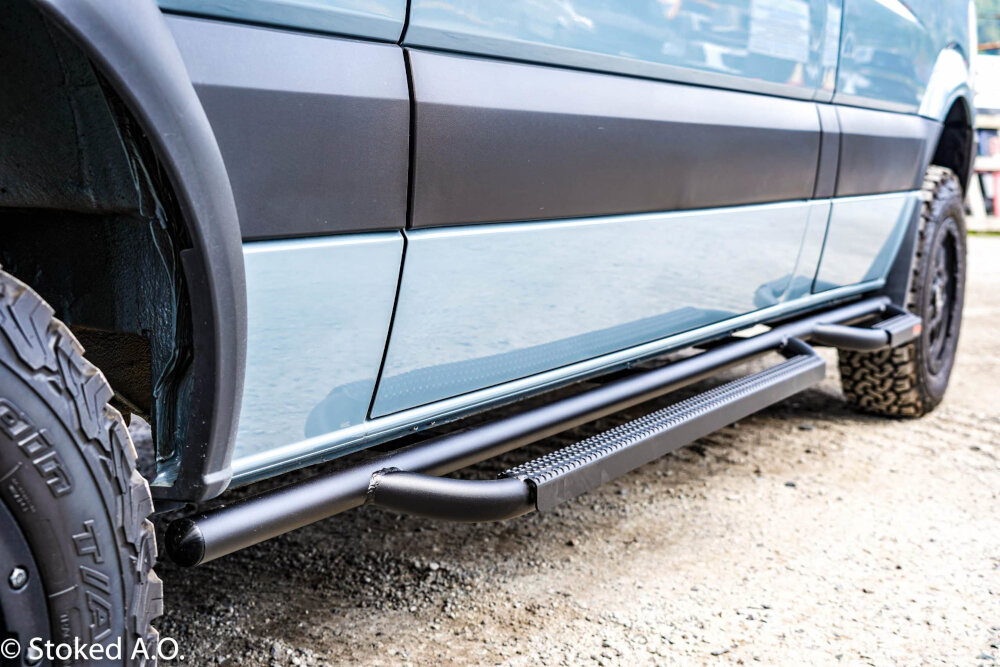
Removing fenders is an essential step in customizing or repairing your YTH1542XP. Fenders, also known as mudguards, are installed over the wheels to protect the vehicle from mud, debris, and other road elements. If you want to remove the fenders, you need to follow a few simple steps. First, make sure that your vehicle is parked on level ground. Then, using a socket wrench, remove the bolts that attach the fenders to the body of the vehicle. You may need to use a pry bar or screwdriver to gently pry the fenders away from the body if they are stuck. Once the bolts are removed, the fenders should come off easily. Removing fenders can help improve the performance of your YTH1542XP. When you remove the fenders, you reduce the weight of the vehicle, which can lead to better handling and fuel efficiency. Additionally, removing the fenders can make it easier to access the engine and other components under the hood. This can be especially helpful if you are planning to perform maintenance or repairs on your vehicle. However, it is important to note that removing the fenders can also leave the wheels exposed to mud, debris, and other road elements. If you plan to drive your YTH1542XP without fenders, make sure that you take the necessary precautions to protect the wheels and other components from damage.
Removing fenders from your YTH1542XP lawn tractor can be a challenging task. However, with proper guidance, you can do it yourself with ease. Begin by assembling all the necessary tools such as pliers, a socket wrench, a pry bar, and a screwdriver. After that, disconnect the battery cables and remove the bolts that hold the fender in place. Once you have loosened the bolts, use the pry bar to remove the fender from the tractor. It would be best if you were careful not to damage the tractor’s body or the fender in the process. Finally, repeat the process for the second fender, and you’re done. With these five easy steps, you can remove the fenders and running boards from your YTH1542XP lawn tractor and give it a fresh look.
When it comes to removing fenders and running boards from your YTH1542XP, the process can seem daunting. However, there are a few tips that can make it much easier. First, make sure you have all the necessary tools and equipment before you start. This will save you time and frustration later on. Second, take your time and be patient. Rushing through the process can lead to mistakes and damage to your equipment. Third, follow the steps carefully and double-check your work as you go. Finally, don’t hesitate to ask for help if you need it. Having a second set of hands can make the process go much smoother. By following these tips, you can tackle this project with confidence and ease.
When removing fenders and running boards from your YTH1542XP, it is crucial to follow proper safety precautions to avoid any injuries. Firstly, ensure that the lawnmower is turned off and the key is removed before starting the process. Secondly, use protective gear such as gloves, goggles, and earplugs to safeguard yourself from any potential hazards. Avoid leaning on the mower while removing the fenders and running boards and keep your hands and feet away from any moving parts. Lastly, dispose of any sharp objects carefully and keep the area clean and organized to prevent tripping hazards. By following these safety measures, you can ensure a smooth and safe process while removing fenders and running boards from your YTH1542XP.
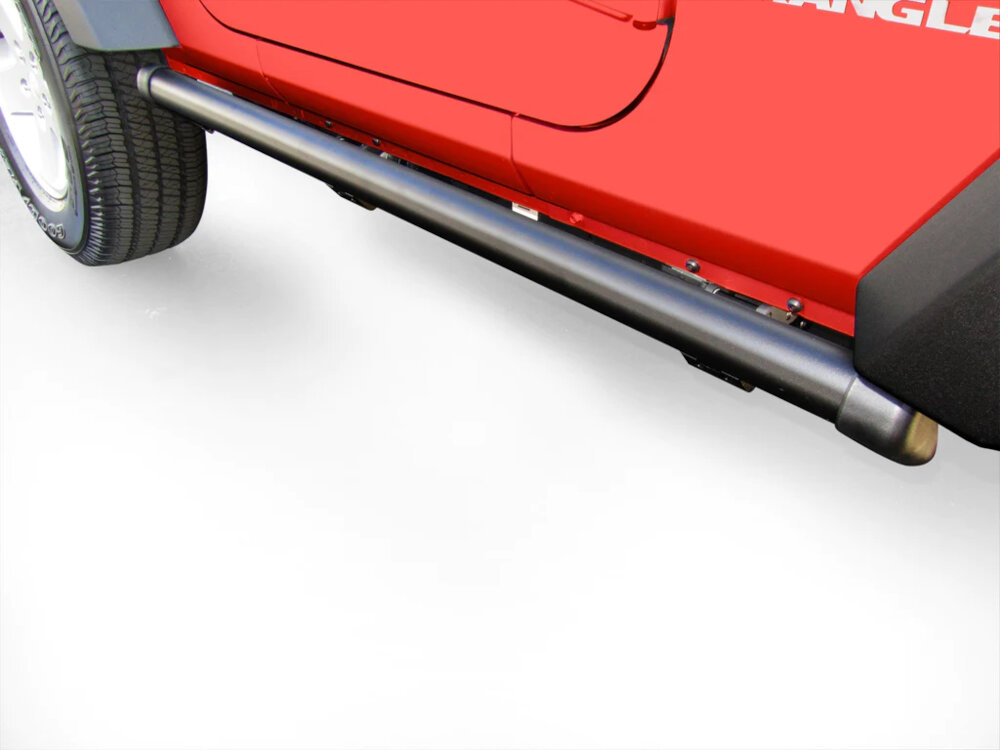
Step 4: Remove Running Boards
The fourth step in removing the fenders and running boards from your YTH1542XP is to remove the running boards. This is an essential step in the process, as the running boards must be taken off before the fenders can be removed. To remove the running boards, start by locating the bolts that hold them in place. These bolts are typically located near the front and rear of the running boards, and they may be covered by plastic caps that will need to be removed before the bolts can be accessed. Once you have located the bolts, use a socket wrench to remove them. Make sure to keep track of the bolts and any other small parts that you remove, as these will need to be reinstalled later. Once all of the bolts have been removed, gently lift the running boards off of the mower deck and set them aside. With the running boards removed, you can now move on to the final step of removing the fenders.
If you’re looking to remove the running boards from your YTH1542XP, here are five easy steps to follow. First, gather the necessary tools, including a socket wrench, pliers, and a screwdriver. Next, locate the bolts and screws that attach the running boards to the mower, and use the appropriate tool to remove them. Be sure to keep track of the hardware you remove and store it in a safe place. Once all of the bolts and screws have been removed, use the pliers to carefully detach any clips or brackets that are still holding the running boards in place. Finally, gently lift the running boards off of the mower and set them aside. With these simple steps, you’ll be able to remove the running boards from your YTH1542XP in no time.
Removing fenders and running boards from your YTH1542XP can be a challenging task, especially if you’re attempting it for the first time. However, with the right tools and approach, you can make the process a lot easier and hassle-free. The first tip is to ensure you have all the necessary tools at hand before you start the job. This includes a socket set, wrenches, pliers, and screwdrivers. Secondly, it’s crucial to follow the user manual or a reliable guide to avoid damaging the tractor or injuring yourself. Thirdly, enlist the help of a friend or family member to assist you in lifting the fenders and running boards off the tractor. Finally, take your time and be patient during the process. Rushing through it can lead to mistakes and setbacks. By following these tips, you can complete the task efficiently and with minimal stress.
When it comes to removing fenders and running boards from your YTH1542XP, safety should always be your top priority. This is a potentially dangerous task, and you need to take proper precautions to avoid any accidents or injuries. To begin with, make sure you’re wearing proper safety gear, such as gloves, goggles, and a dust mask. You’ll also need to disconnect the battery and remove any flammable materials from the area before you start. It’s also a good idea to have someone else with you to assist and to keep an eye out for any potential hazards. And finally, take your time and work carefully to avoid damaging your vehicle or hurting yourself. By following these safety precautions, you can ensure a successful and safe removal of your fenders and running boards.
Step 5: Reconnect Battery and Test
After completing the fourth step, the fifth and final step is to reconnect the battery and test the system. This step is crucial to ensure that the fenders and running boards are properly removed and reinstalled, and that all electrical components are functioning correctly. Before reconnecting the battery, it is important to clean the battery terminals and cables to ensure a strong connection. Once the battery is reconnected, turn on the ignition and test the headlights, turn signals, and other electrical components to ensure they are working properly. If any issues arise, double-check all connections and wiring to ensure everything is properly connected. Testing the system is an important step in the process of removing and reinstalling fenders and running boards. It ensures that all electrical components are properly connected and that the vehicle can be driven safely. Without proper testing, there is a risk of malfunctioning electrical components or improper installation, which could lead to unsafe driving conditions. By taking the time to properly test the system, you can have peace of mind knowing that everything is working as it should and that you and your passengers are safe on the road.
Once you have successfully removed the fenders and running boards from your YTH1542XP, it’s now time to reconnect the battery. Begin by ensuring that the battery terminals and cables are clean and free of any debris or corrosion. Next, reattach the positive cable to the positive terminal, followed by the negative cable to the negative terminal. Use a wrench to tighten the nuts on the battery cables, but be careful not to overtighten them. Finally, turn on the ignition switch to verify that the battery is properly connected and that the engine starts without any issues. With these simple step-by-step instructions, you can easily reconnect your YTH1542XP battery and get back to mowing your lawn in no time.
Before attempting to remove the fenders and running boards from your YTH1542XP, it is critical to test the mower to ensure its proper functioning. Testing the mower before use can save you time, effort, and potential danger. A thorough inspection of the mower’s engine, blades, belts, and other essential components will help you identify any potential issues that need to be resolved before proceeding with the removal process. Additionally, testing the mower will prevent any potential accidents or injuries that could occur if a malfunction were to happen during the removal process. Therefore, it is essential to take the time to test your mower before attempting any DIY projects to ensure a safe and successful outcome.
After removing the fenders and running boards from your YTH1542XP, it’s essential to make sure everything is properly reconnected before you take it out for a spin. To ensure proper reconnection, start by checking all the cables and wires to ensure they are correctly attached. Also, make sure all the nuts, bolts, and screws are tightly fastened to avoid any loose parts. Inspect the connections for any signs of damage or wear and repair or replace them if necessary. Additionally, check the alignment of the fenders and running boards to make sure they are in their proper positions. Finally, test drive the mower to ensure everything is working correctly before using it for a full mowing session. By taking these steps, you can rest assured that your YTH1542XP will be safe and ready for use.
Removing fenders and running boards from your YTH1542XP can be a daunting task, but with the right knowledge and tools, it can be done in five easy steps. First, disconnect the battery to avoid any electrical hazards. Then, remove the screws securing the fenders and running boards to the frame using a socket wrench. Next, carefully remove the fenders and running boards from the frame, being mindful of any wiring or cables that may be attached. Once removed, inspect and clean the fenders and running boards before reinstalling or replacing them. Finally, reconnect the battery and test that everything is working properly. With these five simple steps, you can easily remove and replace the fenders and running boards on your YTH1542XP.
Before proceeding with the removal of fenders and running boards from your YTH1542XP, it is essential to remind you of the importance of following safety precautions and taking necessary care during the process. You must wear appropriate protective gear, such as gloves and safety glasses, to avoid any injuries or accidents. Moreover, make sure to disconnect the battery and remove any loose parts that may cause obstruction during the procedure. It is also advisable to have an assistant to help you with heavy lifting or providing additional support. By keeping these safety measures in mind, you can ensure a smooth and hassle-free removal process.
Undertaking a DIY project can be both exciting and challenging. However, there may be times when you feel uncertain about any aspect of the task. In such situations, it is essential to seek professional help to ensure that the job is completed successfully and safely. Seeking professional assistance can help you avoid potential hazards and prevent costly mistakes. Remember that it is always better to be cautious and seek professional help than to risk your safety and that of others. So, if you find yourself in doubt or confusion, do not hesitate to reach out for professional guidance.
Conclusion
In conclusion, the process of removing fenders and running boards from YTH1542XP can be easily accomplished by following the five simple steps outlined in this DIY guide. With the right tools, patience, and attention to detail, any DIY enthusiast can undertake this task and give their mower a much-needed upgrade or repair. By taking the time to remove and replace these components, you’ll not only improve the overall appearance of your mower but also potentially extend its lifespan. So don’t hesitate to give it a try and see the results for yourself!
