DIY Guide: Easy Steps to Install Running Boards on Hummer Yourself
If you own a Hummer, you know the importance of having running boards installed. Running boards not only enhance the appearance of your vehicle, but they also provide a functional purpose, making it easier to get in and out of the car. While many people choose to have running boards installed by a professional, it’s possible to install them yourself with just a few simple tools and some basic DIY knowledge. In this DIY guide, we’ll take you through the easy steps to install running boards on your Hummer, giving your car a stylish and practical upgrade. Before beginning the installation process, it’s important to choose the right running boards for your Hummer. Running boards come in a variety of materials, including stainless steel, aluminum, and molded plastic. It’s essential to choose a set of running boards that are specifically designed for your vehicle, as this ensures a perfect fit and maximum functionality. Once you’ve chosen your running boards, it’s time to get started on the installation process. With our step-by-step guide, you’ll be able to install your running boards quickly and easily, giving your Hummer a sleek and stylish new look in no time.
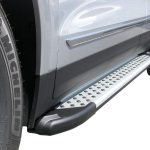
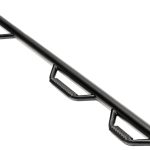
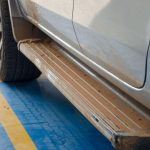
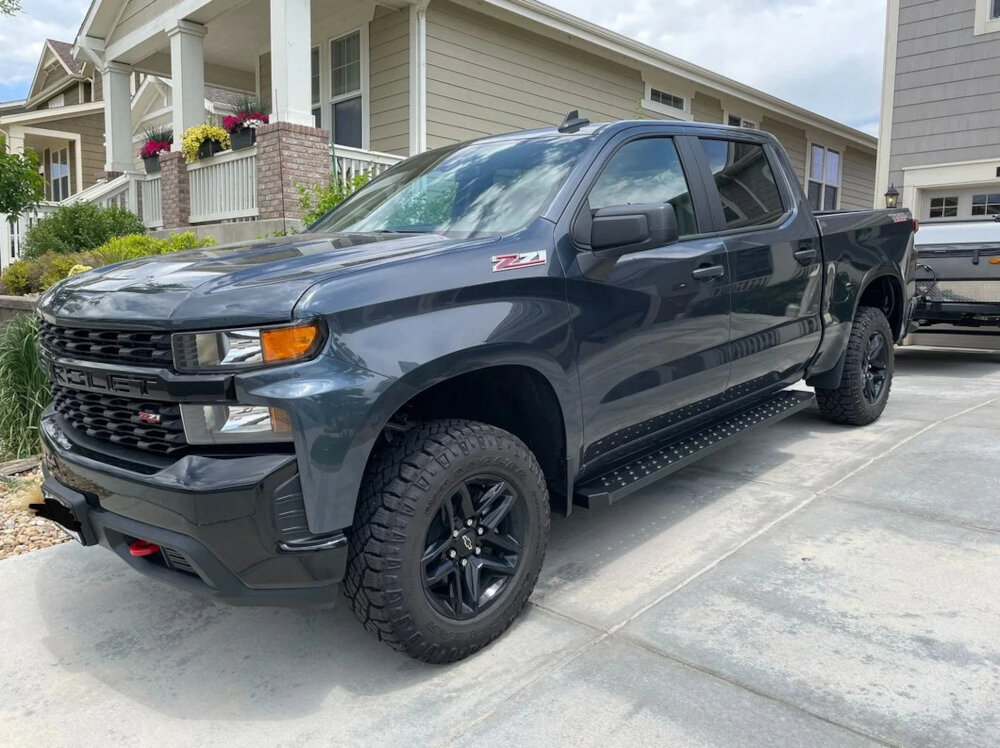
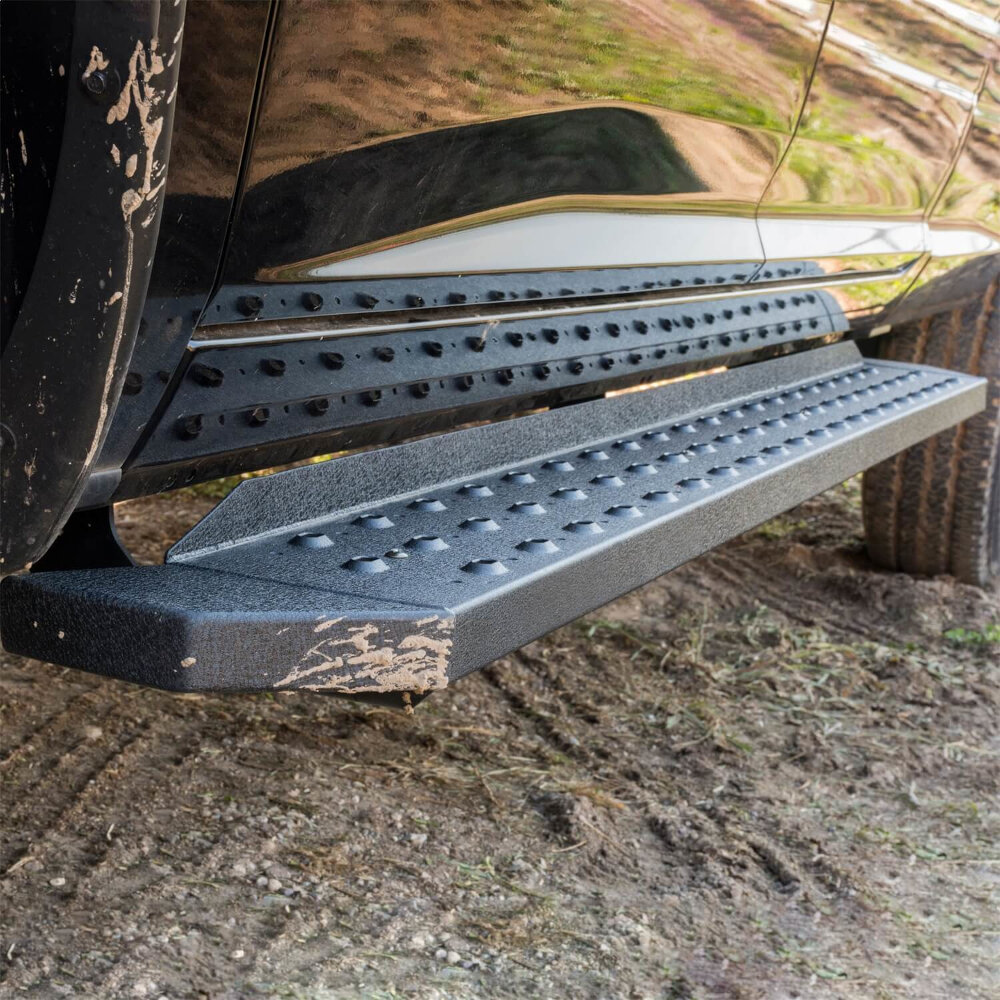
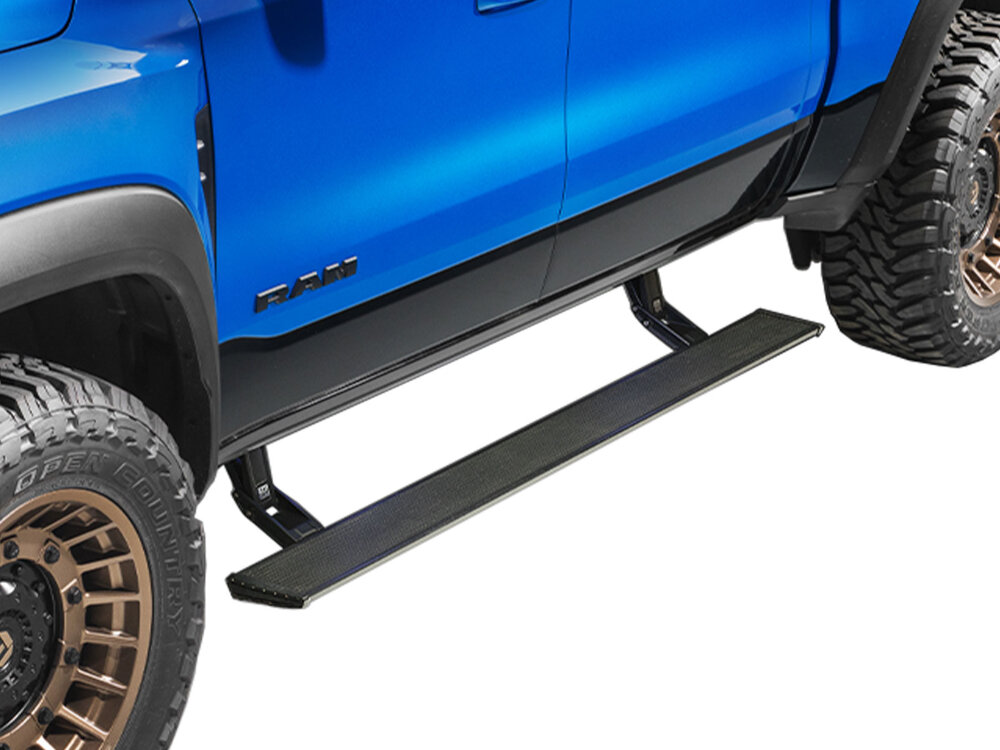
Running boards are a popular automotive accessory that is designed to provide a step up into your vehicle. They are especially useful for Hummer owners who may have a higher ground clearance than most other vehicles. Running boards are typically made of sturdy materials such as aluminum or steel and are mounted to the side of the vehicle. They not only provide a convenient step up into the Hummer, but they also add a stylish touch to the vehicle’s exterior. They can also help protect the paint and body of the vehicle from debris and road hazards. Installing running boards on your Hummer is a great way to improve the functionality and appearance of your vehicle.
Materials and Tools
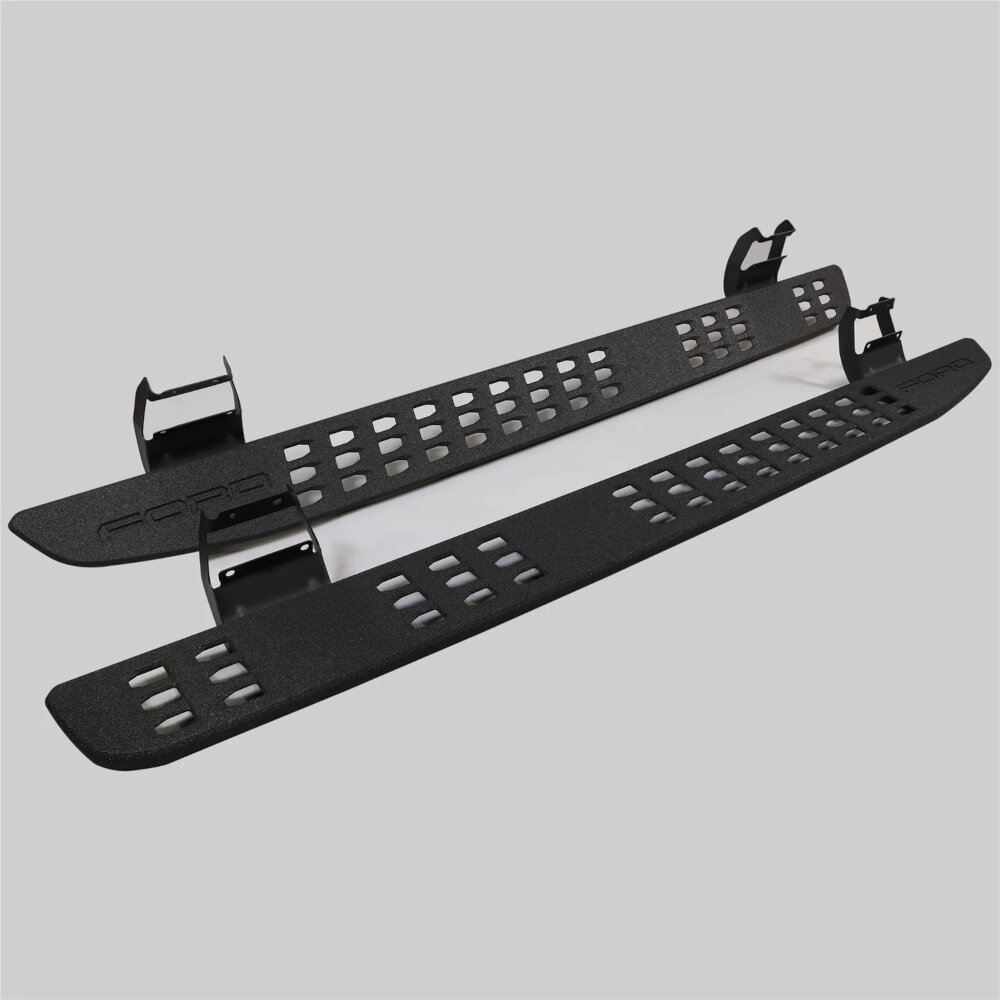
When it comes to installing running boards on your Hummer, having the right materials and tools can make all the difference. The materials required for this DIY project include running boards, mounting brackets, bolts, washers, and nuts. It’s essential to ensure that you have the correct size and type of running boards and mounting brackets that are compatible with your Hummer’s model and year. Low-quality materials may not be durable enough to withstand the weight and pressure of the vehicle or may not fit correctly. Apart from materials, having the right tools is equally important. The necessary tools for this installation include a socket wrench set, drill, drill bits, tape measure, center punch, and a torque wrench. These tools will help you drill holes in the correct locations on your Hummer’s frame and attach the running boards securely. It’s crucial to use the correct drill bits for the size of the bolts and washers to avoid damaging the vehicle’s frame. Having the right tools and materials on hand will make the installation process smooth and successful.
Before starting the installation process of running boards on your Hummer by yourself, it is essential to gather all the necessary materials and tools. The required materials for this installation include running boards, mounting brackets, bolts, screws, washers, and nuts. Additionally, you will need a drill, drill bit, socket wrench, torque wrench, measuring tape, and a level to ensure the boards are installed correctly. It is also recommended to have a friend or assistant to help hold the boards in place during the installation. Having all these materials and tools ready before starting the process will make the installation process smoother and efficient, saving time and energy.
When it comes to DIY projects, safety should always be a top priority. One essential safety measure that should never be overlooked is the use of protective gear. When installing running boards on your Hummer, it is important to wear gloves and goggles to protect your hands and eyes from sharp edges and flying debris. Gloves provide a barrier between your skin and any potential hazards, while goggles shield your eyes from any debris that may be kicked up during the installation process. By including safety equipment in your DIY project, you can ensure that you stay safe and avoid any potential injuries.
StepbyStep Installation Process
The step-by-step installation process is the key to successfully installing running boards on your Hummer. This process is designed to make the installation as easy and straightforward as possible. The first step is to gather all the necessary tools and materials for the installation. This includes the running boards, brackets, bolts, nuts, and any other hardware that may be needed. It’s important to ensure that all the parts are included and that they’re the right size and fit for your Hummer. Once you have all the tools and materials, the next step is to prepare your Hummer for the installation process. This involves cleaning the area where the running boards will be installed and ensuring that the surface is smooth and free of any debris or dirt. You may also need to remove any existing running boards or side steps before proceeding with the installation. Once your Hummer is ready, you can begin the installation process by attaching the brackets to the vehicle’s frame. From there, you can attach the running boards to the brackets using bolts and nuts. Finally, you’ll need to adjust the running boards to ensure that they’re level and securely attached to your Hummer. Overall, following the step-by-step installation process is essential for a successful and hassle-free installation of running boards on your Hummer.
Installing running boards on your Hummer is a great way to increase ease of access to your vehicle and enhance its appearance. To begin, gather all necessary tools and equipment, including a drill, drill bits, wrench, and running board kit. Next, locate the mounting holes on the underside of the vehicle and position the brackets accordingly. Secure the brackets tightly with bolts and washers before attaching the running boards to the brackets using the provided hardware. Once the running boards are securely mounted, adjust their position as needed before tightening the bolts to their final torque. Finally, test the stability of the running boards before taking your Hummer for a spin. With these simple steps, you can easily install running boards on your Hummer without the need for professional assistance.
If you’re planning to install running boards on your Hummer, it’s important to break down the process into manageable steps that are easy to follow. This will not only help you stay organized, but it will also ensure that you don’t miss any crucial steps. Start by gathering all the necessary tools and materials, such as the running boards themselves, a drill, screws, and brackets. Next, measure and mark the placement of the running boards on your Hummer, ensuring that they’re level and centered. From there, it’s a matter of drilling holes, attaching brackets, and finally installing the running boards themselves. By following these easy steps, you’ll be able to install running boards on your Hummer like a pro!
Tips and Tricks

Installing running boards on your Hummer can be a great way to enhance its appearance and functionality. However, it could also seem like a daunting task, especially if you have never done it before. To make the process less intimidating and more manageable, here are some tips and tricks to consider. Before starting the installation, make sure to read the instructions carefully and gather all the necessary tools. It is also crucial to have good lighting and enough space to work comfortably. Additionally, it is advisable to have a friend or family member assist you, as this will make the process more manageable and enjoyable. When removing the old running boards, take your time and be careful not to damage any parts of your car. You can use a pry bar or a wrench to loosen the bolts holding the old boards in place. Once you have removed the old boards, clean the area thoroughly and ensure that it is free from any debris or dirt. When installing the new running boards, use the appropriate hardware and follow the instructions step by step. It is also essential to double-check that the running boards are level and secure before taking your Hummer for a spin. By following these tips and tricks, you can install running boards on your Hummer with ease, and enjoy the benefits of a more functional and stylish vehicle. In conclusion, installing running boards on your Hummer is a DIY project that can be accomplished with the right tools and a bit of patience. Following the tips and tricks outlined above will help you navigate the process more smoothly and ensure that the final product is of high quality. Remember to take your time, read the instructions carefully, and ask for help when needed. With a little effort, you can transform your Hummer into a more functional and stylish vehicle that you will be proud to drive.
Installing running boards on your Hummer can be a challenging task, but with the right approach, it can be made easy and efficient. Firstly, ensure that you have all the necessary tools and materials required for the installation process. This will save you time and prevent delays. Secondly, it’s important to follow the manufacturer’s instructions carefully and avoid taking shortcuts. This will help you avoid damaging your vehicle or the running boards. Additionally, working with a partner can make the installation process easier and faster. Finally, take your time and be patient. Rushing through the installation process can lead to errors and safety hazards. With these tips, you can make the installation process a breeze and enjoy the benefits of your new running boards on your Hummer.
When it comes to installing running boards on your Hummer, there are a few tips and tricks that can make the process much smoother. Firstly, be sure to measure everything twice before making any cuts or drilling any holes. This will ensure that everything is positioned correctly and prevent any mistakes. Secondly, use a level to ensure that the running boards are straight and even. This will not only look better but also prevent any potential safety hazards. Finally, use a torque wrench to tighten all bolts and screws to the manufacturer’s recommended specifications. This will ensure that everything is securely fastened and prevent any loosening over time. By following these tips and tricks, you can easily install running boards on your Hummer yourself and enjoy the added convenience and style they provide.
Common Mistakes to Avoid
When it comes to installing running boards on a Hummer yourself, there are a few common mistakes that you should avoid. First and foremost, make sure to measure and mark the placement of the running boards accurately before drilling any holes. Failure to do so could result in the running boards being improperly aligned or even unusable. Additionally, it’s important to use the correct type of drill bit for the job. Using the wrong size or type of bit could cause damage to the running boards or even the vehicle itself. Another mistake to avoid is not properly securing the running boards to the vehicle. It’s crucial to use the appropriate hardware and follow the manufacturer’s instructions carefully. Failure to do so could result in the running boards becoming loose or even falling off while driving, which could be extremely dangerous. Lastly, be sure to take your time and work carefully. Rushing through the installation process could lead to mistakes and ultimately compromise the safety and functionality of the running boards. By avoiding these common mistakes, you can ensure a successful installation and enjoy the benefits of having running boards on your Hummer.
It is essential to be aware of common mistakes that people make during the installation process of running boards on a Hummer. One of the most common mistakes is not following the instructions provided by the manufacturer. It is crucial to read the instructions carefully and understand all the steps involved in the installation process. Another mistake many people make is not having the right tools and equipment for the job. It is important to gather all the necessary tools before starting the installation process to avoid any setbacks. Lastly, not properly securing the running boards can cause serious safety hazards, and it’s important to ensure that they are securely fastened to the vehicle. By avoiding these common mistakes, you can ensure a successful installation and enjoy the added convenience and safety that running boards provide.
When it comes to installing running boards on your Hummer yourself, there are a few mistakes that you should avoid. Firstly, not following the instructions provided could lead to incorrect installation and potential safety issues. Secondly, using the wrong tools or hardware can lead to damage to your vehicle or the running boards themselves. To avoid these issues, ensure that you read the instructions thoroughly and have the correct tools and hardware before starting the installation process. Additionally, if you encounter any issues during the installation, such as difficulty aligning the running boards, reach out to a professional for assistance or consult online forums for advice. By taking these precautions, you can ensure a successful installation of running boards on your Hummer.
The article titled \DIY Guide Easy Steps to Install Running Boards on Hummer Yourself\ provides a step-by-step guide on how to install running boards on a Hummer. The article emphasizes the importance of following the instructions carefully. The main points of the article include the tools required for the installation, the steps involved in the process, and precautions to be taken during the installation. The article highlights the importance of following the instructions carefully because any mistake can lead to the running board being unstable and can cause accidents while driving. Therefore, it’s important to be patient and pay attention to the details to ensure a safe and successful installation.
We value your opinion! If you have recently followed our DIY guide on installing running boards on your Hummer, we encourage you to share your experience with the installation process. We would love to hear your feedback, whether it be positive or negative, as it helps us improve our guide and provide the best possible instructions for our readers. Your input can also benefit others who are considering installing running boards on their Hummer, so don’t hesitate to share your thoughts. Remember, your feedback is valuable to us and helps us continue to provide top-notch content for our readers.
Conclusion
In conclusion, if you are looking to add some style and functionality to your Hummer, installing running boards can be a great DIY project. By following the easy steps outlined in this guide, you can easily install running boards on your Hummer yourself. Not only will the running boards enhance the overall look of your vehicle, but they will also provide a more convenient way to get in and out of your Hummer. So, grab your tools and get to work on customizing your Hummer with some sleek and functional running boards.