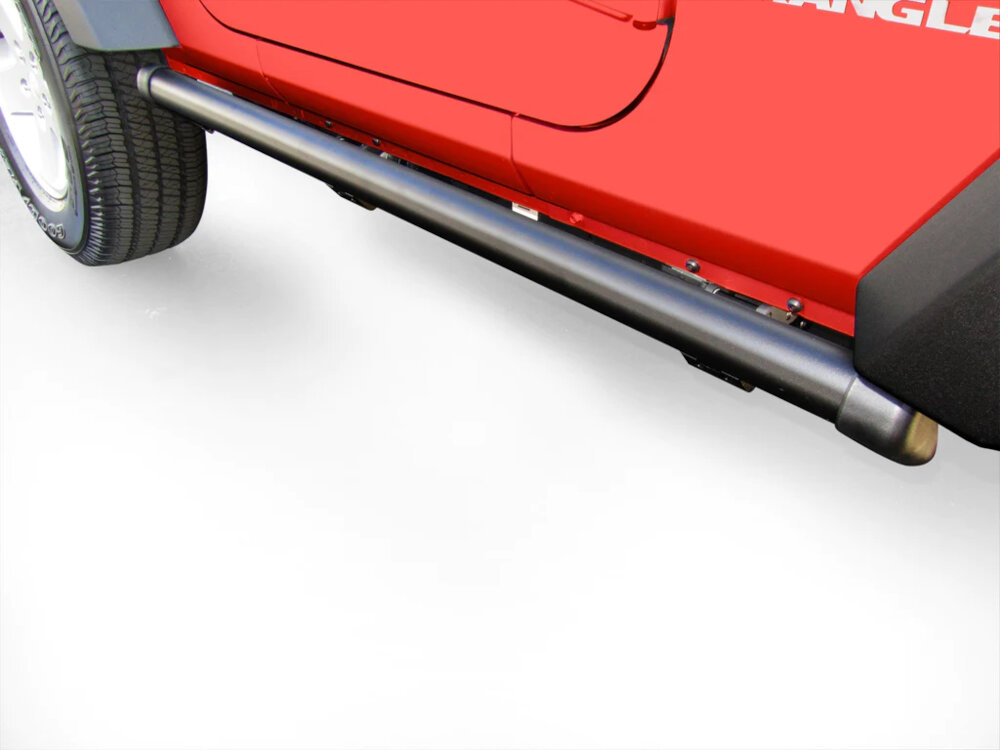
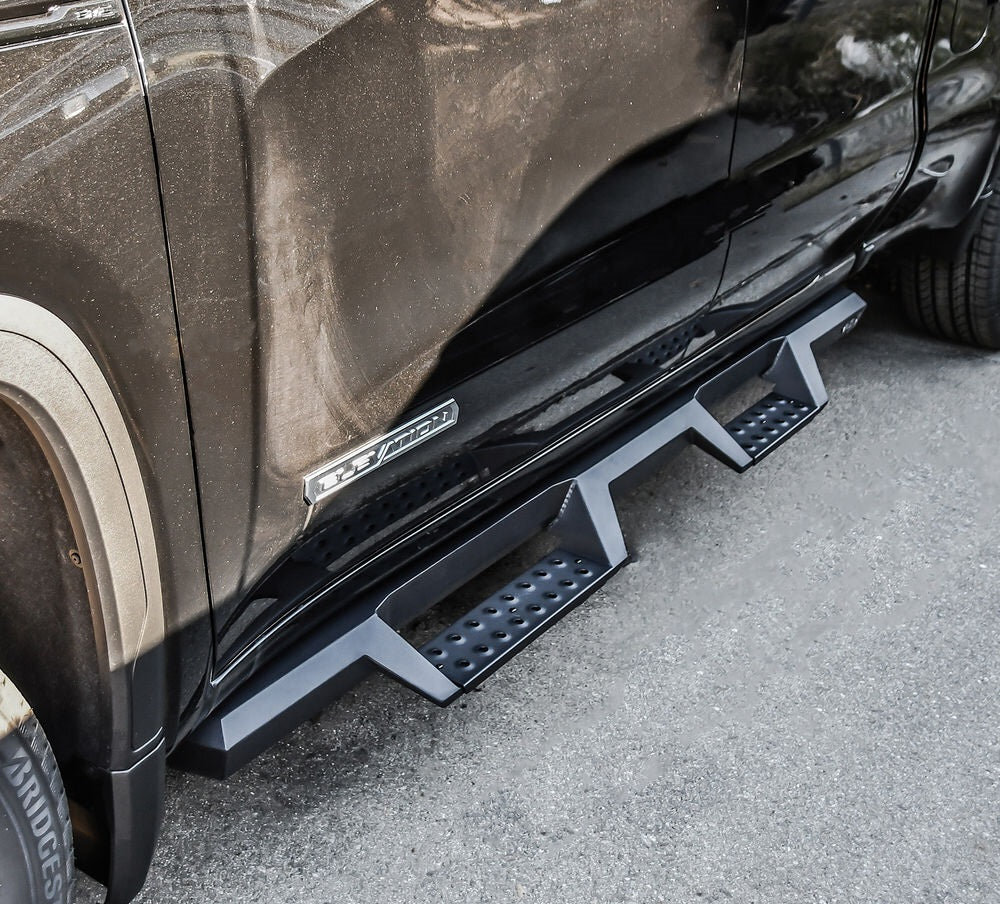
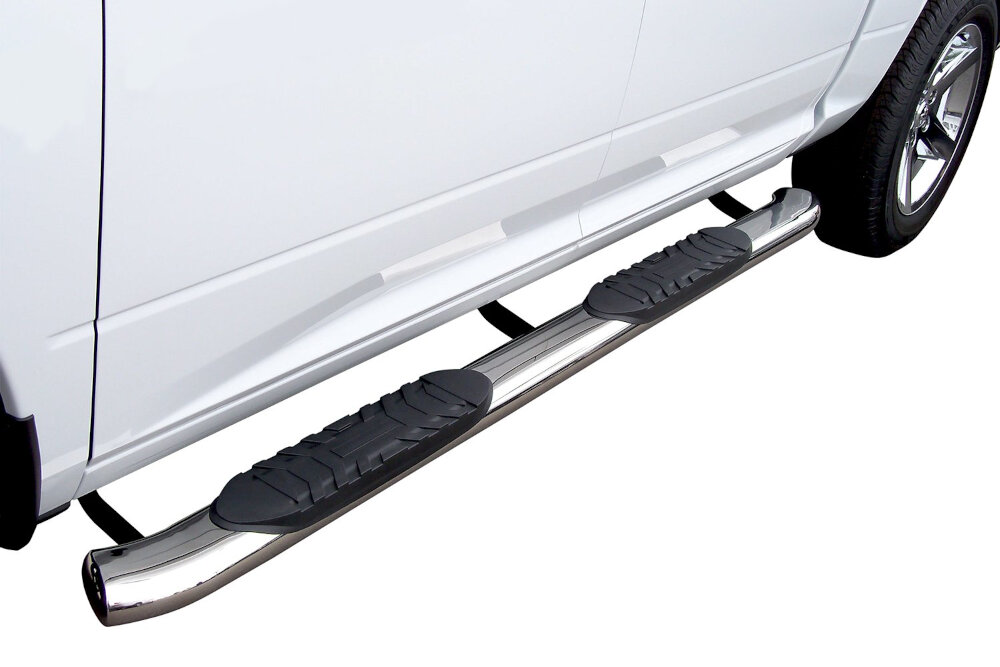
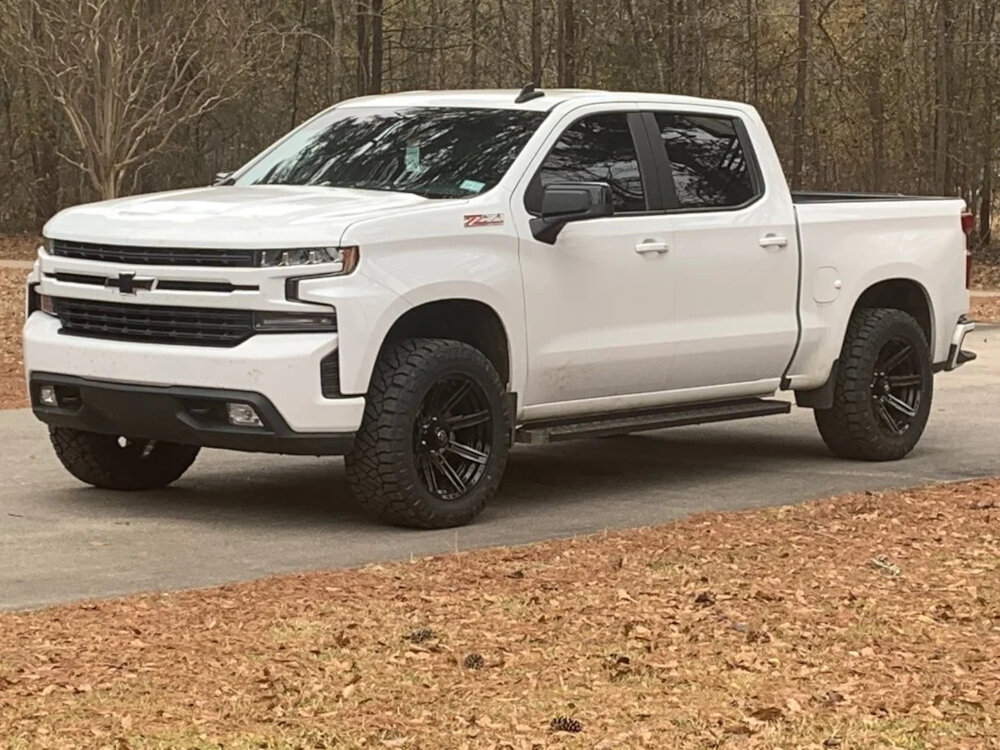
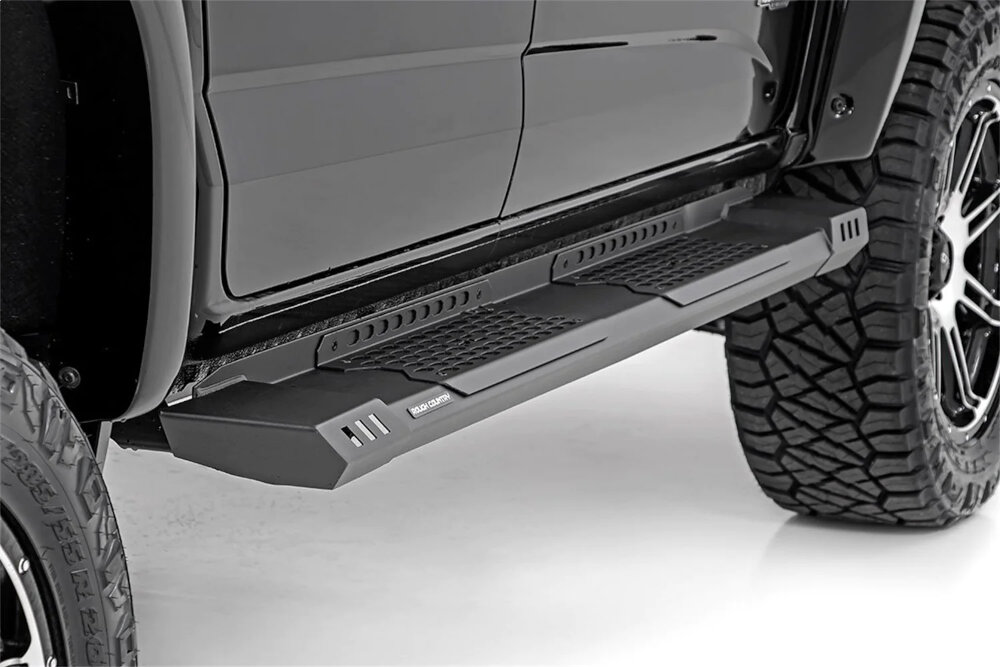
5 Easy Steps: Installing Chevy Running Boards with Support Brackets

Installing running boards on your Chevy truck is a great way to add style and functionality to your vehicle. Running boards provide a convenient step up into your truck, making it easier to get in and out of the cab. They also offer protection to your vehicle’s lower body, shielding it from debris and other road hazards. If you’re looking to install running boards on your Chevy truck, you’re in luck! With the right tools and a little know-how, installing running boards can be a straightforward process that you can do yourself. In this guide, we’ll walk you through the 5 easy steps to install Chevy running boards with support brackets. We’ll cover everything from the tools you’ll need to the specific steps you’ll take to install the running boards. With our help, you’ll be able to install running boards on your Chevy truck in no time, and enjoy the added convenience and style they provide. So let’s get started!
Step 1: Gather the Necessary Tools and Materials
When it comes to installing Chevy running boards with support brackets, the first step is to gather all the necessary tools and materials. This includes a drill, drill bits, a ratchet set, a torque wrench, and a measuring tape. You will also need the running boards themselves, as well as the support brackets and any mounting hardware that may be required. Before you begin, it’s important to make sure that you have all of these items on hand, as well as a clear workspace to complete the installation. One of the most important reasons to gather all necessary tools and materials before beginning the installation process is to ensure that you have everything you need to complete the job safely and effectively. Without the right tools and materials, you may end up damaging your vehicle or the running boards, or even injuring yourself in the process. Additionally, having everything you need on hand can help to streamline the installation process and make the entire job go more smoothly. So before you get started, take the time to gather everything you need and double-check that you haven’t forgotten anything crucial.
Before starting the installation process of Chevy running boards with support brackets, it’s essential to have all the necessary tools and materials to avoid any inconvenience. Firstly, gather the required tools, including a drill machine, drill bits, wrenches, sockets, and a torque wrench. Additionally, a measuring tape, a pencil, and a leveler will come in handy while measuring and aligning the brackets. Moreover, it’s necessary to have safety equipment like gloves and goggles to ensure safety while working. Materials like support brackets, mounting bolts, and nuts, which come with the running boards’ kit, are also essential. It’s recommended to organize all the tools and materials before starting the installation to make the process smoother and quicker.
Before starting the installation process of Chevy running boards with support brackets, it’s essential to gather everything you need. Firstly, ensure that you have all the necessary tools such as a wrench, socket set, and drill. Secondly, check that you have all the required parts, including the brackets, bolts, and running boards. It’s also crucial to read the instruction manual carefully to understand the installation process and the order in which the parts should be assembled. Additionally, ensure that you have a safe and clean workspace, free of any clutter or debris, to make the process more manageable and efficient. Taking the time to gather everything you need before starting the installation process will save you time and reduce the risk of errors or accidents during the process.
Step 2: Preparing the Vehicle
The second step in installing Chevy running boards with support brackets is preparing the vehicle. This step requires some extra attention to detail, as it involves cleaning the area where the brackets will be attached. Before beginning, make sure to gather all necessary tools and equipment, including a screwdriver, drill, and cleaning supplies. To start, use a cleaning solution to thoroughly wash the area where the brackets will be attached. This will help ensure a strong bond between the brackets and the vehicle. Next, carefully position the brackets on the vehicle and mark the spots where the screws will go. Double-check the positioning to make sure the brackets are level and secure. Once the spots are marked, use a drill to create holes for the screws. Be mindful of the size of the screws and make sure the holes are the appropriate size. After the holes are drilled, attach the brackets to the vehicle using the screws provided. This step is crucial in ensuring the running boards are securely attached to the vehicle, so take time to make sure everything is properly aligned.
Before installing Chevy running boards with support brackets, it is crucial to prepare your vehicle. Begin by cleaning the surface where the brackets will be attached, ensuring that there is no dirt or debris. Next, inspect the brackets and hardware for any damage or defects. Also, check your vehicle’s weight capacity to ensure that it can support the added weight of the running boards and passengers. Lastly, make sure you have all the necessary tools and equipment, including a torque wrench and a drill, to complete the installation accurately. Taking the time to prepare your Chevy vehicle beforehand will help ensure a smooth and safe installation of the running boards with support brackets.
Ensuring the safety and security of your vehicle is crucial before installing Chevy running boards with support brackets. The first step is to park your vehicle on a flat surface and engage the parking brake. Then, ensure that the vehicle is turned off and the keys are removed from the ignition. Next, use a jack to elevate the vehicle and support it with jack stands. It’s important to check the stability of the vehicle before installing the running boards. After that, clean the area where the running boards will be installed to remove any debris or dirt. Lastly, check that all necessary tools and equipment are available and ready for use. By following these steps, you can ensure that the installation process will be safe and secure for your vehicle.
Step 3: Installing the Support Brackets

When it comes to installing Chevy running boards, Support Brackets are the backbone of the entire process. It is essential to ensure that they are installed correctly to provide a solid foundation for the running boards. The third step in the installation process is to install the support brackets. The support brackets are typically made of heavy-duty steel that can withstand a lot of weight and stress. Installing these brackets correctly will ensure that the running boards are securely attached to the vehicle and will not move or wobble. To install the support brackets, you will need to use the hardware that comes with the kit. It’s essential to follow the manufacturer’s instructions on where to place the brackets and how to secure them to the vehicle. Generally, the brackets will need to be bolted to the frame of the vehicle to ensure they are sturdy enough to support the weight of the running boards. Once the brackets are installed, it’s essential to double-check that they are securely in place before moving on to the next step. Overall, installing the support brackets is one of the most crucial steps in the installation process, and it’s essential to take your time and do it correctly to ensure a safe and secure installation.
Step-by-step instructions for installing the support brackets on your Chevy running boards are quite simple. Firstly, locate the four support brackets and position them correctly on the underside of the running board. Then, secure the brackets with screws and bolts provided in the kit. After that, position the running board on the vehicle frame and align the brackets with the mounting holes. Next, insert the bolts through the brackets and into the mounting holes and tighten them down securely with a socket wrench. Finally, double-check that all the bolts and screws are tight, and the support brackets are securely fastened to the frame. Following these easy steps will ensure a durable and long-lasting installation of your Chevy running boards with support brackets.
Properly securing and stabilizing the support brackets is crucial for the safety and longevity of your Chevy running boards. One of the most important tips is to use high-quality hardware and ensure that you have all the necessary parts before starting the installation. It’s also essential to follow the manufacturer’s instructions carefully and use the right tools for the job. Before attaching the brackets, make sure that the surface is clean and free of dirt and debris, and use a level to ensure that the brackets are straight and even. Finally, double-check that the brackets are securely fastened and tightened to prevent any wobbling or movement. By taking these steps, you can ensure that your Chevy running boards are properly installed and safe to use.
Step 4: Installing the Running Boards
Installing running boards on your Chevy truck is a great way to improve accessibility and add a touch of style to your ride. Step 4 of the installation process involves attaching the running boards to the support brackets. To do this, you’ll need to carefully align the pre-drilled holes in the running boards with the holes in the brackets. Once you’ve got them lined up, use the provided bolts and washers to secure the boards to the brackets. Be sure to tighten the bolts firmly, but not so much that you damage the boards or brackets. It’s important to note that different running board models may require slightly different installation techniques. For example, some boards may have a trim piece that needs to be attached separately, or may require additional brackets for support. Be sure to carefully read the instructions that come with your running boards and support brackets before beginning the installation process. With a little patience and attention to detail, you’ll have your Chevy looking great and functioning even better in no time!
Installing Chevy running boards with support brackets is a simple process that can be done in five easy steps. Firstly, locate the support brackets and attach them to the frame of your vehicle. Secondly, align the running boards with the support brackets and secure them in place using the provided hardware. Thirdly, adjust the running boards to the desired position and tighten all bolts and screws to ensure a secure fit. Fourthly, repeat the process on the other side of the vehicle. Finally, test the running boards to ensure they are properly installed and adjust if necessary. With these step-by-step instructions, you’ll have your Chevy running boards with support brackets installed in no time.
When installing Chevy running boards with support brackets, it’s important to ensure that they are level and secure. Here are a few tips to help you achieve this: Firstly, make sure that the brackets are properly aligned with the vehicle’s frame. This will help to ensure that the running boards are level and won’t tilt or wobble. Secondly, use high-quality hardware and fasteners to secure the brackets to the frame. This will help to ensure that the running boards are firmly attached and won’t loosen over time. Thirdly, use a level to check that the running boards are level before tightening the bolts. Finally, periodically check the bolts and fasteners to ensure that they remain tight and secure over time. By following these tips, you can ensure that your Chevy running boards are installed correctly, and will provide safe and secure access to your vehicle for years to come.
Step 5: Finishing Touches
{error:Internal Server Error}
Once you’ve successfully installed the running boards and support brackets on your Chevy, it’s important to make final adjustments and ensure that everything is properly tightened and secured. Start by double-checking all bolts and screws to ensure they are tight and secure. Next, check that the running boards are level and aligned with the vehicle’s body. Make sure that the support brackets are also level and properly aligned with the running boards. Lastly, test the running boards to ensure that they are sturdy and can support weight without any wobbling or shaking. Taking these final steps will ensure that your running boards are safe and will provide excellent support for years to come.
After installing Chevy running boards with support brackets, it’s essential to keep them clean and well-maintained to ensure their longevity. Firstly, use a mild soap and water solution to clean the running boards and brackets thoroughly. Avoid using harsh chemicals or abrasive materials that can damage the surface. Secondly, rinse the boards and brackets with a hose and dry them with a clean, soft cloth. Thirdly, inspect the brackets and bolts regularly to ensure they are secure and tighten them if necessary. Finally, consider applying a protective coating like wax or a clear sealant to the running boards and brackets to prevent rust and corrosion. By following these simple steps, you can ensure your Chevy running boards and support brackets stay in pristine condition for years to come.
Installing running boards on your Chevy can enhance its appearance and functionality. To install Chevy running boards with support brackets, you need to follow these five easy steps. Firstly, gather all the necessary tools and place the brackets on the board. Secondly, align the board and brackets with the vehicle’s frame. Thirdly, secure the brackets to the vehicle’s frame using bolts and nuts. Fourthly, attach the running board to the brackets using bolts, washers, and nuts. Finally, check and adjust the running board’s position and make sure it’s aligned with the vehicle’s doors. By following these simple steps, you can effortlessly install Chevy running boards with support brackets and add a stylish and practical touch to your vehicle.
Completing the installation process of Chevy running boards with support brackets is easier than it seems, but it requires some patience and attention to detail. My final suggestion is to carefully read and follow the installation instructions provided with the running boards and brackets to avoid any mistakes or accidents during the process. It’s also recommended to have a friend or family member assist you, especially when lifting and adjusting the running boards and brackets. Lastly, don’t hesitate to reach out to a professional mechanic or auto shop if you encounter any difficulties or have any questions. Following these suggestions will ensure that your Chevy running boards are installed correctly and provide you with the convenience and safety you need.
Conclusion
In conclusion, installing Chevy running boards with support brackets is a straightforward process that can be accomplished in just five easy steps. By following the detailed instructions provided and using the necessary tools, anyone can add this accessory to their vehicle and enjoy the benefits of increased convenience and style. The robust support brackets ensure that the running boards remain securely in place, providing a safe and stable platform for passengers to step onto. Whether you’re looking to enhance the aesthetics of your Chevy or make it more functional, installing running boards with support brackets is an excellent choice. So go ahead and give it a try, and take your driving experience to the next level!
Related posts:
 2003 Chevy Trailblazer Running Boards: Cost Breakdown and Installation Tips
Simple Steps to Secure Your Running Boards on the 2021 GMC Yukon
2006 Durango Running Boards Removal Guide: Easy Steps to Remove Running Boards on Your SUV
Master the Art of Lowering Running Boards with These Simple Steps for 4 Runner Owners
2003 Chevy Trailblazer Running Boards: Cost Breakdown and Installation Tips
Simple Steps to Secure Your Running Boards on the 2021 GMC Yukon
2006 Durango Running Boards Removal Guide: Easy Steps to Remove Running Boards on Your SUV
Master the Art of Lowering Running Boards with These Simple Steps for 4 Runner Owners