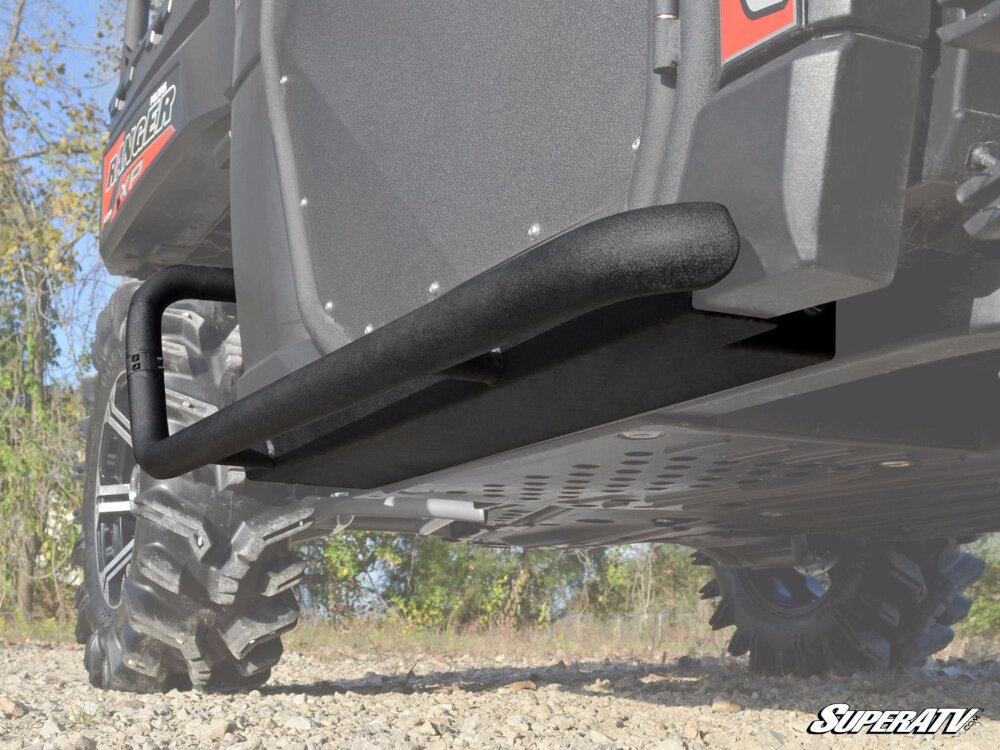
2006 Durango Running Board Removal: What Size Wrench Do You Need?
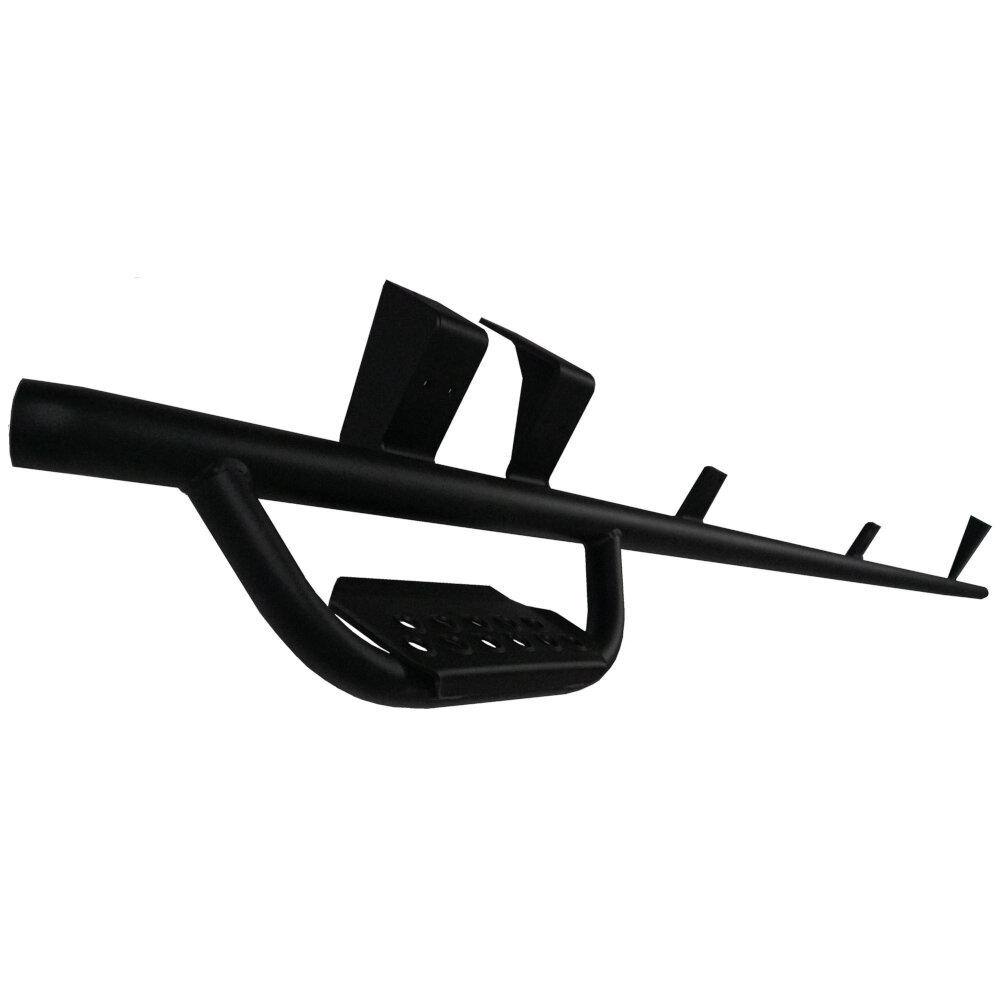
The 2006 Durango Running Board is a great addition to your vehicle, providing an extra layer of protection and convenience for you and your passengers. However, there may come a time when you need to remove the running board for maintenance or repair purposes. One of the most common questions asked during the removal process is, \what size wrench do I need?\ Luckily, we are here to help you with that answer, so you can get the job done efficiently and effectively. Removing the 2006 Durango Running Board may seem like a daunting task, but with the right tools and knowledge, it can be a relatively simple process. The first step is to identify the size wrench that you will need to remove the bolts holding the running board in place. This information can be found in your vehicle’s manual or by consulting with a trusted mechanic. Once you have the correct tool in hand, you can begin the process of removing the running board, allowing you to perform any necessary repairs or maintenance with ease.
The 2006 Durango is a popular SUV that is known for its stylish and versatile features. However, many owners of this vehicle may need to remove the running boards for various reasons, such as repairing or replacing them. This article aims to provide a step-by-step guide on how to remove the running board on a 2006 Durango and the size of the wrench required to complete the task. Removing the running board can be a daunting task, but with the right tools and instructions, it can be done quickly and easily. So, if you’re looking to remove the running board on your 2006 Durango, keep reading to find out what size wrench you’ll need and how to get the job done right.
Step 1: Gather Your Tools
In order to successfully remove the running board on your 2006 Durango, it is important to gather all the necessary tools beforehand. This will save you time and reduce the risk of damaging any parts during the removal process. The required tools for this task include a socket wrench, a torque wrench, a pry bar, and a screwdriver. The socket wrench is necessary for removing bolts that hold the running board in place, while the torque wrench is used to tighten the bolts back in place once the new running board is installed. The pry bar is useful in removing any stubborn clips or fasteners, while the screwdriver is required for removing any screws that may be holding the running board in place. It is important to note that the size of the wrench required for this task may vary depending on the specific model of your 2006 Durango. Therefore, it is recommended that you check your vehicle manual or consult with a mechanic to determine the appropriate size wrench needed. Additionally, it is important to ensure that all tools are in good working condition before starting the removal process. This will prevent any potential accidents or damage to the vehicle. By gathering all the necessary tools and taking the necessary precautions, you can ensure a successful and efficient removal of your 2006 Durango running board.
Before beginning the task of removing the running board from a 2006 Durango, it is important to gather all the necessary tools. The primary tool required for this job is a wrench set, which includes the specific wrench size needed to remove the bolts securing the running board. In addition to the wrench set, other tools that may come in handy include a socket set, a ratchet, and a pry bar. It is also important to have safety equipment such as gloves and goggles to protect yourself during the process. By having all the necessary tools beforehand, you can ensure a smooth and efficient removal of the running board without encountering any unexpected complications.
Step 2: Locate the Bolts
In the article titled \2006 Durango Running Board Removal: What Size Wrench Do You Need,\ the second step is to locate the bolts. This step is crucial in removing the running board safely and efficiently. The bolts that hold the running board in place may vary in number and location depending on the make and model of the vehicle. Therefore, it is important to locate all the bolts before attempting to remove the running board. Locating the bolts can be a time-consuming process, but it is essential to do it properly to avoid causing damage to the vehicle or to the running board. Typically, the bolts are located on the underside of the running board and are secured with nuts. It is important to use the correct wrench size to loosen the nuts and remove the bolts. Once all the bolts have been located, the running board can be safely removed, and any necessary repairs or replacements can be made. In summary, locating the bolts is a crucial step in the process of removing the running board, and should be done with care and attention to detail to ensure a successful outcome.
To find the bolts that secure the running board to the vehicle’s body, you’ll need to locate them underneath the board itself. Depending on the make and model of your vehicle, these bolts may be positioned directly underneath the board or they may be slightly offset towards the center of the car. In either case, you’ll need to lift up the running board to access the bolts. To do this, you may need to use a pry bar or other tool to gently lift the board away from the vehicle’s body. Once you’ve exposed the bolts, you’ll need to use the appropriate size wrench to remove them. This will likely vary depending on the specific make and model of your vehicle and the size of the bolts themselves.
Step 3: Remove the Bolts
Step 3 in the 2006 Durango Running Board Removal process involves removing the bolts that secure the running board to the vehicle. This step is crucial, as the bolts keep the running board in place, and removing them is necessary to separate the board from the car. To remove the bolts, you will need a wrench that fits the size of the bolt heads. It is important to ensure that you have the correct size wrench to avoid damaging the bolts or the surrounding area. When removing the bolts, it is important to exercise caution and use the right amount of force. If the bolts are difficult to remove, it may be necessary to use a lubricant or penetrating oil to loosen them. It is also essential to ensure that the vehicle is stable and secure, so that it does not move or shift during the removal process. Once the bolts are removed, the running board can be lifted off the vehicle. The removal process may seem daunting, but following the steps carefully and methodically will ensure that the running board is removed safely and efficiently.
When removing the bolts holding the running board in place on a 2006 Durango, it is essential to use the correct wrench size to avoid damaging the bolts or the surrounding area. First, identify the size of the bolts by checking the owner’s manual or using a bolt gauge. Then, select the appropriate wrench size that fits the bolt head snugly. Using the wrong size wrench can cause the bolt to round off or strip, making it difficult to remove. Once the correct wrench size has been identified, place the wrench over the bolt head and turn it counterclockwise to loosen and remove the bolt. It’s important to keep the wrench firmly in place to prevent slipping or rounding of the bolt head and to avoid injury.
Step 4: Remove the Running Board
In order to remove the running board from a 2006 Durango, it is necessary to follow a few simple steps. The fourth step in this process is to remove the running board itself. This can be accomplished with the help of a socket wrench or other appropriate tool. The size of the wrench required will depend on the specific model of Durango being worked on, so it is important to consult the vehicle’s manual or a knowledgeable mechanic for guidance. Removing the running board is an important step in repairing or replacing this accessory on a 2006 Durango. It may be necessary to remove the board in order to access other parts of the vehicle or to complete a more extensive repair or replacement. Whatever the reason for removing the running board, it is important to take care during this process to avoid causing any damage to the vehicle or to the board itself. With the right tools and a little bit of patience, however, removing the running board can be a straightforward and relatively simple task.
Once you have removed the bolts from the running board of your 2006 Durango, it is important to safely remove the board from the vehicle. First, make sure that there are no electrical wires or connections still attached to the board before attempting to remove it. Then, carefully lift the board upwards, taking care not to damage the underside of the vehicle or the board itself. It may be helpful to have an assistant to hold the board steady while you remove it from the vehicle. Once the board is completely removed, place it in a safe location to avoid any damage or injury. Remember to always use caution and take your time when working with any vehicle components to avoid accidents or injuries.
Removing the running board from a 2006 Durango requires several steps that must be followed to ensure a successful outcome. The first step is to disconnect the electrical connection and remove the bolts that attach the running board to the vehicle. It is important to use the correct wrench size when removing the bolts, as using the wrong size can damage the bolts or the vehicle. Once the bolts are removed, the running board can be lifted off the vehicle and set aside. Finally, any remaining brackets or hardware should be removed from the vehicle. Using the correct wrench size is crucial to avoid damaging the vehicle and to ensure a safe removal process.
Conclusion
In conclusion, removing the running boards from a 2006 Durango requires a specific size wrench. It is crucial to have the correct tool to prevent any damage or injury during the removal process. It is recommended to refer to the vehicle’s manual or seek professional assistance if uncertain about the appropriate wrench size. Neglecting the importance of using the correct tool can lead to costly repairs or even put one’s safety at risk. Therefore, it is essential to exercise caution and attention to detail when undertaking any mechanical task.
