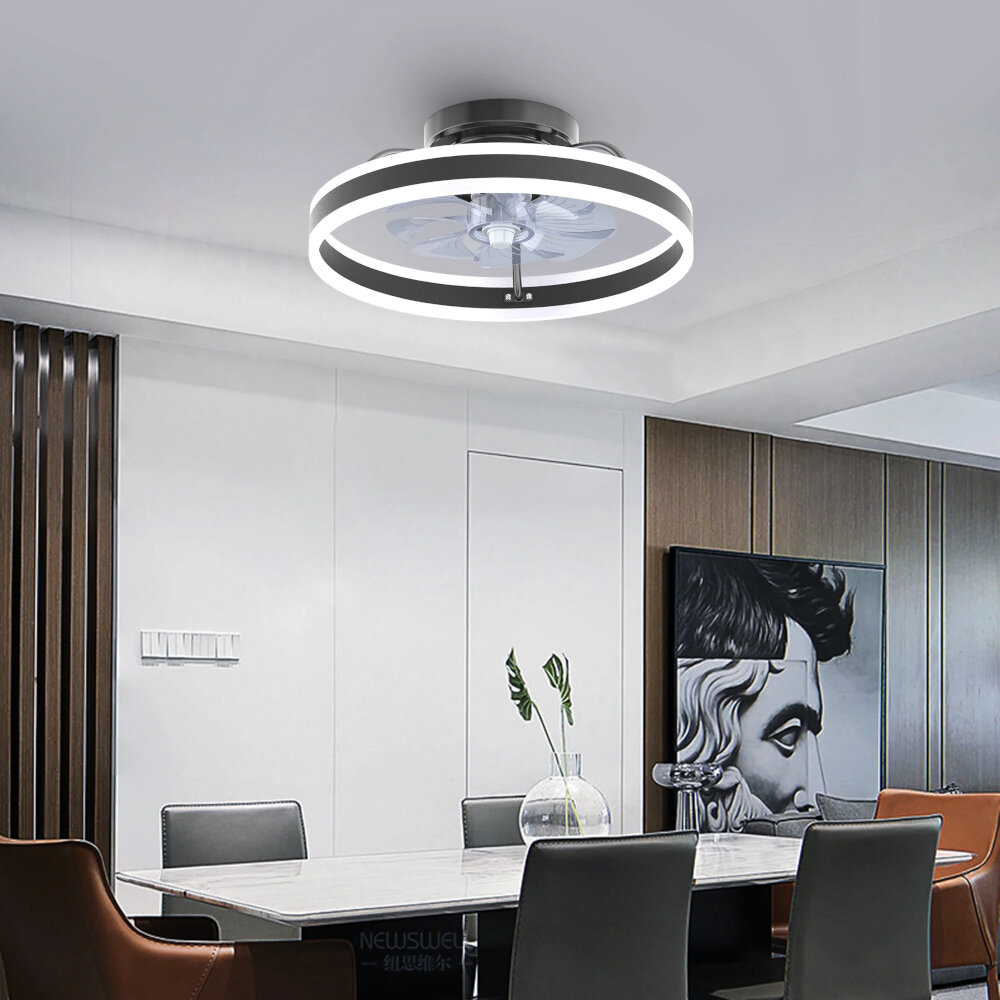
Upgrade Your Home Lighting: How to Easily Convert Your Fluorescent Light Fixture to LED
Fluorescent light fixtures have been a staple in homes and businesses for decades, but with the advancements in LED technology, it’s time to upgrade your lighting. LED lighting has become increasingly popular due to its energy efficiency, longer lifespan, and improved brightness. Switching to LED lighting can also save you money on your energy bill, making it a smart investment for your home. With a few simple steps, you can easily convert your fluorescent light fixtures to LED and enjoy the benefits of brighter, more energy-efficient lighting. Converting your fluorescent light fixtures to LED may seem daunting, but it’s a relatively simple process that doesn’t require any special skills or tools. In fact, most LED conversion kits are designed to fit seamlessly into existing fluorescent fixtures, making the switch quick and painless. Not only will you save money on your energy bill, but you’ll also enjoy better lighting quality and a longer lifespan for your bulbs. Plus, LED lighting is more environmentally friendly, as it doesn’t contain the harmful chemicals found in fluorescent bulbs. So, if you’re ready to upgrade your home lighting and enjoy the benefits of LED technology, read on to learn how to easily convert your fluorescent light fixtures to LED.
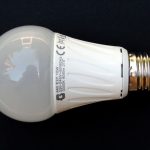
LED lights are an excellent upgrade from fluorescent lights. They are energy efficient, consume less electricity, and require less maintenance. LED lights provide better quality light, and unlike fluorescent lights, they do not flicker or buzz. Additionally, LED lights last longer, up to 50,000 hours, compared to fluorescent lights, which have a lifespan of 10,000 hours. LED lights are also more environmentally friendly, as they do not contain mercury, which is a hazardous substance found in fluorescent lights. By upgrading to LED lights, homeowners can save money on energy bills, reduce their carbon footprint, and enjoy a brighter, more efficient lighting experience.
Upgrading your home lighting by converting your fluorescent light fixture to LED can offer several benefits. First and foremost, LED lights are known for their energy efficiency, which means they consume less power than fluorescent lights and can save you money on electricity bills. Additionally, LED lights have a longer lifespan than fluorescent lights, which means you won’t have to replace them as often. LED lights also emit less heat than fluorescent lights, making them safer to use and reducing the risk of fire hazards. Furthermore, LED lights are available in a range of color temperatures, allowing you to customize your home’s lighting to your liking. Overall, converting your fluorescent light fixture to LED can improve your home’s energy efficiency, safety, and aesthetics.
Know Your Existing Fluorescent Fixture
Before upgrading your home lighting, it’s essential to know your existing fluorescent fixture. Fluorescent light fixtures come in different shapes and sizes, and it’s crucial to have a good understanding of your current fixture before making any changes. Take note of the number of lamps in the fixture, the length of the lamp, the type of ballast used, and the voltage of the fixture. Understanding these details will help you determine the appropriate LED replacement bulb for your fixture. It’s also important to consider the condition of your existing fixture. If your fluorescent fixture is old and worn out, it may not be worth investing in an LED replacement bulb. Additionally, if your fixture has a magnetic ballast, it will need to be replaced with an electronic ballast before installing an LED bulb. In some cases, it may be more cost-effective to replace the entire fixture with a new LED fixture rather than replacing the bulbs and ballast in an older fluorescent fixture.
A fluorescent fixture is composed of three main components: the ballast, the lamp holder, and the lamp. The ballast is responsible for regulating the amount of current that flows through the lamp, and it also helps to start the lamp. The lamp holder is the part of the fixture that holds the lamp in place and connects it to the wiring. The lamp itself is made up of a long glass tube that contains a gas and a small amount of mercury vapor. When electricity flows through the lamp, it ionizes the gas and creates ultraviolet radiation, which in turn causes the phosphor coating on the inside of the tube to glow and emit visible light. Understanding these components is essential when converting a fluorescent fixture to LED, as it will help you determine which parts need to be replaced or modified to accommodate the new LED lights.
Before converting your fluorescent light fixture to LED, it’s essential to identify the type of fixture you have. There are mainly two types of fluorescent fixtures: ballast-driven and direct-wire. Ballast-driven fixtures use a ballast to regulate the current, whereas direct-wire fixtures don’t use a ballast and instead are wired directly to the power source. To determine which type of fixture you have, you can remove the bulb and examine the wiring. If there are wires connecting to a rectangular box, you have a ballast-driven fixture. On the other hand, if there are only two wires, you have a direct-wire fixture. Knowing the type of fixture you have is crucial as the process of converting to LED varies based on the type.
Before converting your fluorescent light fixture to LED, it’s important to check if your fixture is compatible with LED bulbs. LED lights have different characteristics than fluorescent bulbs, and not all fixtures are designed to work with them. One way to determine compatibility is to check the label on the fixture or the manufacturer’s instructions for information on the maximum wattage and bulb type that can be used. Additionally, it’s important to consider the size and shape of the LED bulb and how it will fit into the fixture. If your fixture is not compatible with LED bulbs, you may need to replace the fixture entirely or consult with a professional electrician to find a suitable solution.
Gather Supplies and Tools
When upgrading your home lighting, it is important to gather all the necessary supplies and tools before starting your project. First and foremost, you will need to purchase LED light bulbs that are compatible with your current fluorescent light fixture. LED bulbs come in a variety of wattages and color temperatures, so be sure to choose the ones that best suit your needs and preferences. Additionally, you will need wire strippers, wire connectors, a screwdriver, and a ladder or step stool to access your light fixture. It may also be helpful to have a voltage tester to ensure that the power is turned off before beginning any work. Once you have all your supplies and tools, it’s time to get started on the conversion process. Begin by turning off the power to your fluorescent light fixture at the breaker box. Next, remove the fluorescent bulbs and the ballast from the fixture. You can do this by disconnecting the wires that connect the ballast to the fixture and removing any screws or clips that are holding the ballast in place. Once the ballast is removed, connect the wires from the fixture to the wires from the LED bulbs using wire connectors. Finally, install the LED bulbs into the fixture and turn the power back on to test the new lighting. With the right supplies and tools, converting your fluorescent light fixture to LED can be a simple and rewarding DIY project.
Converting your fluorescent light fixture to LED is a great way to improve the energy efficiency of your home while also enhancing the quality of your lighting. To complete this project, you will need a few supplies. First, you will need an LED tube that is compatible with your fixture. You will also need non-conductive gloves, a screwdriver, wire strippers, and wire nuts. If your fixture has a ballast, you will need to purchase a ballast bypass kit. Additionally, you may want to consider purchasing a voltage tester to ensure that the wiring is safe to work with. With these supplies on hand, you’ll be able to complete the conversion quickly and easily.
Upgrading your home lighting from fluorescent to LED can be a cost-effective and energy-efficient way to brighten up your space. To ensure a smooth and successful conversion process, you will need a few key tools. First, you will need a new LED driver, which is necessary to regulate the voltage and current of your new LED light bulbs. You will also need a pair of wire strippers to remove the old wiring, as well as a screwdriver to install the new LED driver and bulbs. Additionally, a voltage tester is recommended to ensure that the power is turned off before you begin working on the fixture. With these tools in hand, you’ll be well-equipped to transform your outdated fluorescent light fixture into a modern and efficient LED lighting solution.
When it comes to converting your fluorescent light fixture to LED, it’s important to know where to buy supplies. One option is to check with your local home improvement store, as they typically carry a variety of LED bulbs and fixtures. Another option is to shop online, where you can find a wider selection of products and often better prices. Be sure to read reviews and compare prices before making a purchase, and don’t forget to check for any discounts or promotions that may be available. Additionally, consider purchasing from a retailer with a good return policy in case the product doesn’t meet your needs or expectations. With the right supplies, upgrading your home lighting can be a breeze.
Remove Fluorescent Bulbs and Ballast

When upgrading your home lighting, it’s important to consider the environmental impact of your current fixtures. Fluorescent bulbs contain mercury, which is a hazardous material that can harm the environment if not disposed of properly. To remove fluorescent bulbs and ballast, start by turning off the power to the fixture. Then, carefully remove the bulbs from the fixture by gently twisting them counterclockwise. Be sure to dispose of the bulbs at a proper recycling facility. Next, locate the ballast, which is typically a small, rectangular box located within the fixture. Use a screwdriver to remove the screws holding the ballast in place and carefully disconnect any wires attached to it. Dispose of the ballast at a proper recycling facility as well. Once you have removed the fluorescent bulbs and ballast, you can begin the process of converting your fixture to LED lighting. LED bulbs are a more energy-efficient and environmentally friendly option than fluorescent bulbs. They also last longer and emit less heat, making them a safer choice for your home. Simply purchase LED bulbs that are compatible with your fixture and install them in place of the fluorescent bulbs. You can also purchase LED retrofit kits that include everything you need to convert your fixture to LED, including new sockets and wiring. With a few simple steps, you can upgrade your home lighting and reduce your environmental impact.
Removing fluorescent bulbs from your light fixture is a simple process that can be done in just a few steps. First, turn off the power to the fixture by flipping the switch or turning off the circuit breaker. Next, locate the clips or tabs that hold the fluorescent bulb in place and gently push them down or aside. Then, carefully grasp the bulb at both ends and twist it gently to release it from the sockets. Finally, dispose of the old bulb properly and insert the new LED bulb, following the manufacturer’s instructions. By following these steps, you can easily convert your fluorescent light fixture to LED and enjoy the benefits of energy-efficient, long-lasting lighting in your home.
Removing the ballast in your fluorescent light fixture is a crucial step when upgrading to LED lighting. The ballast is the electronic device that regulates the current to the fluorescent bulbs, and it’s not compatible with LED bulbs. First, turn off the circuit breaker that powers the fixture to avoid any electrical hazards. Next, remove the fluorescent bulbs and their holders carefully. Then, locate the ballast, which is usually mounted to the fixture’s metal frame. Disconnect the wires connected to the ballast and remove the ballast from the fixture. Once you’ve removed the ballast, you can install the LED driver and connect the LED bulbs directly to the power source. By following these steps, you can easily convert your fluorescent light fixture to LED and enjoy the benefits of energy-efficient and long-lasting lighting.
When upgrading your home lighting by converting fluorescent light fixtures to LED, it is essential to take safety precautions to avoid accidents. Firstly, switch off the power supply to the fixture before attempting any work. Secondly, wear protective gear such as gloves and goggles to safeguard against broken glass or electrical shock. Also, ensure that the LED bulb’s wattage is compatible with the fixture to prevent overheating and fire hazards. Finally, if you’re not confident in your DIY skills, seek a professional electrician’s assistance to ensure the installation is done appropriately and safely. By taking these safety precautions, you can upgrade your home lighting without putting yourself or your family at risk.
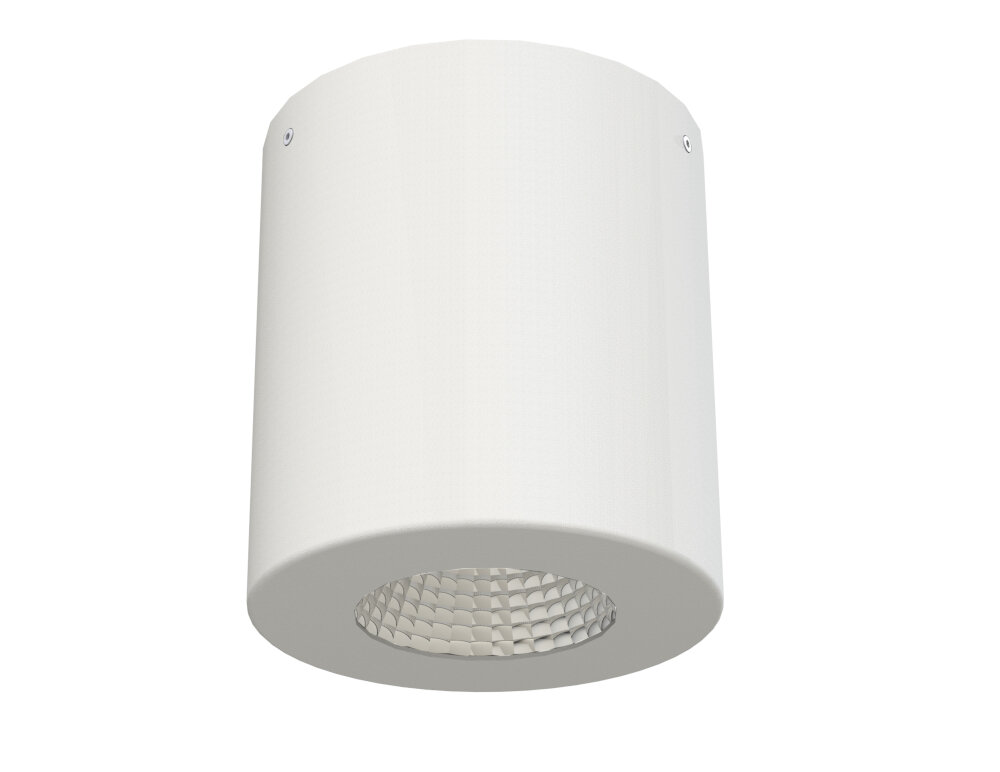
Install LED Bulbs and Driver
Are you tired of the flickering fluorescent light in your home? It’s time to upgrade your home lighting by converting your fluorescent light fixture to LED. The process of converting your fluorescent light fixture to LED is relatively simple and can be done without the help of an electrician. One of the first steps in this process is to install LED bulbs and a driver. LED bulbs are a great alternative to traditional fluorescent bulbs, as they are more energy-efficient, long-lasting, and provide a brighter and more natural light. When choosing LED bulbs, it’s important to select the correct size and shape to fit your fixture. Once you have the right LED bulbs, remove the old fluorescent bulbs and insert the new LED bulbs. It’s that simple! However, it’s important to note that LED bulbs require a driver to operate. The driver regulates the current and voltage, ensuring the LED bulbs don’t burn out or flicker. To install the driver, simply connect the wires from the driver to the wires in your fixture, following the manufacturer’s instructions. With your new LED bulbs and driver installed, you’ll be able to enjoy brighter, more natural, and energy-efficient lighting in your home.
Upgrading to LED bulbs is a simple and cost-effective way to improve the quality of your home lighting. To install LED bulbs, first, turn off the power to the fixture and remove the old bulbs. Next, remove the ballast and any other unnecessary parts from the fixture. Attach the LED driver to the fixture according to the manufacturer’s instructions. Then, connect the LED bulbs to the driver, and screw them into the fixture. Finally, turn the power back on and enjoy the energy-efficient, long-lasting, and bright illumination provided by your new LED bulbs. With these simple steps, you can easily convert your fluorescent light fixture to LED and enjoy the benefits of modern lighting technology in your home.
To upgrade your home lighting and convert your fluorescent light fixture to LED, you will need to install an LED driver. First, turn off the power to the fixture at the circuit breaker. Remove the old ballast and any wires connected to it. Install the LED driver in its place, connecting the wires according to the manufacturer’s instructions. The LED driver will typically have a black, white, and green wire. Connect the black wire to the black wire from the fixture, the white wire to the white wire, and the green wire to the ground wire. Once the wires are connected, replace the cover plate and turn the power back on at the circuit breaker. Your new LED bulbs should now be able to function properly with their new LED driver.
When it comes to wiring LEDs and drivers in your home lighting, there are a few important tips to keep in mind to ensure a successful conversion. First, make sure to use high-quality wire connectors and insulation to prevent any damage or short-circuits. It’s also important to follow the manufacturer’s instructions carefully and double-check all connections before powering on the system. When wiring multiple LEDs, consider using a parallel circuit to ensure even power distribution and avoid overloading any one component. And finally, don’t forget to properly ground the driver and any metal parts to prevent any electrical shocks or hazards. With these tips in mind, you can easily upgrade your home lighting to efficient and long-lasting LED technology.
Converting to LED lighting offers a plethora of benefits for homeowners. First and foremost, LED lights are energy-efficient, meaning they consume less electricity and ultimately save homeowners money on their energy bills. Additionally, LED lights have a significantly longer lifespan than traditional fluorescent bulbs, lasting up to 25 times longer. This means less time and money spent on replacing bulbs. LED lights also produce less heat, making them safer to use and reducing the risk of fire. They are also eco-friendly, as they do not contain harmful materials like mercury found in fluorescent bulbs. Lastly, LED lights offer a range of brightness options and color temperatures, allowing homeowners to customize their lighting to fit their needs and preferences.
In conclusion, upgrading your home lighting from fluorescent to LED technology is a smart move that will not only save you money on energy bills but also enhance the overall look and feel of your home. It’s a simple and affordable process that can be done on your own with the right tools and instructions. LED lights offer a wide range of benefits, including longer lifespan, brighter and more natural light, and a smaller environmental footprint. We highly recommend making the switch to LED lighting and enjoying the many benefits it has to offer.
If you’re looking for a cost-effective and eco-friendly way to upgrade your home lighting, converting your fluorescent light fixtures to LED can be a great option. Not only do LED bulbs last much longer than fluorescent bulbs, but they also use less energy, which can save you money on your utility bills over time. Additionally, LED bulbs are free of toxic materials, making them safer for the environment. While the conversion process may seem daunting, it is actually quite simple and can be done with just a few basic tools. With a little encouragement and some guidance, you can easily make the switch to LED lighting and enjoy the benefits of a brighter, more efficient home.
Conclusion
In conclusion, upgrading your home lighting to LED technology is a smart and sustainable choice that can significantly improve the quality of your living space. Converting your fluorescent light fixtures to LED is a simple and easy process that can be accomplished by following some basic steps, and it can offer a range of benefits such as energy savings, longer lifespan, and better lighting quality. By making this upgrade, you can not only enhance the aesthetics and functionality of your home but also contribute to a greener and more efficient future. So, don’t hesitate to take the leap and upgrade your home lighting to LED today!
Related posts:
 Upgrade Your Lighting: Simple Steps to Convert Fluorescent Lights to LED
 Upgrade your Lighting: Simple Steps to Convert Fluorescent to LED for Better Efficiency and Savings
 Upgrade Your Lighting: A StepbyStep Guide on How to Replace a Fluorescent Light Fixture with LED
 Upgrade Your Lighting: How to Easily Convert a 2Ballast Light to LED