Quick and Easy Guide: How to Replace Your LED Ceiling Light

Are you tired of your old and outdated ceiling light? Are you looking to update your home’s interior without breaking the bank? Look no further than replacing your LED ceiling light! This quick and easy guide will walk you through the steps necessary to replace your old light fixture with a modern and energy-efficient LED option. LED ceiling lights have become increasingly popular in recent years due to their longevity, energy efficiency, and sleek design. Replacing your old light fixture with an LED option is not only an upgrade in style, but it can also save you money on your energy bill in the long run. With just a few tools and some basic knowledge, you can easily replace your old ceiling light with a new, modern LED fixture that will brighten up your space and give your home a fresh new look.
LED ceiling lights are an energy-efficient and cost-effective lighting solution that has become increasingly popular in recent years. LED technology produces light through the use of a semiconductor, which converts electrical energy into light. This process results in a much more efficient use of energy, providing significant cost savings to homeowners over time. In addition to being energy-efficient, LED ceiling lights offer a range of other benefits, including a longer lifespan, brighter and more consistent light output, and the ability to customize color temperature to suit different needs and preferences. LED ceiling lights are also easy to install, making them a popular choice for homeowners looking to replace outdated or inefficient lighting fixtures. Overall, LED ceiling lights provide an excellent lighting solution that is both environmentally friendly and cost-effective.
Having knowledge of how to replace your LED ceiling light is essential for any homeowner or renter. When a light fails or begins to flicker, it can affect the overall ambiance of a room and cause discomfort. Additionally, a malfunctioning light can be a safety hazard. By knowing how to replace the LED ceiling light, you can save money by avoiding the need for a professional electrician. Furthermore, the process is quick and easy, and you can have a functioning light in no time. Overall, being able to replace your LED ceiling light allows you to maintain the functionality and ambiance of your home and ensures your safety.
Gather Materials
Gathering materials is the first step towards replacing your LED ceiling light. Before you start, you need to have all the necessary tools and materials ready. Some of the materials you will need include a new LED ceiling light, wire connectors, a voltage tester, a ladder, and a screwdriver. Make sure that you choose an LED ceiling light that is compatible with your current wiring and that it matches the size and style of your old fixture. If you are unsure, consult a professional or seek advice from the manufacturer. Once you have all the materials, you can start the process of replacing your LED ceiling light. When gathering materials, it is important to prioritize safety. Make sure that you have a sturdy ladder and that you are wearing appropriate clothing and footwear. You should also turn off the power to the room at the circuit breaker to avoid any accidents. Use a voltage tester to ensure that the power is off before you start working. If you are unsure about any part of the process, do not hesitate to seek professional help. Replacing an LED ceiling light may seem like a simple task, but it can be dangerous if not done correctly. By taking the time to gather materials and prioritize safety, you can ensure a successful and safe installation.
Before starting the replacement process of your LED ceiling light, it is important to have all the necessary tools and materials at hand. Firstly, you will need a screwdriver set, preferably with both flathead and Phillips head options. Additionally, ensure that you have a ladder or step stool to reach the light fixture. Secondly, purchase the correct LED light bulb to replace the old one. Check the wattage and size of the bulb to ensure it is compatible with your light fixture. Lastly, gather a pair of gloves and safety glasses to protect your hands and eyes while working. By having all these tools and materials, you can efficiently and safely replace your LED ceiling light in no time.
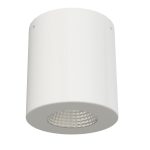
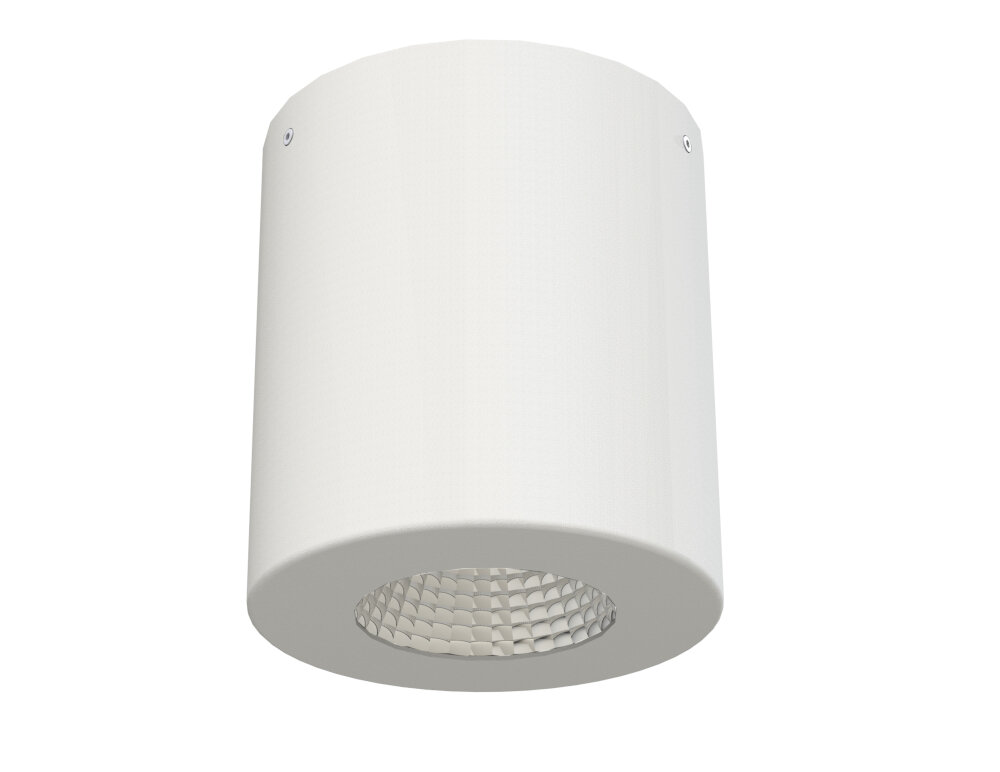
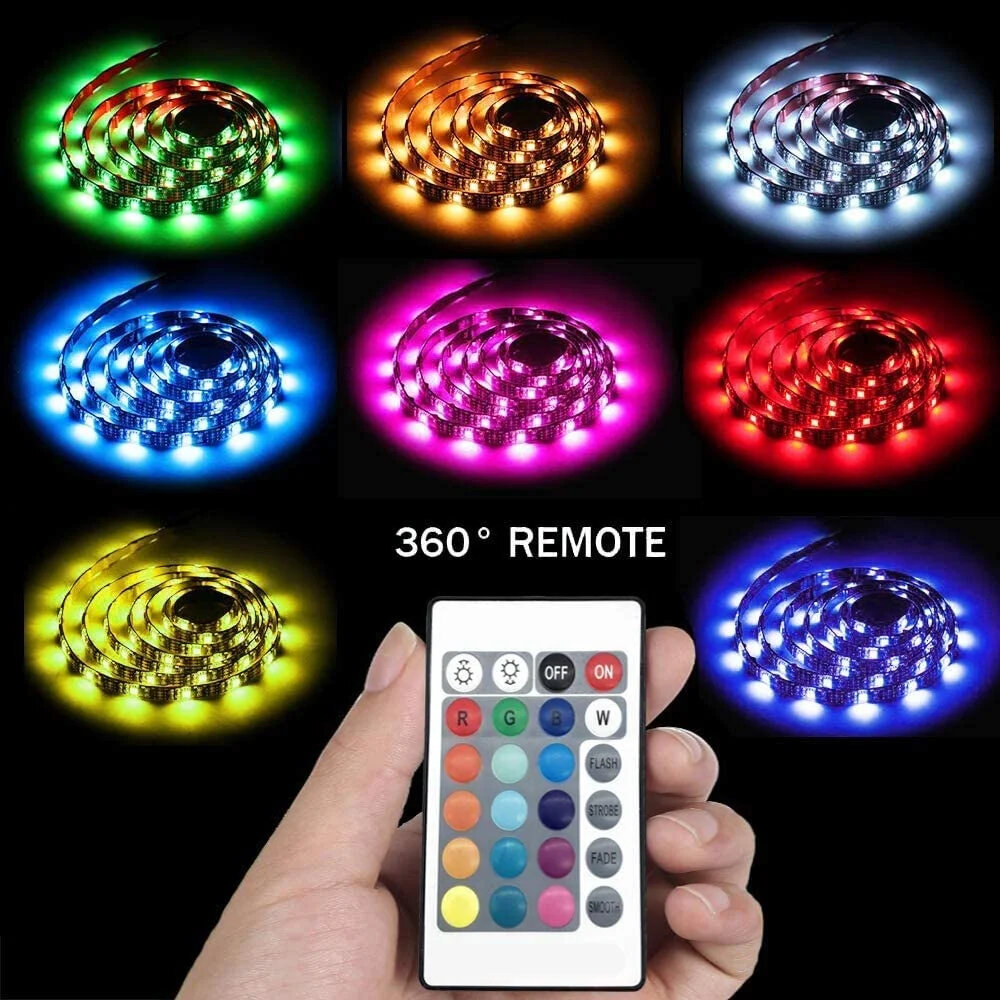
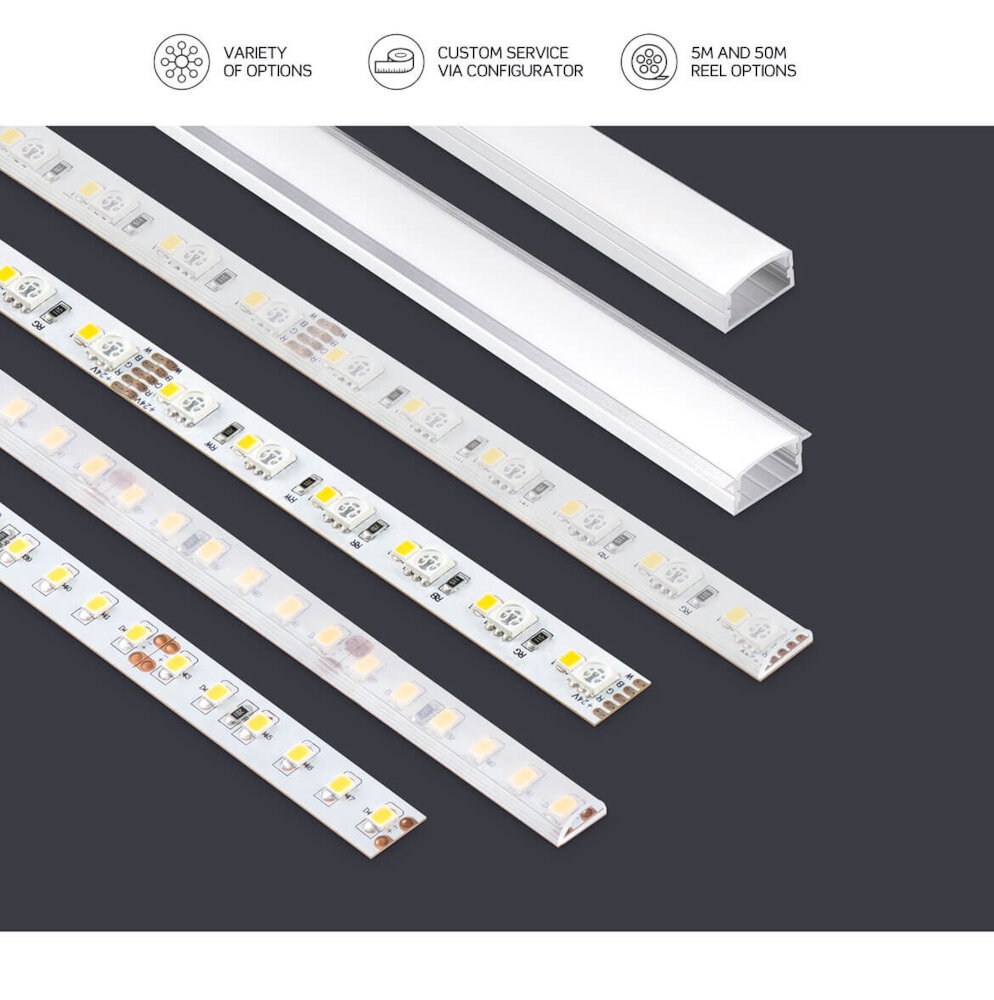
Choosing the right replacement light is crucial for ensuring that your LED ceiling light works efficiently and effectively. Firstly, you should consider the size and shape of the light fixture to ensure that the replacement light fits perfectly. Secondly, you should select the appropriate color temperature and brightness to suit your preferences and needs. Thirdly, you should verify if the replacement light is compatible with your existing wiring and dimmer switch. Finally, you should look for high-quality and reputable brands that offer warranties and guarantees for their products to ensure longevity and reliability. By following these tips, you can confidently choose the right replacement light for your LED ceiling light and enjoy its benefits for years to come.
Turn Off Power
Turning off the power is an essential step when replacing your LED ceiling light. It ensures your safety from any potential electrical hazards while working with wires and cables. Before starting the replacement process, it is crucial to find the circuit breaker that controls the power to the ceiling light. Once you locate the circuit breaker, switch it off, and verify that the power is no longer flowing to the light fixture. It is recommended to use a voltage tester to double-check that the power is turned off before proceeding with the replacement. Moreover, turning off the power also protects your LED ceiling light from damage. LED lights are delicate, and they can get damaged easily if they are not handled properly. When the power is turned off, the LED light will not be receiving any electricity, preventing it from short-circuiting, overheating, or any other damage that might occur due to an electrical surge. Therefore, always remember to turn off the power before attempting to replace your LED ceiling light to ensure your safety and protect your light fixture.
Turning off power before starting any electrical work is extremely important as it can prevent serious injuries and even death. When working with LEDs or any other electrical equipment, there is always a risk of electrocution, so taking necessary precautions is crucial. By turning off the power supply, you eliminate the risk of accidental electrical shocks, which can be fatal in some cases. Moreover, it also helps protect the equipment from damage, and ensures the safety of the person performing the work. Therefore, it is highly recommended to turn off the power supply before starting any electrical work, as it can help prevent any unwanted accidents that can be both dangerous and costly.
If you are planning to replace your LED ceiling light, it is essential to know how to turn off the power safely. The first step is to locate the circuit breaker box and switch off the circuit breaker that controls the power to the room where you’ll be working. It’s also a good idea to use a voltage tester to ensure that the power is off before you start working. Once you’ve confirmed that the power is off, you can then proceed to remove the old light fixture and install the new LED ceiling light. Remember to always prioritize safety when working with electricity, and if you’re unsure about any aspect of the process, it’s best to call a professional electrician to handle the job.
Remove Old Light Fixture
The first step in replacing your LED ceiling light is to remove the old light fixture. This may seem daunting, but it’s actually quite simple. First, turn off the power to the light fixture at the circuit breaker. Then, remove the light bulb and any accessories, such as a glass cover or decorative trim. Next, remove the screws or bolts that are holding the fixture in place. Be sure to support the fixture with one hand as you remove the last screw or bolt to prevent it from falling. Carefully detach any electrical connections, noting which wires are connected to which. If you’re unsure, take a photo or label the wires with tape. Once the old fixture is completely detached, you can safely remove it from the ceiling. Removing an old light fixture can be a great opportunity to inspect and update the wiring in your ceiling. If you notice any frayed wires or loose connections, now is the time to fix them. You may also want to take this opportunity to install a new electrical box if the old one is damaged or inadequate for your new fixture. This will provide a secure mounting point for your new light and ensure that it is safely supported. With the old fixture removed and any necessary updates complete, you’re ready to move on to installing your new LED ceiling light.
Removing an old light fixture is an essential step when replacing your LED ceiling light. Firstly, turn off the power supply at the circuit breaker to avoid any electrical accidents. Next, remove the light bulb and unscrew the mounting screws that hold the fixture to the ceiling. Carefully lower the fixture and disconnect the wires by unscrewing the wire nuts. If the wires are connected using screws, loosen them to remove the wires. Once the wires are disconnected, remove the mounting bracket and check the electrical box for any damages. Finally, install the new mounting bracket and connect the wires of your new LED ceiling light according to the manufacturer’s instructions.
When replacing an LED ceiling light, it’s important to take certain precautions to avoid damage or injury. Firstly, turn off the power supply to the light to avoid any electrical shocks. Secondly, use the correct tools and equipment, such as a ladder or step stool, to reach the light safely. Additionally, make sure to handle the light itself carefully, avoiding any rough handling or dropping it. Finally, if you’re unsure about any aspect of the replacement process, don’t hesitate to seek advice from a professional or research the steps thoroughly before proceeding. By following these tips, you can successfully replace your LED ceiling light without any damage or injury.
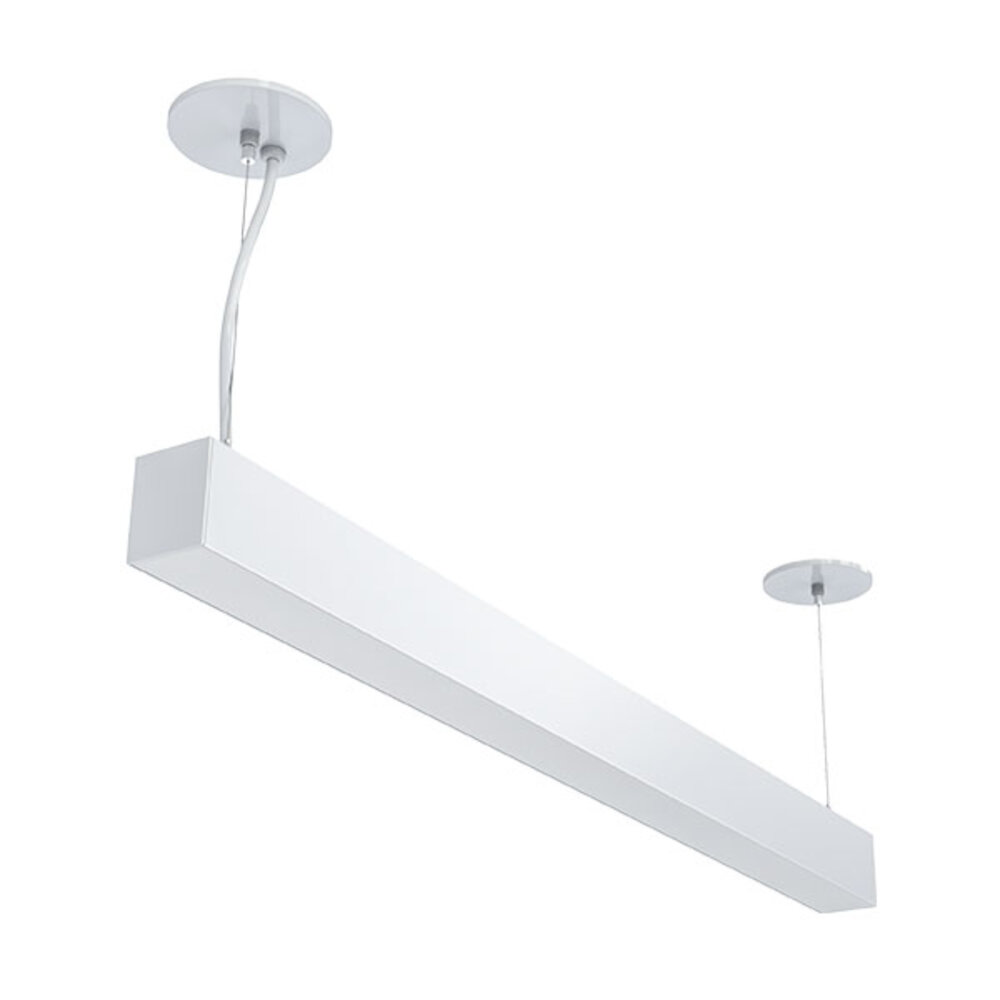
Install New LED Ceiling Light
Installing a new LED ceiling light can be a quick and easy way to upgrade your home’s lighting while also saving energy and money in the long run. LED lights are much more efficient than traditional incandescent bulbs, which means they use less electricity and can last up to 25 times longer. This means that not only will you be saving money on your energy bill, but you’ll also be reducing the amount of waste generated by replacing bulbs frequently. To install a new LED ceiling light, start by turning off the power to the fixture at the circuit breaker. Then, remove the old fixture by unscrewing the screws or bolts that hold it in place. Once the old fixture is removed, you can then attach the bracket for the new LED light to the ceiling using screws or bolts. Next, connect the wires from the fixture to the wires in the ceiling, making sure to match the colors (usually black to black, white to white, and green or bare to the ground). Finally, attach the LED light to the bracket and turn the power back on to test it out. With just a few simple steps, you can have a bright and energy-efficient new LED ceiling light installed in your home.
Installing a new LED ceiling light is a simple process that can be easily accomplished with the right tools and knowledge. The first step is to turn off the power to the old light by flipping the circuit breaker or removing the fuse. Next, remove the old light fixture by unscrewing the screws that hold it in place and disconnecting the wires. Then, install the new LED ceiling light by connecting the wires and screwing it into place. Finally, turn the power back on and test the new light to ensure it is working properly. With these simple steps, you can replace your old light with a new, energy-efficient LED fixture in no time.
Proper installation and alignment are crucial to ensure the longevity and efficiency of your LED ceiling light. Firstly, make sure to turn off the power supply before starting the replacement process. Secondly, carefully read the manufacturer’s instructions to understand the wiring and installation requirements. It is essential to use the correct hardware and tools to securely mount the light fixture onto the ceiling. During the alignment process, ensure that the fixture is level, and the screws are tightened evenly to avoid any wobbling or tilting. Lastly, turn on the power supply to test the light’s functionality and adjust the alignment if necessary. By following these tips, you can easily replace your LED ceiling light without any complications.
Replacing an LED ceiling light is a quick and easy process that can be done in just a few steps. Firstly, turn off the power to the light fixture at the main circuit breaker to avoid electrocution. Secondly, remove the existing light fixture by unscrewing its mounting screws and disconnecting the wires. Thirdly, install the new LED ceiling light by connecting the wires according to the manufacturer’s instructions and securing the fixture to the ceiling with its mounting screws. Finally, turn the power back on at the circuit breaker and test the light to ensure it is working properly. With these simple steps, you can easily upgrade your home’s lighting and enjoy the energy-saving benefits of LED technology.
Following safety guidelines is crucial when replacing an LED ceiling light. The electrical components involved in the process can be dangerous if not handled properly. Electrical shock, burns, and electrocution are some of the risks that come with improper handling of electrical equipment. Taking the necessary precautions, such as turning off the power supply, wearing appropriate protective gear, and properly grounding yourself, can prevent such accidents from happening. By following safety guidelines, you not only protect yourself but also ensure the longevity and efficiency of your LED ceiling light installation. It is always better to be safe than sorry, so take the necessary precautions and follow the safety guidelines to make your LED ceiling light replacement a success.
Before embarking on any home improvement project, it’s important to prioritize your safety and well-being. Don’t hesitate to seek professional help if you feel unsure or uncomfortable with any aspect of the task. Whether it’s electrical work or simply mounting a light fixture, there’s no shame in admitting you need assistance. In fact, it’s a sign of wisdom and responsibility to recognize your limitations and seek out experts who can help you achieve your goals safely and efficiently. So, if you’re unsure of how to replace your LED ceiling light, don’t hesitate to reach out to a professional electrician for guidance and support. Your safety and satisfaction are worth the investment.
Conclusion
In conclusion, replacing your LED ceiling light may seem like a daunting task, but with the right tools and knowledge, it can be a quick and easy process that can save you time and money. By following the step-by-step guide outlined in this article, you can confidently remove your old light fixture and install a new LED light that will brighten up your home and provide energy-efficient lighting. Remember to always turn off the power before beginning any electrical work and consult a professional if you are unsure about any aspect of the installation process. With a little bit of effort, you can transform your home’s lighting and create a more comfortable and inviting living space.