LED Night Light DIY: A StepbyStep Guide on How to Easily Make Your Own
Are you tired of constantly stumbling around in the dark when you get up in the middle of the night? Do you want to add some ambiance to your bedroom without breaking the bank? Look no further than this LED night light DIY guide. With just a few simple materials and steps, you can easily make your own sleek and modern night light that will provide the perfect amount of illumination for any room. LED night lights are a popular and energy-efficient choice for many households, but store-bought options can often be expensive and lack personality. By making your own, you can customize the design and color to fit your personal style and preferences. Plus, this project is a great way to get creative and learn some basic electronics skills. Whether you’re a seasoned DIYer or a beginner, this step-by-step guide will walk you through the process of creating your very own LED night light.
Night lights are an essential aspect of nighttime safety and convenience. They provide a soft glow that illuminates the way in the dark, making it easier to navigate through unfamiliar spaces without tripping or falling. Additionally, night lights can help to soothe children and reduce their fear of the dark, making it easier for them to fall asleep at night. The use of LED lights in night lights is particularly important, as they are energy-efficient and long-lasting, making them an eco-friendly and cost-effective choice. By creating your own LED night light, you can customize the design, color, and brightness to meet your specific needs, while also enjoying the satisfaction of a DIY project.
Making your own LED night light can be a fun and rewarding DIY project. Not only will you have a customizable night light that fits your personal style and needs, but you’ll also save money by not having to purchase a pre-made one. Additionally, creating your own night light allows you to be more environmentally conscious by using LED lights, which are energy-efficient and have a longer lifespan than traditional bulbs. You can even choose to use recycled materials for your DIY project, further reducing your carbon footprint. By making your own LED night light, you’ll have a unique and eco-friendly addition to your home decor.
Materials Needed

To make your very own LED night light, you will need a few basic materials that can be easily found in any hardware or electronic store. Firstly, you will need an LED strip, preferably one that can change colors to suit your mood. Next, you will need a power supply, which can be a USB connection or a battery pack. Additionally, you will need a switch to turn the night light on and off. You can also add a timer to the switch to make the night light automatically turn off after a certain period of time. To hold everything together, you will need a casing, which can be made of plastic or any other material you prefer. Lastly, you will need some basic tools such as a soldering iron, wire cutters, and a hot glue gun to assemble everything together. When choosing the materials for your LED night light, you can get creative and experiment with different designs and colors. For example, you can use a transparent or translucent casing to diffuse the light and create a softer glow. You can also add decorations such as stickers, glitter or paint to make your night light unique and personalized. Additionally, you can choose a power supply that is eco-friendly and energy-efficient to reduce your carbon footprint. By using high-quality materials and tools, you can ensure that your DIY LED night light is safe and durable, and will provide you with a warm and comforting glow for many nights to come.
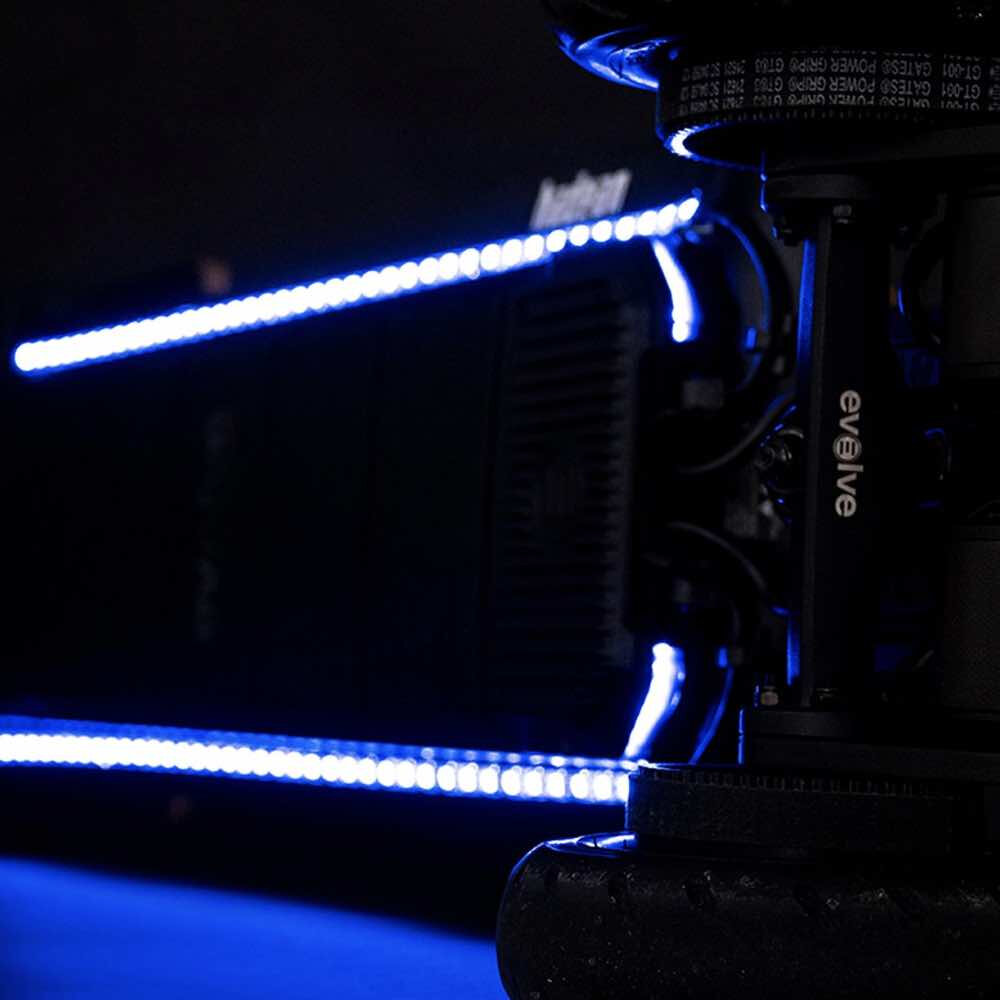
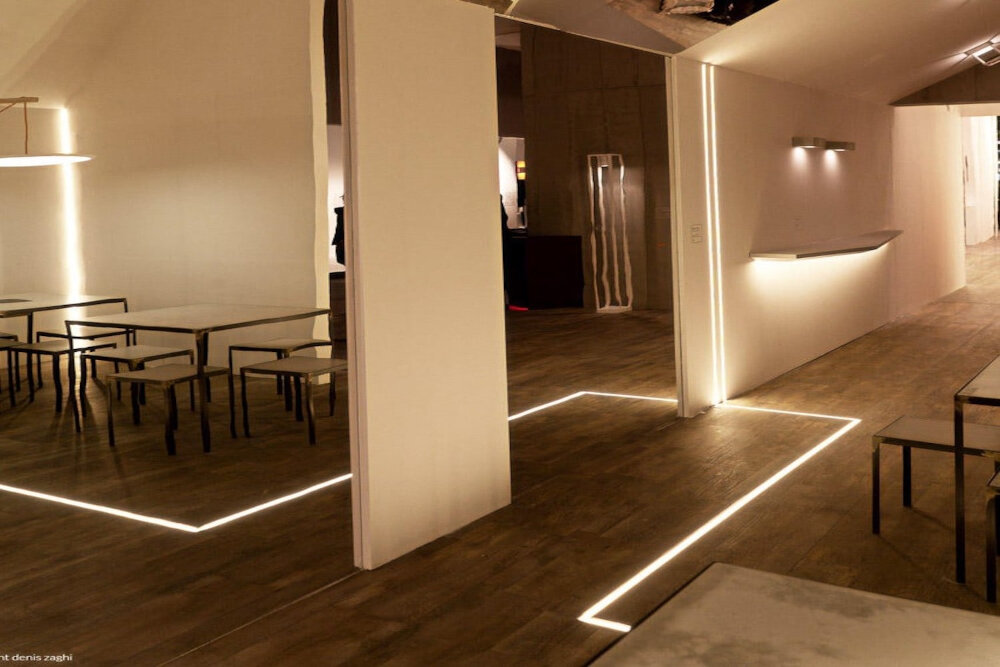
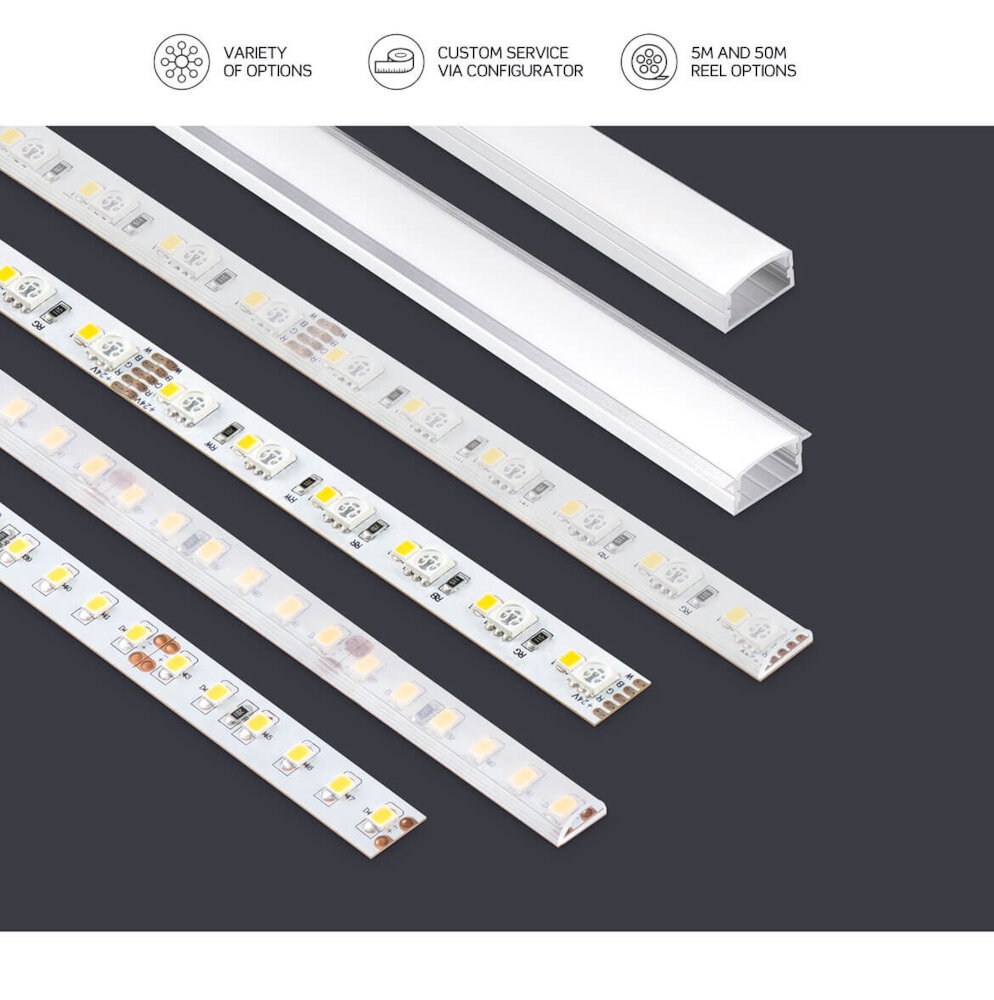
LED strip lights are a versatile and energy-efficient lighting solution that can be used for a variety of purposes. They are thin, flexible strips of LEDs that can be cut to any length and come in a range of colors and brightness levels. LED strip lights are easy to install and can be used to create a variety of lighting effects, from accent lighting to task lighting. They are also ideal for use as night lights, providing a subtle and soothing glow that can help you relax and fall asleep. With their low energy consumption and long lifespan, LED strip lights are a great investment for anyone looking to upgrade their home lighting.
The power supply is a crucial component of any electronic device, including LED night lights. It provides the necessary electricity to power the device and keep it functioning properly. When creating a DIY LED night light, it’s important to choose a power supply that is compatible with the LED bulbs being used. This may involve considering factors such as voltage, current, and wattage. It’s also important to ensure that the power supply is rated for safety and reliability, as a poorly designed or faulty power supply can pose a serious risk of electrical shock or fire. By taking the time to choose the right power supply and follow proper safety protocols, DIYers can enjoy the benefits of a custom-made LED night light without any worries or safety concerns.
A resistor is an electronic component that restricts the flow of electric current in a circuit. They are commonly used in LED night lights to regulate the amount of power that reaches the light-emitting diode (LED) to prevent damage and prolong its lifespan. Resistors come in various shapes, sizes, and values, and their resistance is measured in ohms (Ω). Choosing the right resistor for your LED night light project depends on the voltage of your power supply, the desired brightness of your LED, and the current rating of your LED. It is important to calculate the appropriate resistance value to ensure the proper functionality of your LED night light.
A circuit board is a vital element of any electronic device, including LED night lights. It is a thin board made of a non-conductive material, such as fiberglass or plastic, with conductive pathways etched onto its surface. These pathways, called traces, connect the various electronic components together, allowing them to work in unison. A printed circuit board (PCB) is a type of circuit board that features copper traces printed onto the board instead of etched. The PCB is the foundation of any electronic device, and without it, the device would not function. In an LED night light, the circuit board connects the light-emitting diodes (LEDs) to the power source, allowing the user to turn the device on and off.
A soldering iron is a crucial tool when it comes to creating any electronic device, including an LED night light. This tool is used to join two pieces of metal or wire together with the help of a solder material that melts when it comes into contact with the heated tip of the iron. A soldering iron is available in different sizes and shapes, but the most commonly used type is the pencil-shaped iron. It has a pointed tip that heats up quickly and can be used for precise soldering work. The soldering iron is a must-have tool for the DIY enthusiast who wants to create a customized LED night light that is both functional and aesthetically pleasing.
Wire cutters are essential tools when it comes to DIY electrical projects such as creating an LED night light. These cutting tools are designed to precisely and efficiently cut through wires, cables, and other electrical components without damaging them. The blades of wire cutters are made of high-quality steel, which ensures that they remain sharp and durable for extended periods. They come in various shapes and sizes, each designed for specific tasks. For example, diagonal cutters are perfect for cutting wires in tight spaces, while end cutters are suitable for cutting through thicker wires. Having a good pair of wire cutters in your DIY toolkit is a must, as they will make your projects easier, safer, and more efficient.
Electrical tape is an essential component of any LED night light DIY project. This versatile adhesive tape comes in a variety of colors and is designed to insulate electrical wires, preventing short circuits and other electrical mishaps. With its strong adhesive, electrical tape offers a long-lasting hold, making it ideal for securing wires and other components in place. It is also resistant to water, heat, and cold, ensuring it remains effective even in harsh weather conditions. Whether you’re a seasoned DIYer or a beginner, electrical tape is a must-have tool for any electrical project, including making your own LED night light.
A screwdriver is one of the essential tools that you will need when making your very own LED night light. This tool comes in different shapes and sizes, and it is used to loosen or tighten screws. There are two types of screwdrivers, the flathead and the Philips head. The flathead has a single flat blade that fits into a slot on the screw, while the Philips head has a cross shape that fits into a corresponding slot on the screw. When choosing a screwdriver, make sure that it fits the screw that you will be working on. A screwdriver with a comfortable grip is also important to prevent hand fatigue. With the right screwdriver, you can easily assemble the different components of your LED night light.
StepbyStep Guide

If you’re tired of the same old boring night light, why not try making your own LED night light? With just a few simple steps, you can create a unique and personalized night light that will brighten up your room and your mood. To get started, gather your materials: LED lights, a battery pack, wires, and a switch. You can find these supplies at any electronics store or online. Once you have everything you need, it’s time to start building. The first step is to connect the LED lights to the battery pack using the wires. Make sure you connect the positive and negative ends correctly or your lights won’t work. Once the lights are connected, you can attach the switch to control the power. Finally, you can personalize your night light by decorating the battery pack with stickers or paint. That’s it! You now have your very own LED night light. It’s a fun and easy DIY project that will add a touch of personality to your room.
The first crucial step in making your LED night light is to ensure you have all the necessary materials. You’ll need a power source, preferably a 9-volt battery, an LED light source, a 330-ohm resistor, a breadboard, and some wires. Additionally, you’ll need a soldering iron, pliers, and wire strippers. It’s important to gather all these materials before you start, as you don’t want to be halfway through the process and find that you’re missing an essential component. So, take the time to gather all the necessary materials before you begin, and you’ll be well on your way to creating your very own LED night light.
The second step in creating your very own LED night light is to create the circuit board. This is an essential part of the process as it connects all the electrical components together. The circuit board is made up of a thin layer of copper that is coated onto a non-conductive material. The copper is then etched away using a chemical process to leave behind the traces that will conduct electricity. Creating a circuit board can be a bit of a challenge for beginners, but there are plenty of online tutorials and resources available to help you along the way. Once your circuit board is complete, you can start to add the electrical components that will power your LED night light.
Once you have gathered all the necessary components for your LED night light, it’s time to move on to the fun part, soldering! This step requires precision and patience as you will be attaching the electronic components onto the circuit board. It’s essential to ensure that each component is placed in the correct position and orientation before soldering. Make sure to heat the soldering iron properly and apply just enough solder to create a secure connection between the component and the board. Take your time and double-check your work to avoid any mistakes. Once you have successfully soldered all the components, your LED night light will start to take shape, and you’ll be one step closer to having a unique and functional lighting solution.
Step 4 of this guide on how to create your own LED night light is to prepare the LED strip lights. This is a crucial step as the LED strip lights are the main component of the night light. First, measure the length of the LED strip lights needed for the project and cut them accordingly. Next, remove the adhesive backing and attach the LED strip lights to the surface of the night light housing. The LED strip lights can also be trimmed to fit the shape of the housing if necessary. It is important to ensure that the LED strip lights are securely attached and that they are not twisted or bent as this can affect their performance. Once the LED strip lights are prepared and installed, the night light is ready for the next step in the process.
Step 5 of the LED Night Light DIY involves the connection of the LED strip lights to the circuit board. This is a crucial step that requires careful attention to detail. First, ensure that the LED strip lights are cut to the correct length and have the necessary connectors. Next, connect the LED strip lights to the circuit board using soldering or a connector. It is important to ensure that the polarity of the LED strip lights matches that of the circuit board to avoid damage. Once the connection is made, test the LED strip lights to ensure that they are working correctly. This step can be challenging for beginners, but with patience and practice, it can be accomplished successfully.
Step 6 in the LED Night Light DIY guide involves attaching the power supply to your circuit. The power supply is a crucial component that provides electricity to your circuit, allowing the LED lights to illuminate. It’s important to ensure that you’ve chosen the correct power supply for your circuit, as using one that’s too weak or too strong can result in damage or failure. Once you’ve selected the appropriate power supply, you’ll need to carefully connect the wires to the correct terminals on both the power supply and the circuit board. This step requires patience and attention to detail, as any mistakes can have serious consequences. However, with the right tools and a steady hand, you can successfully attach the power supply and move on to the final steps of your DIY LED night light project.
After completing step 6, it’s time to test your LED night light. Plug in the night light and switch it on to see if it functions properly. Check if the light is bright enough and make sure that the switch functions accordingly. If the light is too bright or too dim, you may need to adjust the resistor values or the number of LEDs used. If the switch is not working correctly, you may need to check your wiring. This step is critical, as it ensures that your night light is safe to use and meets your expectations. It’s always better to test your DIY project before using it, and with this step, you can ensure that your LED night light is working correctly.
Troubleshooting
Troubleshooting is an essential part of any DIY project, and making your own LED night light is no exception. If your night light is not working correctly, it is essential to identify the problem and find a solution. One common issue is that the LED light does not turn on. This problem might occur if the LED is not correctly connected to the power source or if the battery is dead. A quick fix for this is to check the connections and replace the battery if necessary. If the LED still does not turn on, it might be a sign of a faulty LED, and you need to replace it. Another common issue when making an LED night light is that the light is too dim or too bright. This problem can occur if the resistor is not correctly sized, or it might be a sign of a faulty LED. To fix this, you can try replacing the resistor with one that has a higher or lower resistance value. If this does not work, you might need to replace the LED. It is essential to be patient and methodical when troubleshooting your LED night light. With careful attention to detail and a willingness to experiment, you will be able to identify and fix any issues that arise during the DIY process.
While DIY LED night lights can be a fun and creative project, there are some common issues to watch out for. One issue is choosing the wrong type of LED, which can result in a light that is too dim or too bright. Another issue is improper wiring, which can cause the light to flicker or not work at all. It’s also important to choose the right power source and to make sure the light is properly secured for safety reasons. Finally, some people may struggle with the aesthetic design of the night light, as it can be difficult to achieve a cohesive and visually pleasing look. By taking the time to research and plan ahead, however, these issues can be easily avoided, resulting in a beautiful and functional DIY LED night light.
To fix the issues that may arise when making an LED night light, there are several solutions that can be implemented. Firstly, if the LED light flickers, it may be due to loose connections, and tightening them can solve the issue. Secondly, if the light does not turn on, a faulty battery or switch could be the problem, and replacing them can resolve the issue. Thirdly, if the light is too bright, a resistor can be added to the circuit to reduce the current and dim the light. Lastly, if the light is not diffused enough, adding a frosted glass or plastic cover can help distribute the light evenly. By implementing these solutions, you can easily make your own LED night light with minimal issues.
Safety Precautions
When it comes to any DIY project, safety should always be a top priority. This is especially true for electrical projects like building an LED night light. Before you begin, make sure you have the necessary safety equipment like safety glasses, gloves and a dust mask. Also, ensure that you are working in a well-ventilated area to avoid inhaling any harmful fumes. Before you start cutting or drilling, take the time to read through the instructions carefully and consult any online resources, if needed. Always turn off the power source to the area where you will be working to avoid any electrical accidents. Lastly, if you are ever unsure about a step, don’t hesitate to reach out to a professional for guidance. In addition to taking safety precautions while working on the LED night light, it’s important to consider safety when using the finished product. When you’ve completed the project, make sure you test the light to ensure it is working properly. Be sure to use the correct wattage of bulb and never leave the light on for extended periods of time. If you have children, make sure the light is out of reach and that they are aware of the potential hazards of electrical appliances. Following these safety precautions will help ensure that your DIY LED night light not only looks great but is also safe to use.
When making your own LED night light, it is important to prioritize safety to avoid any accidents or injuries. Firstly, ensure that you have a clear and clean workspace with no flammable materials around. Secondly, use protective gear such as gloves and goggles to protect your hands and eyes from sharp objects or chemicals. Thirdly, make sure to follow the instructions carefully and use the appropriate tools for the job. Fourthly, if you are unsure about any part of the process, seek advice from an expert or a reliable source. Lastly, never leave any electrical components exposed or touch them with wet hands. By following these tips, you can ensure a safe and successful DIY LED night light project.
Although DIY electronics projects can be a fun and rewarding hobby, there are significant risks associated with them. One of the most significant risks is the potential for electrocution or electrical shock, which can occur if proper safety precautions are not taken. Additionally, some DIY projects may involve the use of hazardous chemicals or materials, which can pose a risk to both the person performing the project and the environment. Furthermore, without the proper knowledge and expertise, DIY projects can result in faulty or malfunctioning devices, which can cause damage to property or even harm to individuals. Therefore, it is essential to approach any DIY electronics project with caution and to take all necessary safety measures to minimize the risks involved.
In making your own LED night light, the first step is to gather all the necessary materials such as a breadboard, resistor, LED, battery, and wires. After that, connect the resistor to the positive leg of the LED and connect the negative leg of the LED to the negative side of the battery. Then, insert the battery into the breadboard and connect the wires to the positive and negative sides of the battery. Finally, test the LED by turning off the lights and observing the brightness of the LED. By following these simple steps, you can easily make your own LED night light that is not only functional but also aesthetically pleasing.
Creating your own LED night light can be a fun and rewarding experience. Not only do you get to customize the design and color of your night light, but you can also save money by making it yourself. LED lights are energy-efficient and have a longer lifespan than traditional light bulbs, making them a great choice for night lights. Additionally, by choosing to make your own night light, you can avoid the use of harmful chemicals and materials that may be present in store-bought night lights. With a little bit of creativity and some basic supplies, you can create a unique and environmentally friendly night light that will provide a comforting glow for years to come.
In conclusion, creating your own LED night light is a fun and simple project that can add a personal touch to your home decor. The possibilities are endless when it comes to customization, from the color and brightness of the LEDs to the shape and design of the lamp itself. However, it is important to always prioritize safety when working with electrical components and to follow the steps carefully to avoid any accidents. It is also recommended to use high-quality materials to ensure the longevity and efficiency of your DIY night light. With a little creativity and attention to detail, you can easily create a beautiful and practical addition to your home with this DIY project.
Conclusion
In conclusion, creating your own LED night light can be a fun and rewarding DIY project that not only saves you money but also allows you to personalize your lighting to your specific tastes and needs. With just a few simple steps and materials, you can have a unique and functional night light that adds a touch of ambiance to any room. Whether you are looking to add a pop of color, create a calming atmosphere, or simply enjoy the warm glow of a night light, this step-by-step guide has everything you need to get started. So why not unleash your creativity and try making your own LED night light today?