LED Light Strips Made Easy: Learn How to Cut and Install Like A Pro!

LED light strips have become a popular choice for homeowners and interior designers looking to add a subtle yet striking element of ambiance to their living spaces. These flexible, adhesive-backed strips can be easily installed and cut to fit any surface or shape, making them a versatile lighting solution for any room in the house. Whether you’re looking to create a cozy atmosphere in your bedroom, highlight a unique architectural feature, or add a pop of color to your kitchen, LED light strips can help you achieve the look and feel you’re after. In this guide, we’ll take a closer look at how to cut and install LED light strips like a pro. We’ll cover everything from the basics of choosing the right type of strip for your needs to the finer details of mounting and wiring your lights. With our step-by-step instructions and expert tips, you’ll be able to transform any room in your home into a dazzling, inviting space with ease. So let’s get started and discover how to make LED light strips work for you!
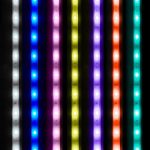
LED light strips are a highly versatile lighting solution that can be used in a wide range of applications, from home decor to commercial settings. They consist of a series of small LED lights mounted on a flexible strip, which can be cut to size and easily installed using an adhesive backing. LED light strips are known for their energy efficiency, durability, and long lifespan, making them a popular choice for those who want to reduce their energy bills and minimize their environmental impact. They are also available in a variety of colors and styles, allowing users to create customized lighting effects that suit their individual needs and preferences. Whether you’re looking to add some ambiance to your home or create a stunning visual display, LED light strips are a great choice for anyone who wants to add some sparkle to their surroundings.
The use of LED light strips has become increasingly popular due to their numerous benefits. One of the main advantages is their energy efficiency compared to traditional lighting sources. LED light strips consume less energy while still providing bright and vibrant illumination, resulting in lower electricity bills. They are also long-lasting and durable, with a lifespan of up to 50,000 hours. LED light strips are versatile and come in various colors and sizes, making them perfect for a range of applications, from accent lighting to task lighting. Additionally, they are easy to install and require minimal maintenance, making them a cost-effective and convenient lighting solution for both residential and commercial settings.
Understanding the Components of LED Light Strips
LED light strips are becoming increasingly popular due to their versatility and energy efficiency. However, understanding the components of LED light strips is crucial in order to make informed decisions when purchasing and installing them. The most essential components of LED light strips include the LED chips, circuit board, and adhesive backing. The LED chips are the small, individual light sources that emit light in different colors. They are typically mounted on a circuit board, which is the backbone of the LED light strip. The circuit board connects the LED chips to the power source and controls the flow of electricity to them. The adhesive backing is also a crucial component, as it allows for easy installation on various surfaces. Understanding these components will help you choose the right LED light strip for your needs and ensure proper installation for optimal performance.
LED light strips consist of several components that work together to create a seamless and customizable lighting experience. The strip itself is made up of a flexible circuit board with surface-mounted diodes, or LEDs, that emit light. These diodes are powered by a driver, which regulates the electrical current flowing to the LEDs to ensure they operate at the correct voltage and brightness. To control the strip, a controller is necessary, which can be a simple on/off switch or a more advanced device that allows for dimming and color-changing capabilities. Additionally, the strip is typically covered in a protective layer, such as silicone, to prevent damage from dust, moisture, and other environmental factors. By understanding the various components of LED light strips, users can confidently cut and install them to create stunning lighting effects in any space.
Understanding the components of LED light strips is crucial for a successful installation. Without proper knowledge of the components, one may end up with a poorly functioning or even non-working light strip. It is imperative to be familiar with the different parts, such as the power supply, controller, and connectors, and how they work together to power and control the LED lights. Additionally, knowing how to properly handle and install these components can prevent damage to the light strip and ensure that it functions efficiently. By taking the time to understand and master the components, anyone can confidently install LED light strips like a professional.
Measuring and Cutting LED Light Strips
Measuring and cutting LED light strips is a crucial step in the installation process, as it ensures that the strip will fit perfectly in the desired location. Before cutting the strip, it is essential to measure the length needed accurately. To do this, use a measuring tape to determine the exact length of the area where you wish to install the strip. Be sure to add an extra inch or two to the measurement to account for any corners or turns that may need to be made. Once you have the measurement, mark the strip with a pen or marker at the desired length. It is crucial to use a sharp pair of scissors or a cutting tool to cut the strip, as this will prevent any damage to the LED lights. Cut directly along the marked line, and be sure to cut through all layers of the strip, including the adhesive backing. When cutting LED light strips, it is important to note that they can only be cut at specific points. These points are typically marked along the strip and are usually located every few inches. Cutting the strip at any other point will damage the circuitry and render the strip useless. Before cutting the strip, ensure that you are cutting it at the correct location. Additionally, if you are cutting a strip to fit around a corner or bend, be sure to cut the strip at the appropriate angle to ensure a seamless connection. Properly measuring and cutting LED light strips will result in a perfect fit and a professional-looking installation.
When it comes to cutting LED light strips, having the right tools is crucial. Firstly, you’ll need a sharp pair of scissors or wire cutters to make precise cuts without damaging the strip. Additionally, a ruler or measuring tape is necessary to ensure accurate measurements and cuts. A soldering iron and solder may also come in handy if you need to reattach wires or connectors after cutting. Lastly, a heat gun or lighter can be used to seal the ends of the strip to prevent fraying. Having these tools on hand will make cutting and installing LED light strips much easier and more efficient.
Measuring and cutting LED light strips can be a daunting task, but with the right tools and techniques, it can be a breeze! The first step is to determine the length of the area you want to light up, and then measure the LED strip accordingly. Once you have your measurement, use a sharp pair of scissors or a utility knife to cut the strip along the designated cut marks. It’s important to be precise when cutting the strip, as any mistakes could result in an uneven or non-functional LED light. Additionally, it’s essential to ensure that the cut end of the strip is properly sealed or soldered to prevent any electrical issues. With these simple steps, you can confidently measure and cut LED light strips like a pro!
Installing LED Light Strips

Installing LED light strips can be a fun and creative way to add some flair to your home décor. These versatile strips come in a variety of colors and can be cut to fit any space, making them an easy and customizable option for any room in your home. The first step in installing LED light strips is to choose the right type of strip for your needs. There are a variety of options available, including waterproof strips for outdoor use and color-changing strips that can be controlled with a remote. Once you’ve chosen your strip, you’ll need to measure the space where you want to install it and cut the strip to fit. Be sure to follow the manufacturer’s instructions carefully to avoid damaging the strip. After you’ve cut your LED light strip to fit, it’s time to install it. Start by cleaning the surface where you’ll be mounting the strip to ensure good adhesion. Then, carefully peel off the backing from the adhesive tape on the back of the strip and press it firmly into place. If necessary, use additional adhesive or mounting clips to secure the strip in place. Finally, connect the strip to a power source and enjoy your new custom lighting! With a little bit of creativity and know-how, you can easily install LED light strips like a pro and transform any space in your home into a colorful and inviting oasis.
Before installing LED light strips, it is essential to prepare the installation area properly. First, clean the area thoroughly with a dry cloth to remove any dirt, dust, or debris that may interfere with the adhesive. Next, measure the surface where the LED light strip will be installed to determine the length needed for cutting. Ensure that the surface is dry and free from moisture before cutting or attaching the LED light strip. It is recommended to mark the area where the LED light strip will be installed with a pencil or tape to ensure precision during the installation process. By properly preparing the installation area, the LED light strips will adhere better and last longer, providing a professional finish to any project.
Installing LED light strips can be a fun and easy way to add ambiance and style to any room. To get started, first measure the length of the area you want to light up, and purchase LED strips that are the appropriate length. Next, clean the surface where you will be installing the strips, and make sure it is dry. Then, remove the adhesive backing from the LED strip and carefully attach it to the surface, making sure to smooth out any bubbles or wrinkles. If needed, cut the strip to the desired length using sharp scissors or a utility knife. Finally, connect the LED strip to a power source and enjoy your new, stylish lighting! With these simple steps, you’ll be able to install LED light strips like a pro in no time!
When it comes to installing LED light strips, there are some common installation problems that you may encounter. One of the most common issues is the strip not sticking properly to the surface, which can be caused by dust, dirt or moisture on the surface. To fix this, make sure the surface is clean and dry before applying the adhesive. Another issue is the strip not lighting up, which can be caused by a faulty connection or incorrect wiring. Check the wiring and connections to ensure they are properly connected and secure. It’s also important to use the correct power supply for the strip to avoid any voltage issues. By troubleshooting these common installation problems, you can ensure a successful installation of your LED light strips.
Enhancing Your LED Light Strip Experience
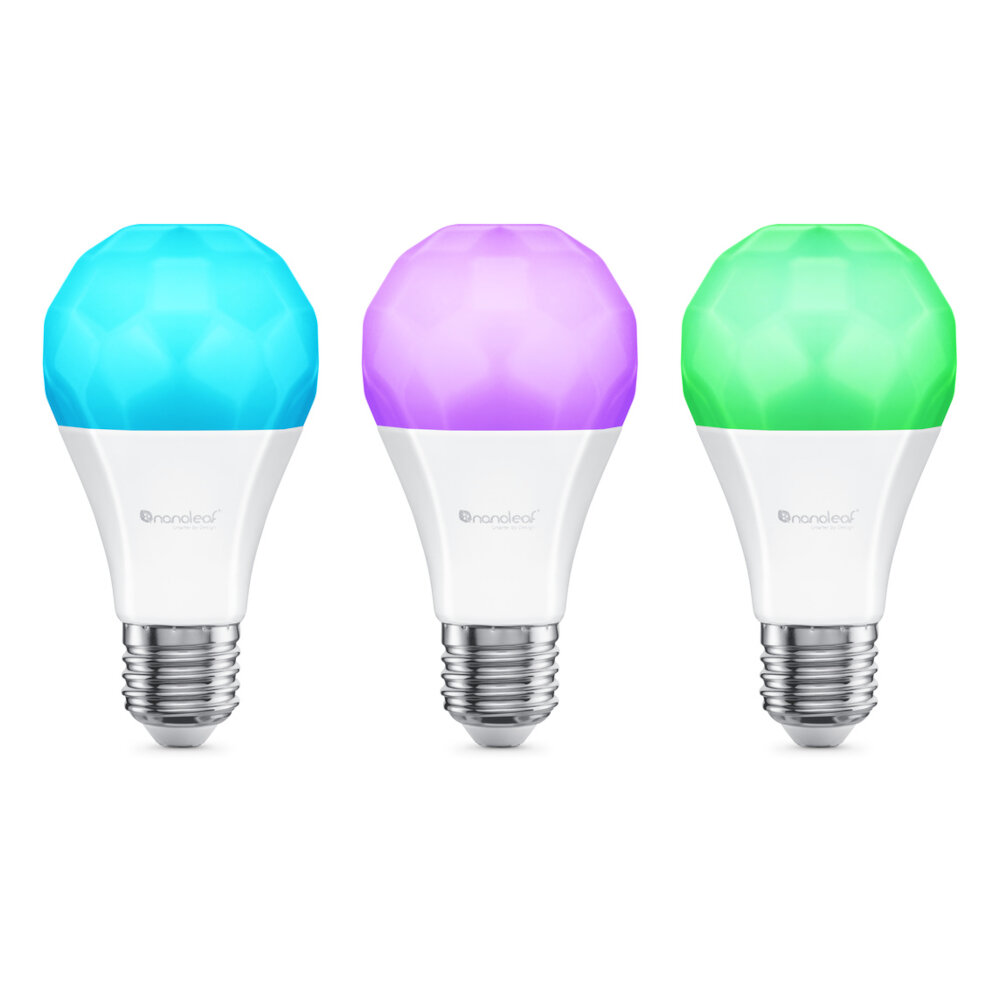
Enhancing your LED light strip experience can be as simple as adding a few accessories to your setup. One popular accessory is a dimmer switch, which allows you to adjust the brightness of your lights to suit your mood and needs. This is especially useful for creating a cozy ambience in your bedroom or living room. Another accessory to consider is a remote control, which allows you to turn your lights on and off, change colors, and adjust brightness levels from the comfort of your couch or bed. This is perfect for those lazy days when you don’t feel like getting up to adjust your lights manually. If you want to take your LED light strip experience to the next level, you can also invest in smart home technology. Smart LED light strips can be controlled through your smartphone or voice-activated assistant, such as Amazon Alexa or Google Assistant. This allows you to control your lights from anywhere in the house or even when you’re away from home. You can set schedules for your lights to turn on and off, change colors to match your mood, and even sync your lights with your music for the ultimate party experience. With these accessories and smart technology, your LED light strip setup will be the envy of all your friends and family.
In addition to the LED light strips themselves, there are a plethora of accessories that can be used to enhance their functionality and aesthetics. One such accessory is the LED controller, which allows for the adjustment of brightness, color, and even the mode of the LED lights. Another accessory is the power supply, which is essential for providing the necessary voltage to the LED light strips. LED light diffusers can also be used to create a softer and more diffuse light, while mounting brackets and clips can help secure the LED light strips in place. Finally, connectors and extension cables can be used to create custom lengths and configurations for the LED light strips. By utilizing these additional accessories, the possibilities for LED light strip installations are virtually endless.
LED light strips are a versatile and exciting way to add some creativity to your home decor. To use LED light strips creatively, you should start by considering the color and brightness of the lights. Use different colors to create a mood or ambiance, and adjust the brightness to suit your needs. You can also experiment with different placements and patterns for the light strips. Try placing them under shelves, behind furniture, or around mirrors to create a unique effect. Additionally, cutting and connecting LED light strips can allow you to create custom lengths that fit the specific needs of your space. With these tips, you can easily add some flair to your home with LED light strips.
LED light strips are a versatile and energy-efficient lighting solution that can be used for a variety of applications. These light strips offer a range of benefits that make them an attractive option for both residential and commercial use. One of the most significant advantages of LED light strips is their energy efficiency. They consume less energy than traditional incandescent bulbs and last longer, reducing the need for frequent replacements. Additionally, they emit less heat, making them a safer option. LED light strips are also available in a wide range of colors and can be dimmed for mood lighting. They are easy to install and can be cut to fit any space, making them a perfect DIY project. Overall, LED light strips offer an affordable and stylish way to light up any room or space.
In conclusion, LED light strips can be a fantastic addition to any space, providing a range of benefits from mood lighting to practical task lighting. To use them effectively, it’s important to select the right type of strip for your needs, taking into account factors such as brightness, color temperature, and length. Additionally, proper installation is crucial for achieving the desired effect and ensuring the longevity of the strips. When cutting and installing, be sure to follow the manufacturer’s instructions carefully and use appropriate tools for the job. With a little bit of planning and attention to detail, LED light strips can transform any space into a beautifully lit and functional environment.
Conclusion

In conclusion, LED light strips are a great way to add ambiance, style, and functionality to any space. With the knowledge gained from this guide, you can now confidently cut and install LED light strips like a pro. By understanding the basics of LED light strips, choosing the right type of strip, and following the proper installation techniques, you can create a stunning and customized lighting design that perfectly suits your needs. Whether you’re looking to add a subtle glow to your kitchen cabinets or create a dramatic lighting display in your living room, LED light strips are a versatile and easy-to-use solution. So why wait? Get started on your LED light strip project today and transform your space into a modern and stylish oasis.