LED Light Setup Made Easy: A StepbyStep Guide
LED lights have become a popular lighting option in recent years, offering energy efficiency, durability, and versatility in their use. Whether you’re looking to add some ambiance to your home or create a unique lighting setup for your business, LED lights can provide a cost-effective and visually striking solution. However, setting up LED lights can seem daunting if you’re not familiar with the process. In this step-by-step guide, we’ll walk you through everything you need to know to create your own LED light setup, from choosing the right type of LED lights to installing them in your desired location. With the rise of smart home technology, LED lights have become even more accessible and customizable. You can control your LED lights through your smartphone or voice commands, adjust the brightness and color temperature, and set up custom schedules to fit your needs. But even with all these benefits, it can be overwhelming to know where to start. This guide will help you understand the basics of LED lights, including the different types of LED lights available, the benefits of using LED lights, and the tools and materials you’ll need to get started. Whether you’re a DIY enthusiast or a professional contractor, this guide will provide you with the knowledge and skills to set up your own LED light system.
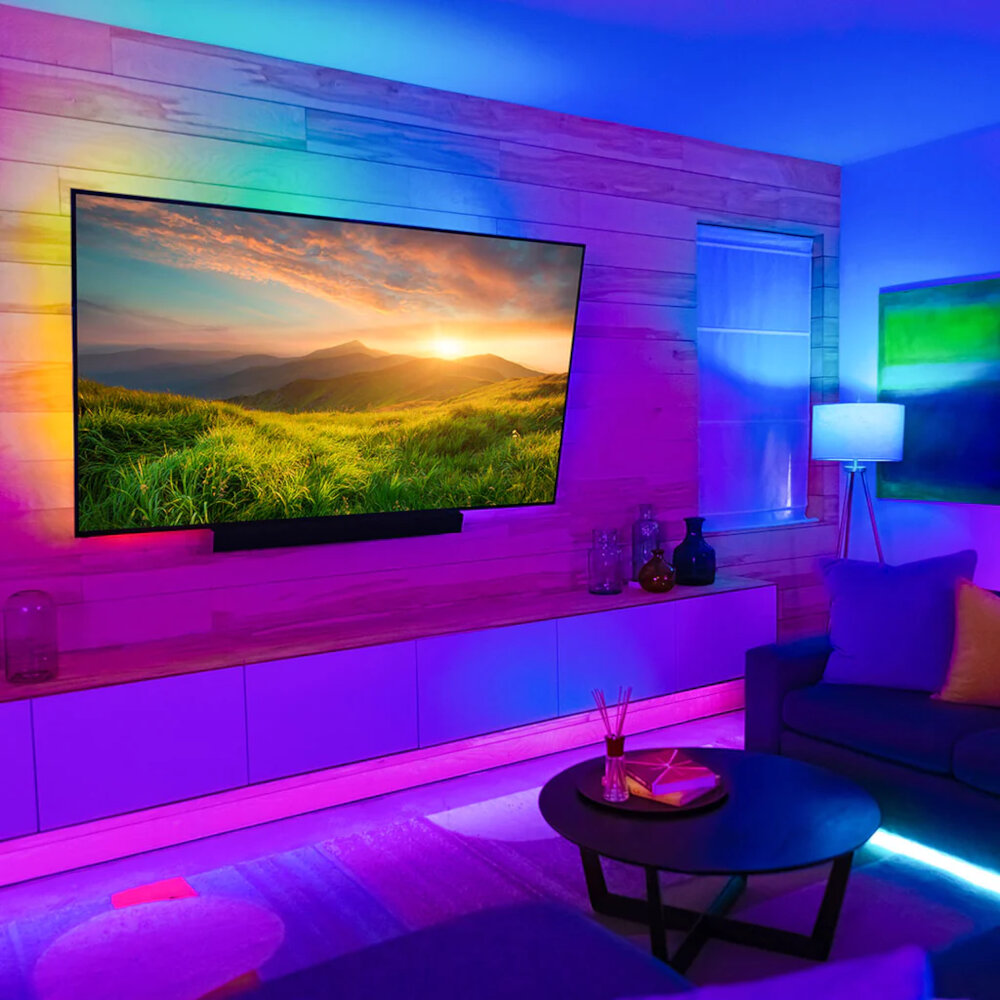
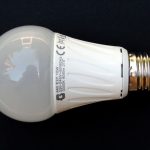
LED lights have become increasingly popular in recent years due to their many advantages over traditional lighting options. They are highly energy-efficient, consuming up to 80% less electricity than incandescent bulbs, and have a much longer lifespan, lasting up to 25 times longer. This translates to significant cost savings for both homeowners and businesses. Additionally, LED lights produce less heat, making them safer and cooler to the touch than traditional bulbs. They are also available in a wide range of colors and lighting temperatures, allowing for customization to suit different environments and moods. With all of these benefits, it’s no wonder that LED lights have become the preferred lighting option for homes and offices alike.
The purpose of the article \LED Light Setup Made Easy: A Step-by-Step Guide\ is to provide readers with a comprehensive guide to setting up LED lights for various purposes. The article aims to simplify the process of LED light installation by breaking it down into easy-to-follow steps, and providing tips for choosing the right type of LED lights for different applications. The article covers topics such as choosing the correct LED bulb, wiring the LED lights, and setting up the LED lighting system. Overall, this article seeks to empower readers to confidently set up their own LED lighting systems with ease and efficiency.
Gather Your Supplies
Gathering supplies is a crucial part of setting up your LED lights. Before getting started, make sure you have everything you need. First, start with the LED lights themselves. Depending on the size of the space you want to light up, you may need multiple lights. It’s important to measure the space beforehand to ensure you have the right amount of lights. Additionally, be sure to choose lights that fit your desired aesthetic. LED lights come in a variety of colors and shapes, so choose ones that fit your style. Next, you’ll need a power source. Most LED lights come with a power supply, but double-check to make sure you have the right one. You may also need extension cords or surge protectors to ensure all your lights have power. Finally, don’t forget about mounting supplies. Depending on where you want to place your lights, you may need adhesive strips, hooks, or clips. Make sure to choose mounting supplies that won’t damage your walls or furniture. In conclusion, gathering supplies for your LED light setup is crucial for success. Make sure to have the right amount of lights for your space, a proper power source, and mounting supplies that fit your needs. With the right supplies, your LED light setup will be a breeze.
Before starting the LED light installation process, it is essential to have all the necessary tools and materials ready. Firstly, a screwdriver is required to fix the LED light fixture onto the ceiling. Secondly, a wire cutter and stripper are needed to remove any excess wires and connect the LED light to the power source. A voltage tester is also necessary to ensure the electricity is turned off before beginning the installation process. Additionally, a ladder, measuring tape, and pencil are essential to ensure the LED light fixtures are installed at the correct height and location. Lastly, the LED light bulbs and compatible dimmer switch need to be purchased beforehand to ensure a seamless installation process. Having all of these tools and materials ready will make the LED light setup process easy and efficient.
When it comes to purchasing supplies for your LED light setup, there are a few options to consider. Firstly, you could visit your local hardware or electrical store, where you can find a variety of LED lights, power supplies, and mounting hardware. Another option is to shop online, where you can find a wider range of products at competitive prices. Popular e-commerce websites like Amazon or eBay offer a vast selection of LED lights and accessories, and you can read reviews from other buyers to ensure you are purchasing a quality product. Additionally, you could consider purchasing directly from the manufacturer, which may offer bulk discounts or customizations. Whatever method you choose, be sure to compare prices and read reviews to ensure you are getting the best value for your money.
Plan Your Layout
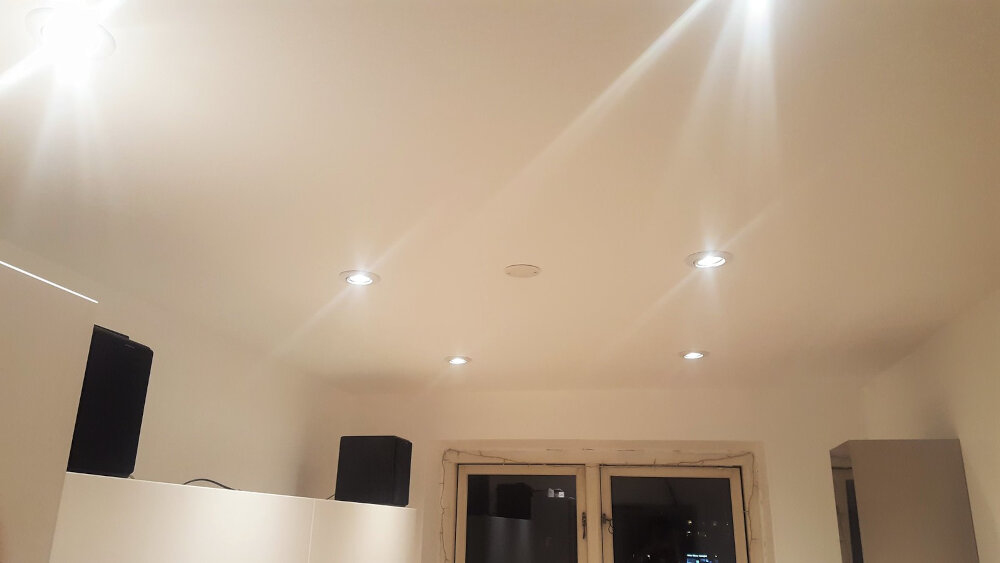
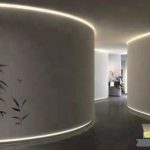
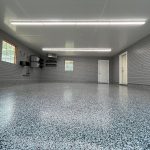
When it comes to setting up LED lights, planning your layout is a crucial step. This involves deciding where you want to place your lights and how many you need to achieve the desired effect. Before starting the installation process, it’s essential to have a clear idea of the result you want to achieve. This will help you determine the placement of your lights and the number of fixtures needed. To plan your layout effectively, start by identifying the areas of your home or business that require lighting. This could be a specific room, an outdoor space, or a particular feature you want to highlight. Once you’ve identified the area, consider the type of lighting you want to use. Do you want to create a warm, cozy atmosphere, or do you need bright, functional lighting? The answer to this question will determine the color temperature and brightness of your LED lights. Finally, think about the placement of your fixtures. Do you want to install them on the ceiling, walls, or floor? By answering these questions, you’ll be able to plan your layout effectively and create a stunning LED light setup.
Planning the layout of your LED lights can seem daunting, but with a few simple steps, it can be easily accomplished. First, determine the purpose of the lighting – are you looking to highlight a specific area or create ambiance? Next, measure the space and decide how many lights will be needed. Consider placement – will the lights be mounted on the ceiling, walls, or floor? Sketch a rough layout and test it by placing the lights in the proposed locations. Adjust as needed until you’re satisfied with the look. Finally, consider the type of LED lights you’ll be using – color temperature, brightness, and beam angle all play a role in achieving the desired effect. With these steps in mind, your LED light setup will be a success!
Choosing the right placement for your lights is crucial to achieving the desired ambiance and functionality in your space. To start, consider the purpose of the room and the activities that will take place. For example, overhead lighting may work well in a kitchen, whereas accent lighting may be more appropriate in a living room. Additionally, think about the size and shape of the room, as well as any architectural features that you want to highlight. Finally, consider the type of bulb and fixture that you want to use, as this can impact the amount and quality of light that is emitted. By taking these factors into account, you can ensure that your LED light setup is both functional and aesthetically pleasing.
Install Your LED Lights
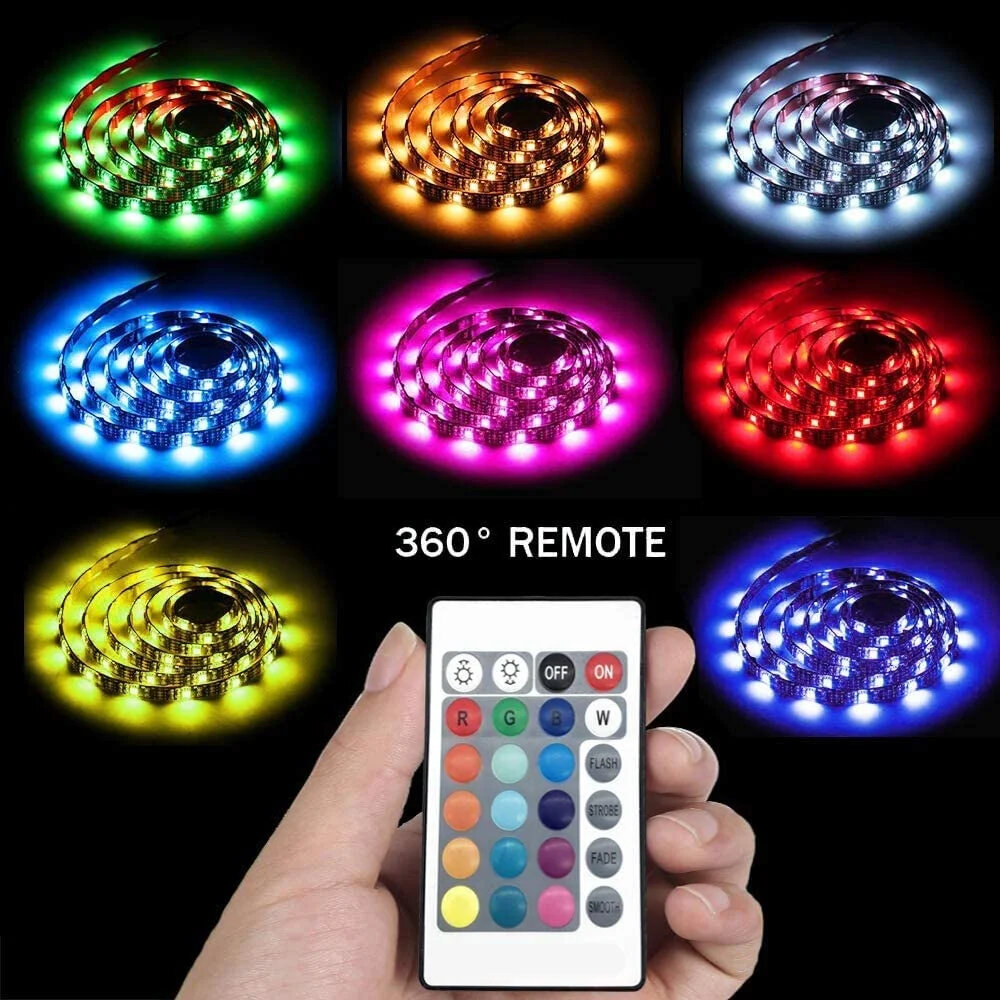
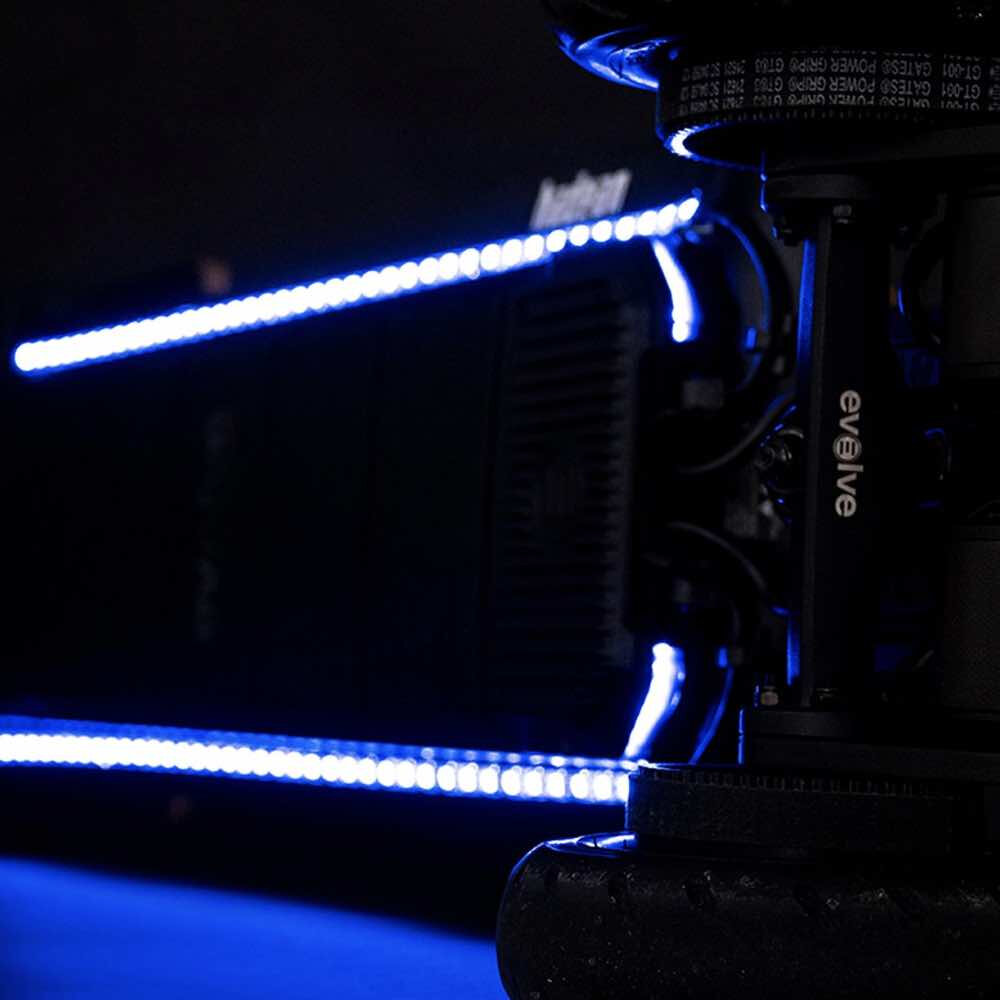
If you’re looking to install LED lights in your home or office, you’re in luck! With a few basic tools and some patience, you can have your LED lights up and running in no time. The first step is to decide where you want your lights to go. Do you want to install them on the ceiling, under cabinets or shelves, or around a mirror? Once you’ve decided on the location, you need to measure the length of the area where you want to install the lights. This will help you determine how many LED light strips you need to purchase. Before you begin the installation process, it’s important to turn off the power in the area where you’ll be working. This will help prevent any accidents or injuries. Next, you’ll need to clean the area where you’ll be installing the lights. This will ensure that the lights stick properly and don’t fall off over time. Once the area is clean, you can begin to attach the LED light strips. Make sure to follow the manufacturer’s instructions for attaching the lights to the surface. This may involve using adhesive tape, screws, or clips. Once the lights are attached, you can connect them to a power source and turn them on. Congratulations, you’ve successfully installed your LED lights!
Installing LED lights is a straightforward process that can be completed with just a few simple steps. To begin, gather all the necessary tools and equipment such as a screwdriver, drill, and wire strippers. Next, determine the location where you want to install your LED lights and make sure that it’s a suitable location. Once you have identified the location, you can start by drilling holes for the lights and wiring. After that, connect the wires to the power supply and test the lights to ensure that they are working correctly. Finally, mount the LED lights and secure them with screws to complete the installation process. By following these easy steps, you can quickly set up your LED lights and enjoy their bright and energy-efficient illumination.
Connecting your LED lights to a power source is a crucial step in setting up your lighting system, and doing it properly will ensure the longevity and efficiency of your lights. Firstly, make sure you have the correct power supply for your LED lights, as using the wrong voltage can damage or even destroy your lights. Next, connect the positive and negative wires of your LED lights to the corresponding terminals of the power source, making sure to use wire connectors or wire nuts for a secure connection. It’s important to also properly ground your lights to avoid any electrical hazards. Finally, test your lights to ensure they are working properly before mounting or installing them. By following these tips, you can easily and safely connect your LED lights to a power source and enjoy the benefits of a well-lit space.
Test Your Lights
Testing your lights is an essential step in any LED light setup. It ensures that everything is working correctly and helps you identify any issues before you start using them regularly. To test your lights, you need to connect them to a power source and turn them on. If you’re setting up multiple lights, it’s best to test them one by one to make sure each one is functioning correctly. Once you’ve turned on your lights, check that they’re emitting the right color, brightness, and pattern. You can adjust these settings using the controls on your LED lights or the app that comes with them. If you notice any issues, such as flickering or uneven lighting, it’s best to troubleshoot them before proceeding with your setup. If you’re using LED lights for the first time, it’s essential to test them thoroughly to avoid any potential hazards. Faulty LED lights can be dangerous and pose a fire risk if not handled correctly. Testing your lights before installation can also help you avoid any unnecessary hassle and stress later on. Once you’ve tested your lights and are satisfied with their performance, you can proceed with the installation process. Remember to follow the manufacturer’s instructions carefully and seek professional help if you’re unsure about any aspect of the setup. With a little bit of patience and effort, you can set up your LED lights quickly and easily, and enjoy their many benefits.
To test your LED lights and ensure that they are working properly, you should start by checking the wiring and connections to make sure they are secure and in the right place. Once you have done that, plug in the LED lights and turn them on to see if they light up. If they don’t, try replacing the batteries or power source to see if that is the issue. Additionally, you can use a multimeter to check the voltage and current of the LED lights to make sure they are within the acceptable range. Finally, if all else fails, you may need to replace the LED lights or seek the help of a professional to troubleshoot the issue.
When setting up LED lights, it’s essential to be prepared for any issues that may arise. The first step in troubleshooting is to identify the problem. Check the power source, wires, and connections to ensure everything is properly connected. If the issue persists, try resetting the lights by turning them off and on again. It’s also important to check the manual for any specific troubleshooting steps. If all else fails, reach out to the manufacturer for assistance. By being proactive and following these tips, you can quickly resolve any issues and enjoy the benefits of a well-lit space.
LED lights are becoming increasingly popular due to their numerous benefits compared to traditional lighting options. Installing LED lights in your home or office can lead to significant energy savings, as they use up to 90% less energy than incandescent bulbs. Additionally, LED lights have a longer lifespan, reducing the need for frequent replacements. They also emit less heat, making them a safer option for use in enclosed spaces. LED lights are available in a variety of colors and styles, making them a versatile option for any space. With the added benefit of being environmentally friendly, making the switch to LED lights is a smart choice for any home or office owner looking to save money and reduce their carbon footprint.
In conclusion, LED light installation is a straightforward and easy process that anyone can do with basic tools and a little bit of patience. Not only will it brighten up your living space, but it also has a multitude of advantages over traditional lighting options. It is energy-efficient, long-lasting, and environmentally friendly. So, don’t be intimidated by the process; give it a try yourself! Follow the step-by-step guide we provided, and you’ll have your LED lights up and running in no time. Not only will you feel accomplished, but you’ll also be able to enjoy the benefits of LED lighting for years to come.
Conclusion
In conclusion, setting up LED lights can be a daunting task, but with this step-by-step guide, it can be made easy and accessible to everyone. From choosing the right type of LED lights to installing them, this guide covers everything you need to know to create a stunning and energy-efficient lighting setup. By following these simple steps, you can transform any space and enhance its aesthetic appeal while also reducing your energy consumption. So, whether you are a DIY enthusiast or a professional, this guide is a must-read for anyone looking to create a beautiful and sustainable lighting setup.
Related posts:
 Maximize Your Lighting Setup: How Many LED Light Strips Can You Safely Connect Together?
 Mastering Your LED Light Remote: A StepbyStep Guide to Get it Working
 Mastering Illumination: A StepbyStep Guide on Setting Up Your LED Light Remote
 Linking LED Light Strips: A StepbyStep Guide to Illuminating Your Space