How to Connect LED Light Strips: A StepbyStep Guide for Easy SetUp

LED light strips are a versatile and trendy way to add some ambiance and creativity to any space. Whether you want to add some colorful lighting to your bedroom, kitchen, or even your car, LED light strips can provide a stunning and customizable solution. However, connecting and setting up LED light strips may seem daunting and overwhelming for those who are not familiar with electrical wiring or technology. That’s why we’ve created this step-by-step guide to help you connect LED light strips with ease. In this guide, we’ll take you through every step of the process, from selecting the right LED light strip for your needs to connecting it to a power source. We’ll provide clear and concise instructions that will help you avoid any potential hazards or mistakes. Whether you’re a DIY enthusiast, a beginner, or just looking to spruce up your space, this guide will give you the confidence and knowledge you need to set up your LED light strips like a pro. So let’s get started and light up your world!
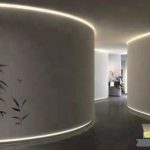
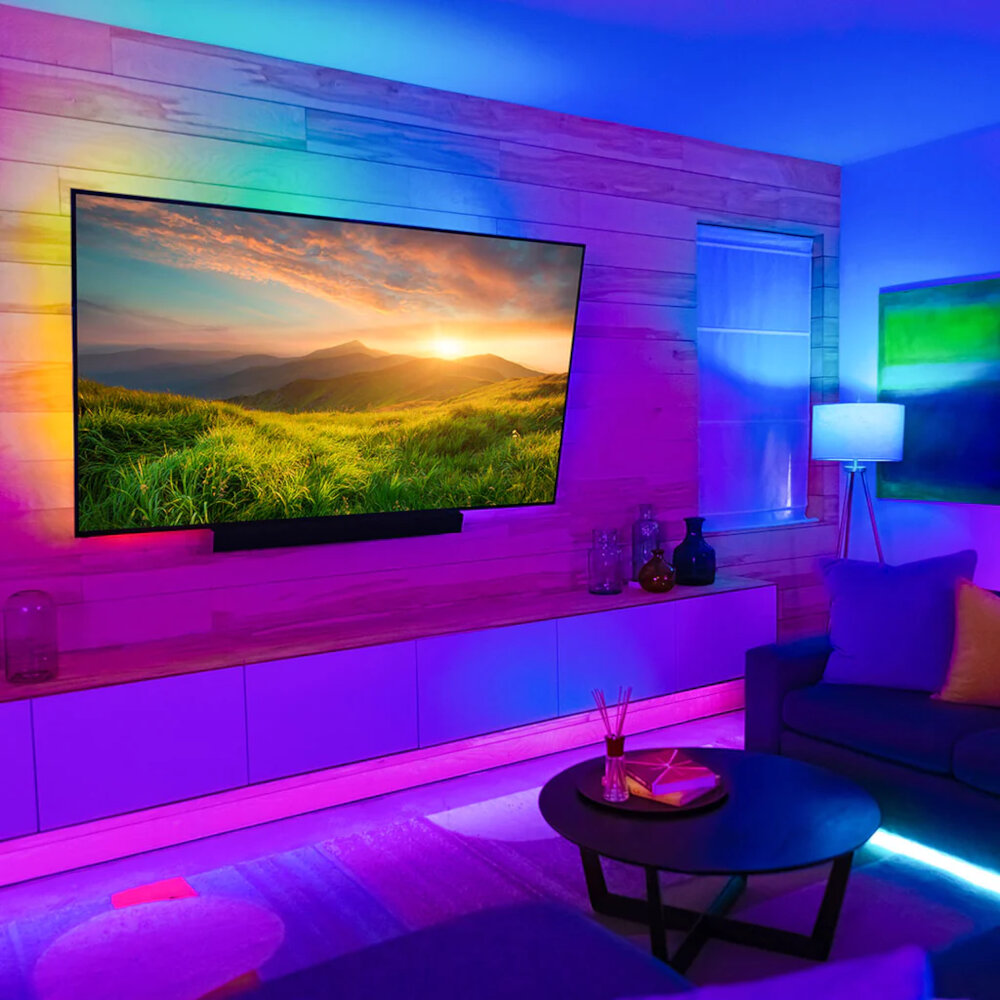
LED light strips are versatile and efficient lighting solutions that can be used in a variety of settings. They consist of multiple small LED lights mounted on a flexible strip, which can be cut to size and placed in any desired location. LED light strips are popular for their energy efficiency, durability, and ease of installation. They can be used to add accent lighting to a room, highlight architectural features or artwork, or create an ambiance for a special event. LED light strips are also popular for use in automotive lighting, as well as for outdoor lighting applications such as landscape lighting and pathway lighting. With their flexibility and versatility, LED light strips are a popular choice for both home and professional lighting projects.
Gather Materials
Gathering materials is an essential step when it comes to connecting LED light strips. Before starting the installation process, you must ensure that you have all the necessary tools and equipment that you will need. The required materials might vary depending on the type of LED light strip you are using and the complexity of the installation. However, some of the most common materials include LED light strips, a power supply, a soldering iron, wire cutters, wires, and a controller. It is essential to make sure that all the materials you gather are of good quality and will work effectively for your LED light strip installation. Once you have all the required materials, it is essential to have a clear workspace to ensure that you can easily access and organize the materials. Having a clean workspace will also help you to avoid misplacing any tools or materials during the installation process. Additionally, it is advisable to have a detailed plan of how you will connect the LED light strips before starting the installation process. This plan should include the placement of the LED light strips, the location of the power supply, and the wiring connections. By having a detailed plan and a clear workspace, you can ensure that the installation process will proceed smoothly, and you will be able to connect your LED light strips quickly and efficiently.
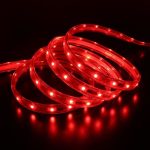
To set up LED light strips, you will need a few essential tools and materials. Firstly, you will need the LED light strips themselves, which come in different lengths and colours. Next, you will require a power source, which can be a transformer, battery or USB port, depending on the LED strip’s voltage. You will also need a controller, which allows you to adjust the brightness, colour and mode of the lights. Additionally, you may need connectors, soldering iron, and wires to join and extend the strips. A pair of scissors, tape measure, and a pencil can be handy for cutting and marking the strips. Finally, a clean and dry surface to mount the strips, such as under cabinets, behind TVs, or on ceilings. With these tools and materials, you can easily connect LED light strips and enjoy the ambience they provide in no time!
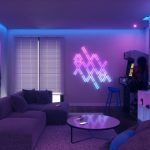
When selecting an LED light strip, there are a few things to keep in mind. First, consider the brightness level you need for your space. Different LED strips have different levels of brightness, so make sure to choose one that fits your needs. Additionally, consider the color temperature of the LED strip. If you want a warm, cozy ambiance, choose a strip with a lower color temperature (around 2700K-3000K). If you want a brighter, more vibrant atmosphere, choose a strip with a higher color temperature (around 5000K-6500K). Finally, pay attention to the length of the LED strip and make sure it is long enough to cover the area you want to light up.
Plan Your Installation
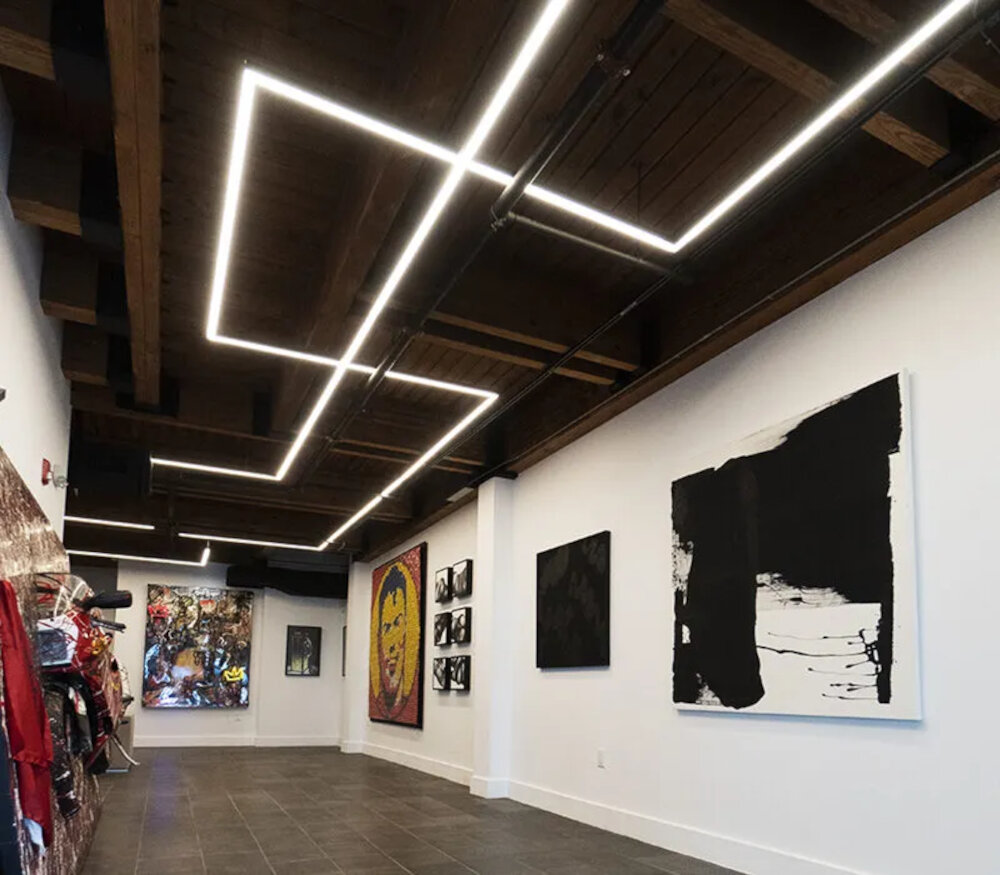
When it comes to connecting LED light strips, planning your installation is a crucial step in the process. Before you start, make sure to measure the space where you want to install the lights and determine how many LED strips you will need. It’s also important to consider the power source for your LED light strips. If you’re installing the lights in a room, you may need to use an outlet or extension cord to power the strips. Alternatively, you can use a battery pack or a transformer to power the lights. Make sure to choose the right power source based on the length and size of your LED light strips. Another important aspect of planning your installation is deciding where to place the LED light strips. Think about the purpose of the lights and how you want to use them. Do you want to highlight a specific area or create a mood lighting effect? Once you have determined the purpose, you can decide on the placement of the LED light strips. You can install them under cabinets, along the ceiling, or around furniture. Make sure to use the right adhesive for the surface where you are installing the lights. Planning your installation can help ensure the success of your LED light strip project and create a stunning visual effect in your home or workspace.
Before connecting your LED light strip, it is important to determine the best location for it. Consider the purpose of the light strip and the ambiance you want to create. Do you want to add accent lighting to your living room or highlight a specific area in your kitchen? Once you have decided on the location, ensure that it is easily accessible and has a power source nearby. It is also important to consider the surface where you will be mounting the LED light strip. Make sure that it is clean and dry to ensure proper adhesion of the strip. By taking these factors into consideration, you can ensure that your LED light strip is installed in the best location for maximum impact.
Before connecting LED light strips, it is important to measure the area where they will be installed and plan their placement accordingly. This step will ensure that the strips fit perfectly and provide uniform lighting throughout the desired area. To measure the area, use a measuring tape and note down the length and width of the space. Based on the measurements, select the appropriate length of LED light strips and plan their placement accordingly. This will also help in determining the number of connectors and power sources required for the installation. A well-planned placement will not only enhance the aesthetics of the space but also ensure efficient and effective use of the LED light strips.
As with any DIY project, there are potential obstacles or challenges that may arise when connecting LED light strips. One common issue is the length of the strip, as it may not fit the desired space or require additional connectors and power sources. Another challenge is the adhesive backing on the strip, which may not stick properly to certain surfaces or require additional reinforcement. Additionally, troubleshooting connectivity problems or faulty components can be a hurdle for beginners. However, with proper planning and patience, these obstacles can be easily overcome for a successful LED light strip installation.
Connect the LED Light Strip
Connecting LED light strips is an easy and fun DIY project that can add a touch of ambiance and color to any room. LED strips are versatile and come in different lengths, colors, and intensities, making them ideal for various applications. Whether you want to decorate your living room, bedroom, or kitchen, connecting LED light strips is a simple process that can be done in a few steps. The first step is to choose the right LED light strip for your needs. You should consider the length of the strip, the color, and the intensity of the light. Once you have chosen the right LED light strip, the next step is to connect it to a power source. To connect the LED light strip, you will need a power supply, a connector, and the LED light strip itself. The power supply should match the voltage and wattage of the LED light strip, so make sure to check the specifications before purchasing. The connector is used to connect multiple LED light strips together, and it should be compatible with the type of LED light strip you have. The first step is to plug the power supply into an electrical outlet and then connect it to the LED light strip using the connector. Next, you should attach the LED light strip to a surface using the adhesive tape on the back of the strip. Finally, you can turn on the LED light strip and enjoy the ambiance and color it adds to your room.
Connecting LED light strips to a power source is a simple process that can be done in just a few steps. First, ensure that the power source you are using matches the voltage requirements of your LED strip. Next, locate the positive and negative wires on the strip and connect them to the corresponding wires on the power source. If your LED strip comes with a connector, simply plug it into the power source. Finally, turn on the power source and watch as your LED lights come to life. With these step-by-step instructions, you can easily connect your LED light strip to a power source and start enjoying the beautiful and versatile lighting it provides.
When connecting LED light strips, it’s important to ensure a secure and safe connection to prevent any electrical hazards or damage to the lights. First, make sure to use the appropriate power supply for your LED light strip, as using the wrong voltage can cause permanent damage. Additionally, always use connectors and wiring that are rated for the amount of power and voltage used by your LED light strip. It’s also important to securely fasten all connections and avoid any exposed wires or loose connections, as this can cause a fire hazard. Finally, always follow the manufacturer’s instructions and safety guidelines when installing and connecting LED light strips to ensure a safe and reliable installation.
Connecting LED light strips can be a fun and exciting way to bring a new level of ambiance to any room. However, it’s not uncommon to encounter some connection issues during the setup process. One common issue is a loose connection. If you find that your LED light strip is not lighting up, check the connection points to ensure that they are secure. Another issue is incorrect wiring, which can result in flickering or dimming lights. To avoid this, double-check the wiring diagram and make sure that the positive and negative ends are connected properly. Lastly, check your power source to make sure that it’s providing enough voltage to power your LED light strip. By troubleshooting these common connection issues, you can ensure that your LED light strips are set up properly and ready to use.
Test and Adjust

After the physical installation of LED light strips, it’s time to test and adjust them. This step is crucial to ensure that the lights are working correctly and the desired effect is achieved. To test the LED light strips, plug them into a power source and turn them on. Check each section of the strip to ensure that all of the LEDs are lighting up. If any of the sections are not working, there may be a connection issue or a faulty LED. In this case, it’s important to go back and check the connections or replace the faulty LED. It’s also a good idea to test the LED light strips with a remote control if one is included in the package. This will ensure that the remote control is working correctly and that the lights can be adjusted to the desired brightness and color. Once the LED light strips are tested and all sections are working correctly, it’s time to adjust them to achieve the desired effect. Depending on the type of LED light strips, there may be various ways to adjust the brightness and color. Some LED light strips come with a remote control that allows you to adjust the brightness, color, and even create different lighting effects. If a remote control is not included, the LED light strips may have a switch or button that allows you to adjust the brightness or color. It’s important to experiment with the different settings to find the perfect lighting for your space. Once you have adjusted the LED light strips, it’s a good idea to leave them on for a few hours to ensure that they are working correctly and that the desired effect is achieved.
Before installing your LED light strip, it’s important to test it to ensure that it’s working properly. First, plug in the power supply to a wall outlet, and then connect the LED light strip to the power supply. If the LED light strip has a remote control, make sure the batteries are inserted properly and the remote is working. Once everything is connected, turn on the power supply and check to see if the LED light strip is working. Look for any signs of malfunction, such as flickering or dimming lights. You can also use a multimeter to check the voltage and current to make sure they are within the recommended range. If everything looks good, you can proceed with installing the LED light strip.
When connecting LED light strips, adjusting the brightness and color of the lights is essential to achieve the desired ambiance. Firstly, it is recommended to avoid bright and colorful hues as they can be overwhelming and distracting. Instead, opt for warm and cool white tones to create a more relaxed and inviting atmosphere. Secondly, experimenting with different brightness levels can help find the perfect balance of light for any occasion. Dimming the lights can also create a cozy and intimate setting, while increasing the brightness can enhance productivity and concentration. Finally, using a remote control or mobile app to adjust the brightness and color of the lights can make the process effortless and convenient. With these tips, anyone can easily adjust the brightness and color of their LED light strips to suit their needs and preferences.
Troubleshooting common issues with brightness and color can be frustrating when setting up LED light strips. If the brightness is too low or colors are not displaying correctly, it may be due to a loose connection or incompatible power source. Check that all connections are secure and that the power source matches the requirements of the LED light strip. Additionally, some LED light strips may require a controller to adjust brightness and color settings. Make sure the controller is properly connected and configured. It is also important to note that some LED light strips may have a limited color range or may not display certain colors accurately. In these cases, it is best to consult the manufacturer’s specifications and adjust expectations accordingly.
Connecting LED light strips is a straightforward process that requires basic tools and materials. First, gather the equipment needed, including LED light strips, a power supply, connectors, and a remote control. Next, determine the desired length of the light strip and cut it to size using scissors or a cutting tool. Peel off the adhesive backing and stick the strip onto the desired surface. Connect the strip to the power supply and test it to ensure it is working correctly. Use connectors to join multiple strips together if needed. Finally, use the remote control to adjust the brightness, color, and other settings of the LED light strips. With these simple steps, anyone can easily set up LED light strips to add a touch of ambiance to their home or workspace.
In addition to the steps outlined in the guide, there are a few extra tips that can help you maintain and extend the life of your LED light strip. Firstly, make sure to handle the strip with care when installing it to avoid damaging any of the components. Secondly, avoid exposing the strip to extreme temperatures or humidity, as this can damage the adhesive backing and cause the strip to malfunction. Additionally, consider using a power surge protector to prevent any voltage spikes from damaging the strip. Finally, it’s a good idea to clean the strip periodically to remove any dust or debris that may accumulate on the surface and affect the brightness of the LEDs. By following these simple tips, you can ensure that your LED light strip will last for years to come.
Conclusion
In conclusion, connecting LED light strips is not as daunting as it may seem. With the right tools and a step-by-step guide, anyone can easily set up LED lights to create a warm and inviting atmosphere in any room. From choosing the right strip to mounting and wiring it correctly, each step is crucial to ensure the best results. The versatility and energy efficiency of LED lights make them an excellent choice for any lighting project. So go ahead, get creative, and add some color and brightness to your life with LED light strips!