Effortlessly Remove LED Light Residue: Expert Tips and Tricks
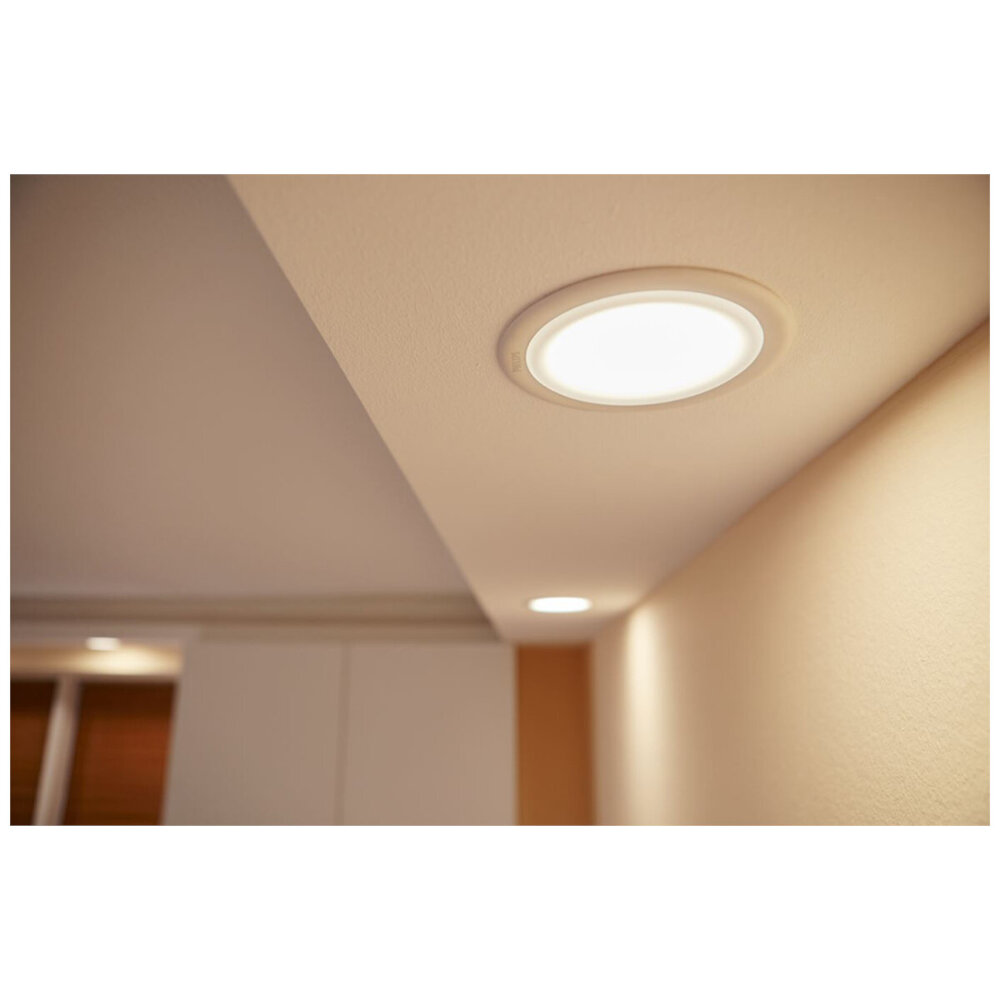
LED lights are a popular choice for their energy efficiency and long-lasting lifespan. However, when it comes to removing LED light residue, it can be a challenging task for many. The residue can accumulate over time, making it difficult to remove, and if not properly cleaned, it can affect the brightness and longevity of the LED lights. Luckily, with a few expert tips and tricks, you can effortlessly remove LED light residue without damaging the lights. Cleaning LED light residue requires a gentle touch and the right tools to ensure you do not damage the lights or the fixtures. With this in mind, it is essential to use the right cleaning products and techniques to ensure that your LED lights remain clean and bright. In this article, we will explore some of the expert tips and tricks that you can use to remove LED light residue quickly and efficiently. Whether you are dealing with a single light or an entire room, these tips will help you keep your LED lights looking their best.
LED light residue is a sticky and stubborn substance that is left behind after the removal of LED lights from a surface. It is caused by the heat generated by the LED lights, which causes the adhesive to melt and adhere to the surface. The residue can be difficult to remove due to its tenacious and adhesive nature. It can also be challenging to clean because it is not always visible, and if it is not removed properly, it can leave unsightly marks on the surface. Additionally, some surfaces, such as plastic or painted surfaces, can be damaged if harsh chemicals or abrasive materials are used to remove the residue. Therefore, it is essential to use the right techniques and tools to remove LED light residue effectively without damaging the surface.
Tools Needed
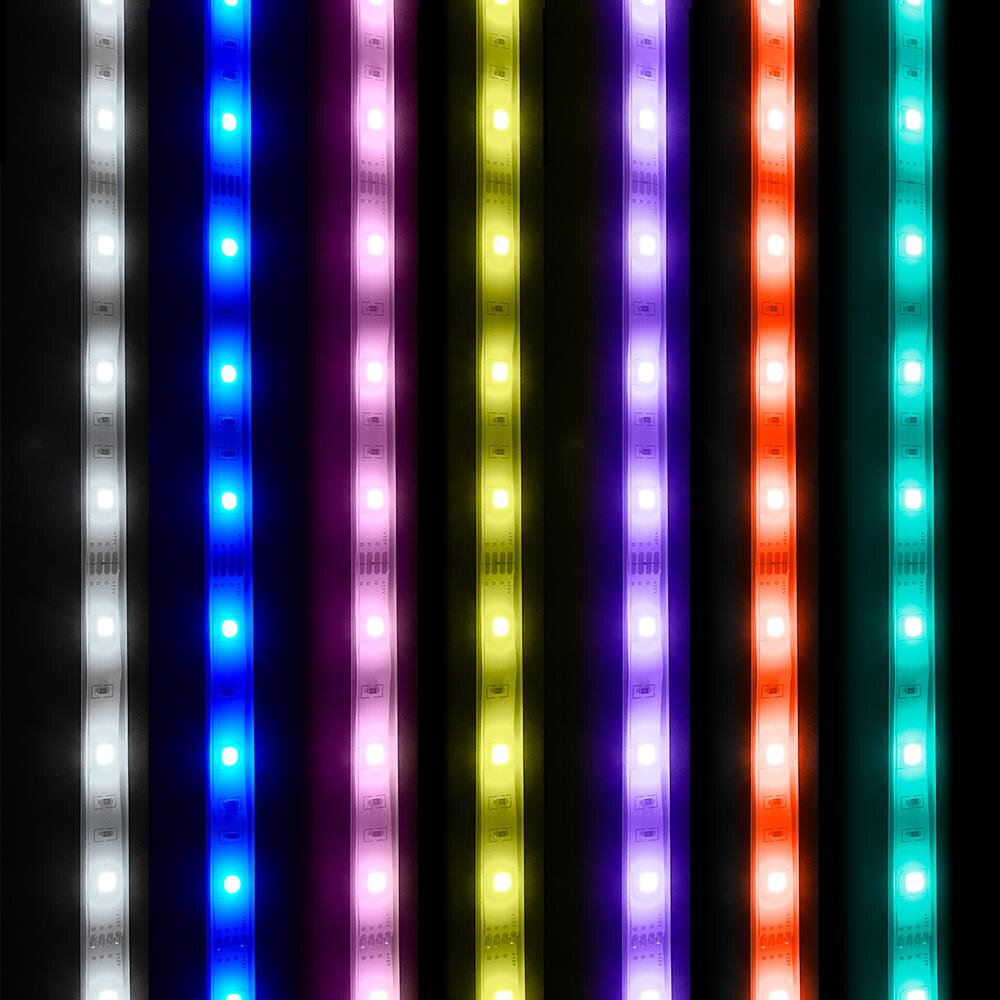
When it comes to removing LED light residue, having the right tools can make the task much easier and more effective. The first tool you will need is a microfiber cloth. This type of cloth is gentle on surfaces and won’t scratch or damage the area you are cleaning. It is also great at picking up dust and debris, which can help to prevent further residue buildup. You can use the microfiber cloth to wipe down the surface of the LED light, removing any loose residue that may be present. Another essential tool you will need is rubbing alcohol. Rubbing alcohol is a powerful cleaner that can effectively break down and remove LED light residue. To use rubbing alcohol, simply dampen a clean microfiber cloth with the solution and gently wipe down the affected area. Be sure to use a light touch, as rubbing too hard may cause damage to the surface. Once you have removed the residue, use a clean, dry microfiber cloth to wipe away any excess rubbing alcohol and leave the surface looking clean and shiny. With these simple tools, you can effortlessly remove LED light residue and keep your lights looking their best.
Removing LED light residue can be a challenging task, but with the right tools, it can be done effortlessly. To get started, you will need a few essential tools, such as a microfiber cloth, rubbing alcohol, a plastic scraper, and some cotton swabs. The microfiber cloth is perfect for wiping away any loose residue, while the rubbing alcohol is great for dissolving any stubborn particles. A plastic scraper is ideal for scraping off any remaining residue, and cotton swabs are perfect for reaching tight spaces. With these tools, you can say goodbye to LED light residue in no time, leaving your surfaces looking clean and shiny.
In the article titled \Effortlessly Remove LED Light Residue Expert Tips and Tricks\, each tool mentioned is important for achieving a clean and residue-free surface. The microfiber cloth, for example, is gentle and effective in wiping away any dust or debris left behind by the LED light. The isopropyl alcohol is a powerful solvent that dissolves any stubborn residue or adhesive left on the surface. The plastic scraper is useful in removing any excess residue that may have dried or hardened, while the toothbrush helps to scrub away any remaining debris in hard-to-reach areas. Each tool plays a crucial role in the process of removing LED light residue and ensures a clean and polished finish.
Steps to Remove LED Light Residue
Removing LED light residue can be a tricky task, especially if you don’t know the right steps to take. However, with a few expert tips and tricks, you can effortlessly remove any residue left behind by LED lights. The first step is to turn off the power supply to the LED lights. This will ensure that no electrical current is flowing through the wires, making it safe to clean the lights. Once the power is off, use a soft cloth or a microfiber towel to wipe away any dirt and debris from the surface of the LED lights. Avoid using abrasive cleaners or harsh chemicals as they may damage the surface of the lights. Next, use a solution of warm water and mild soap to clean the LED lights. Dip a clean cloth or sponge into the solution and gently wipe the lights, making sure to remove any stubborn residue. Rinse with clean water and dry the lights with a soft cloth. If the residue is particularly stubborn, you can use a mixture of vinegar and water to dissolve it. Mix equal parts of vinegar and water in a spray bottle and spray the solution onto the LED lights. Let it sit for a few minutes before wiping it away with a clean cloth. With these simple steps, you can easily remove any LED light residue and keep your lights looking as good as new.
Removing LED light residue can be a daunting task, but with the right tools and techniques, it can be done effortlessly. First, gather all the necessary supplies, such as a microfiber cloth, rubbing alcohol, and a plastic scraper. Next, turn off the power to the LED lights to avoid any accidents. Use the plastic scraper to gently remove any excess residue. Then, dampen the microfiber cloth with rubbing alcohol and gently rub the affected area until all residue is removed. Be sure to use a light touch to avoid damaging the LED lights. Repeat the process as needed until the residue is completely gone. With these step-by-step instructions, removing LED light residue can be a simple and stress-free task.
Removing LED light residue can be a challenging and time-consuming task, but there are some tips and tricks you can use to make the process easier and more efficient. First, make sure to turn off the power source to avoid any electrical hazards. Then, use a soft cloth or sponge soaked in warm water and mild soap to gently scrub the residue. For stubborn residue, try using rubbing alcohol or vinegar to break it down. You can also use a plastic scraper or credit card to scrape away the residue. To prevent future residue buildup, consider using a protective film or spray on your LED lights. By following these tips, you can effortlessly remove LED light residue and keep your lights shining bright.
Alternative Methods
Alternative methods can be used to remove LED light residue from surfaces. One alternative method is using vinegar and baking soda. The vinegar works to break down the residue, while the baking soda acts as an abrasive to scrub away the residue. First, mix equal parts vinegar and water in a spray bottle. Spray the solution onto the surface with the residue and let it sit for a few minutes. Then, sprinkle baking soda onto the surface and use a non-abrasive scrubber to scrub away the residue. Rinse the surface with water and dry it with a clean towel. Another alternative method is using rubbing alcohol. Rubbing alcohol is a powerful solvent that can dissolve the residue. First, apply rubbing alcohol onto a clean cloth. Then, use the cloth to wipe the residue off the surface. Make sure to use a clean side of the cloth or a new cloth to avoid smearing the residue onto other areas. After wiping the surface, rinse it with water and dry it with a clean towel. These alternative methods are effective and easy to use for removing LED light residue.
When it comes to removing LED light residue, there are a few alternative methods you can try. One option is to use rubbing alcohol or acetone on a cotton swab or cloth to gently scrub away the residue. Another option is to use a mixture of baking soda and water to create a paste that can be applied to the affected area and wiped away with a damp cloth. Additionally, some people have had success using a magic eraser or a specialized cleaning solution designed for electronics. It’s important to be cautious when using any of these methods to avoid damaging the LED lights or the surface they are attached to.
There are several methods to remove LED light residue, each with its own effectiveness. One method is to use rubbing alcohol as it is a strong solvent that can easily dissolve the residue. However, it may not be effective if the residue is too thick or if it has been left on for too long. Another method is to use a mixture of vinegar and baking soda, which can effectively remove the residue and disinfect the area. However, it may not be suitable for delicate surfaces, as the baking soda can be abrasive. Additionally, using a microfiber cloth can be effective, but it requires a lot of manual effort and may not be as efficient for larger areas. Ultimately, the effectiveness of each method depends on the type and amount of residue, as well as the surface it is on.
Preventing LED Light Residue

Preventing LED light residue is crucial, and it’s always better to take precautionary measures than to clean it afterward. One of the essential steps to prevent LED light residue is to ensure that the surface is clean and dry before applying LED lights. Any grease, dust or residue on the surface can cause the LED lights to stick improperly, leading to an uneven application and residue build-up. Therefore, it’s advisable to clean the surface with a non-abrasive cleaner and allow it to dry completely before applying LED lights. Another essential tip to prevent LED light residue is to use high-quality LED lights. Low-quality LED lights tend to be prone to residue formation, which can be challenging to remove later. High-quality LED lights are usually made of durable materials and come with higher adhesive strength, making them less prone to residue build-up. Therefore, investing in high-quality LED lights can go a long way in preventing residue formation and saving time and effort spent on cleaning them later. By taking these preventive measures, you can ensure that your LED lights stay clean and residue-free for a longer time, giving you a hassle-free and seamless lighting experience.
Preventing LED light residue from building up in the first place can be achieved by some simple yet effective tips. Firstly, always ensure that the LED lights are switched off before cleaning them. Secondly, use a microfiber cloth or a soft-bristled brush to gently remove any dirt or dust particles. Avoid using harsh chemicals or abrasive cleaners as they can damage the surface of the LED lights. Thirdly, ensure that the LED lights are properly ventilated to prevent the accumulation of dust and debris. Lastly, regular cleaning and maintenance of LED lights can significantly reduce the buildup of residue, ensuring that they remain clean and bright for longer periods. Following these tips can help save time, effort, and money in the long run, ensuring that your LED lights remain in top condition.
Prevention is crucial in many aspects of life, and this is especially true when it comes to cleaning LED light residue. Taking preventative measures to avoid buildup and stains will save you time and effort in the long run. By regularly cleaning your LED lights and using protective covers, you can prevent the buildup of dirt and grime that can be difficult to remove. Additionally, avoiding harsh chemicals or abrasive materials during cleaning can help prevent damage to your lights. By implementing these preventative measures, you can ensure that your LED lights remain in top condition and maintain their brightness and clarity for longer periods of time.
Removing and preventing LED light residue is crucial for maintaining the functionality and longevity of your lighting equipment. The buildup of residue, which is often caused by dust and other environmental factors, can significantly reduce the brightness and clarity of your LED lights over time. This can lead to increased energy consumption and decreased visibility, which can be both frustrating and dangerous. In addition, the residue can also attract more dirt and debris, exacerbating the problem even further. By taking the time to regularly clean and maintain your LED lights, you can ensure that they continue to provide optimal performance and safety for years to come.
In conclusion, maintaining clean LED lights is essential to ensure their longevity and optimal performance. Regular cleaning with a microfiber cloth and a gentle cleaning solution can help remove any residue without damaging the delicate surface of the LED lights. Avoid using harsh chemicals or abrasive materials that can potentially scratch or damage the surface. It is also recommended to clean the LED lights after every use to prevent any buildup of residue. By following these simple tips and tricks, you can effortlessly remove LED light residue and keep your lights shining bright for years to come.
Conclusion
In conclusion, removing LED light residue may seem like a daunting task, but with the right tips and tricks, it can be done effortlessly. From using vinegar to baking soda, there are numerous household items that can effectively clean up the unwanted residue. It is essential to take necessary precautions and avoid harsh chemicals that may damage the surface. With a little patience and some expert guidance, you can easily remove the LED light residue and enjoy the sparkling shine of your lights. So, go ahead, try out these tips and tricks, and make your LED lights look as good as new!


