Quick answer: Bypassing a fluorescent ballast means disconnecting or removing the ballast and wiring the fixture so Type B LED tubes receive power directly at the lampholders. It can eliminate ballast failures, but it is line-voltage electrical work. The safe path is to buy the exact LED tubes first, follow their wiring diagram, confirm shunted vs non-shunted lampholders, install the retrofit label, and call an electrician if the fixture wiring is damaged or unclear.

Should You Bypass The Ballast?
A ballast bypass is not the only way to convert fluorescent lights to LED. If the ballast is healthy and you want the fastest swap, Type A ballast-compatible tubes may be enough. If the ballast is failed, buzzing, hard to source, or you want to remove it as a future failure point, Type B ballast-bypass tubes make more sense.
| Option | What changes | Best fit | Main caution |
|---|---|---|---|
| Type A plug-and-play | Keep compatible ballast | Fastest conversion when ballast is good | Ballast can still fail later |
| Type B ballast bypass | Disconnect/remove ballast and rewire lampholders | Old or failed ballasts, lower maintenance | Line voltage at lampholders; wiring must match tube |
| Type A+B hybrid | Can run with ballast or bypass mode | Flexible staged upgrades | Do not mix the two installation modes |
| Type C external driver | Replace ballast with matched LED driver | Commercial or controlled systems | Driver and lamps must be matched |
| New LED fixture | Replace the old fixture | Rusty, damaged, brittle, or poorly grounded fixtures | More upfront work but often cleaner |
Safety Boundary Before You Open The Fixture
Turn power off at the breaker and verify the fixture is dead before opening the ballast cover. Do not rely on a wall switch. Stop and hire an electrician if you find brittle insulation, burned wires, loose lampholders, missing ground, emergency backup wiring, unfamiliar multi-wire circuits, or a commercial lighting control system.

Single-Ended Vs Double-Ended Bypass Tubes
The tube design controls the wiring. Single-ended Type B tubes usually put line and neutral on one end of the lamp. Double-ended Type B tubes usually put line at one end and neutral at the other. Those methods are not interchangeable, and the wrong lampholder type can create a dangerous short.
| Tube design | Typical wiring idea | Lampholder concern | Do not assume |
|---|---|---|---|
| Single-ended Type B | Line and neutral feed one end | Often requires non-shunted powered tombstones | That old instant-start tombstones are safe to reuse |
| Double-ended Type B | Line on one end, neutral on the other | Follow product instructions for holder type | That all double-ended tubes wire the same way |
| Hybrid Type A+B | Depends on chosen mode | Ballast mode and bypass mode differ | That plug-and-play instructions cover bypass wiring |
| External-driver Type C | Driver output feeds lamps | Use matched driver and tubes | That line voltage goes to lampholders |
Ballast Bypass Checklist
- Buy the LED tubes first and read the full installation sheet.
- Confirm the fixture voltage, tube length, base type, and number of lamps.
- Turn off power at the breaker and verify the fixture is de-energized.
- Remove fluorescent tubes and dispose of them through the proper lamp recycling route.
- Open the ballast cover and inspect wire, grounding, lampholders, and fixture condition.
- Identify whether your tubes are single-ended, double-ended, hybrid, or Type C.
- Replace or verify shunted/non-shunted lampholders as required by the LED tube instructions.
- Disconnect or remove the ballast and cap/secure unused conductors as instructed.
- Wire line and neutral only according to the supplied diagram.
- Install the included retrofit warning label so future users know the fixture no longer uses fluorescent lamps.
- Reassemble the fixture, install the correct LED tubes, restore power, and test.
Shunted Vs Non-Shunted Tombstones
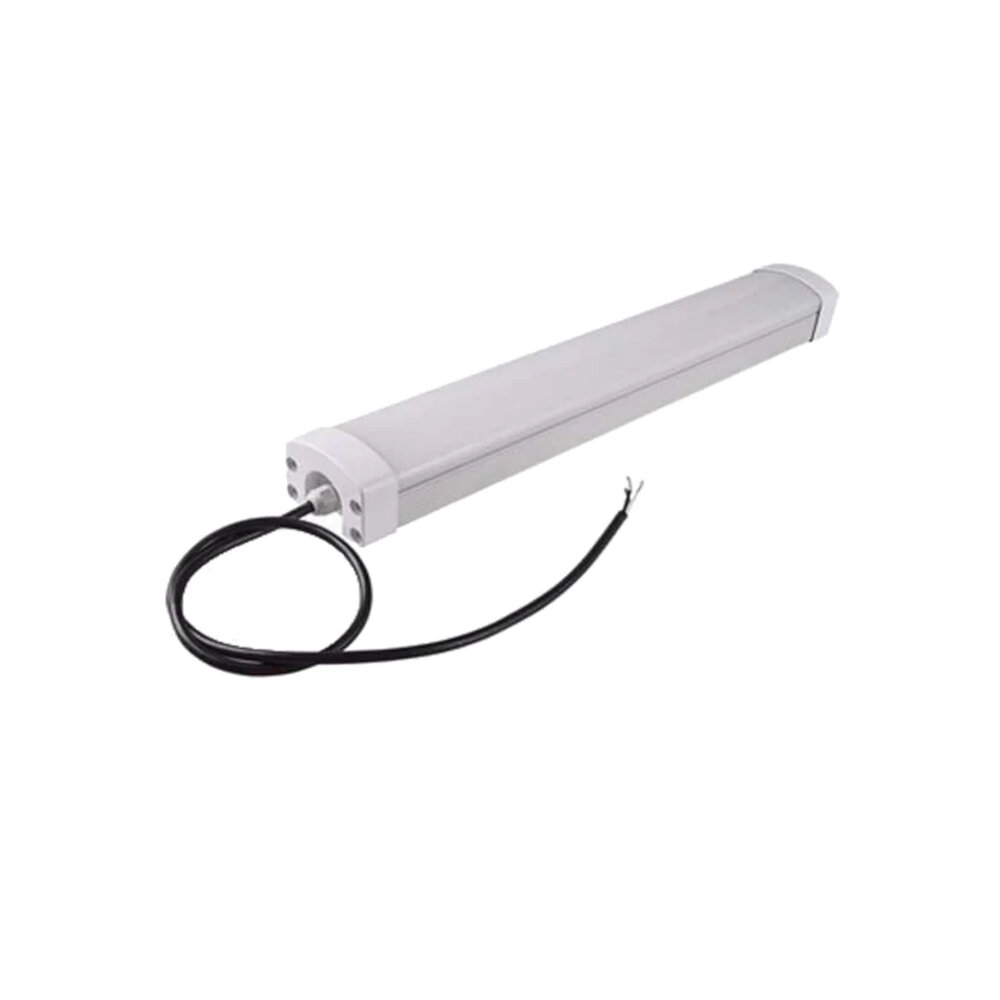
Tombstones are the lampholders at each end of the tube. Shunted tombstones have internally connected contacts; non-shunted tombstones keep the contacts separate. Some single-ended bypass tubes require non-shunted powered tombstones because line and neutral must remain separate on the same end.
| Fixture clue | Common reality | Safe decision |
|---|---|---|
| Old instant-start ballast | Often shunted lampholders | Test or replace before single-ended bypass tubes |
| Rapid-start/programmed-start ballast | Often non-shunted lampholders | Still verify, because fixtures get modified |
| Cracked or loose tombstone | Unsafe regardless of shunting | Replace the lampholder or fixture |
| No clear installation sheet | Unknown wiring requirement | Do not guess; use a different listed tube or electrician |
Mistakes That Make Bypasses Unsafe
| Mistake | Why it matters | Better move |
|---|---|---|
| Installing Type A tubes in a bypassed fixture | Tube expects ballast output, not direct wiring | Use only the tube type on the retrofit label |
| Leaving loose ballast wires inside | Loose conductors can short or overheat | Cap and secure conductors correctly |
| Ignoring shunted/non-shunted requirements | Can short line and neutral or leave lamps dead | Verify tombstones before energizing |
| Skipping the warning label | Future lamp replacement becomes unsafe | Apply the supplied label visibly inside the fixture |
| Keeping a damaged fixture | LED tubes do not fix brittle wire or bad grounding | Replace the fixture |
When Replacing The Whole Fixture Is Smarter
Replace the fixture instead of bypassing the ballast if the housing is rusty, wires are brittle, lampholders are loose, the ground is missing, the ballast compartment is cramped, or you want better optics and a fresh warranty. For many garage and utility spaces, a listed LED shop light is cleaner than rebuilding a poor fluorescent fixture.
Related GarageSanctum Guides
- Wiring fluorescent fixtures for LED tubes
- How to wire T8 LED tubes safely
- LED fixture lifespan
- Why an LED light stopped working
- LED wattage explained
Source Notes
- Keystone linear LED tube guide explains Type A, Type B, dual-mode, and Type C retrofit choices.
- RAB single-ended T8 bypass instructions show non-shunted socket and single-sided wiring requirements for that product type.
- Philips CorePro LED T8 guide documents product-specific socket and installation requirements for a T8 retrofit lamp.
- Waveform LED tube guide summarizes Type A/B/C tube categories and shunted vs non-shunted tombstone concerns.